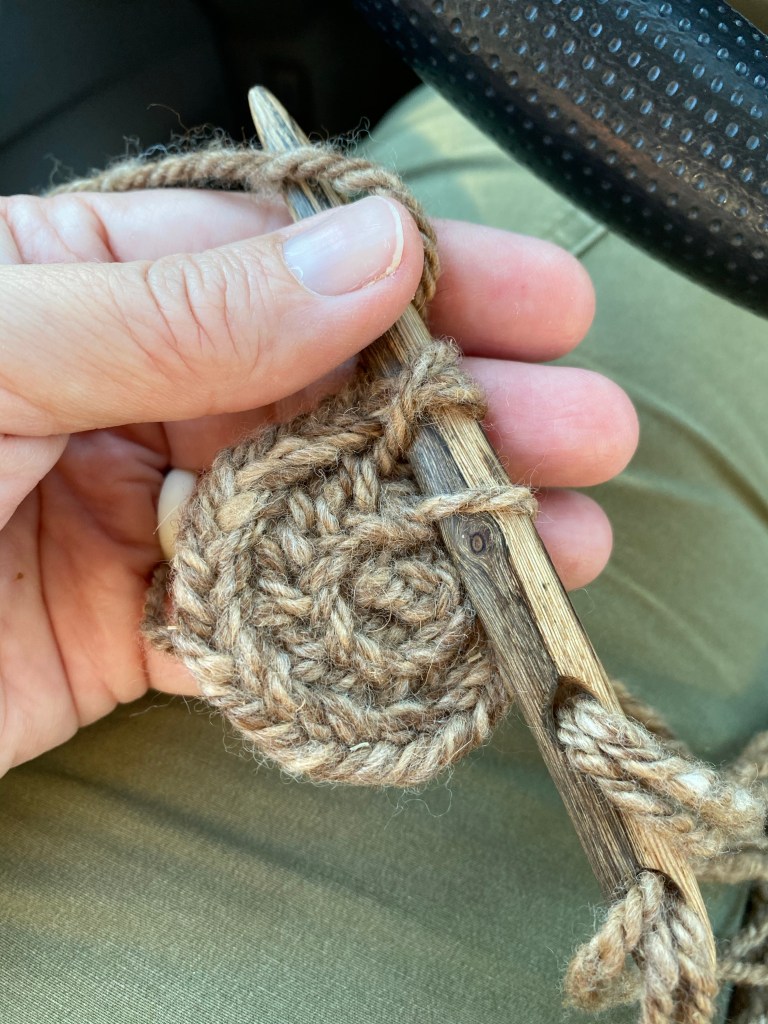
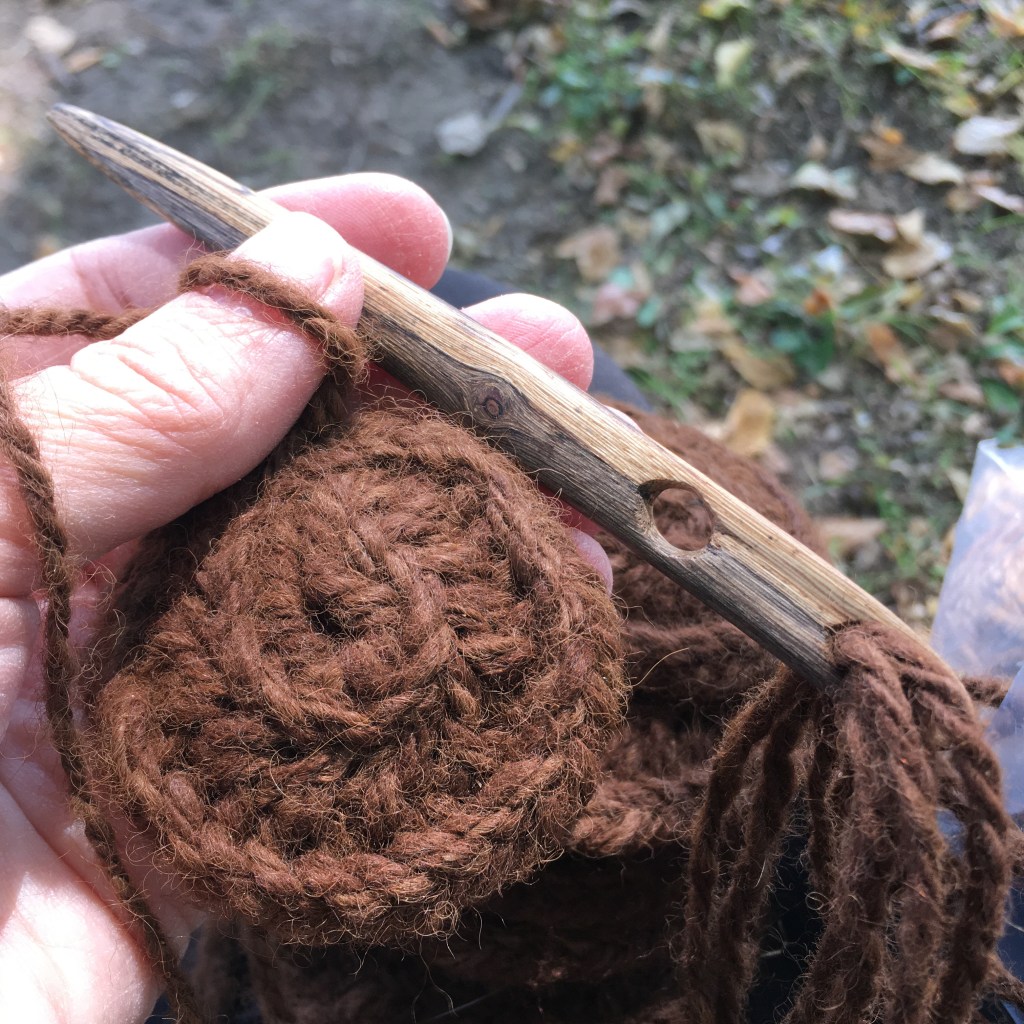
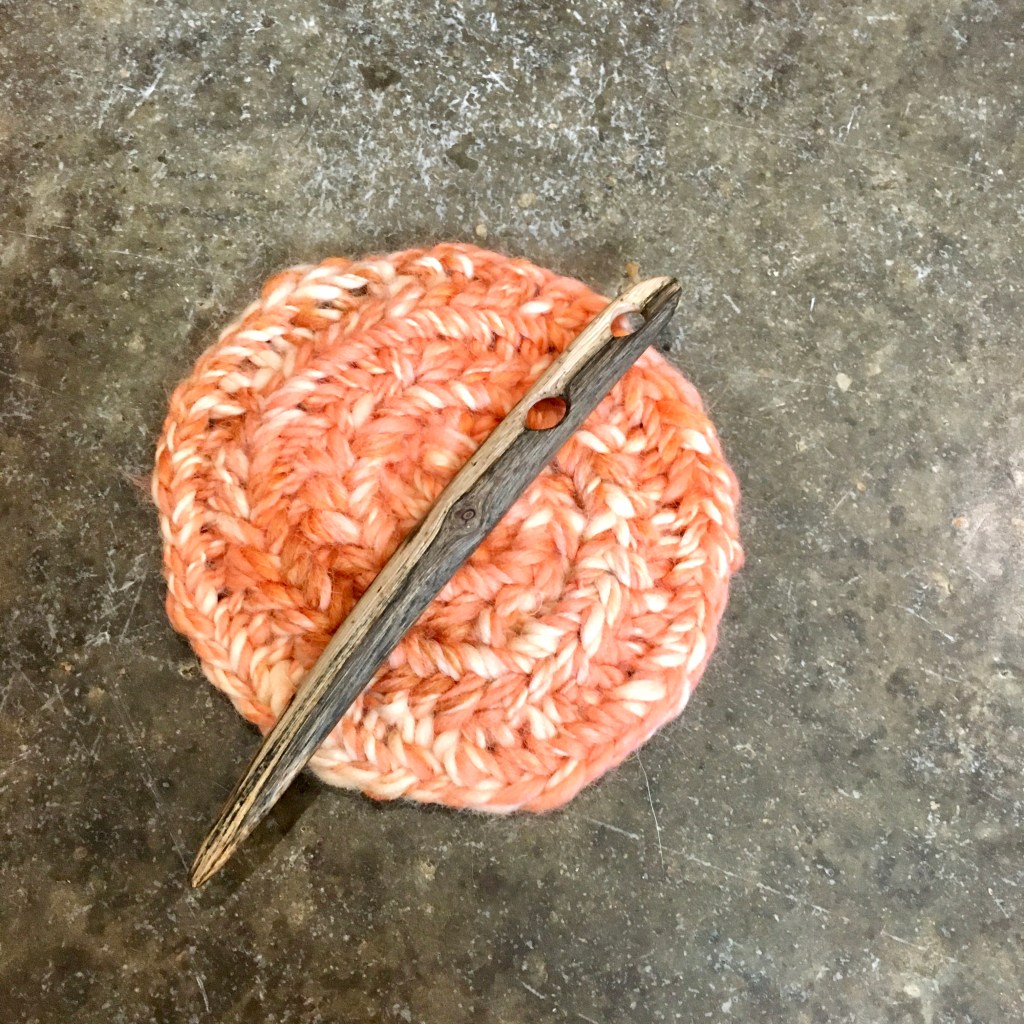
Aw, look how nicely the blended colors in the yarn go with the needle! I’m still plugging away at making a gazillion nålbound circles to construct a larger piece. I can usually do one spiral per car pick up line session. It is going to take awhile. The yarn is spindle spun undyed local alpaca, and the needle was carved from an aged grape vine and sealed with tung oil. I just enjoyed the color play today.
With virtual learning and a puppy to watch it has been hard to find the time and energy to do any needle craft, but I did find some space to get back to a nålbinding project now that my youngest is F2F (it probably dates me that I am using this abbreviation for the first time). Not only did I get to stitch, I did so outside in beautiful weather. Bliss.
This is drop spindle spun undyed alpaca and the plan is to make many small spirals and stitch them together to make … something. The plan is in flux, but if the technique works, I will probably make many things using the method. I like spirals, and I dislike making large boring blocks that never end. Somehow a large stack is different than a big rectangle.
Nålbinding spirals with a grapevine nål and hand spun alpaca yarn
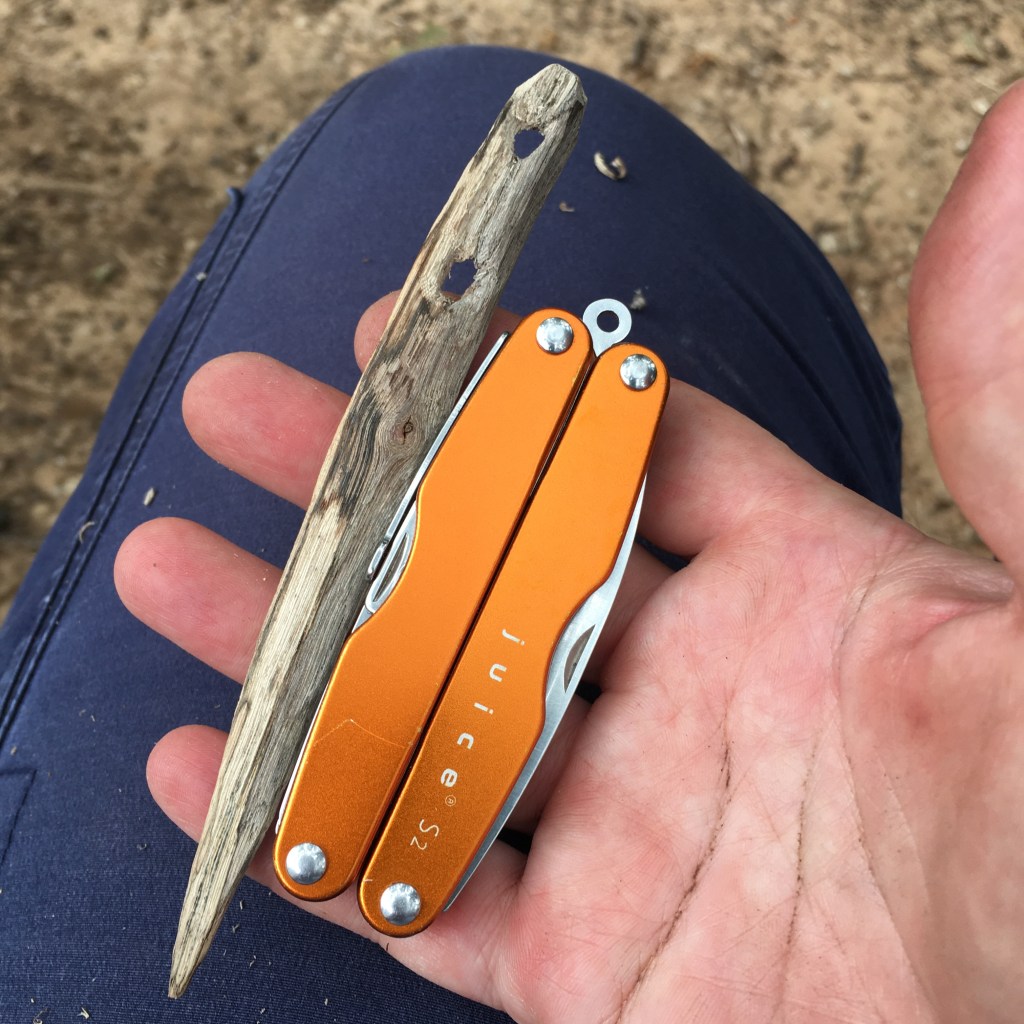
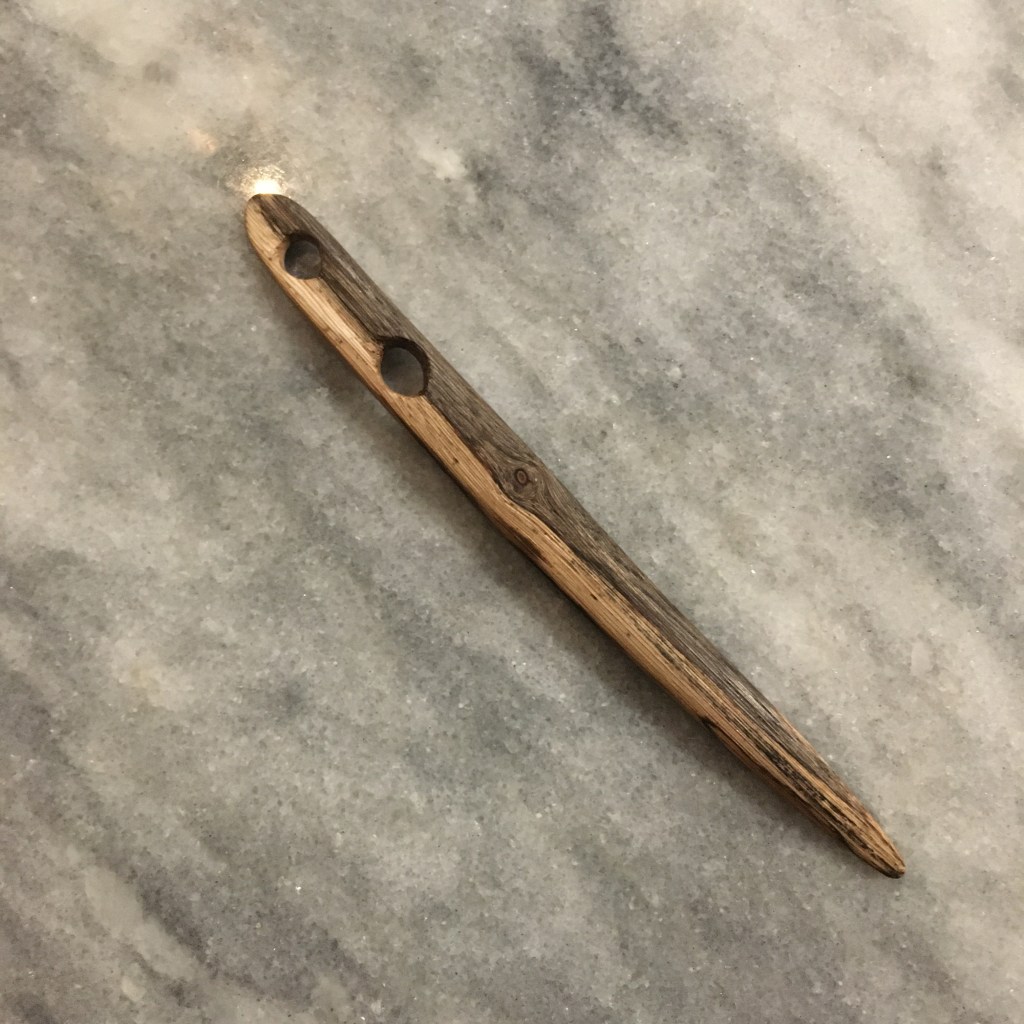
As we sat and watched the fire around the artist’s charcoal (see yesterday’s blog entry for more on that), I had extra lengths of grape vine stick, which happened to be a good length for a nålbinding nal. I had my pocket knife and decided to give carving a nal entirely by hand a try. Previously, I used a drill press for the holes, and a band sander for shaping. It was quite easy to carve the grape vine, and although it does have some flex, it is sturdy. I was able to carve out the eyes of the nal, which was the trickiest bit. I also added a channel along the eyes, which helps the loops of yarn pass through easily with the needle.
Grape vine nal, initial carving
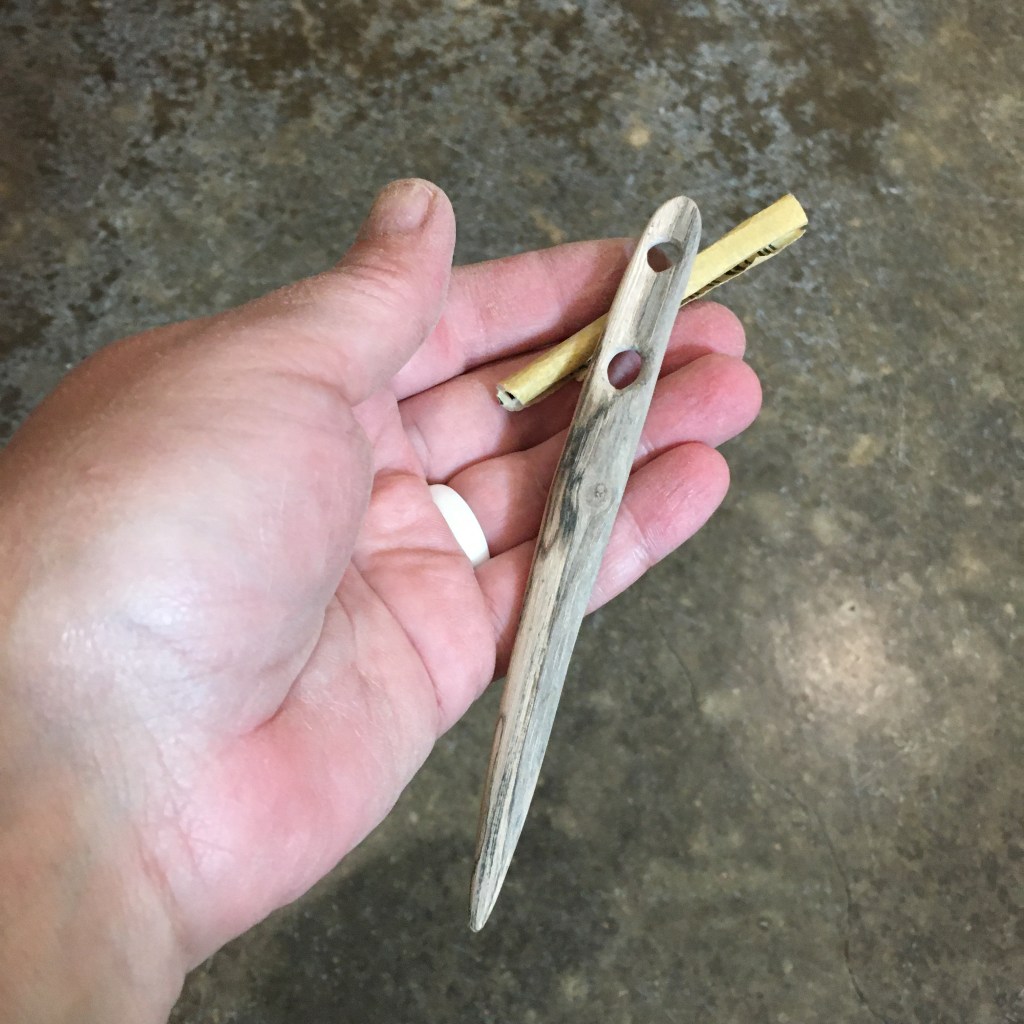
After roughing out the shape with my knife, I took 120 grit sandpaper and refined the shape and the eyes. Then I used 220, 320, and finally 400 grit to smooth the wood. Rolling the sandpaper into a tight tube helped sand out the holes.
Nal sanded smooth
At this point I tested the nal with some scrap yarn and found that it had an unpleasant bump in the middle. I went back with the 120 grit and sanded out the lump, then smoothed it out again. To be sure I had all the wood fibers smooth, I ran the nal under water. This raises the fibers that want to raise, and is an important step in wood finishing, especially for hand tools. If this step is skipped, those fibers still raise, but do so when the sealant is applied. It is much easier to use water first. When the nal dried, I sanded again with 400 grit. It needed it! I repeated the water treatment, then I had a nice smooth nal.
Raised wood fibers after rinsing with water
I usually leave my nals uncoated, letting the natural oils of the yarn and my hands condition the wood. Since the grape vine had so much raised fiber after the water treatment, I decided to apply a couple coats of teak oil to seal the nal.
Finished nal
The love the light and dark color of the wood and the slight curve!
Test round with hand spun merino wool and grape vine nal, Mammen stitch
I made that pretty red wool that I spun into a cloche style hat using the York stitch!
Merino wool cloche, York stitch, before blocking
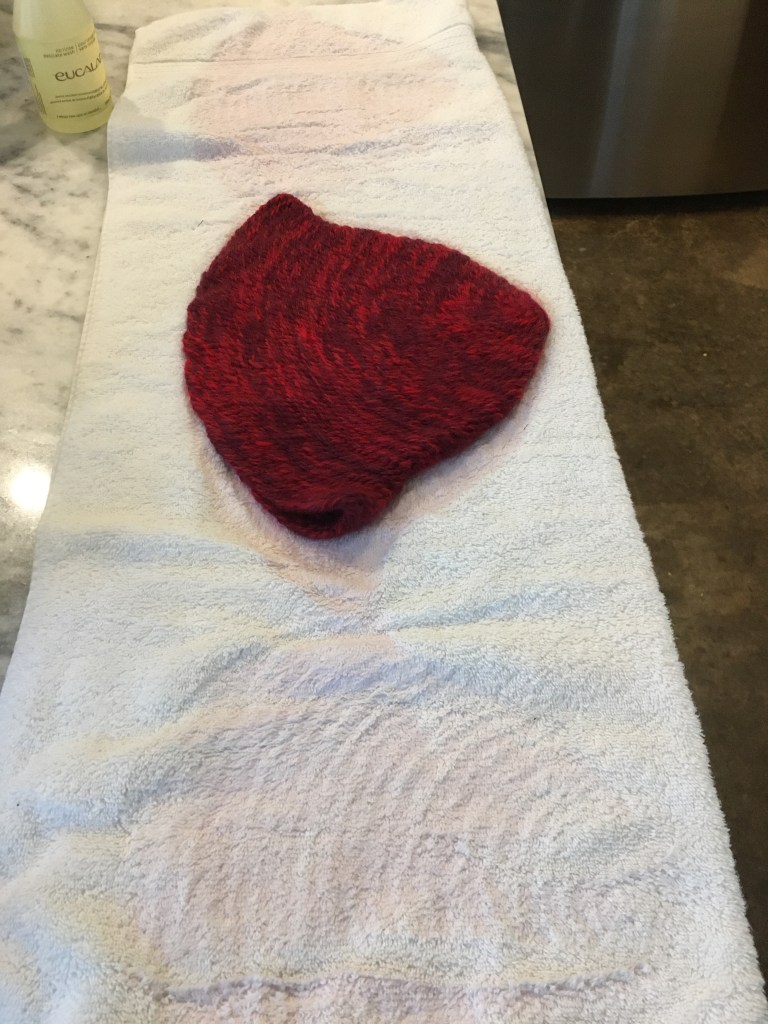
Because of the intensity of color in this wool, and because I wanted to block this hat (blocking is the process of getting a piece wet and laying it out nicely to dry), I gave this hat a gentle wash with Euclan no rinse soap.
Red hat soaking in the wash bowl
I let the hat soak for 15 minutes in tepid water (I didn’t want to felt it), then gently squeezed out the pink water and rolled it up in a towel to squeeze out more water before laying it out to dry.
The white towel turned ever so slightly pink
I’m glad I decided to give it a wash, not only to remove some of the extra dye, but laying it out to dry evened out the stitching making it look even nicer.
Blocked hat
I really do like the way the York stitch goes with a Z plied yarn (S and Z indicate direction of spin). I also really like spinning and nålbinding an entire piece. There is peace in taking time to enjoy the process. But it is not a fast craft. This hat took me a month to finish, working on it about an hour a day.
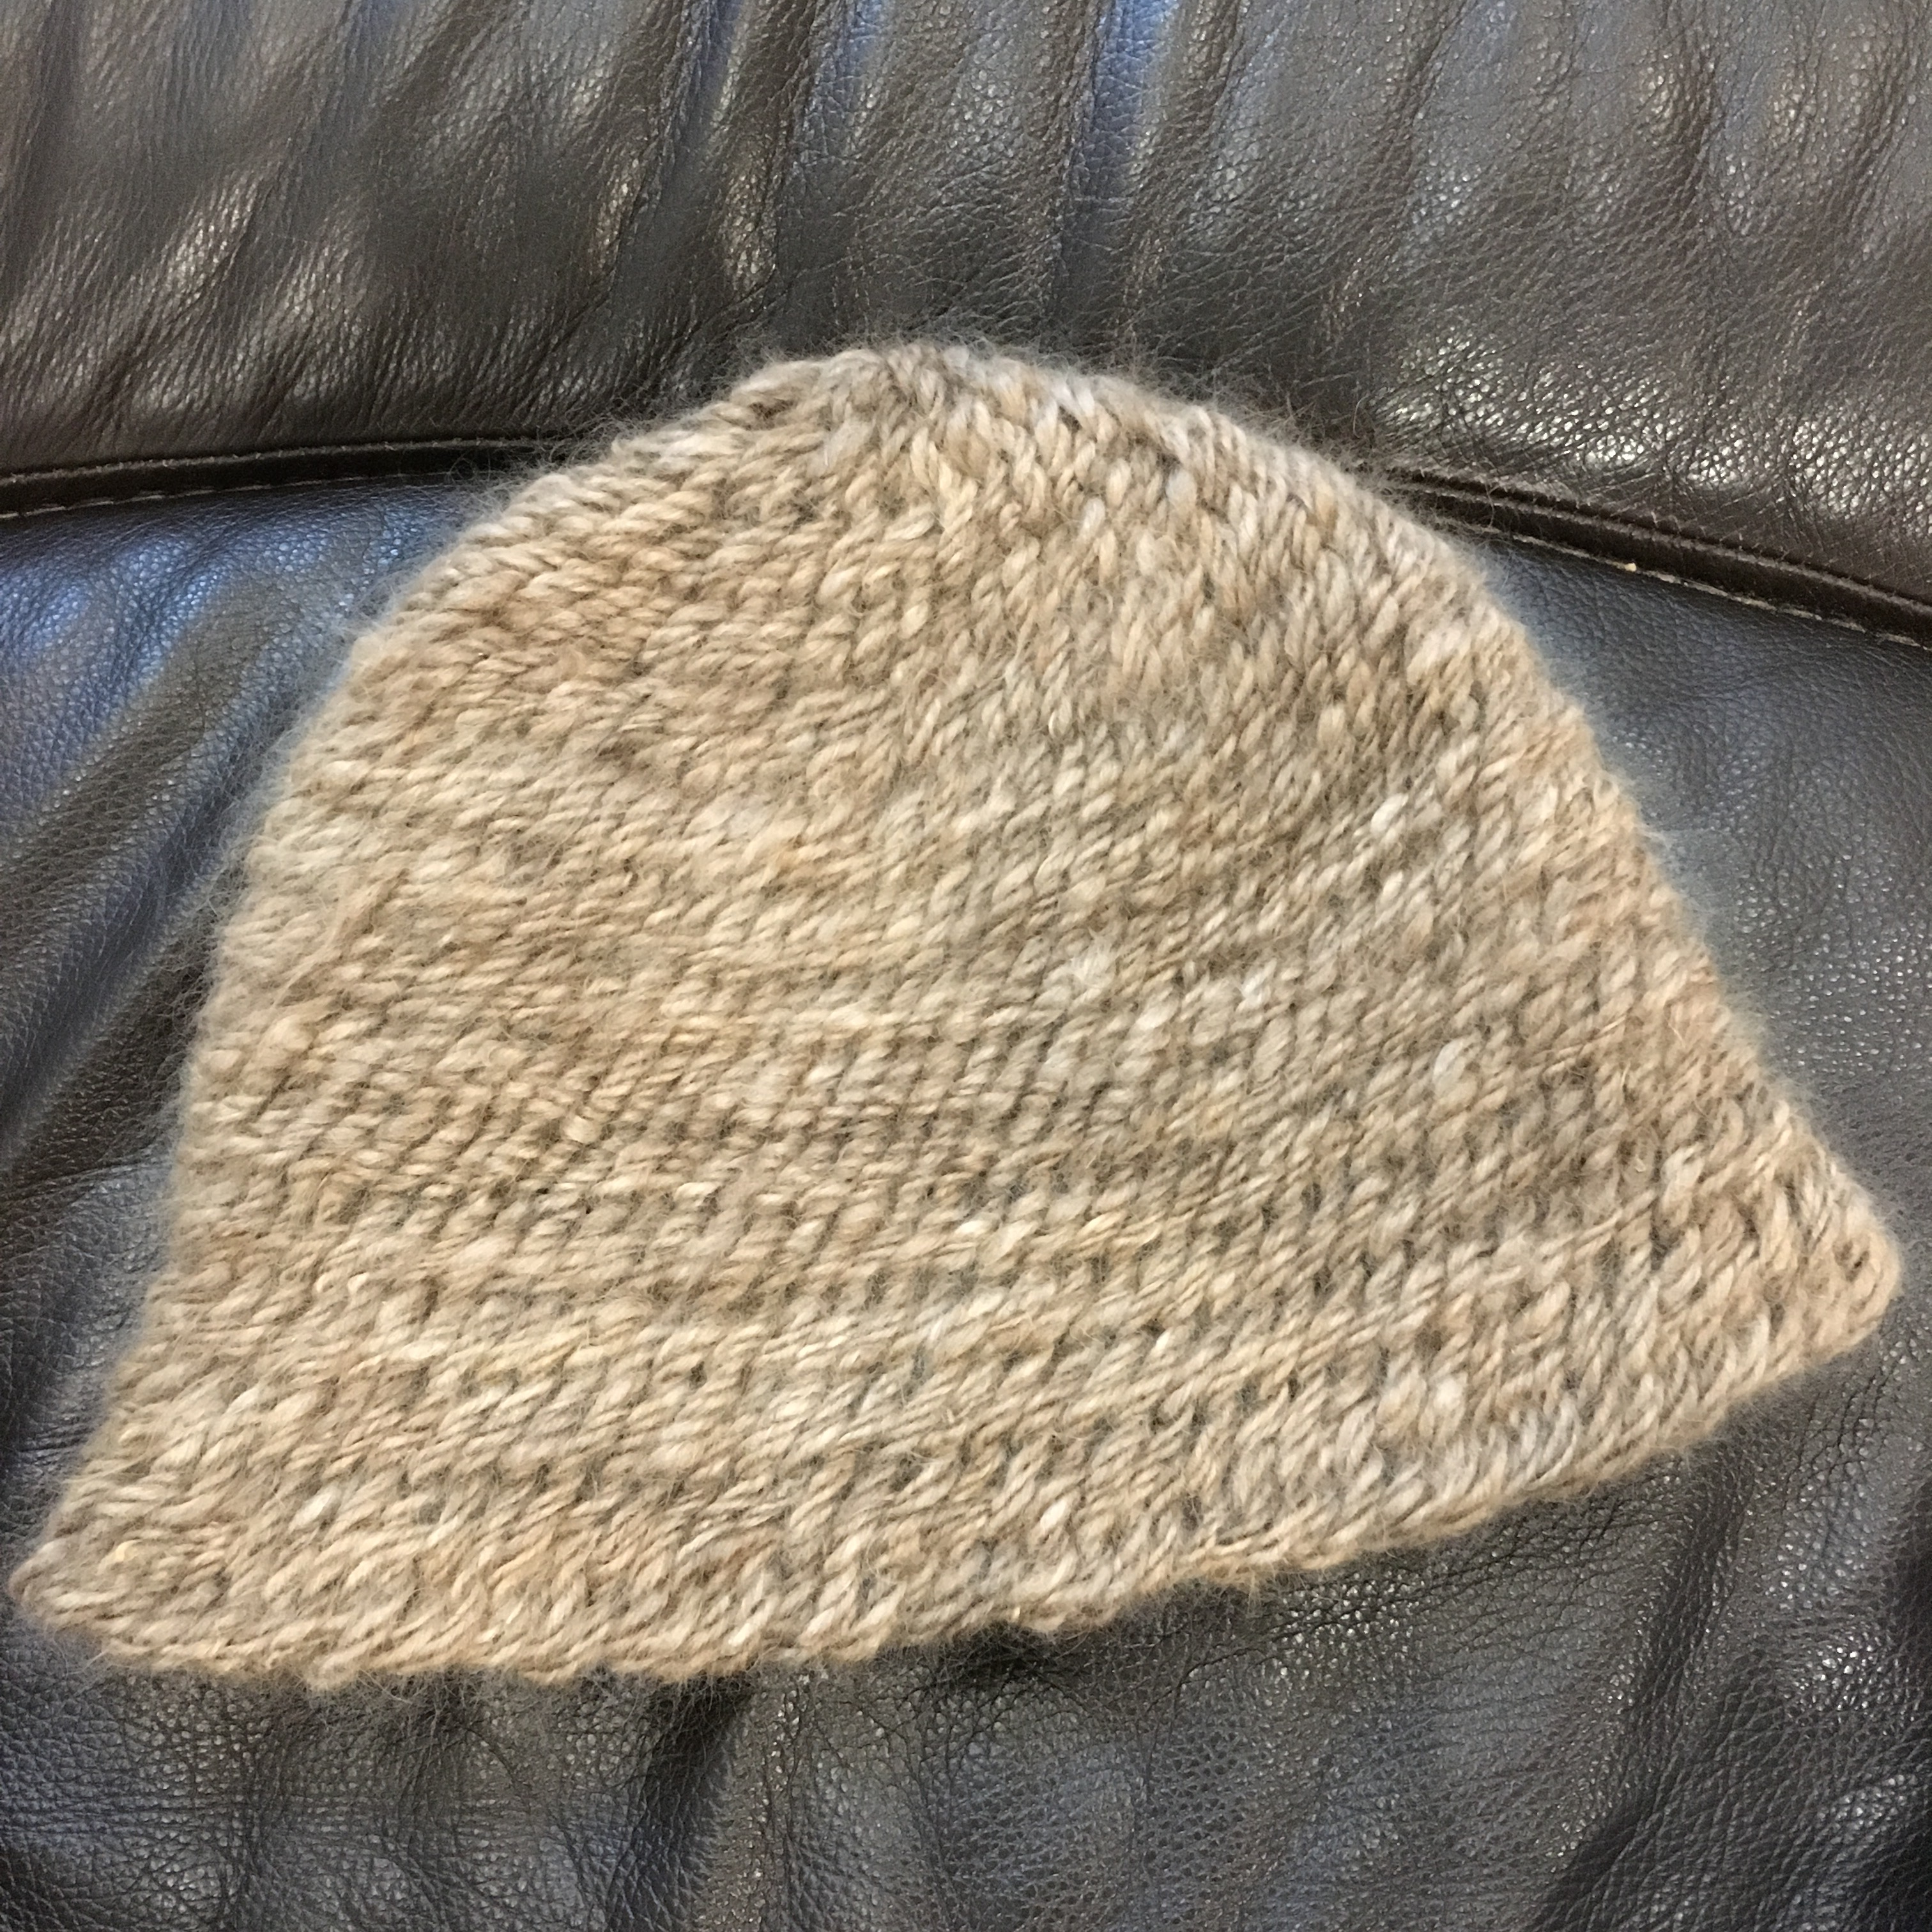
100% mohair, natural color (no dye), hand spun, 3 ply, nålbound with York stitch, cloche style hat.
York stitch hat
I love how the Z twist of the plied yarn goes perfectly with the York stitch so it looks like the twist goes from the crown to the brim. The mohair also has a lovely shine and an epic halo.
My youngest modeling the hat
My youngest wanted to be my hat model this time. The hat is a bit on the big side for her, but it is easier to see the mohair halo when the hat is being worn!