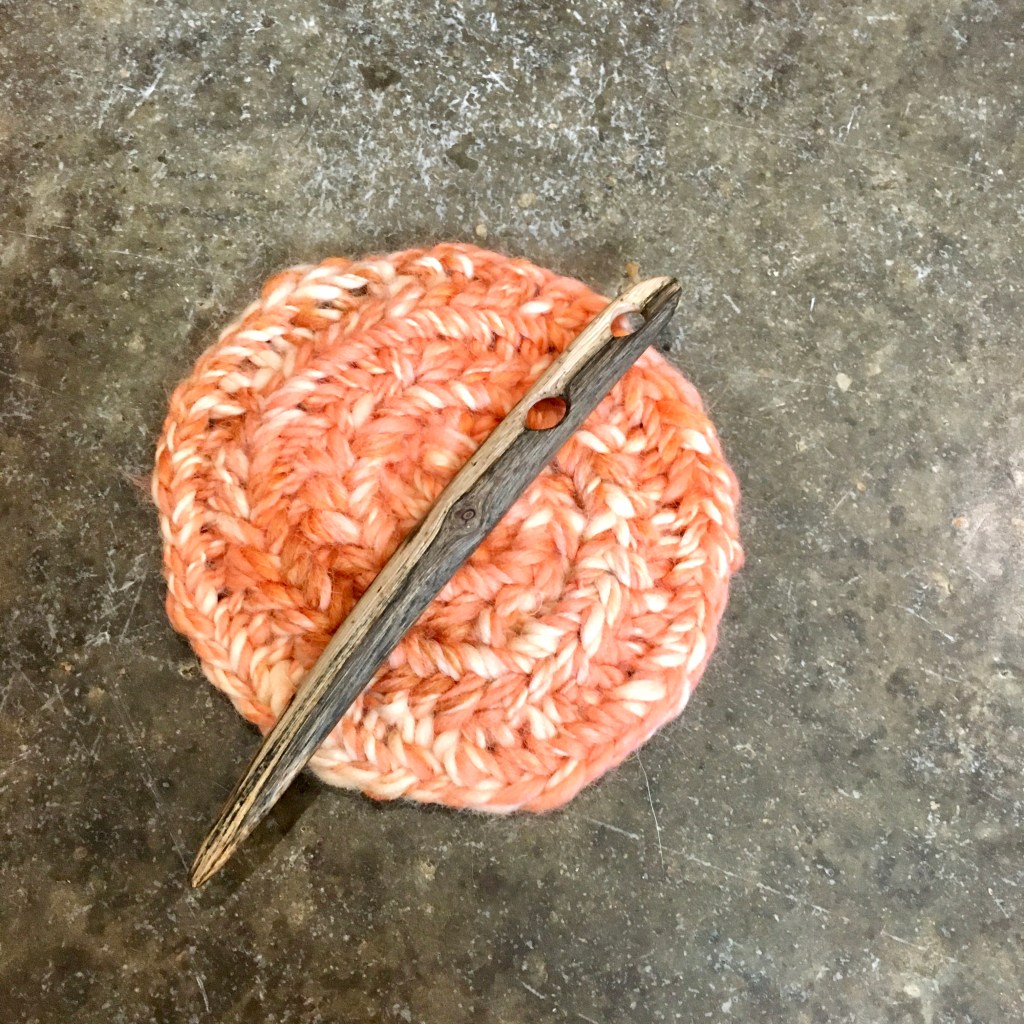
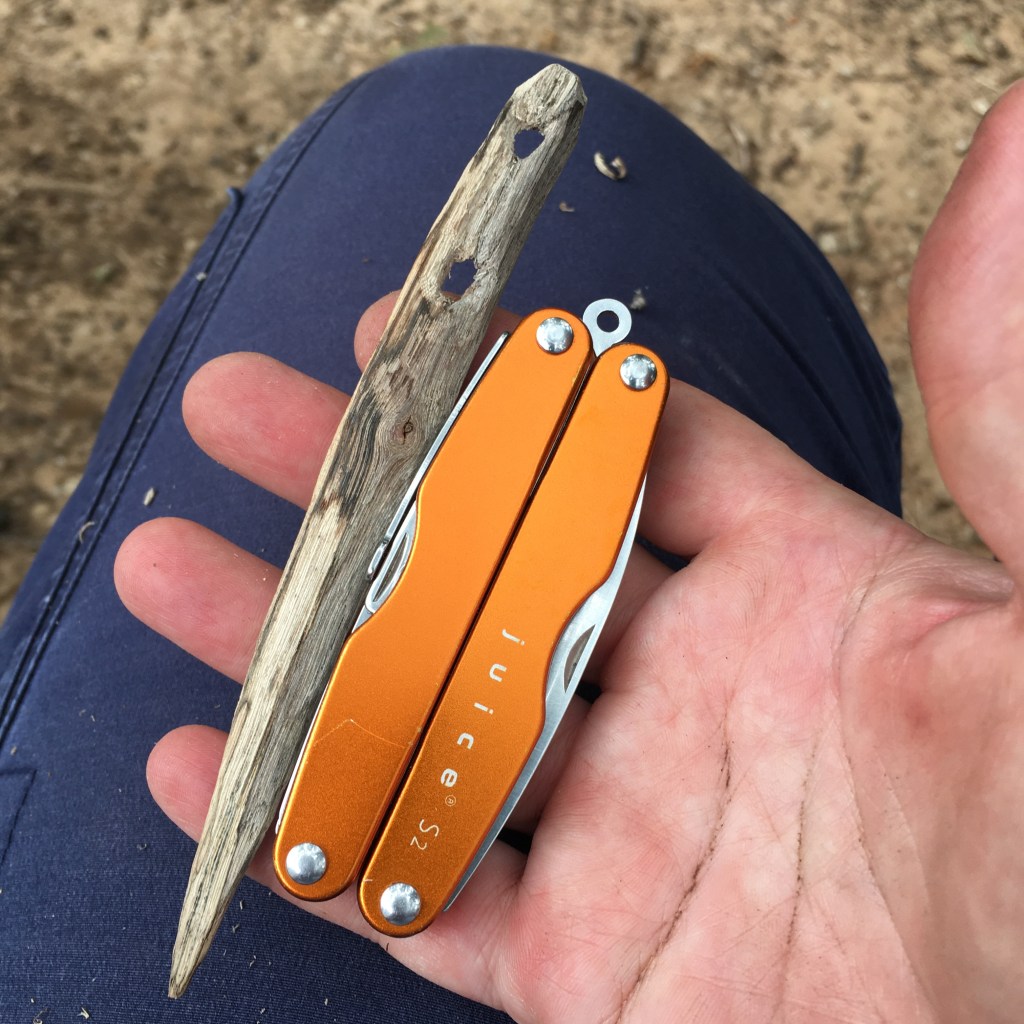
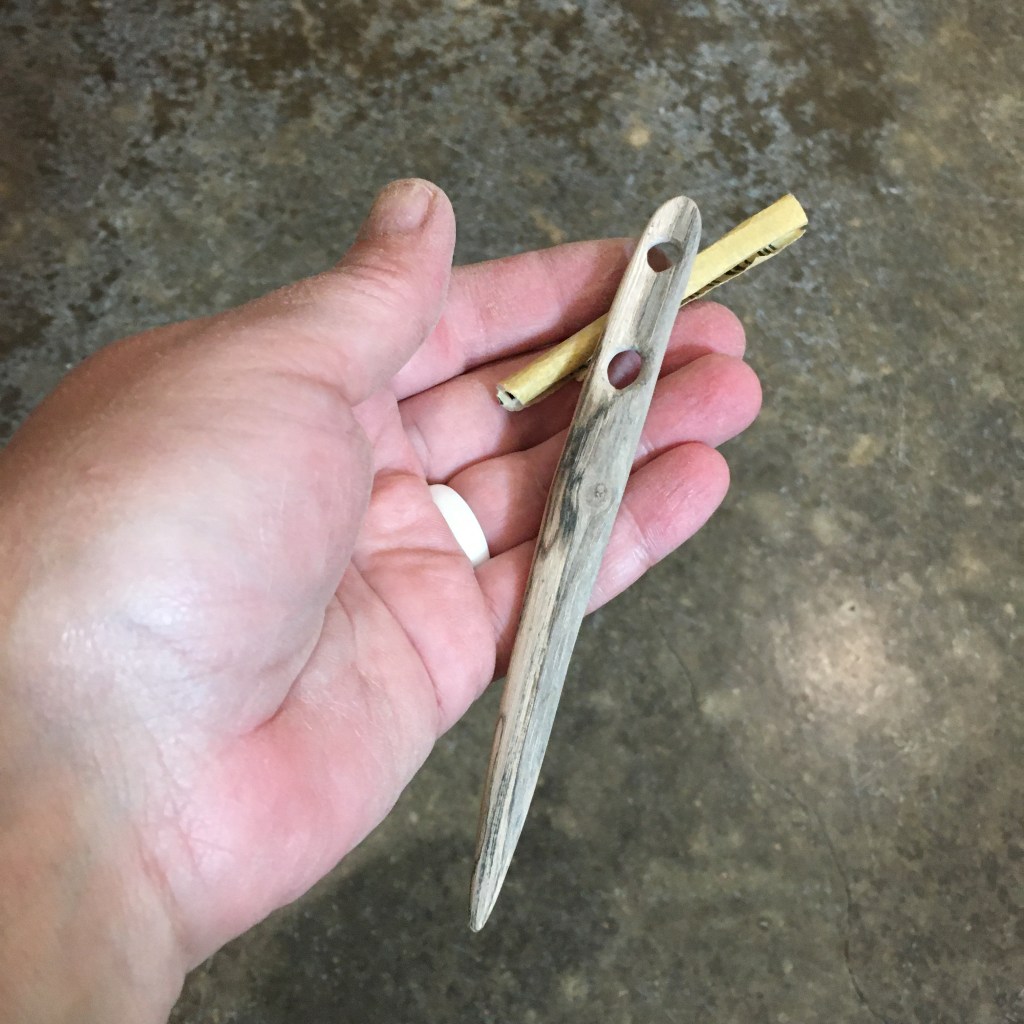
As we sat and watched the fire around the artist’s charcoal (see yesterday’s blog entry for more on that), I had extra lengths of grape vine stick, which happened to be a good length for a nålbinding nal. I had my pocket knife and decided to give carving a nal entirely by hand a try. Previously, I used a drill press for the holes, and a band sander for shaping. It was quite easy to carve the grape vine, and although it does have some flex, it is sturdy. I was able to carve out the eyes of the nal, which was the trickiest bit. I also added a channel along the eyes, which helps the loops of yarn pass through easily with the needle.
After roughing out the shape with my knife, I took 120 grit sandpaper and refined the shape and the eyes. Then I used 220, 320, and finally 400 grit to smooth the wood. Rolling the sandpaper into a tight tube helped sand out the holes.
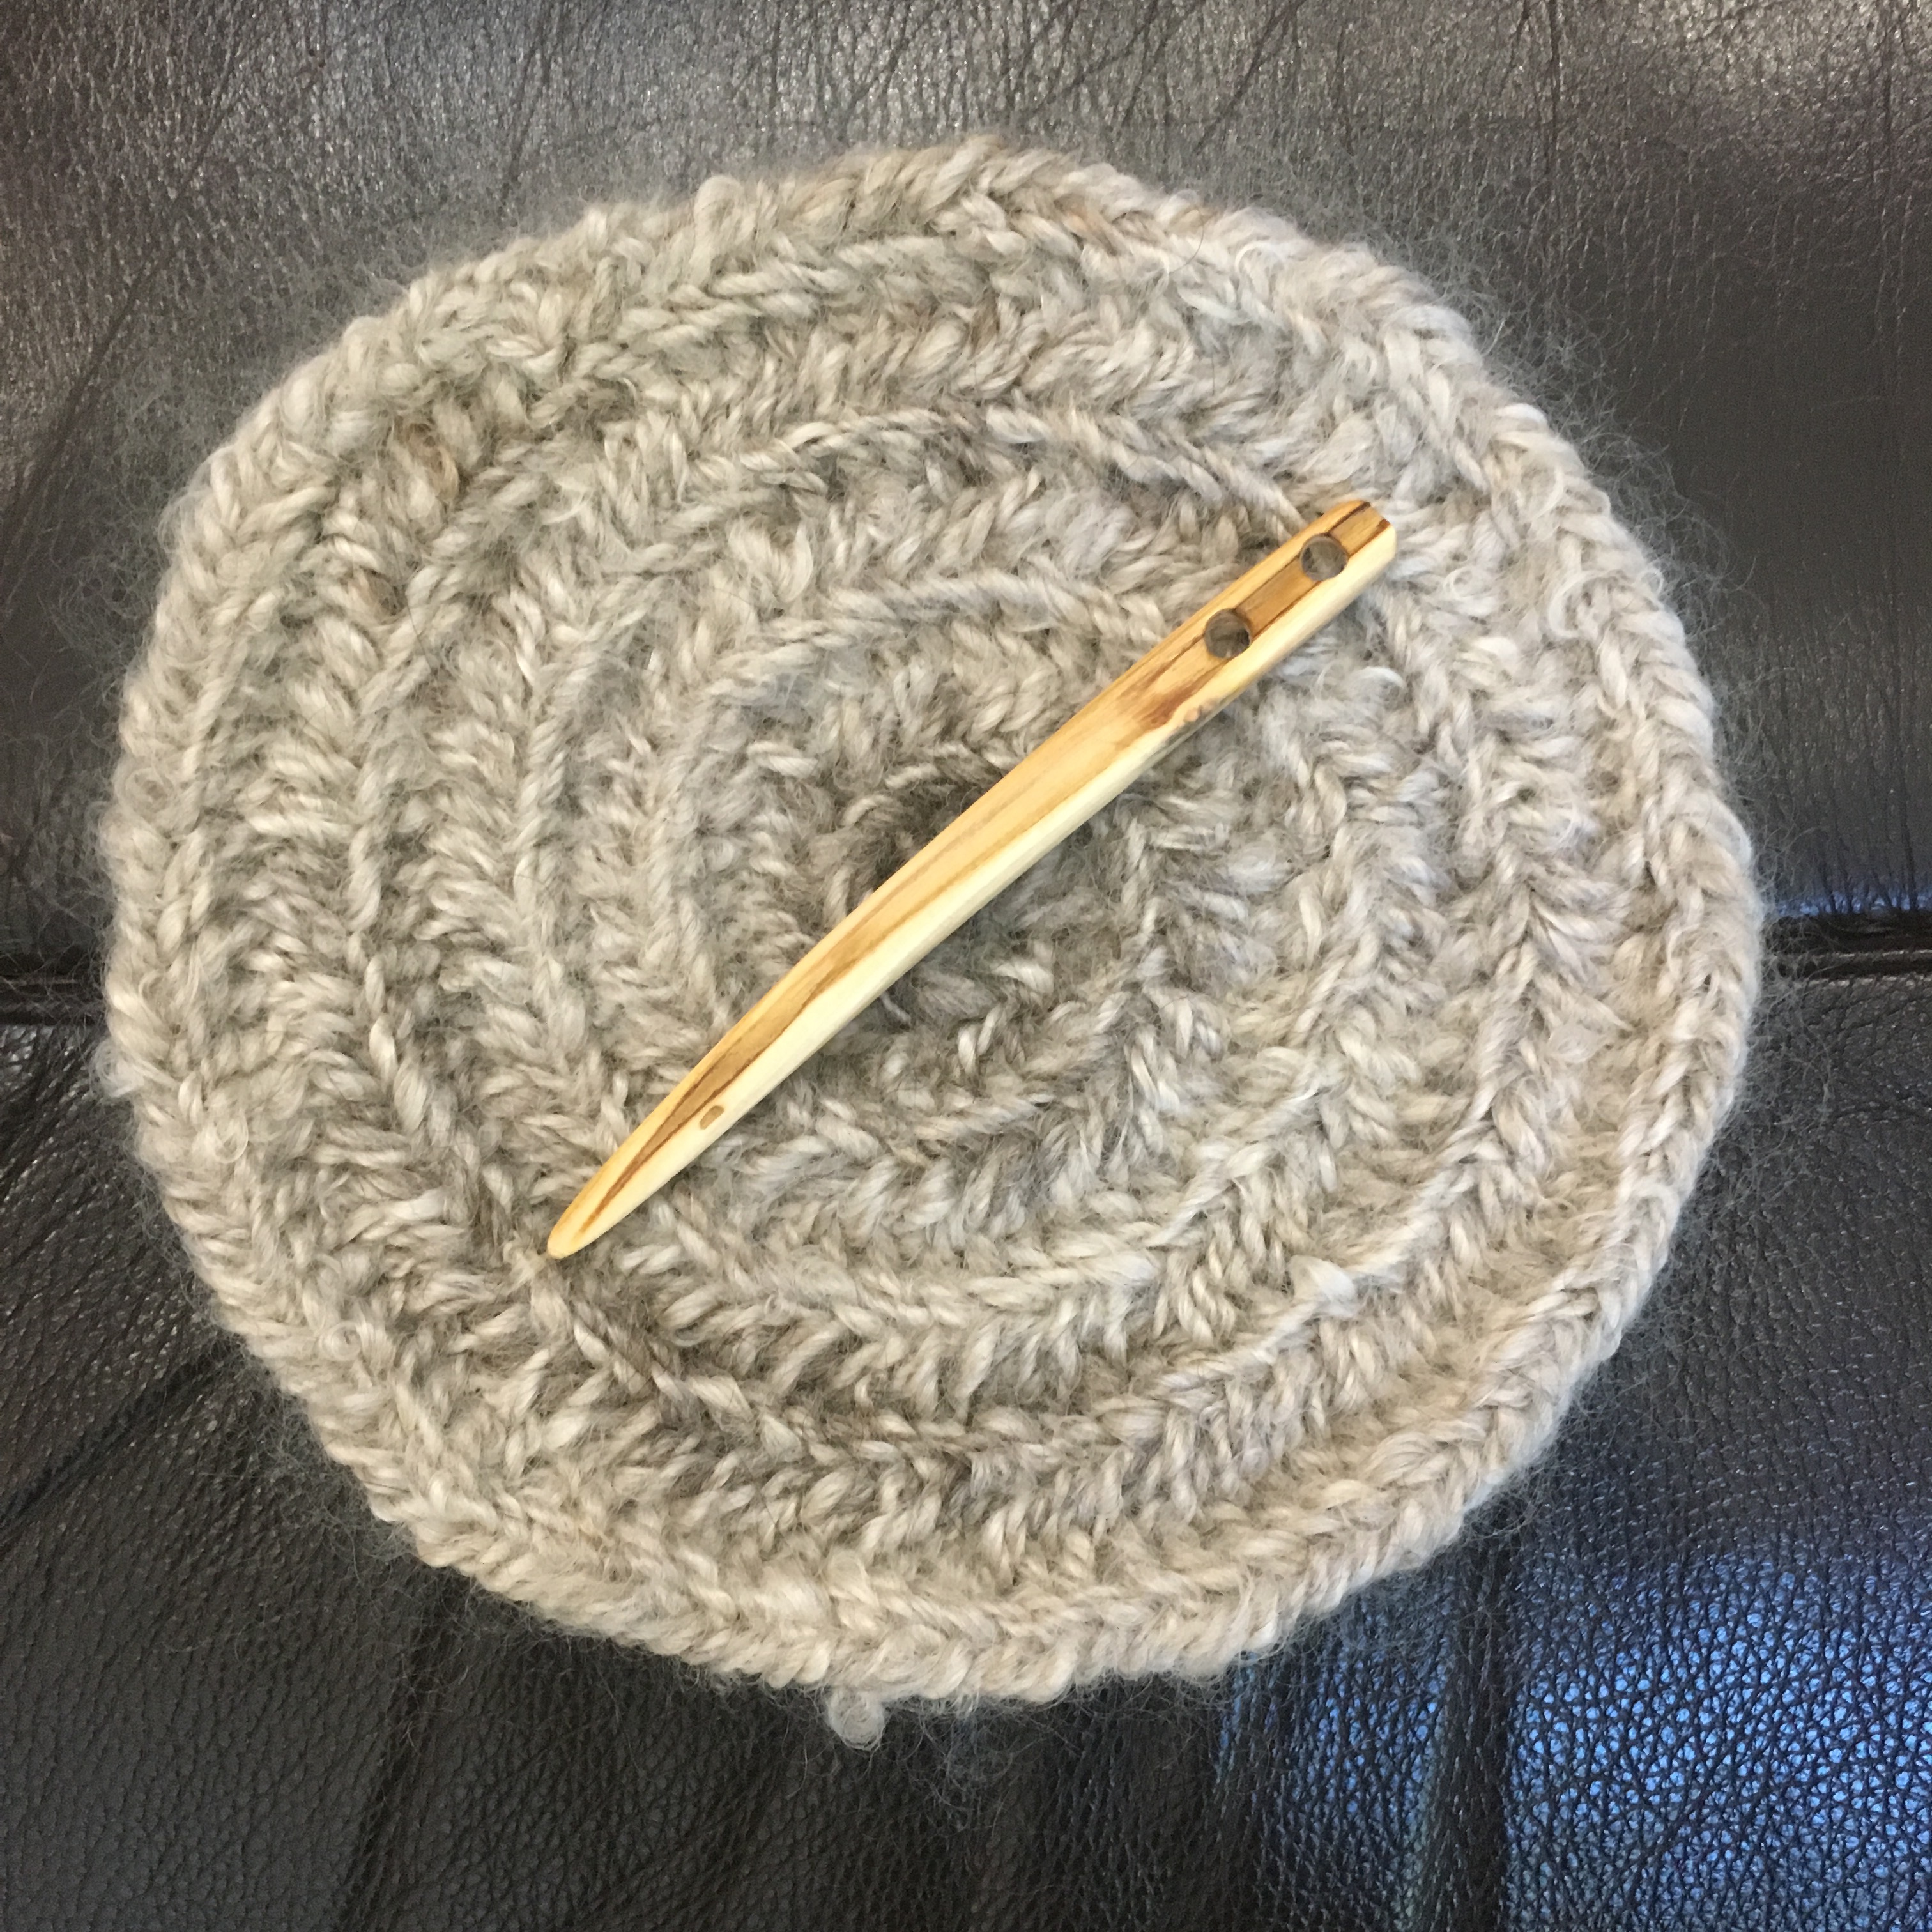
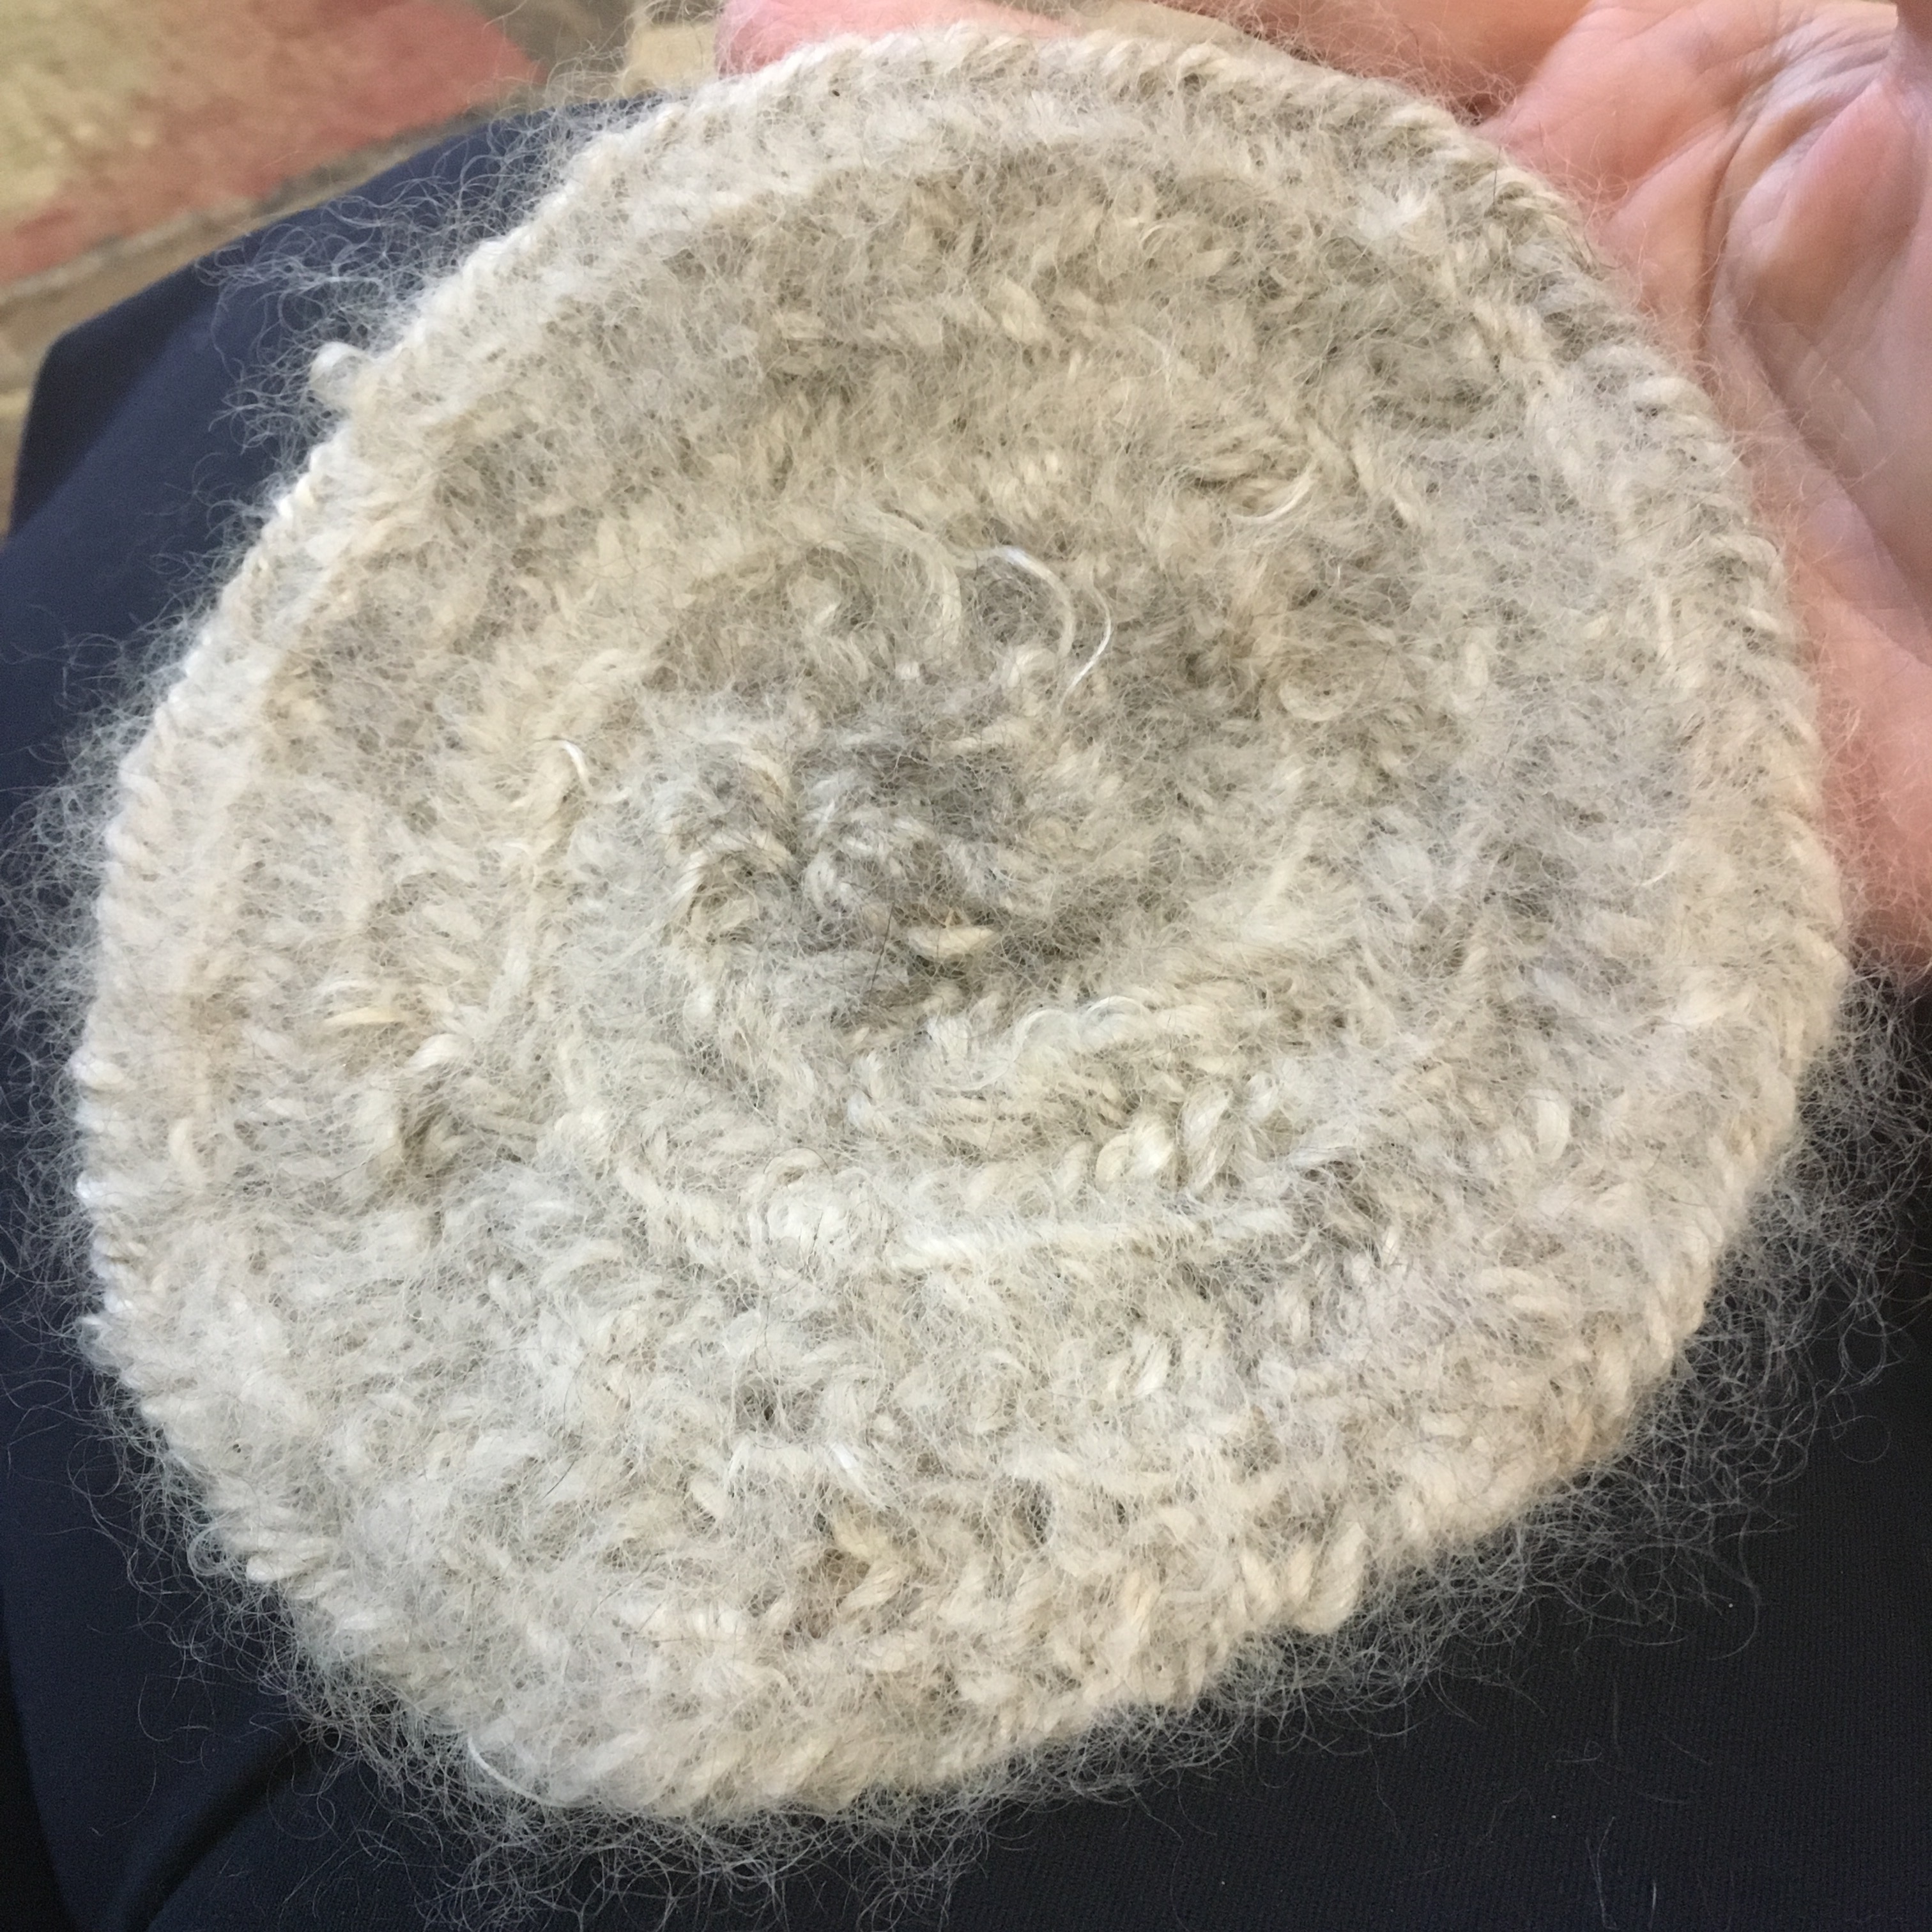
At this point I tested the nal with some scrap yarn and found that it had an unpleasant bump in the middle. I went back with the 120 grit and sanded out the lump, then smoothed it out again. To be sure I had all the wood fibers smooth, I ran the nal under water. This raises the fibers that want to raise, and is an important step in wood finishing, especially for hand tools. If this step is skipped, those fibers still raise, but do so when the sealant is applied. It is much easier to use water first. When the nal dried, I sanded again with 400 grit. It needed it! I repeated the water treatment, then I had a nice smooth nal.

I usually leave my nals uncoated, letting the natural oils of the yarn and my hands condition the wood. Since the grape vine had so much raised fiber after the water treatment, I decided to apply a couple coats of teak oil to seal the nal.
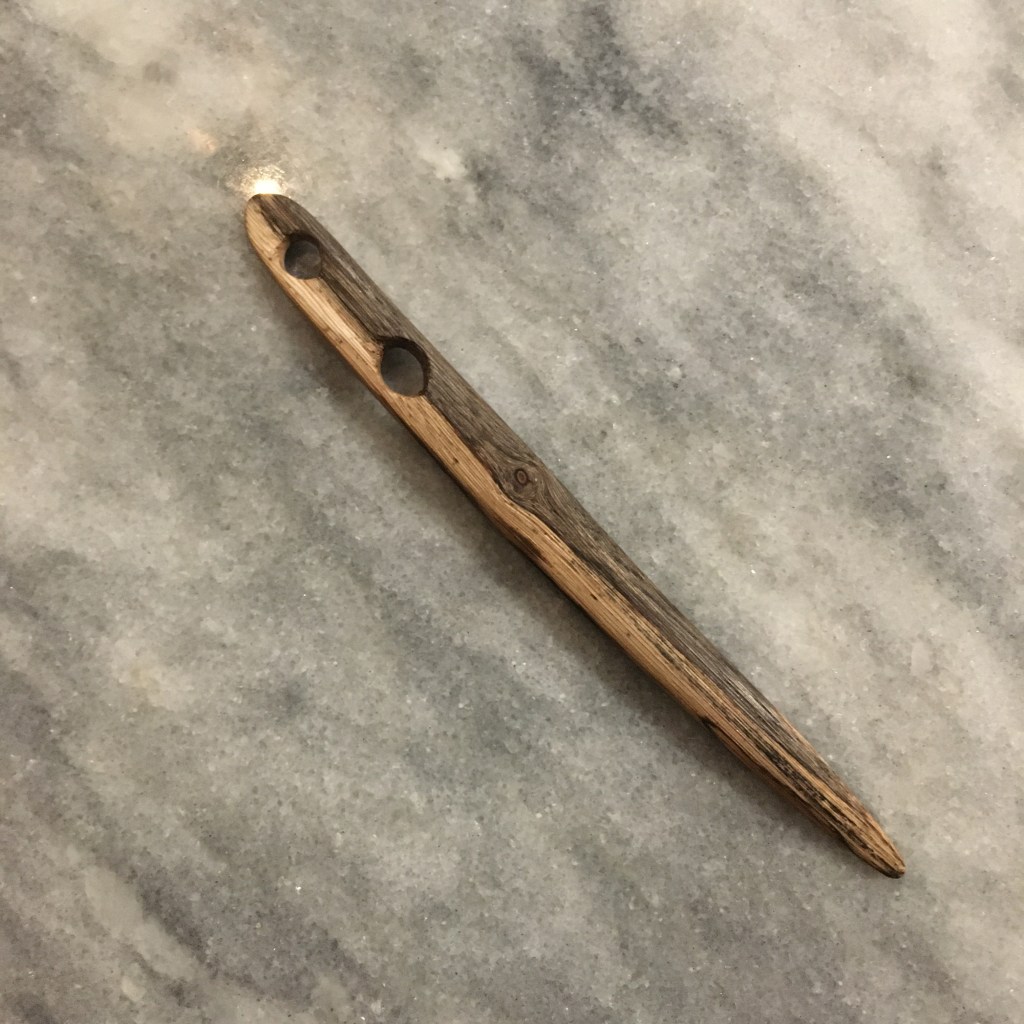
The love the light and dark color of the wood and the slight curve!