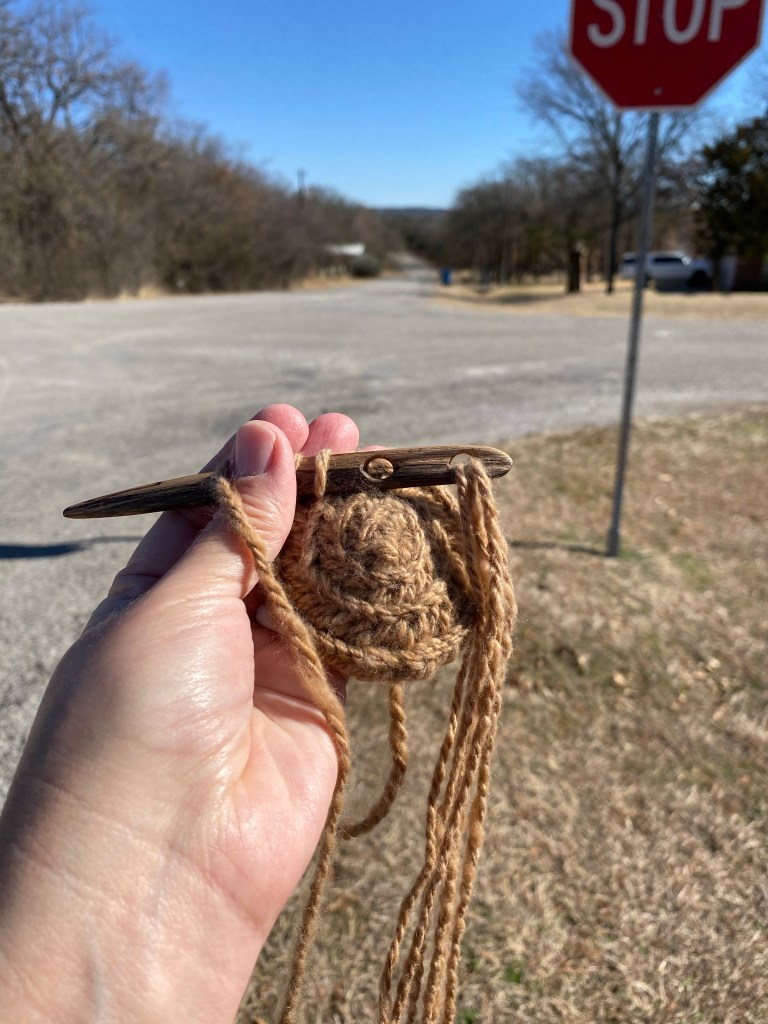
I have had a little trouble getting back into walking. I’ve been taking walks with my dog Griffin for over seven years, but our newest dog, Missy, is scared of people on walks, and I don’t want to push her to a point of aggression, and she can’t be left alone. So that leaves me walking with no dog (and no people, because pandemic). When walking I have to hear my surroundings, so that nixes listening to music or audio recordings. Walking the neighborhood under these conditions is boring. What to do?
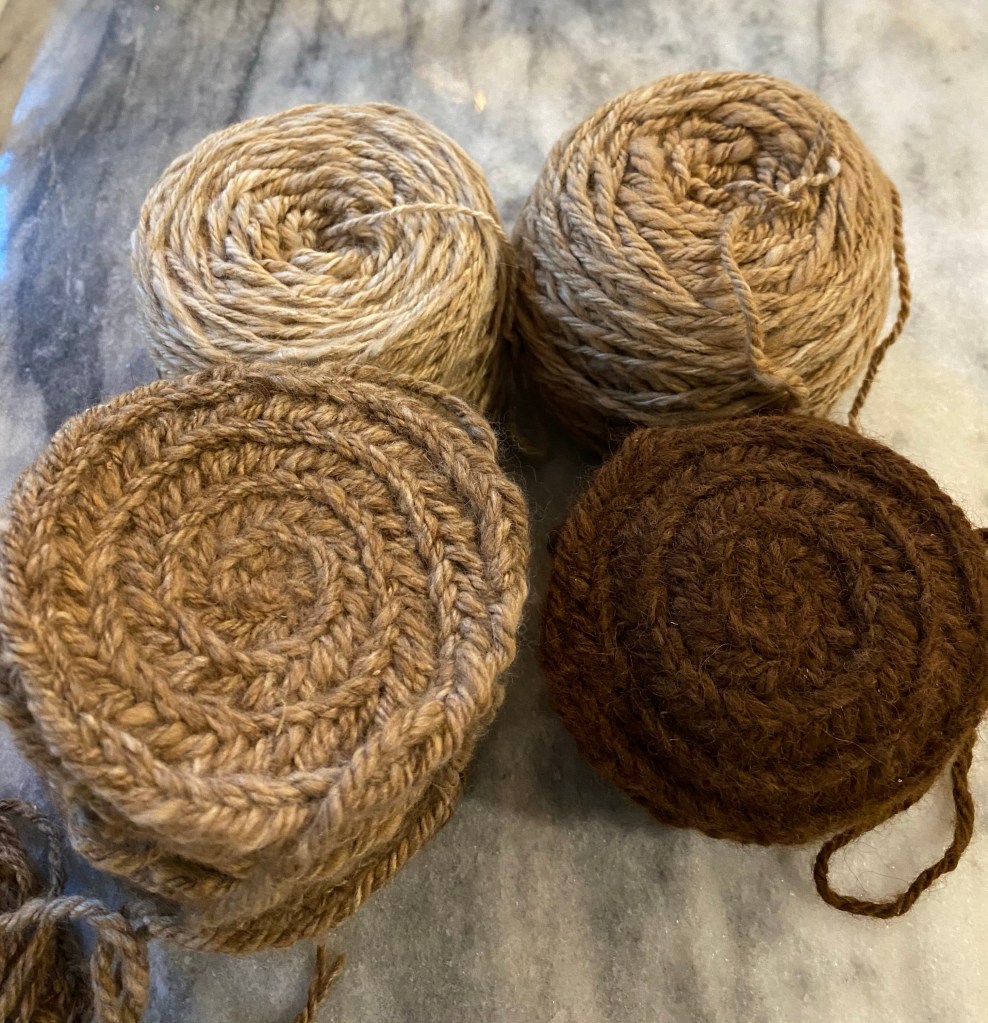
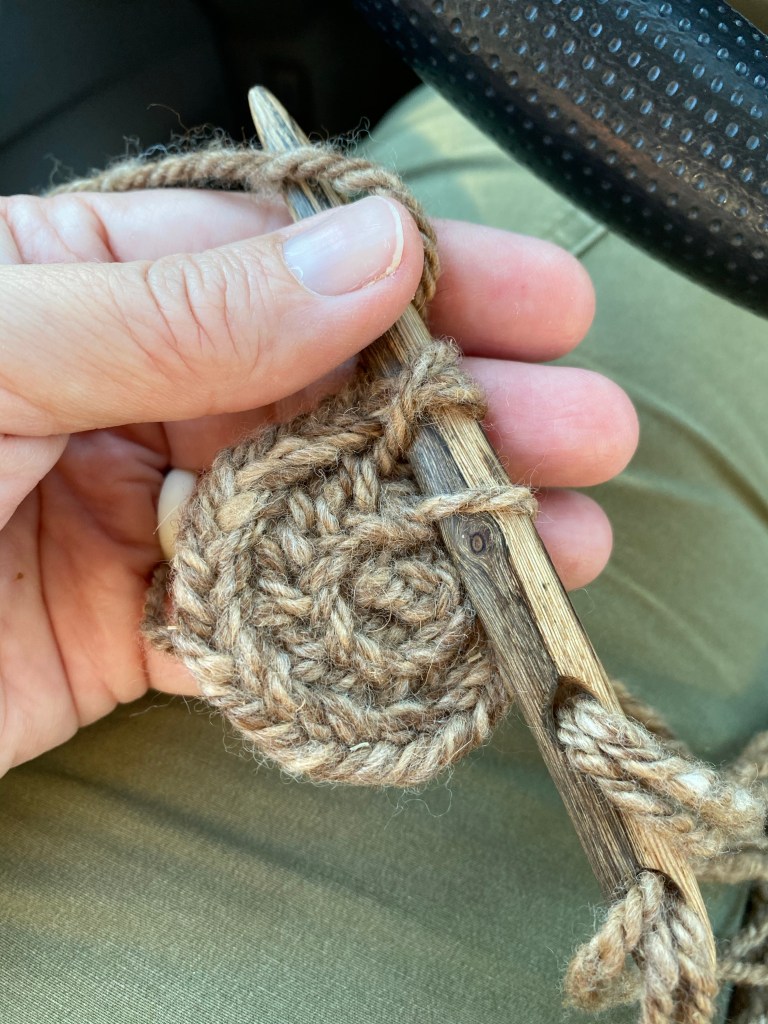
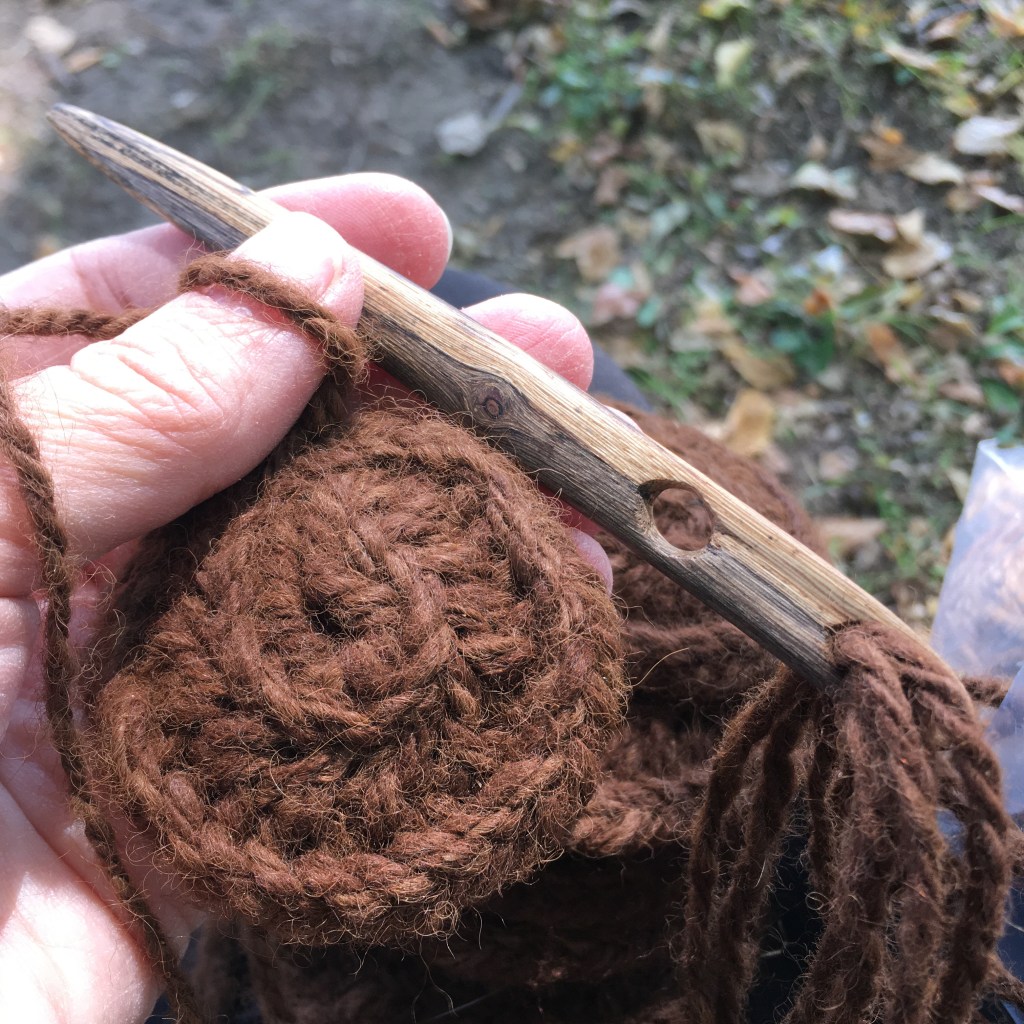
Nålbinding to the rescue! I have found that I can nålbind and walk at the same time. Now, it is with a stitch I am comfortable with (fun fact, there are 4,000 or so ways to loop yarn into a continuous fabric, and naming can be tricky and a bone of contention in nålbinding circles), I am working on small pieces (that will eventually be sewn together into something larger), and the road is fairly even. I have read that people can walk and spin, or even walk and knit, so compared to those nålbinding and walking is an achievable task. I do start my spirals before I venture out, because that is the trickiest bit, but once I’m in the steady rhythm of the pattern, I’m good to go. I think I may even be able to crochet and walk, if I had my yarn in a bag (I can make beanie hats from memory). Knitting and walking? I drop stitches sitting down, so that is probably out. Spinning and walking? Ooo, now there is an exciting goal!