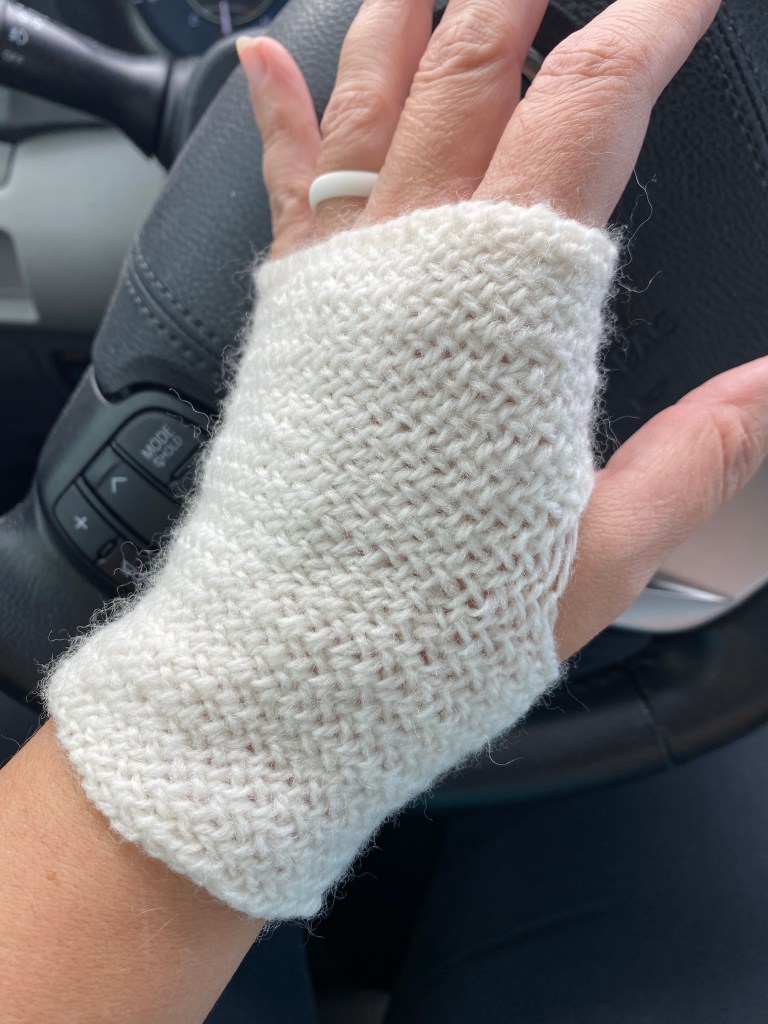
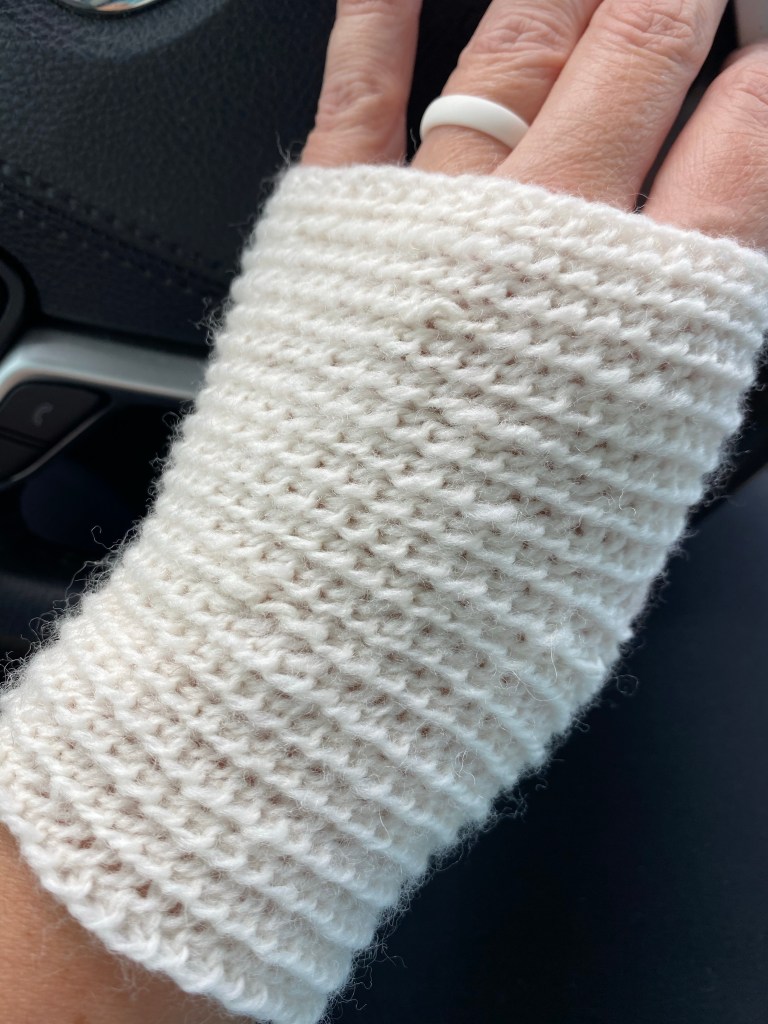
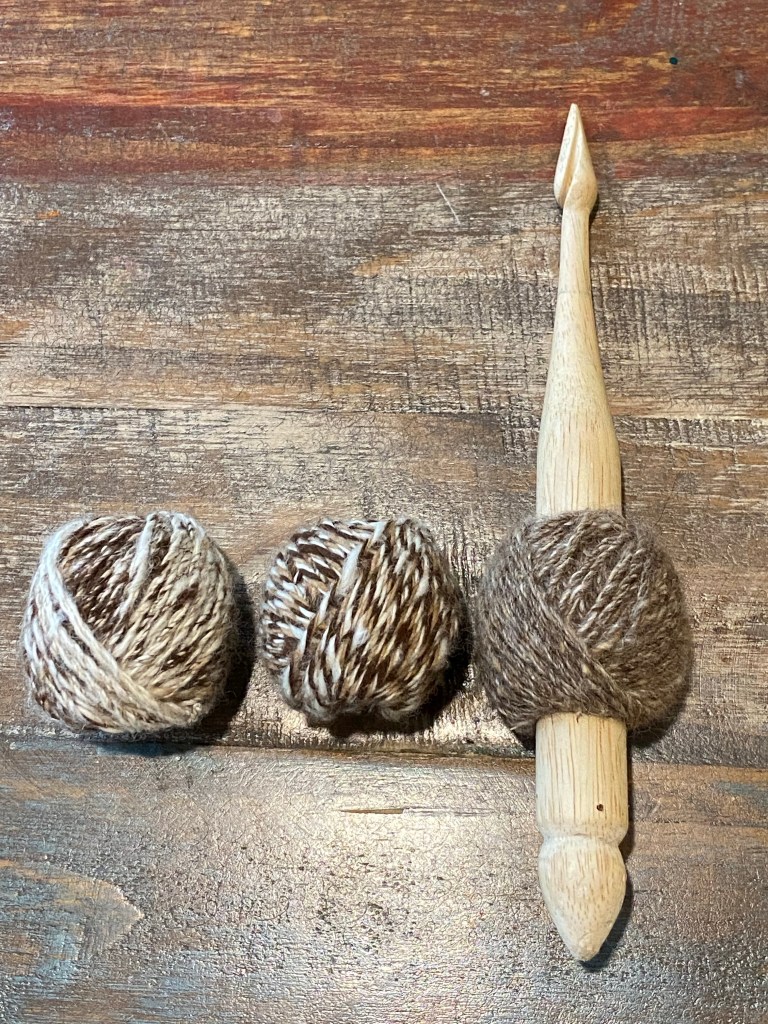
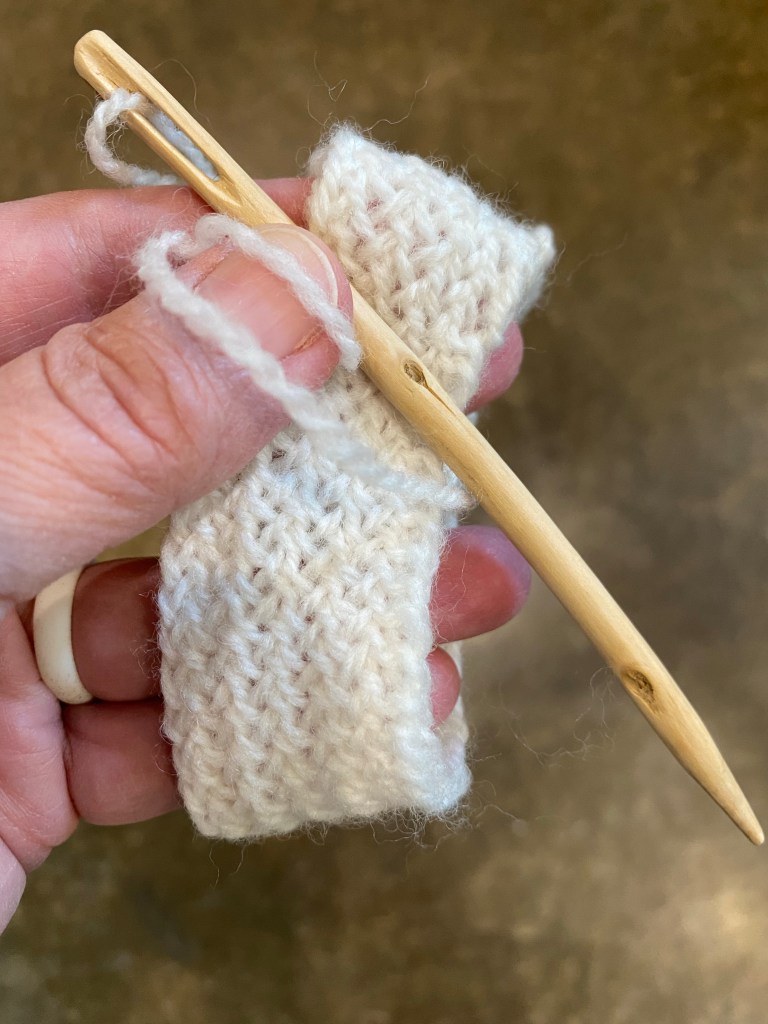
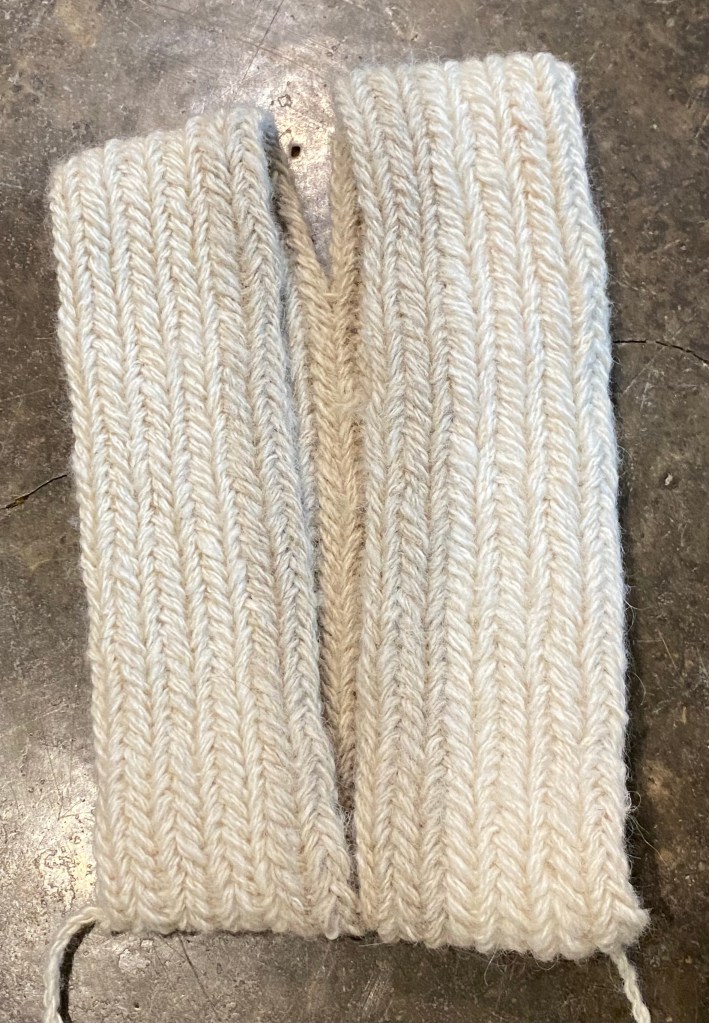
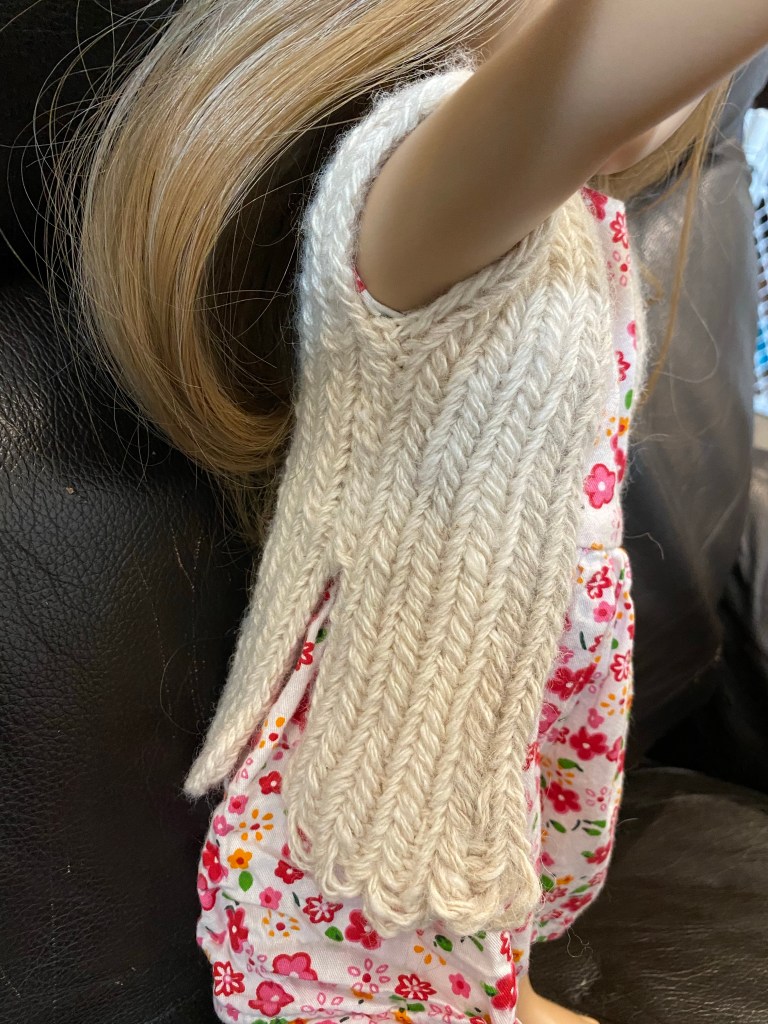
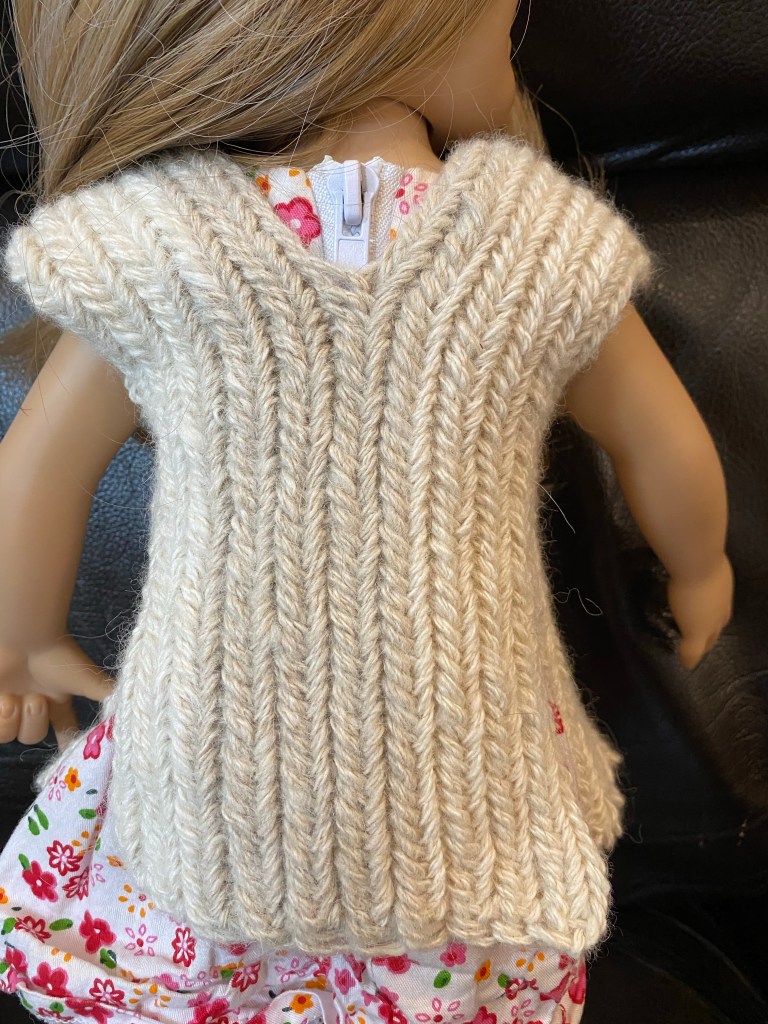
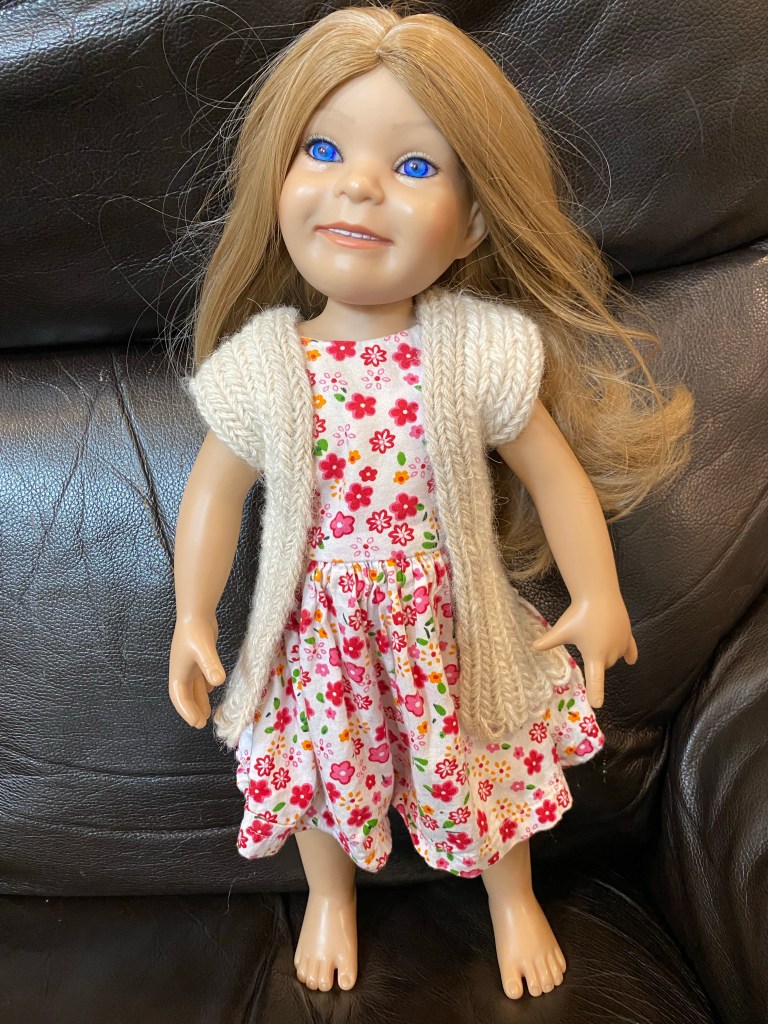
Nålbinding plastic

I finished another nålbound bag! I used loops of grocery bag plastic, and added some embroidery using loops from a different color bag. I learned that doubling the loops makes a very stiff fabric (the base was made as an oval with doubled loops, but is a bit wonky because of the stiffness). The sides were done with single loops thumb tensioned (meaning the loops are the diameter of my thumb) done in Finnish 2+2 with an F2 connection (here is an excellent resource site). The sides are much more flexible than the base, but still sturdy enough to stand tall on their own. (Although I did stuff the bag for the picture.)

Nålbound bag (9”x10”) made from plastic grocery bags

Nålbinding alpaca

I now have three preparations of three colors of alpaca and silk. One with the colors carded separately, then rolled together into a rolag before spinning and cable plying; one carded and spun separately, then plied together; and one carded together to blend the fibers then spun and cable plied.

From left to right: marled, plied, and blended alpaca silk yarn

I had such small samples of the three different blend techniques, I decided to combine them into a single project.

From top down: marled, plied, blended. Nål is osage orange

I think the effect of each yarn is interesting. The marled yarn has more variation, which resulted in some spots of darker and lighter color. The three ply is counter clockwise and unwinds somewhat for this stitch (which is my new favorite stitch: Dalarna from Sweden, Hansen’s Notation (U) O/U O:UO F1). The blended actually came out more uniform than I predicted. The intent was for this to be a hat, but I miscalculated and didn’t make it big enough. Since it is an experimental piece anyway, I also tried fulling it a bit by taking it back and forth from hot water to cold water. It did pull in some and became definitely too small for a hat.

Lightly fulled

So I took two pieces of leather lace and made it into a bag by weaving the leather through the edge. Problem solved.

Nålbound bag with leather lace

The finished fabric is very soft, but dense. It has a very nice drape, but not much elasticity, so I think the alpaca silk blend may work better as a scarf or shawl. I’ll have to test that idea!

Diamond Willow Needle

I was combing my tool stash for a nål (needle) to make smaller nålbinding stitches and found an old hand-carved diamond willow needle. My great-grandfather carved all sorts of things from diamond willow, so our guess is that this is one of his works! It had been sitting in my knitting box for quite a while, so I sanded it up a little with 400 grit sandpaper to smooth the unfinished surface. Although I’ve been partial to semi-flat oblong nåls to this point, I found making stitches with the round needle worked well. I’m learning a new stitch called Dalarna, which was used to make milk strainers in Sweden (https://www.en.neulakintaat.fi/75). I like the way that the stitch makes a fabric that appears woven on one side. I’m practicing with commercial wool sock yarn, not my own spun yarn, until I get the pattern firmly in my fingers’ muscle memory.

Diamond willow nål

Working up the test yarn

As I was contemplating what to make with the mini balls of test alpaca that I spun, my youngest announced that her other doll needed a new jacket. Ok, that can be done. I chose to nålbind (because I like it best) and used a Finish 2 + 2 stitch with an F2 connection. Because the three skeins were different colors, I decided to put the darkest in the center. I also tried a different construction technique, working in vertical rounds, rather than horizontal. Making the neck and front slit was just a matter of chaining along, rather than connecting, as long as I needed.

Doll vest before cutting

Once I had the sides of the vest even, I cut the bottom, pulled out the loose threads, and tightened and wove in the attached ends. I then sewed up a section of each side to form the arm holes but leave side slits.

Bottom edge neatened (I like the scallops), and sides sewn
Back of doll vest showing all three preparations of yarn

Really there was no difference in the three preparations of fiber after the initial single spinning. Even the finished fabric just has color variations, but is otherwise consistent in texture.

Front of doll vest

This was an excellent test. The alpaca yarn combined with this stitch made a very dense fabric. I think a human-sized version would be quite heavy.

Nålbinding Plarn

I finished the plarn bag! Or maybe it is a basket. It can stand on its own, but is still flexible. Hm.

Nålbound bag made from plastic grocery bags

I changed connection stitches mid-bag (we’ll just call it a bag, yes?) because I was aiming for the tight braided look I’ve seen produced with the Finnish 2+2 stitch. I figured out my tension at the 2/3rd mark, and the stitches finally achieved the look I wanted, so I decided to also try some decorative work (since it is an experimental object anyway).

Woven bottom of the nålbound bag

It turned out quite functional and sturdy. The handles with the three rounds are comfortable, and I made it to be large enough to hold my longest spindle. I can tell where I changed connections (from M1 F1 to F2, note to self), and where I achieved even tension, but I’m going to claim them as design choices.

Nålbound bag made of plarn

Whether the finished project is considered a bag or a basket, it is done!

P.S. This took me three weeks to complete, working in bits and pieces. The magic of the blogosphere made it seem like a few days, but it wasn’t!

P.P.S. This bag used the plastic from approximately 43 grocery bags. (And it drives me crazy when I hit “publish” instead of “save as draft” on a post.)