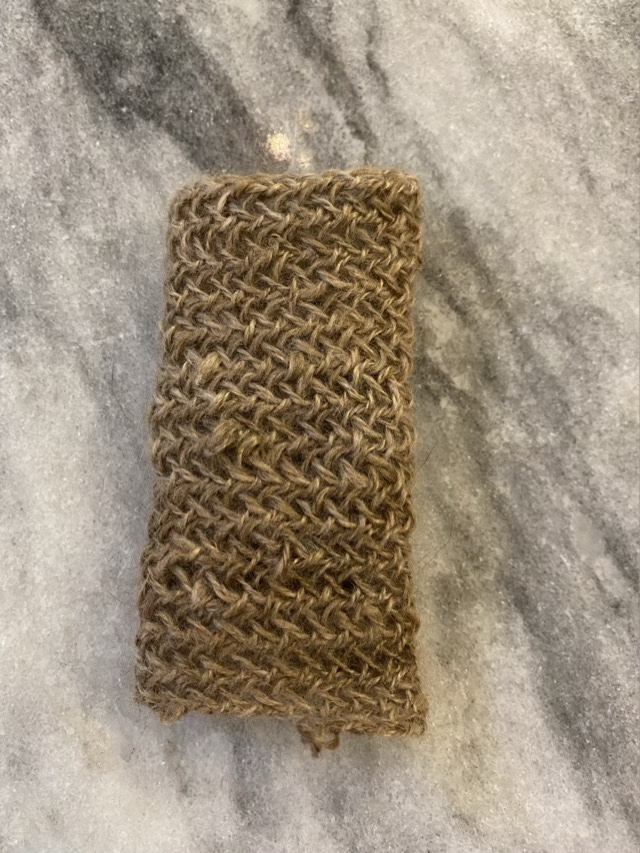
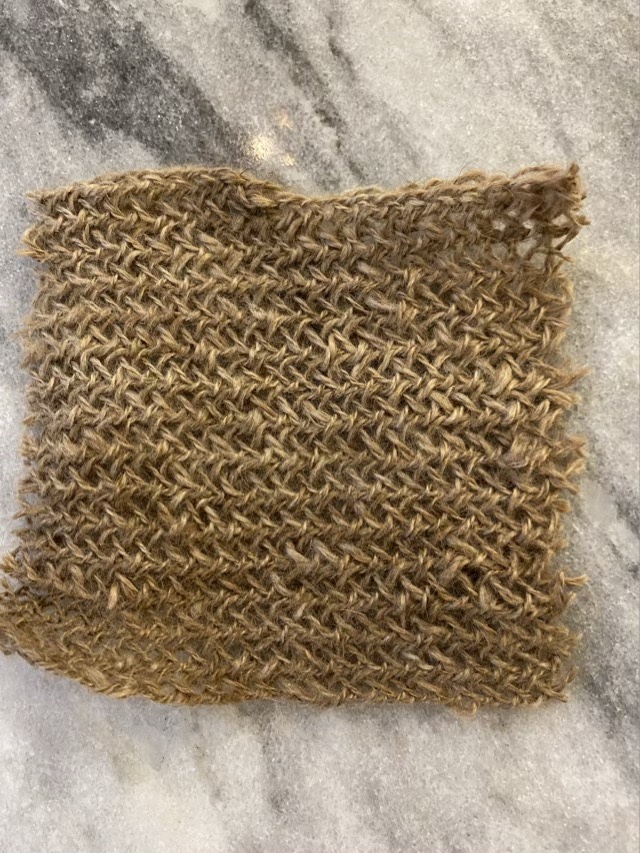
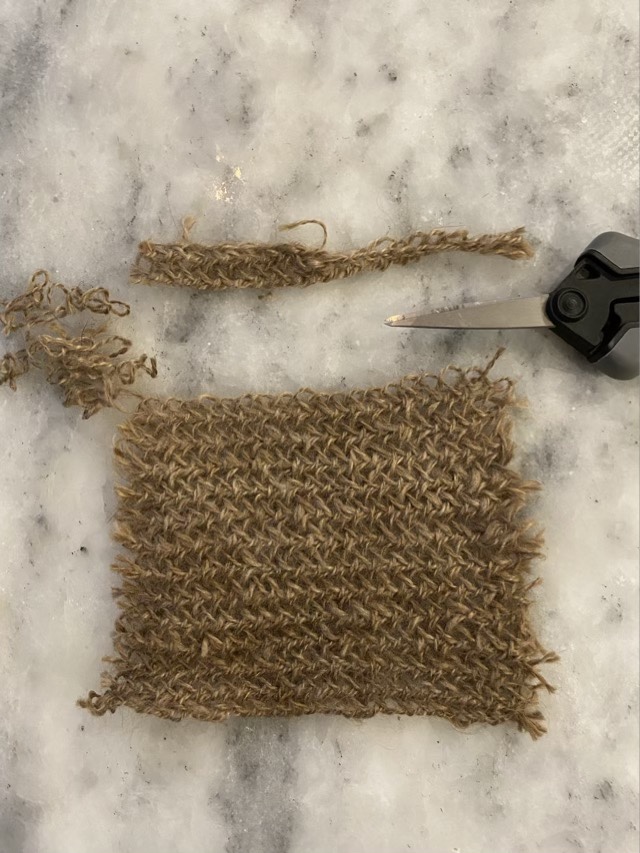
For my fiber book, I made a nålbinding swatch with hand spun mohair. The thing I love about nålbinding is the ability to cut it. Nålbinding is usually worked in the round, and each loop is connected to the next as well as to the row below. This makes it possible to cut the fabric vertically or horizontally and still have interlocked rows.
Nålbound tube in Dalarna stitchTube cut vertically to make a flat swatchSwatch cut horizontally to remove uneven top
When nålbinding is cut, there are portions of loops that can be removed. I left the side edges raw, but removed the loose pieces along the top. This is going to be mounted on a page in a book, so won’t see too much wear and tear. It will still be interesting to see how it fares over the years.
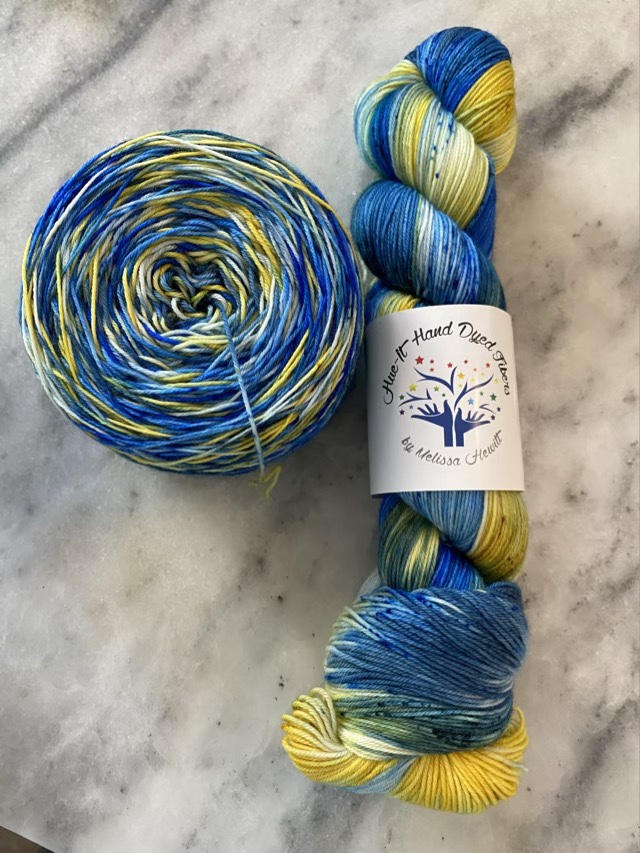
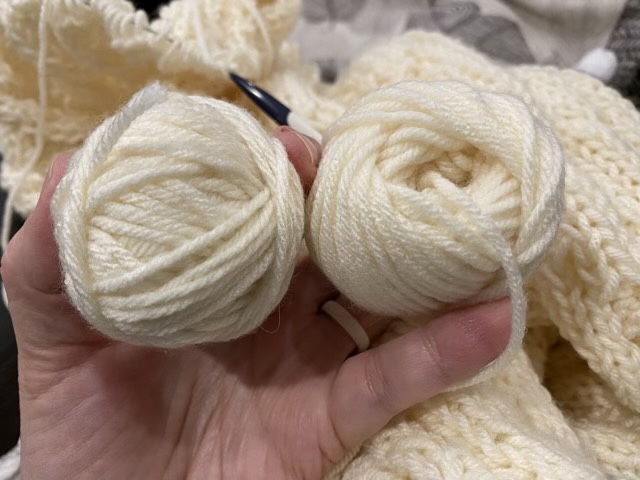
I bought some beautifully dyed yarn from a hand dyer. In the dying process, the yarn is left in skein form, which is basically a large circle secured in several places with twists of yarn. To store the skein it is twisted and one end tucked into the other. The skein form is beautiful, and shows off the dye, but is not friendly for direct use. It must first be wound into a ball or cake to be nice for crochet or knitting. You can have one person hold the skein open on their hands, and hand wind a ball, if you have someone with extra patience. Or a swift does the job of holding the skein open, and there are many types. I have an umbrella swift (named thus because it opens like an umbrella). I also have a ball winder (sometimes called a new wool winder), that has a rotating handle and makes center-pull yarn cakes. The sound of the Swift and ball winder turning makes a nice swoosh and clickty clack I find soothing.
When I was learning to knit and crochet, I was taught to roll up extra yarn into a ball. Generally, you started with a small nest of yarn and wrapped more yarn around, changing directions every so often so it came out more or less round. Inevitably, I would drop the ball, it would roll across the floor, the cat might help its progress, and I would have to wind it up again. When I was older, I obtained a “new wool winder” which winds yarn from a hank into a cake-like structure, but was wonderful because the cake sat still and yarn could be pulled from the center. It did not work so well with small amounts of yarn, and I had to go and find the machine and a place to secure it to use it. Fast forward many years (better just skip, because there is quite a lot of time from then to now), and I was learning about spinning on a dealgan (a Scottish type of drop spindle), and the presenter in the video said the newly made yarn was wrapped around the spindle in the same way as for a nostepinne. What? The resulting cop of yarn could come directly off the spindle and the yarn could be pulled from the center. Hm. New rabbit hole. Nostepinne is a word for a fancy stick. I used a 1” dowel, which worked just fine the first time, but you really don’t even need a stick. A rolled up piece of paper will also work (especially if the cat is comfy on your lap and you can’t reach your stick, but there is a handy piece of paper).
Wrapped yarn ball (left) versus center pull ball (right)
I’m sharing because I really found this way of winding to be life changing. And it is so simple.
On a separate note, Adobe Premier now will make captions from my audio automatically. So that saves me a bit of typing. It still needed editing because “nostepinne” is not in its transcription vocabulary. Shocking. The video isn’t fancy because I’m still learning the software.
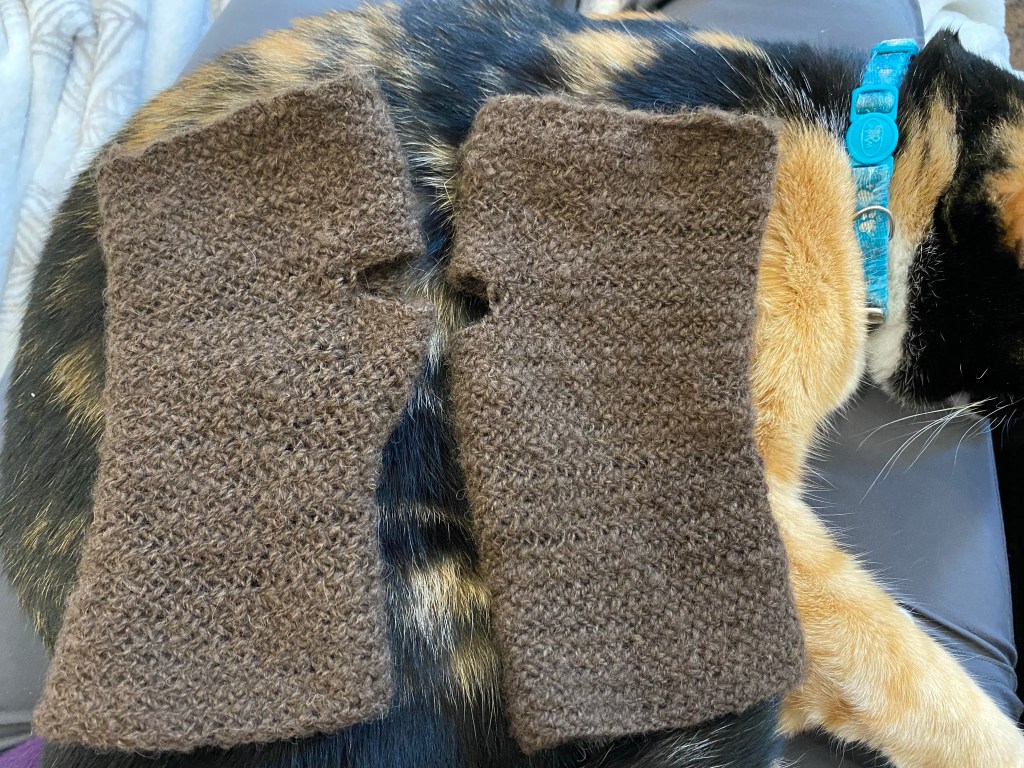
I finished my wrist warmers! I spun the yarn from prepared buffalo down from The Buffalo Wool Company using a tahkli spindle. I spun one cake sZ and the other zS to see if there was a difference when I nålbound them. As expected, there is. The fabric wants to roll in opposite directions, which is not a big deal on snug fitting items. I used the Dalarna stitch as described on this site. I like this stitch because the texture on one side looks almost woven, and doesn’t have the bold stripes of some other stitches (the inside is very ridged, though, which is interesting). I did some shaping under the thumb slit. The first warmer was a little loose, the second a little snug. They will still work well in the Texas cold (for northern climates I would use a thicker yarn and a thicker stitch!)
Buffalo down wrist warmers worked in Dalarna stitch
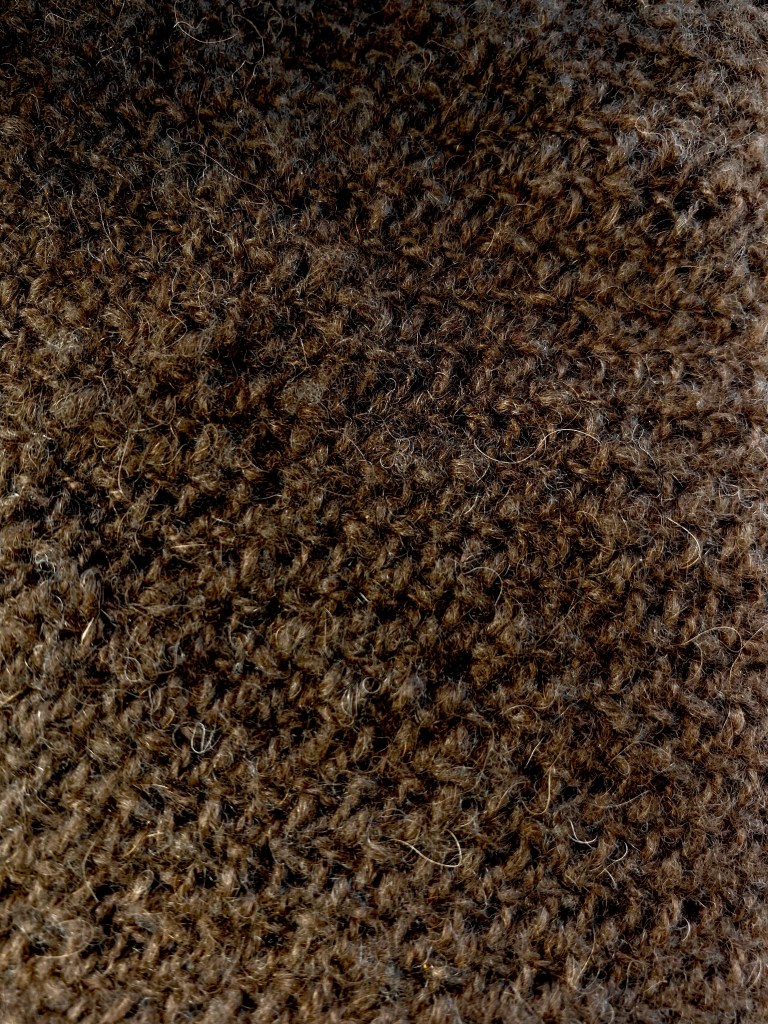
I finished one of my buffalo down fingerless gloves. This is a waiting-in-the-car project, as I only work on it when I’m parked waiting for school pickup. I love the nålbinding Dalarna stitch because it is relatively simple and results in an even fabric (rather than distinct rows). The buffalo down I spun on a tahkli spindle is a two ply; the first glove uses yarn that was spun z and plied S. The yarn for the next glove was spun s and plied Z, so it will be interesting to get started on that and see if the behavior is different. The buffalo down is so fluffy, and I have no problem wearing it next to my skin. It is pricey, as each buffalo processed for meat only yields about four ounces of down. One glove used about a half ounce.
Fingerless glove made from hand spun buffalo down using the Dalarna stitchClose up of fabric