My experiments with nålbound bracelets continue. I tried para cord, which I did not like at all because the stitch method puts a twist into the cord, and para cord changes visually when twisted.

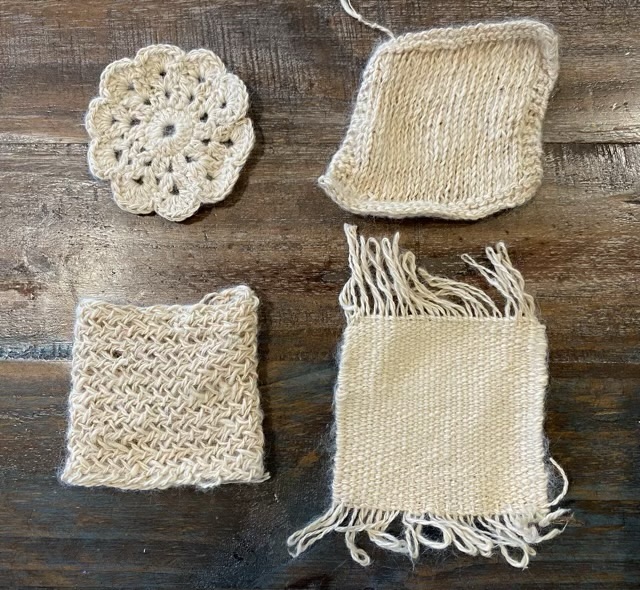
Although untwisting the para cord for every stitch is possible, I don’t like that the white core of the cord shows through on sharp bends or snagged sections. I do like the Dalby stitch as well as the Telemark stitch for flat interesting single row weaves. I tried some stiff finished leather cord as well, which did not work because the leather couldn’t make the bends required to lay flat. I will try it again with unfinished leather cord so I can soak it into submission.
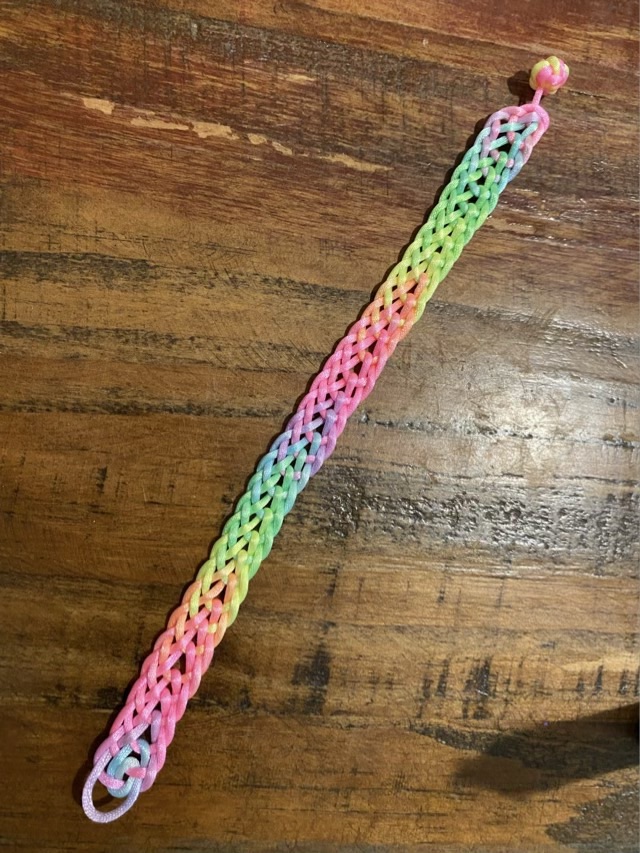
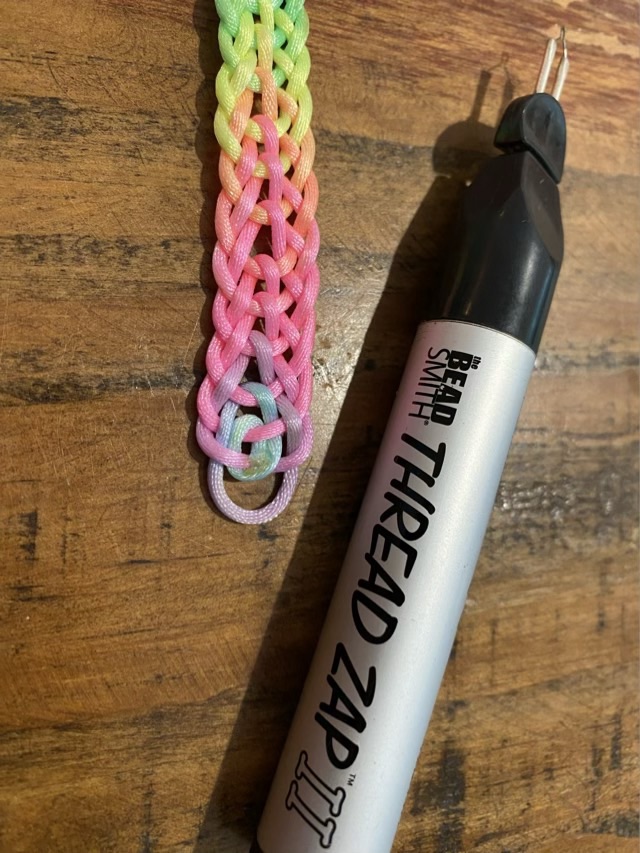
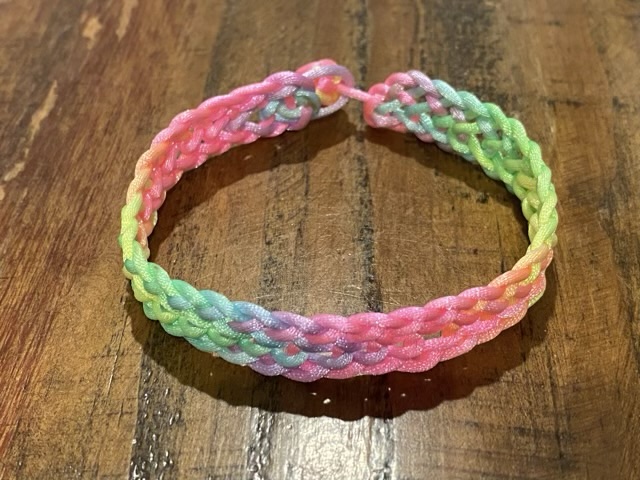
I went back to my favorite satin cord, also called rat tail or mouse tail depending on who is doing the labeling. It is made of solid color nylon, has a nice drape for this work, and melts readily with a thread zapper.