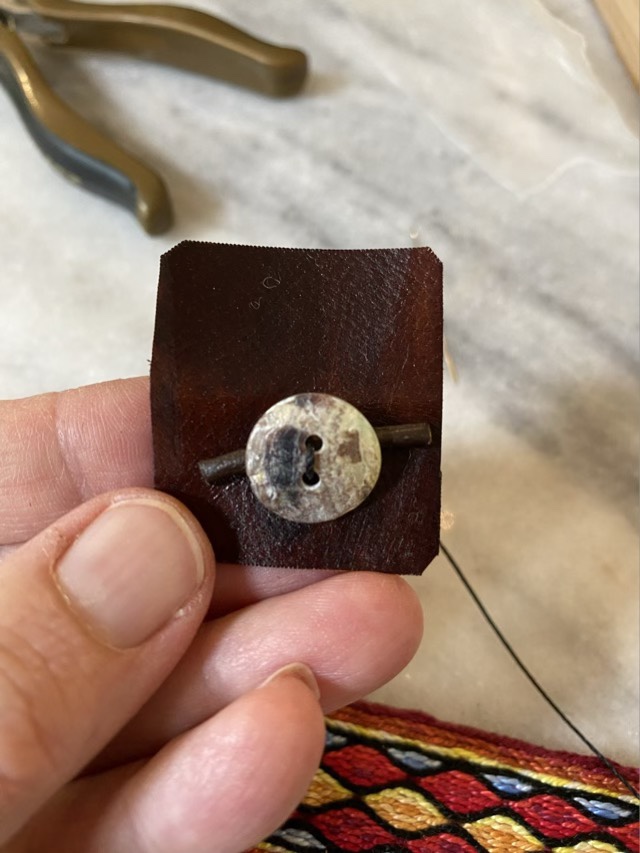
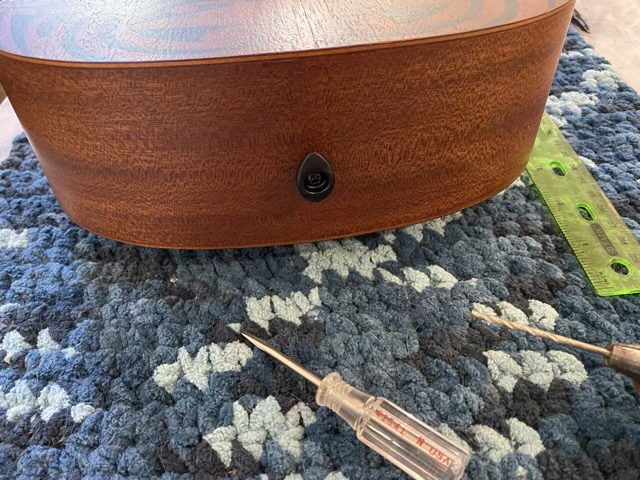
My ukulele did not come with strap buttons, so I found some elliptical ones from D’Addario and drilled pilot holes at the base (there is a block of wood inside to support the screw), and the back of the neck.

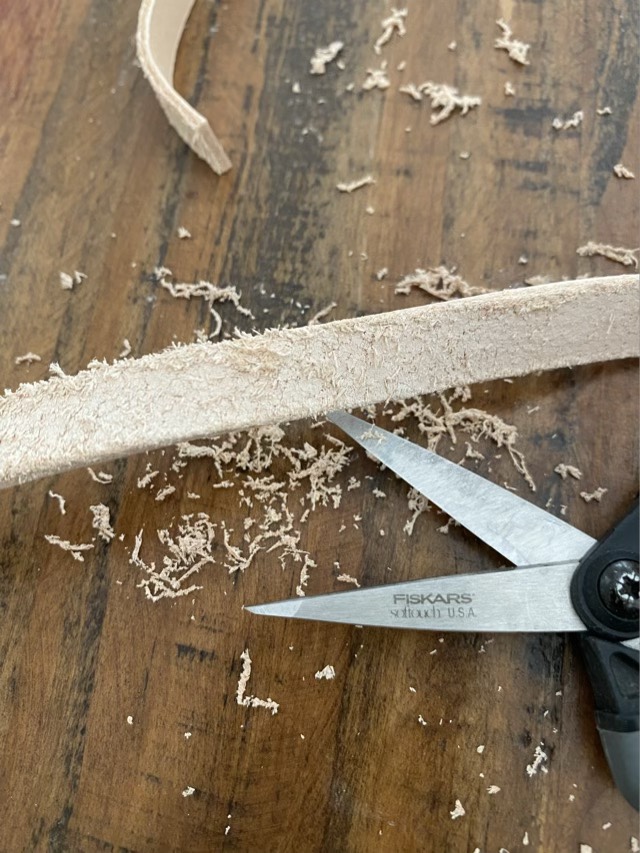
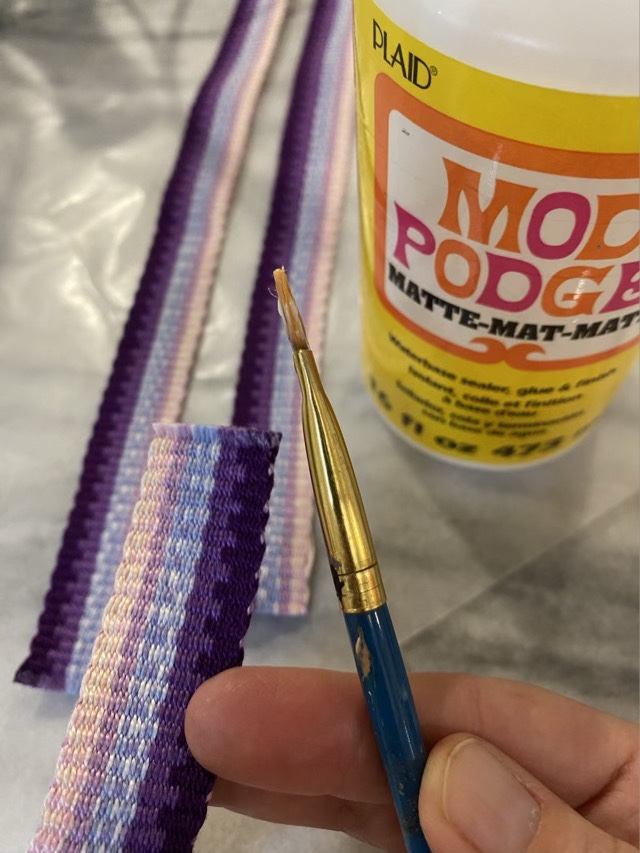
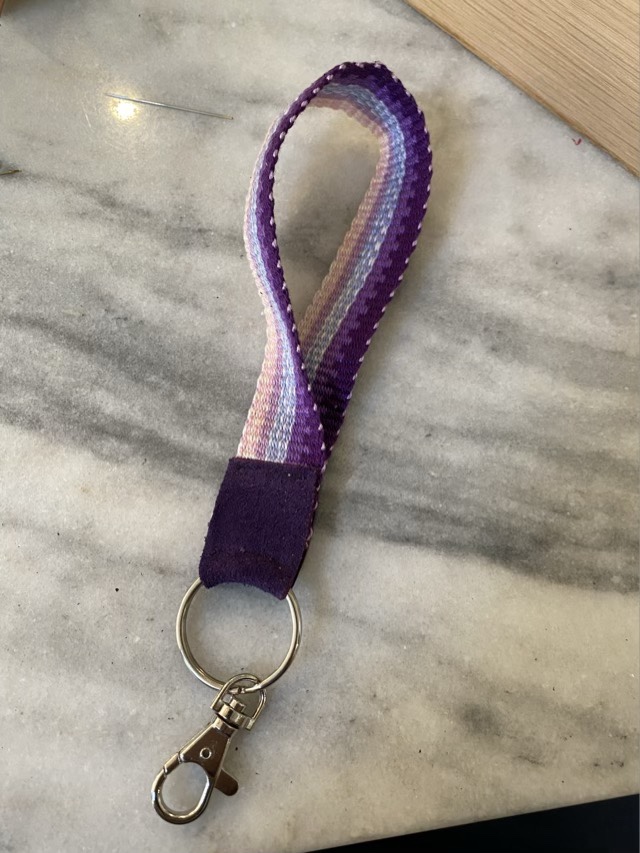
I trimmed the ends of my woven band (see yesterday’s post), and treated them with white glue to make them stable.

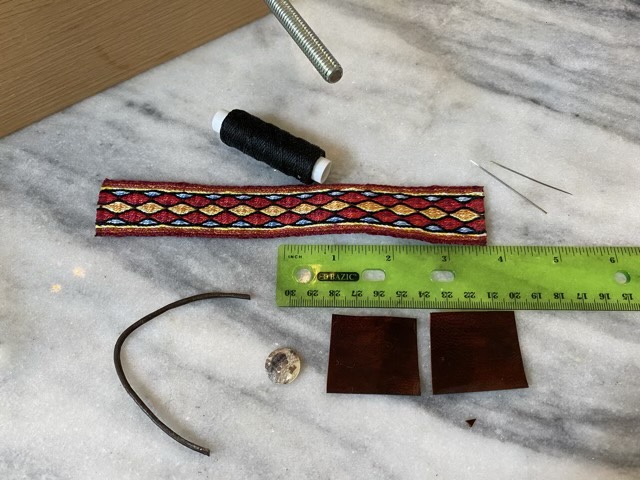
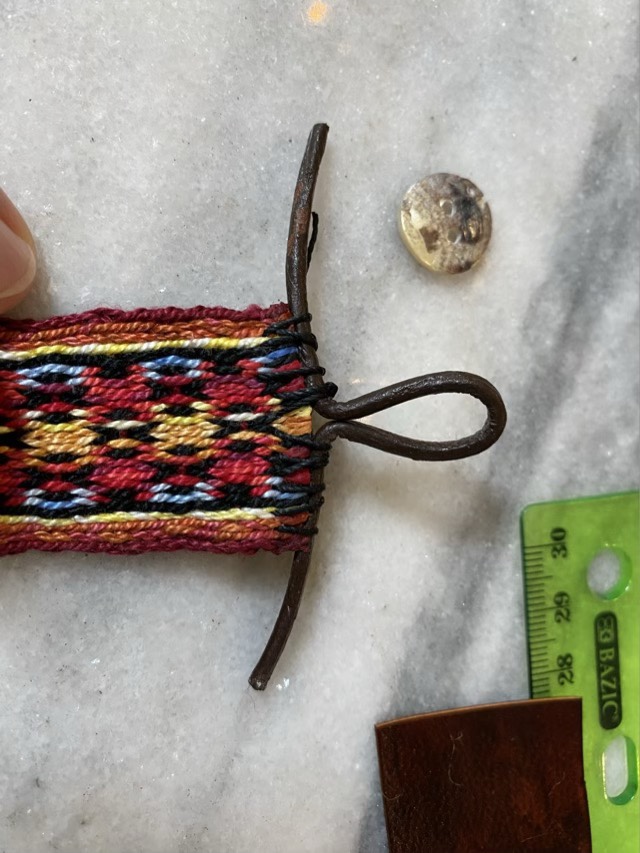
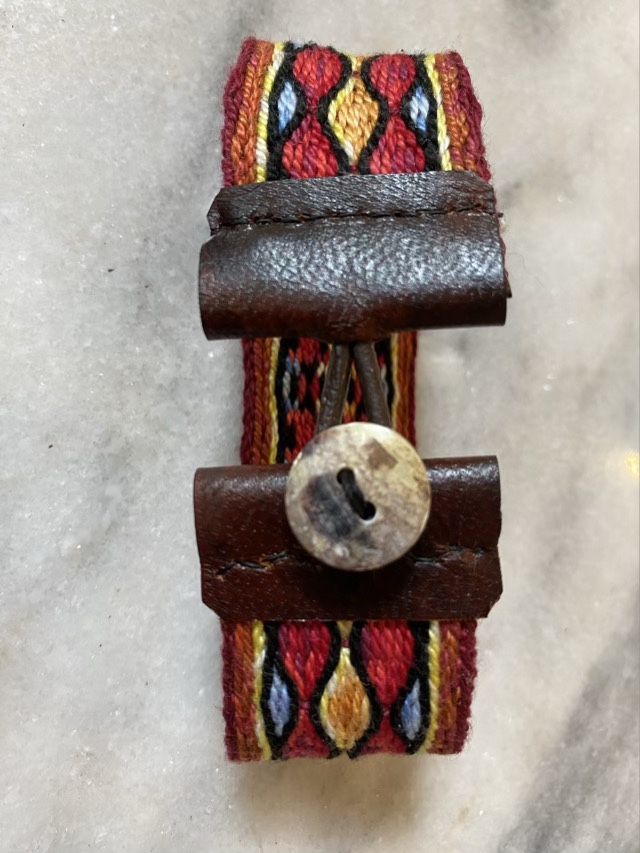
I found two metal slide buckles at the craft store and used one as intended, sewing on end of the strap to the middle bar and threading the other end over it. The other buckle I modified by taking out the middle bar and using as a ring in the fold of the strap. In my leather stash I had an old black belt. The leather was thick but flexible, and great for making the end of my straps. I folded, cut and carved tear drop shaped holes in the belt for the ends of the strap. One end I sewed on using waxed thread. The other I riveted together.


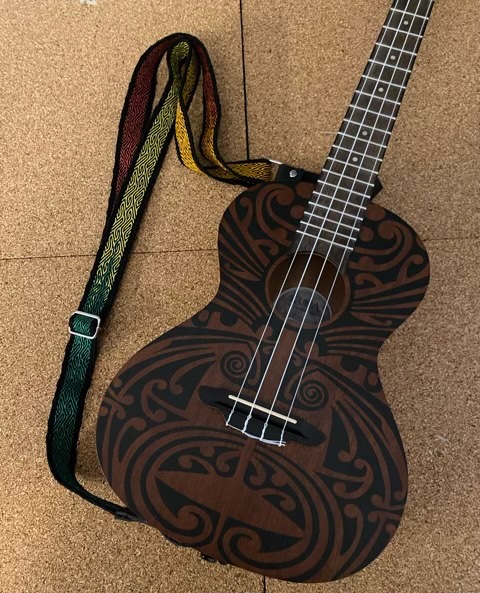
I’m rather excited about having my ukulele on a strap since it makes it easier to hold at a good position for both my hands. I’m off to practice!