My Dad has been experimenting with making hot sauce. I thought he needed a hot sauce holster for either sauces or spices so they are easy to grab, so I made him one from leather. I started the design process with card stock, so I could get the sizes and shapes right.

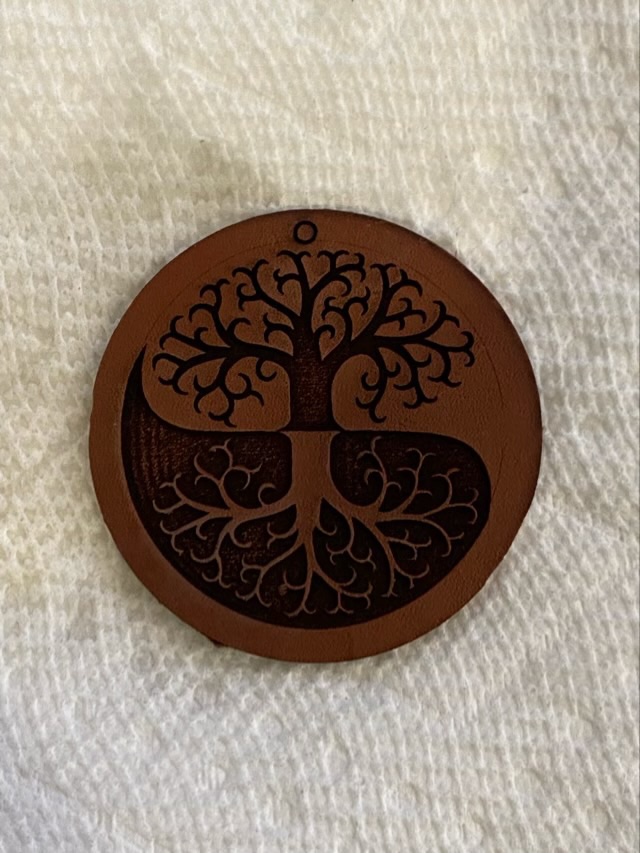
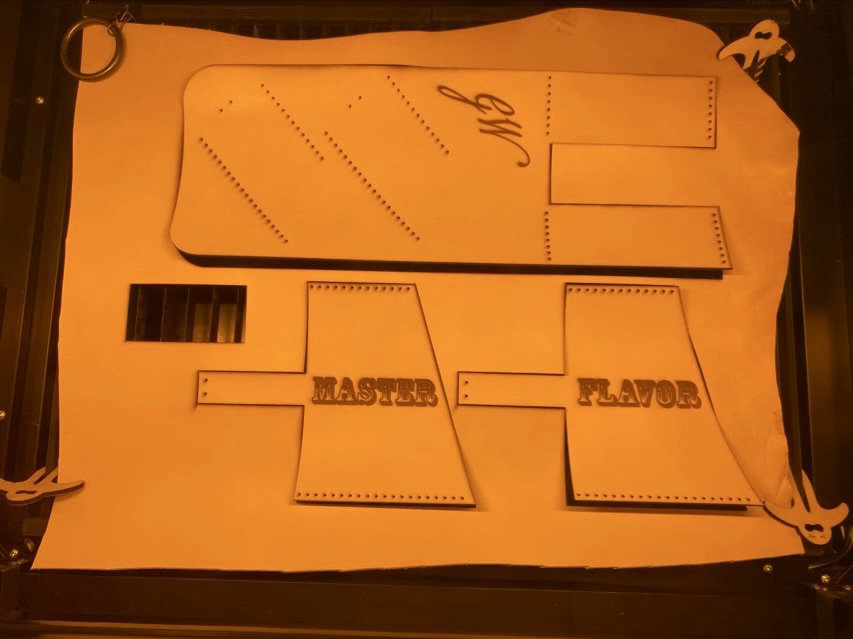
Once I was comfortable with my design, I used Adobe Illustrator to lay it out digitally, including engraving and lace holes. I included a “test” rectangle, which was very helpful and something I will include in future design projects, because I was able to use those elements to test my laser cutter settings before committing to larger objects.

I rinsed the leather with water to remove the soot and smoke marks, then dyed it with leather dye.

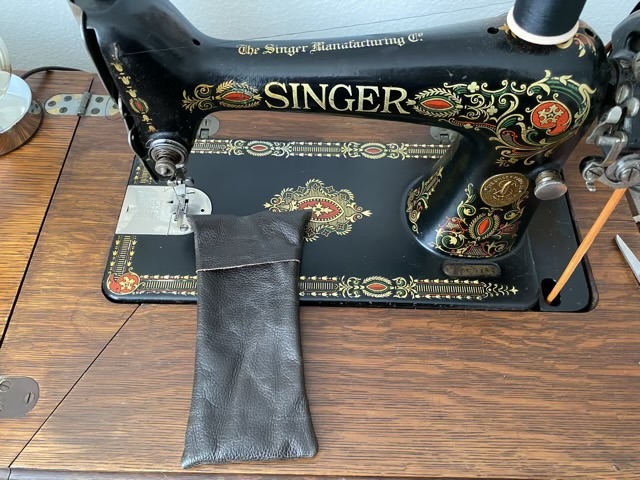
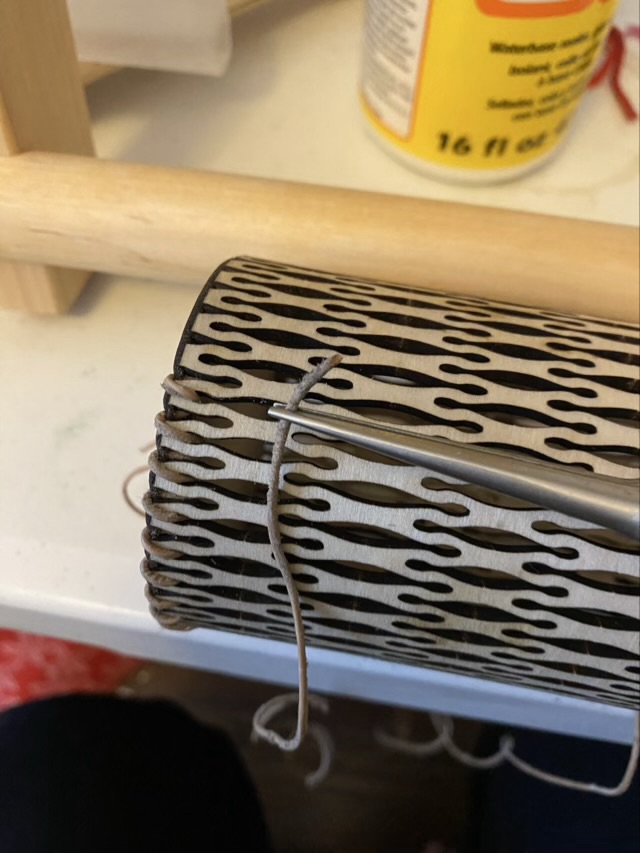
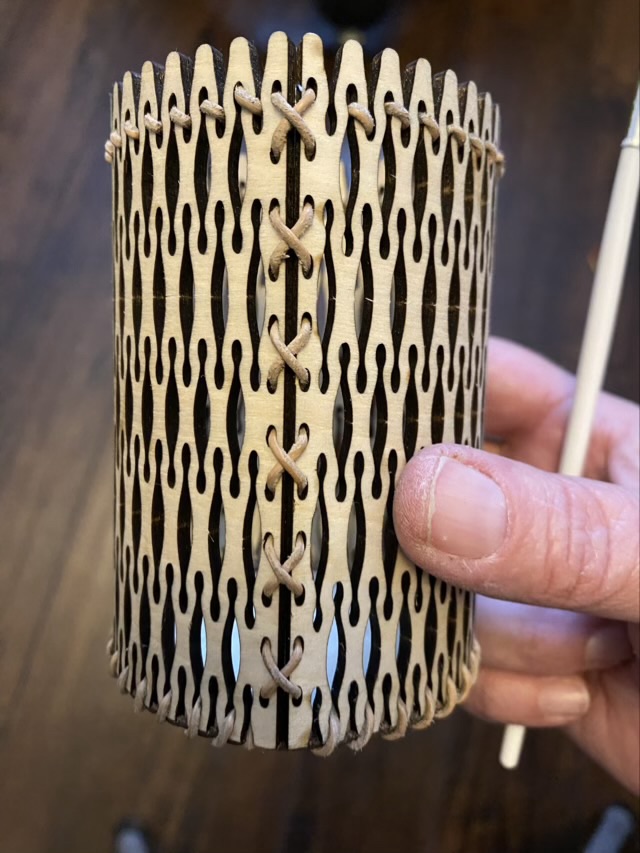
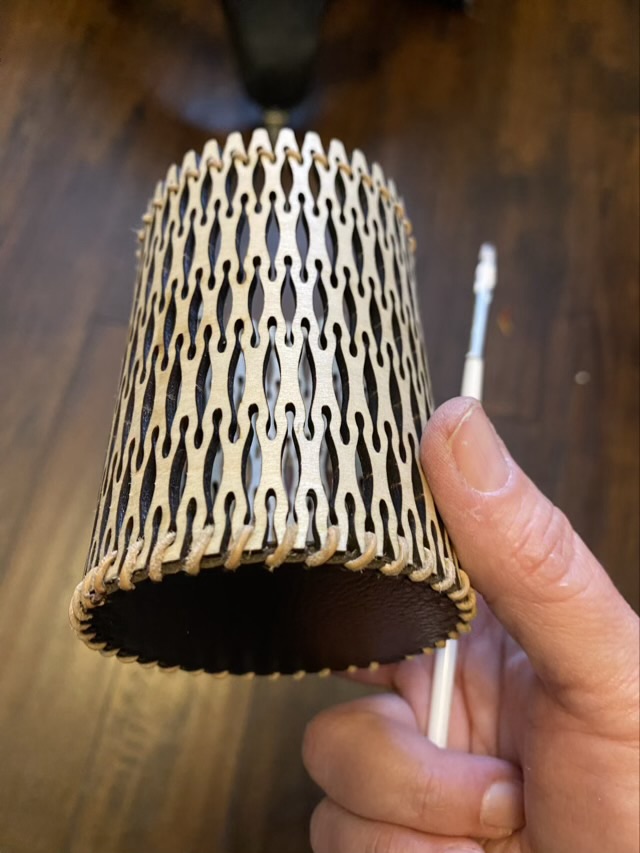
I used waxed linen to sew the pieces together. I absolutely love how even I can laser cut the holes. Neat stitching is 90% hole placement.


I’m had some space at the bottom of the holster and thought that places to hang things are always potentially useful, so installed a gold hued metal grommet. I finally bought a pair of grommet pliers for this size, and it makes installation so much easier than hammering dies together.
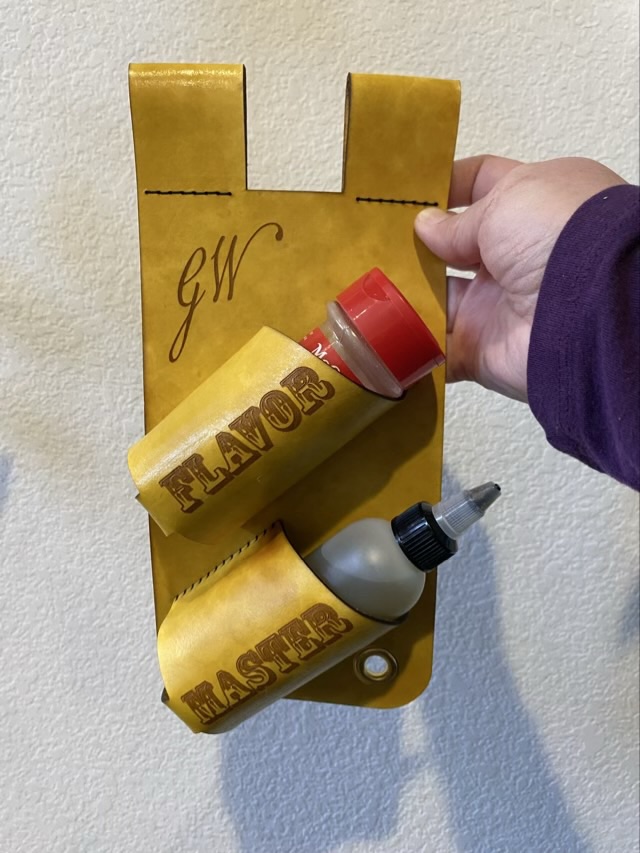
The holster is designed to hang from a belt, and since it is wide, I separated the belt loop into two sections so it can accommodate a belt loop if necessary.