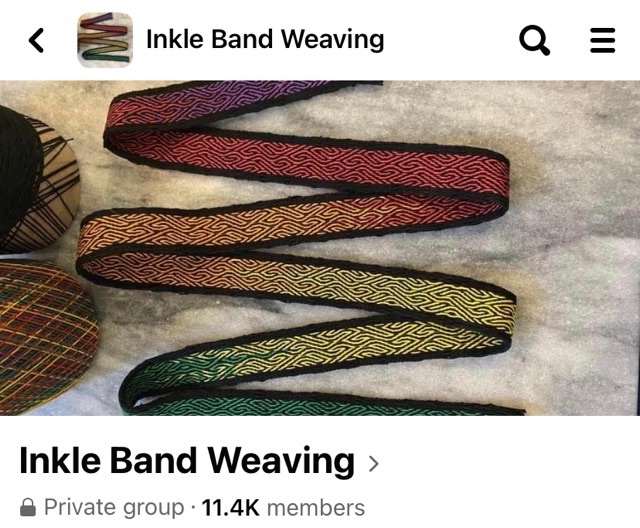
I follow an Inkle band weaving group on Facebook that is under new administration, who are trying to clean up the site and get it back to Inkle weaving (and not a repository for spam). They asked for submissions for a new banner image, and my rainbow tablet weave won by popular vote!
Photo description: Private Inkle Band Weaving group on FB with my rainbow band as the banner image.
They said they would change the image frequently, which is also good. I’m excited that mine was the first picked!
This band went on to become the strap for my ukulele.
I decided my ukulele needed a strap. Maybe it was mostly an excuse to design a new card woven pattern, maybe it was to use up cotton crochet thread, most likely I decided to make it myself because I don’t have enough works in progress.
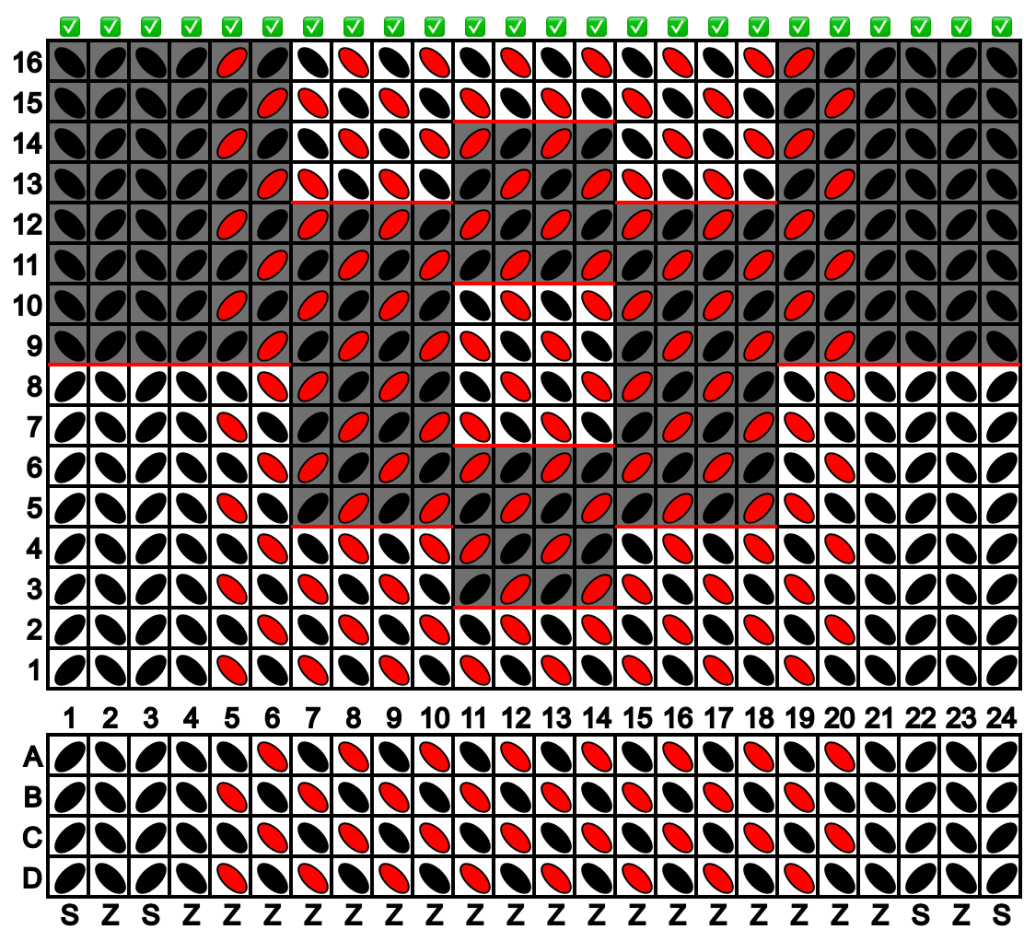
I used this tablet weaving designer, and came up with this pattern.
Photo description: Tablet weaving pattern diagram generated in Tablet Weaving Draft Designer v1.5.0. Diagram shows how to setup the cards in the tablet, and which way to turn each card for each pass of the weft thread.
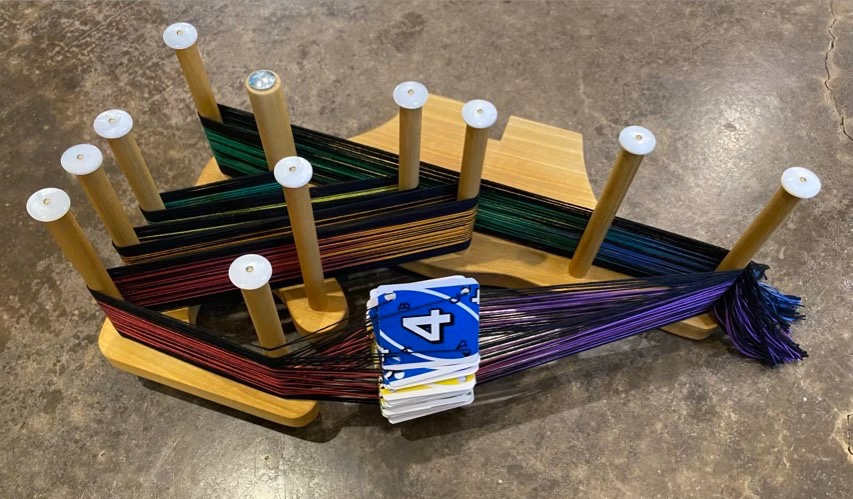
I warped my loom with #10 cotton crochet thread in black and rainbow. The rainbow warps I aligned by color. It was quite serendipitous that a color repeat in the thread was just a little longer than my warp length, so I could have all the colors, and very little waste.
Photo description: Handmade Inkle loom warped with black and rainbow thread with weaving cards made from an Uno deck.
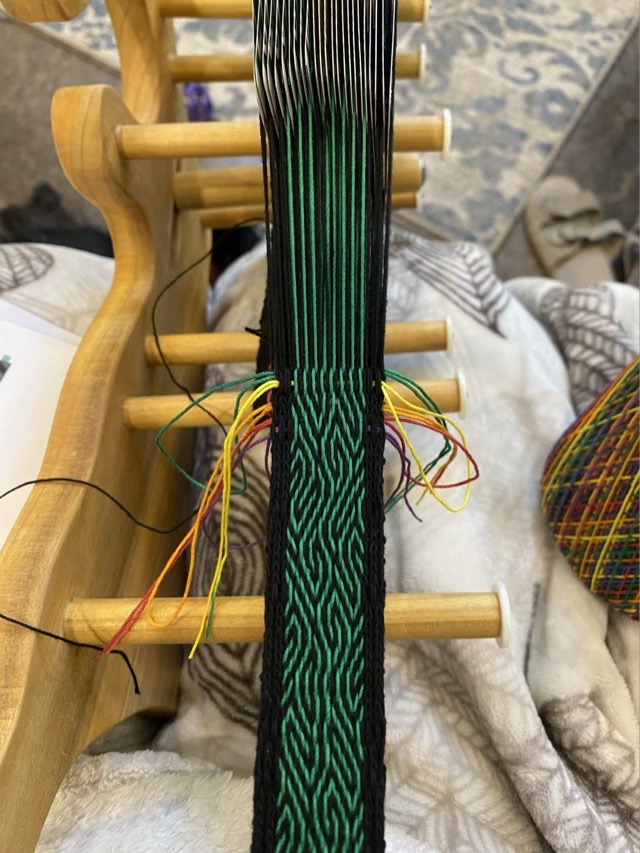
I used the black thread as the weft, and started with a few passes held straight with lengths of 18 gauge wire, then doubled the weft back on itself for several rows. To end, I used a loop method to draw the weft back on itself to help lock the weaving in place.
Photo description: Weaving in progress showing a wavy green and black pattern with solid black edges and rainbow colored loops along the weft pass to use to draw the weft backwards.
I love this pattern. It is balanced so the twist does not build up in the warp, except when I make a mistake. Even when I miss a turn or double a turn, it still looks cool, and it is double sided! Win! I love the middle, but the edges vex me because they are not even (an artifact of the balanced weave). I may try a plain woven edge next time around (my youngest has requested one for her uke.)
Photo description: Finished woven band with color changes along the spectrum in the same wavy pattern.
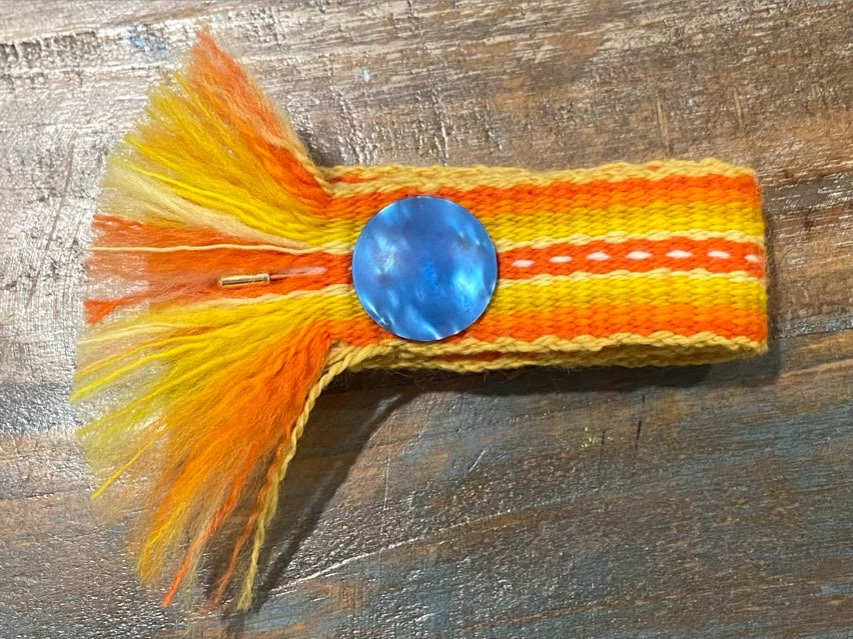
For my Dad, I took an end section of my Inkle woven band (post from yesterday) and made it into an adjustable hat band.
Woven hat band
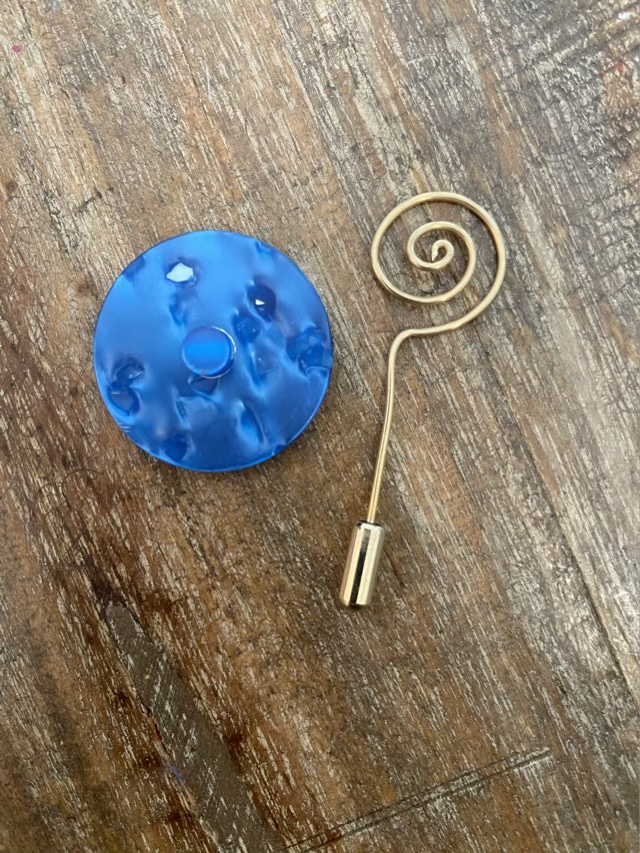
I sewed where I wanted to put the end before cutting it, then sewed it over again to catch all the ends inside the seam. For the pin, I used a shanked button from my button stash. I believe this one is vintage, but sometimes my buttons get mixed. To make a button into a pin, I use a spiral wire with the end sharpened.
Back of button and handmade pin converterButton installed on pin converter
I brushed out the fringe on the woven band and shaped it to mimic a feather. The weaving is doubled back so won’t unravel, and I think the spray of yarn adds a bit of flare to the band (although it will probably have to be combed out straight occasionally). To set the band size, the pin holds the ends of the band together.
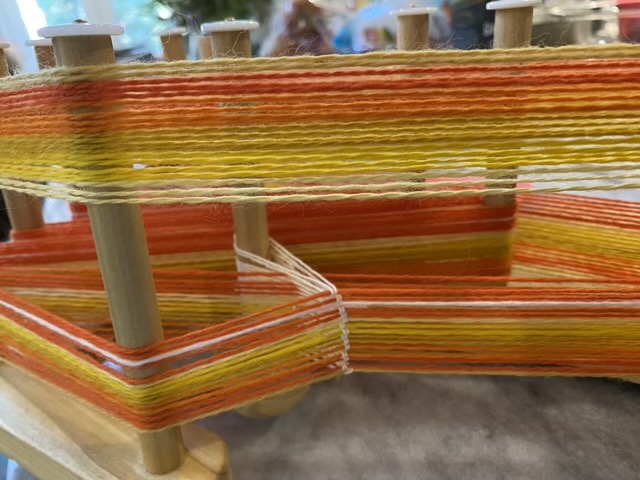
After spinning all my merino wool roving, I used it to warp my inkle loom. This is my first time weaving with my own hand-spun yarn.
Inkle loom half warped with hand-spun yarn
I did learn to review instructions before starting, I thought I could warp the loom, then put on the heddles, but I forgot the warp path for non-heddled yarn is different. I had to go back and untie and retie many warp threads. Lesson learned.
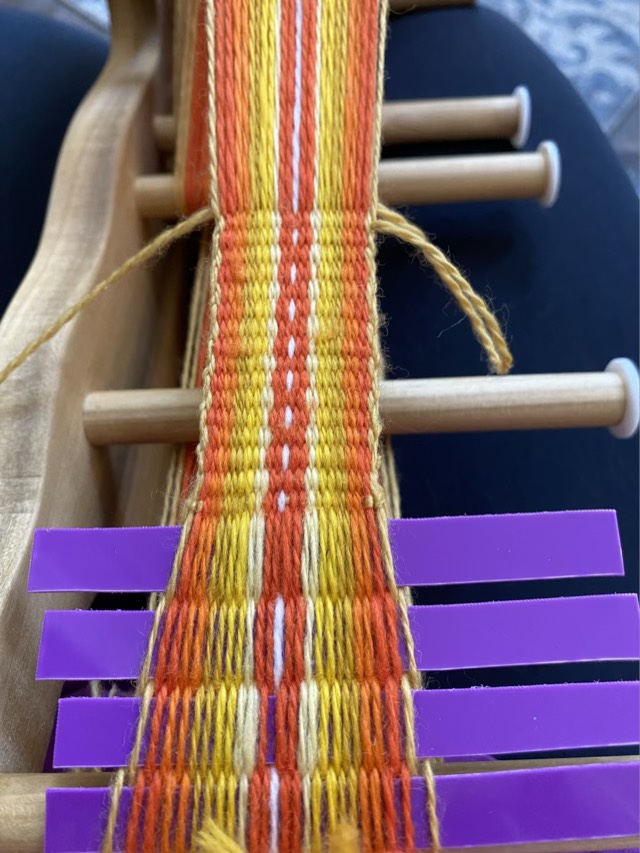
Weaving started using recycled plastic strips
I used strips of plastic cut from an empty laundry container to start the weaving and keep it straight. This also saves some unwoven warp to keep as fringe in the finished weaving.
Helper (not)
Weaving went slowly because I couldn’t progress while the kitten was awake. He wanted to help.
Wool build up on heddle strings
Another challenge was the halo on my wool. The little fibers that stray out of the spun yarn like to stick together, especially when passing other little fibers on other threads. Oy. I found if I went slower and took time to separate the warp threads when I changed the shed, things went smoother. The felted wads on heddle strings are a testament to how much wool likes to felt.
Finished band
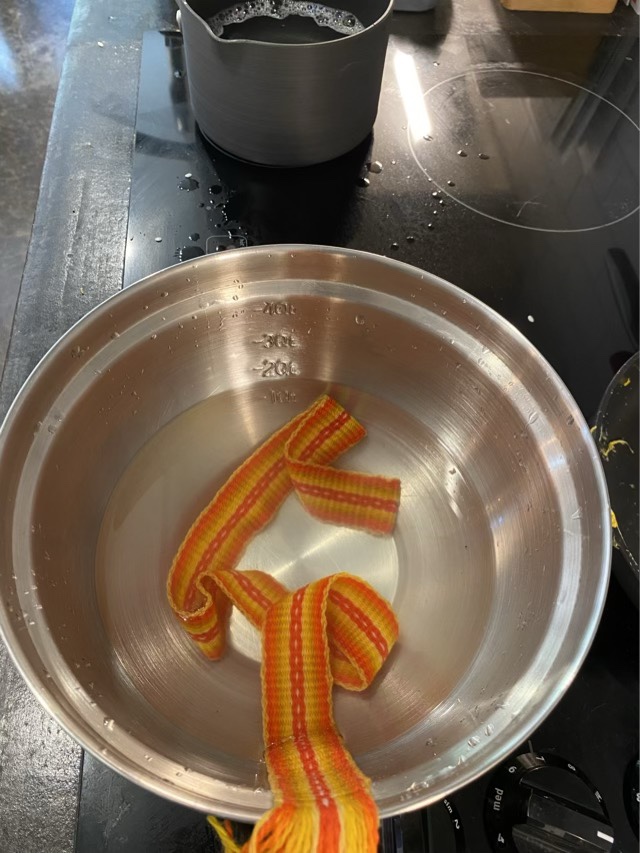
I gave the band a light felting, just by taking it back and forth from hot water to cold water. I then laid it out to dry.
Gently felting the band
Happy Father’s Day to all those that give stability and guidance. Tomorrow I’ll share what I made for my Dad.
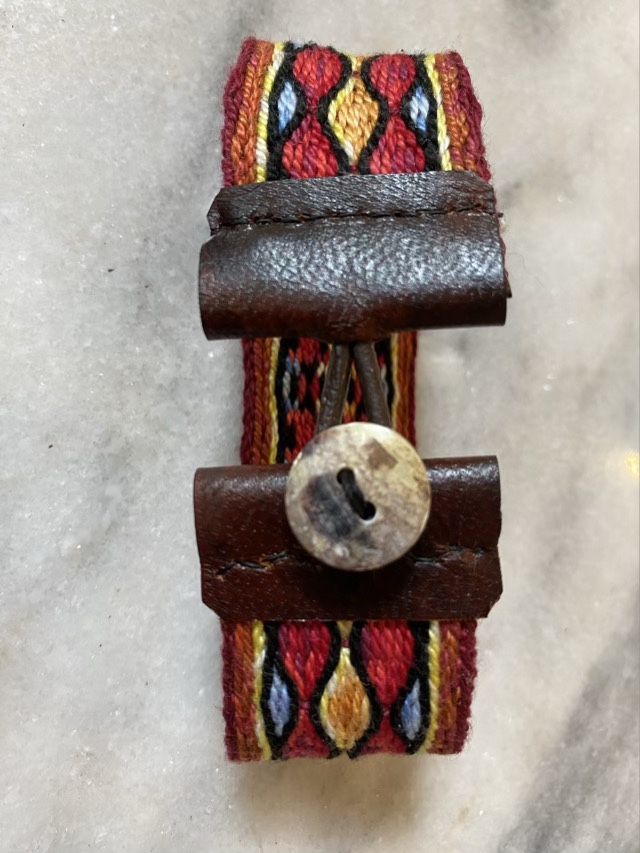
I found another thing to do with my woven bands: bracelets! I chose to sew leather ends on to reduce bulk, and I had the materials.
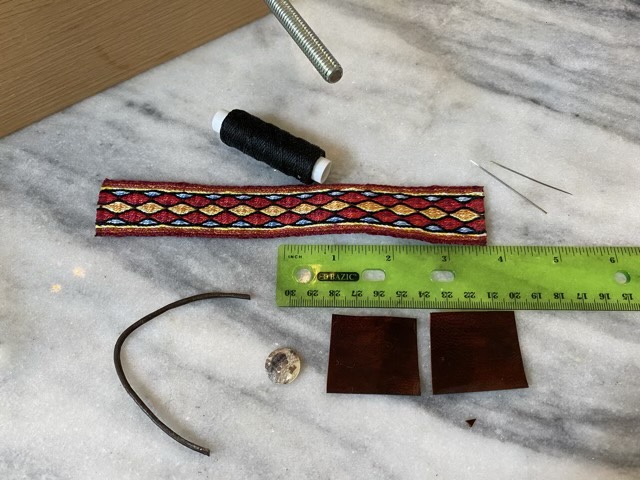
Materials to make the bracelet
I cut a strip of goat leather and stained it dark brown, then sealed it with an acrylic clear coat. I cut two smaller rectangles from the finished leather, cut a length of leather cord, sealed the ends of the woven strip with clear glue, selected a shell button, and sewed using waxed nylon cord.
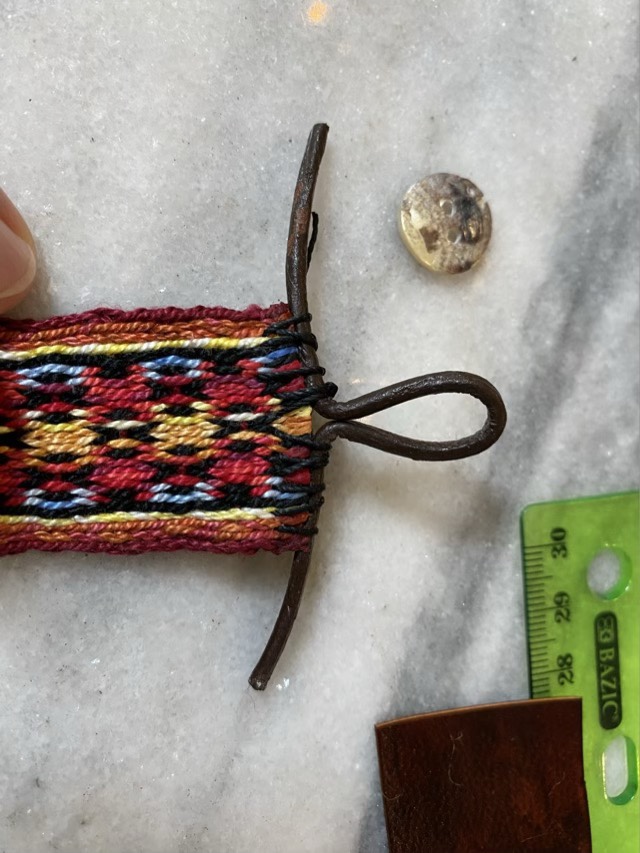
Attaching the eyelet
To form the eyelet for the button hole, I folded the leather cord in half, then bent the ends outward at a 90 degree angle. I secured it to the end of the woven band with waxed cord, then cut off the excess. To cover the end, I cut a slit in one leather rectangle to slide over the eyelet, then sewed the leather to the band. The nylon thread was thicker than I wanted visible, so I separated the three strands and just sewed with one.
Sewing the leather using a clamp
My wooden book clamp serves well as a leather stitching aid. I used wax paper to keep the newly finished leather from sticking to the wood. (I recommend waiting 24 hours before sewing, but I was impatient.)
Finished button hole end
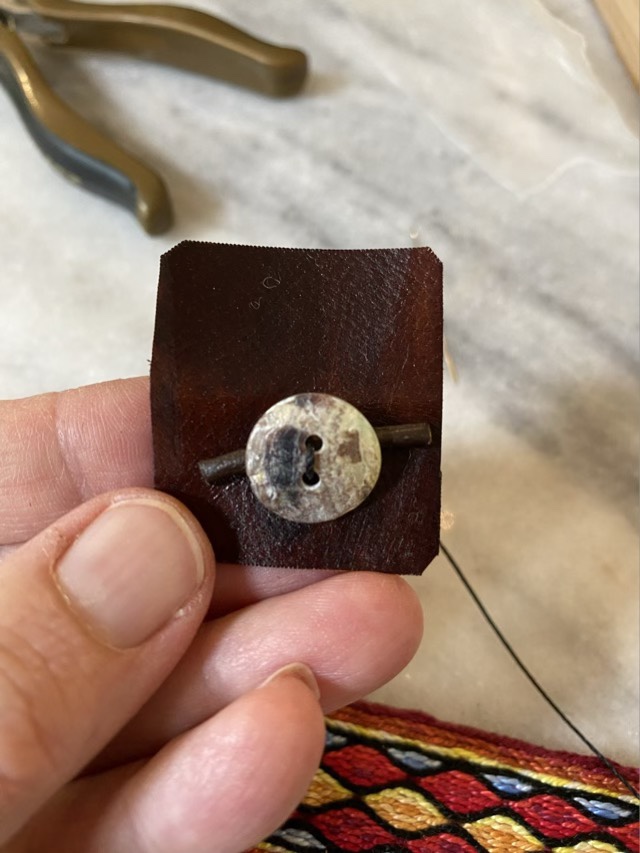
For the button end, I sewed the button offset on the other leather rectangle, using cord scraps to space the button off the leather. If the button is sewn tight to the surface, there isn’t enough room for the eyelet.
Button sewn using a cord for a spacerButton end sewn using a wooden clampFinished hand sewn leather button clasp
I’m pleased with the finished bracelet. Although I would have preferred the leather ends to butt together, the gap actually makes the bracelet more comfortable to wear by giving more flex. The bracelet is easy to button one handed, and is light.