Crocheting in a hammock while my youngest plays in the sunshine is a rather nice way to spend a spring afternoon. We’ve been cooped up for awhile, and the weather was great, so I grabbed a ball of yarn I spun a while ago and a crochet hook as we headed out the door. The plan is to make a small bag, because there isn’t much wool, using crochet lace stitches, so I can experiment with more lace.
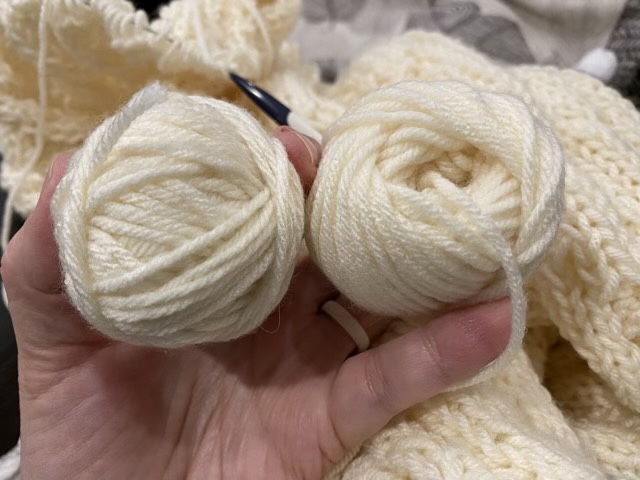
When I was learning to knit and crochet, I was taught to roll up extra yarn into a ball. Generally, you started with a small nest of yarn and wrapped more yarn around, changing directions every so often so it came out more or less round. Inevitably, I would drop the ball, it would roll across the floor, the cat might help its progress, and I would have to wind it up again. When I was older, I obtained a “new wool winder” which winds yarn from a hank into a cake-like structure, but was wonderful because the cake sat still and yarn could be pulled from the center. It did not work so well with small amounts of yarn, and I had to go and find the machine and a place to secure it to use it. Fast forward many years (better just skip, because there is quite a lot of time from then to now), and I was learning about spinning on a dealgan (a Scottish type of drop spindle), and the presenter in the video said the newly made yarn was wrapped around the spindle in the same way as for a nostepinne. What? The resulting cop of yarn could come directly off the spindle and the yarn could be pulled from the center. Hm. New rabbit hole. Nostepinne is a word for a fancy stick. I used a 1” dowel, which worked just fine the first time, but you really don’t even need a stick. A rolled up piece of paper will also work (especially if the cat is comfy on your lap and you can’t reach your stick, but there is a handy piece of paper).
Wrapped yarn ball (left) versus center pull ball (right)
I’m sharing because I really found this way of winding to be life changing. And it is so simple.
On a separate note, Adobe Premier now will make captions from my audio automatically. So that saves me a bit of typing. It still needed editing because “nostepinne” is not in its transcription vocabulary. Shocking. The video isn’t fancy because I’m still learning the software.
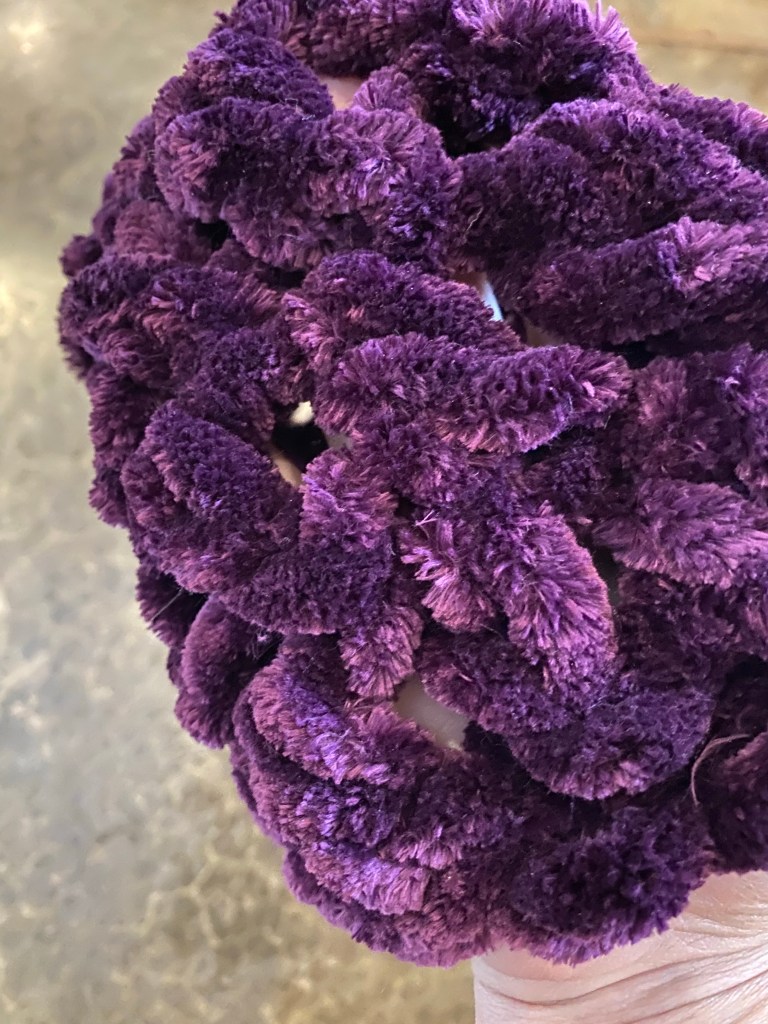
Rather than send an untested tool off to my Mom, I tested my newly made S hook on a third skein of yarn. What to make? Well a hat, of course. I love making hats because they go fast and I have the pattern memorized. It took me a few goes to get the hat started; the yarn and the hook are so big, I was getting lost in the holes. I’m not quite sure I agree with the “S” size designation on the label. With a double crochet stitch, such as I use in my hats, it leaves quite large holes.
Holes in the crocheted hat
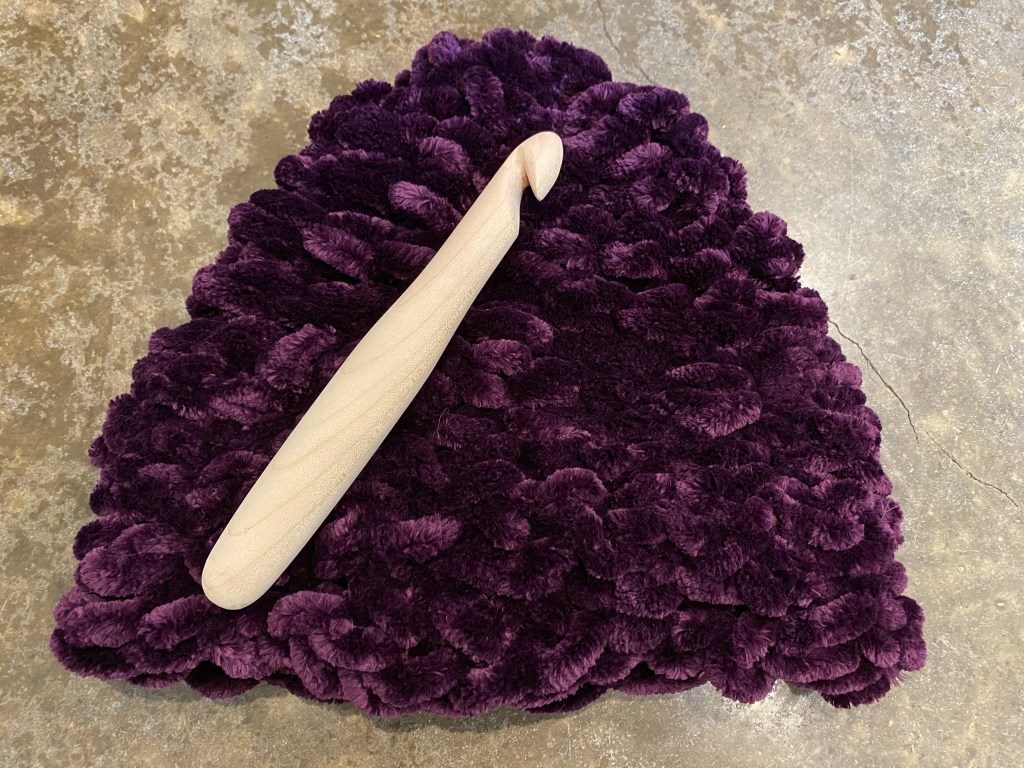
But the hat was really comfortable and a good size. What do do? Maybe a decorative stitch? Sure. I took some more yarn from the skein and did a simple chain stitch through the mesh, starting at the top and spiraling down to the brim. I needed to add a few chains to the crown as I went around, so as not to tighten the hat, but it did a great job filling in all the holes. It did however, use the rest of the skein of yarn. The resulting hat is quite floofy, but much warmer.
Finished hat, with crochet hook
I did all the testing of the hook prior to finishing, in case I needed adjustments. It wows me that the hat took a whole skein of yarn. If it doesn’t work as a hat, the cats will probably love it as a bed.
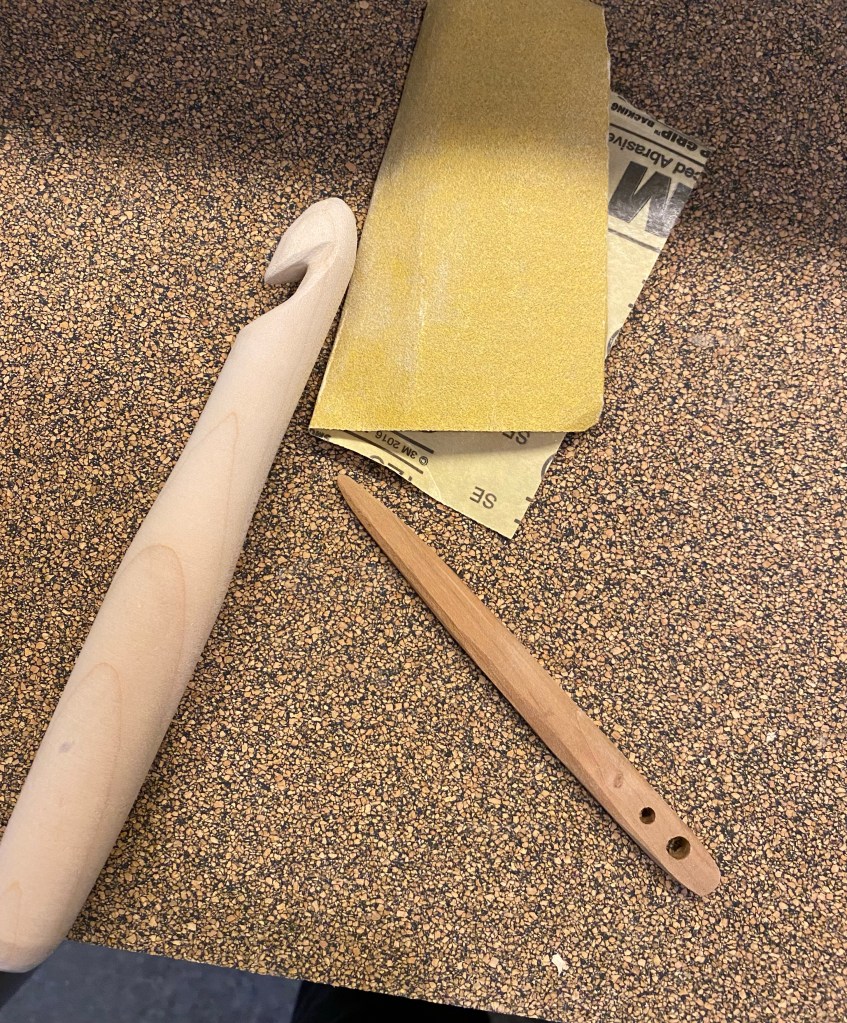
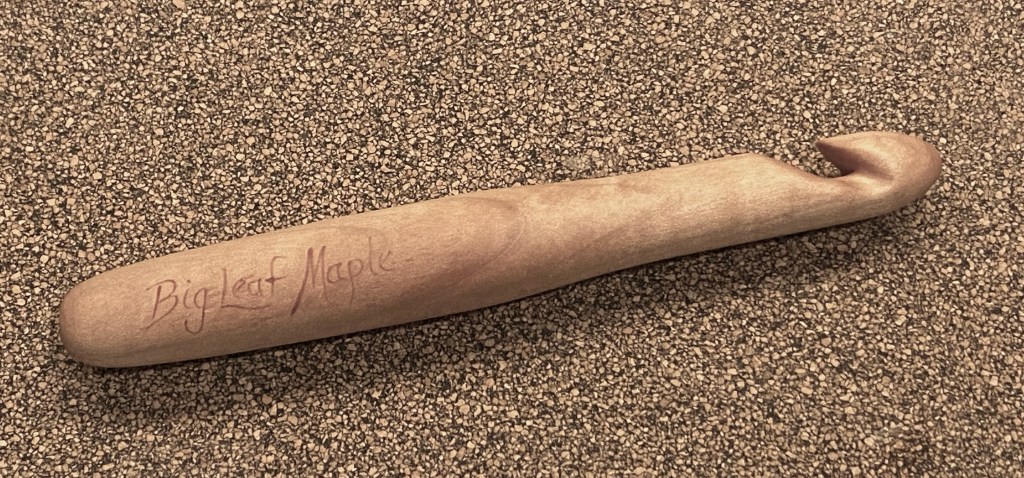
I found some lush purple yarn at the store that I thought my Mom would love, but it needed an S hook. Wha…? An S size crochet hook is 19mm in diameter below the neck, which is a very large hook, not quite to broomstick handle size (which is 1 inch or 25.4 mm), but still quite sizable. Hm. A hand made crochet hook would go well with gifted yarn, yes? I selected a nice length of big leaf maple wood from my hoard and turned it on my lathe. When it was a pleasing shape, and the neck and head were the right diameter, I removed it from the lathe, trimmed the ends, and cut in the hook. I found that a wooden nål, with its tapered tip, makes a really excellent sanding block to shape the hook. I worked mostly with 120 grit sandpaper to get the shape, then refined with 220, then 320, then 400 grit.
Using a nål as a sanding block to refine the hook shape
I used acrylic paints to write the name of the wood and put the “S” designation on the end, then sealed the wood with many layers of tung oil.
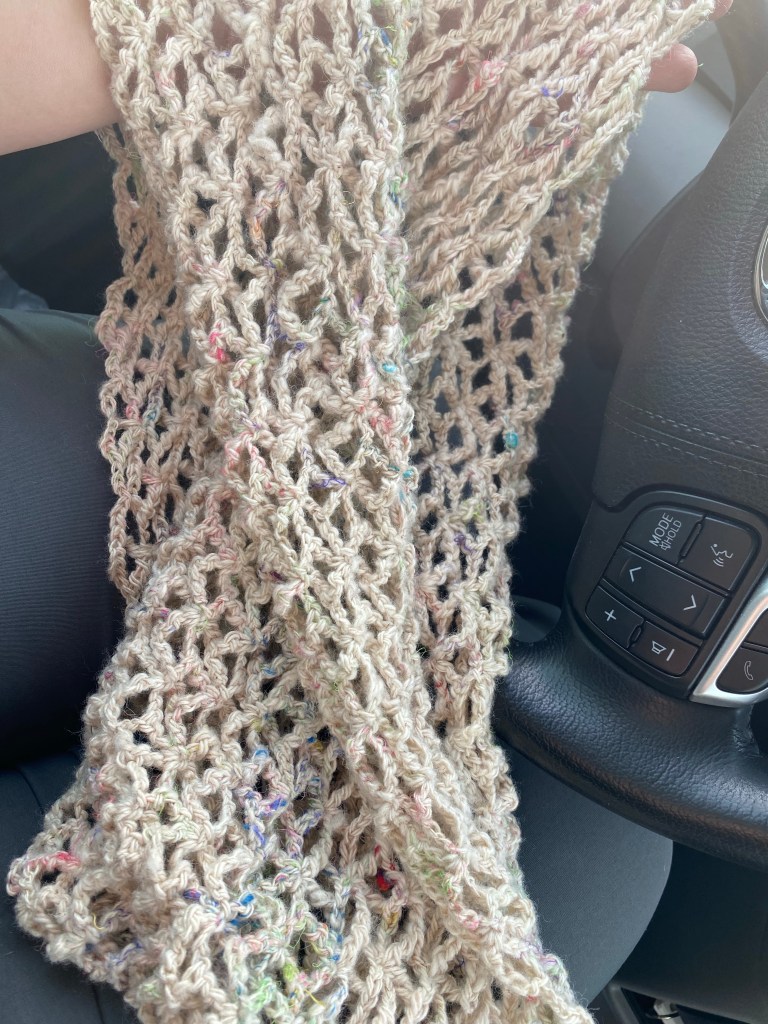
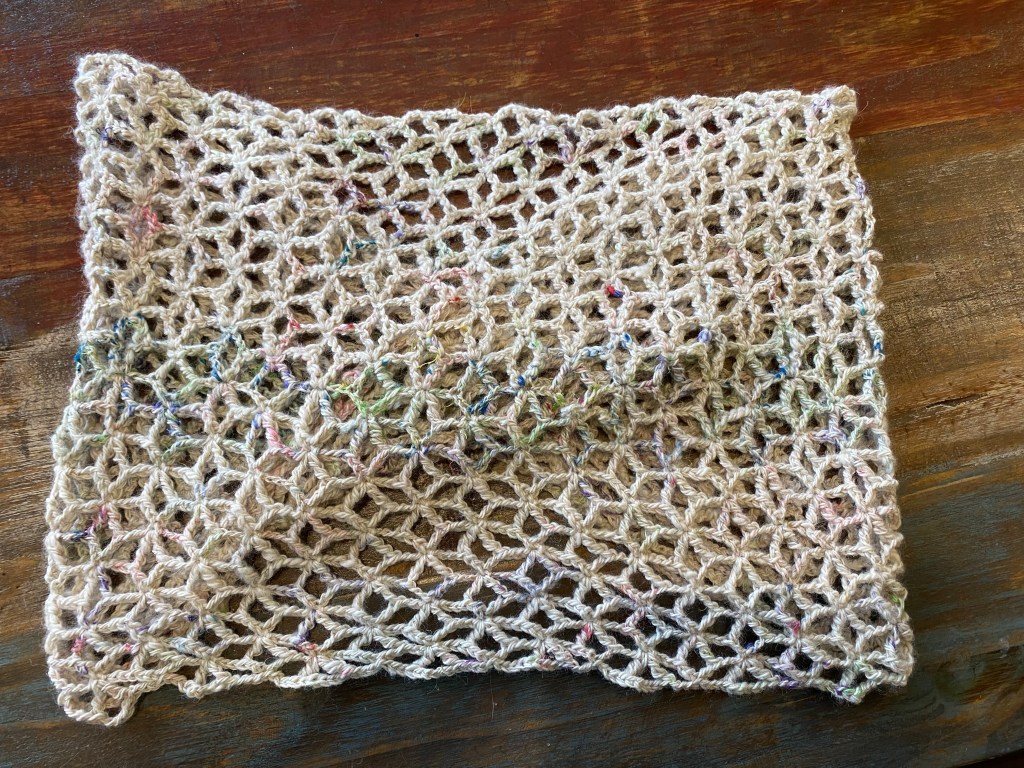
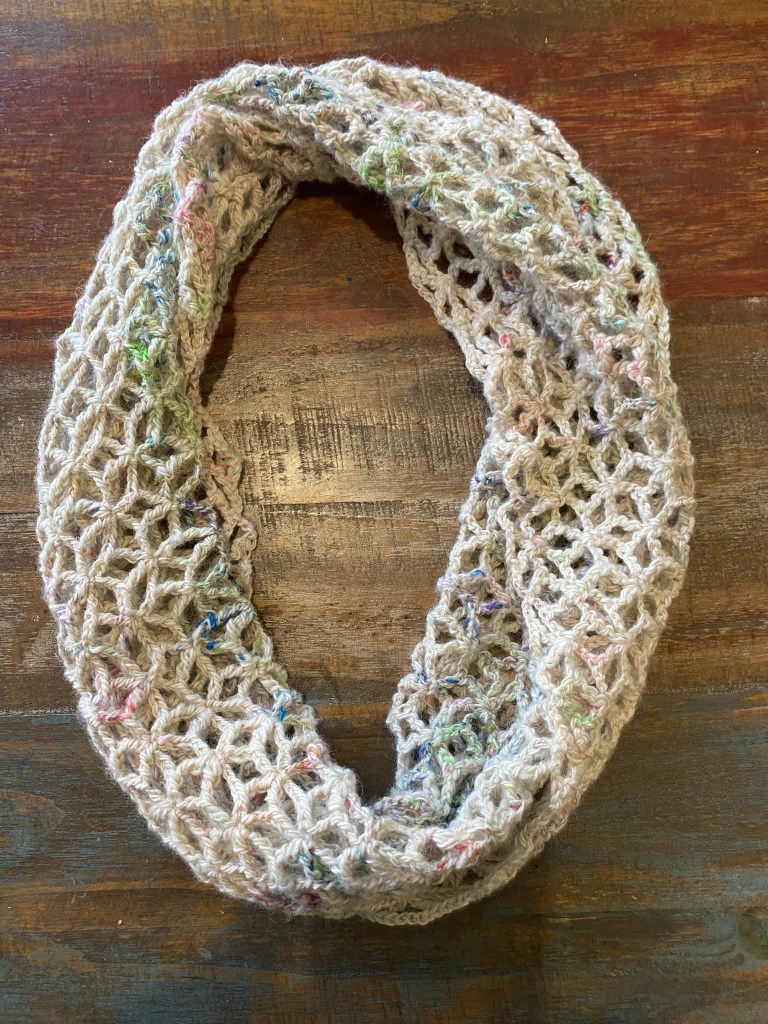
I made an infinity scarf with my hand spun alpaca sari silk yarn and my tessellated Möbius pattern! I meant for it to be able to slip over the shoulders, but as the pattern progressed, it tightened up considerably. If I make another I think I will add about 10-20% to the base row. After I wove in the ends, I wetted it down and laid it out to dry (blocking), which opened up and evened out the lovely hole pattern.
Scarf before blockingScarf after blocking, laid flat, showing the interlocked hole patternScarf showing the Möbius twistScarf as it could look worn



 Critters and Craft