Nod to fiber arts

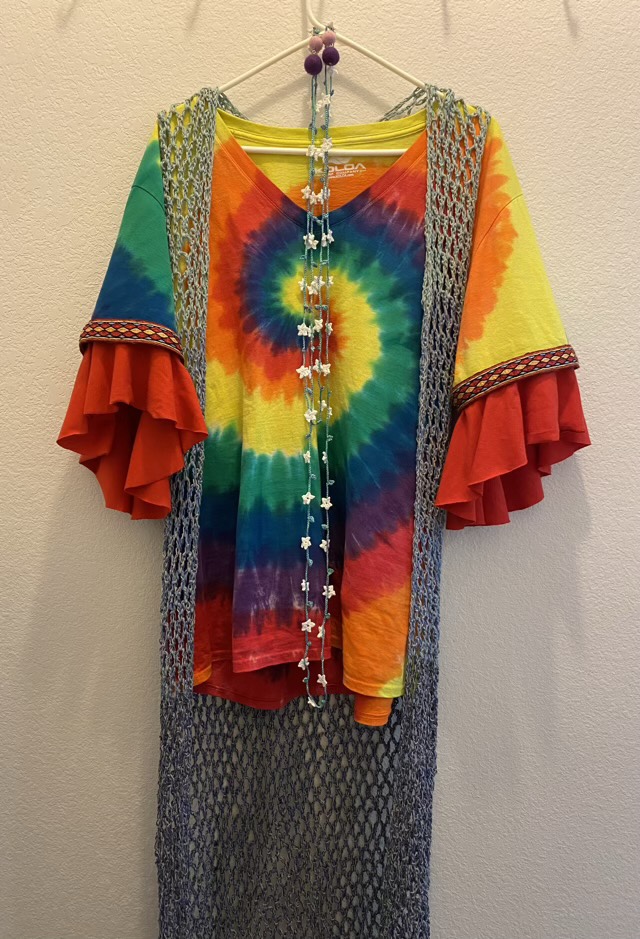
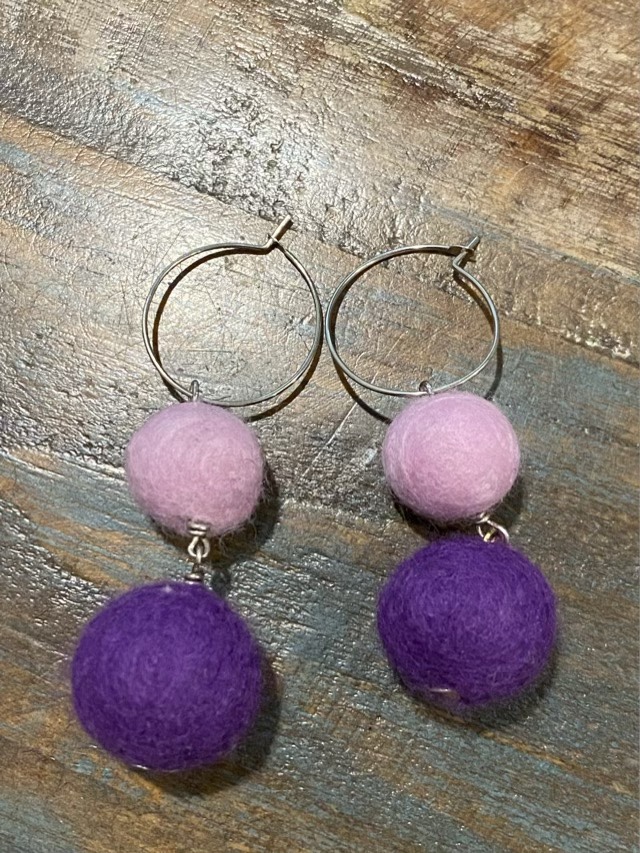
I put together a 60s themed outfit with a nod to the fiber arts. I crocheted a duster vest and flower garland, wove a band and added bell sleeves to a tie-dyed t-shirt (I did not dye the shirt, dye and I are still not on speaking terms), and assembled some felted wool ball earrings! (My mom made and gave me the felted beads.)

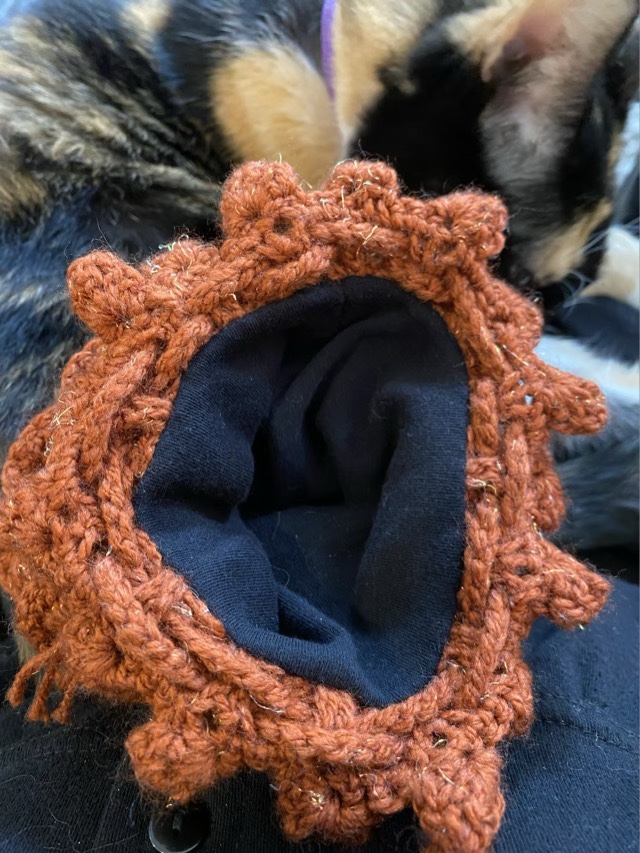
Bell sleeves made from t-shirt material
Felted ball earrings
60s Outfit (minus bell-bottom jeans)

When I do bell sleeves next, I will make them longer and without the off-set center hole. These look great on the hanger, but were awkward when worn, except when doing jazz hands, then they worked. Since I can’t do jazz hands all the time (although that would be quite the arm workout), I picked out the seams for the added sleeves after the debut. I can see peasant blouses with woven trim and bell sleeves on my crafting horizon.
Crochet flower garland

I’ve had this as a purse project for a couple weeks. I wanted to make a flower garland, and I wanted to use crochet (which is still my top choice for an easy-to-pick-up, easy-to-set-down project). I chose pearlized cotton from my stash. I was sad, but not surprised, that all the green is gone, but the multicolored blue did a fine job for the leaves.

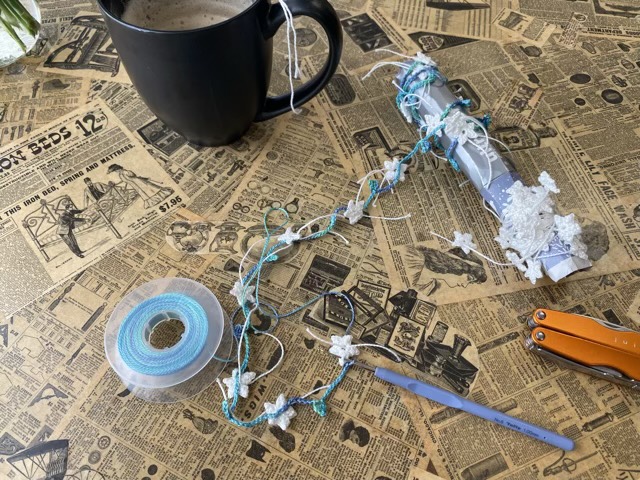
Crochet flower garland in process at my favorite coffee shop

I started by making the flowers with white thread. These are made with five petals crocheted into a magic circle, each petal is a chain 2, double crochet into the circle, chain 1, slip stitch into the top of the double crochet, chain 2, slip stitch into the circle. I made subsequent flowers along the thread because I didn’t want loose bits floating around my purse. When it came time to crochet the vine and leaves, I would clip off a flower and add between leaves (which are similarly constructed to the flower). I neatened up the white threads ends later by weaving them in and clipping.

Long strands with flower bobs enjoy getting tangled. I didn’t have an extra bobbin, so I tore off a side of a tissue box, rolled it into a tube and tucked in the ends. This allowed me to wrap the ornery lengths around it to keep them neat, and the tube served as a holder for the 1.00 mm crochet hook I was using. Not pretty, but effective.

Finished garland

For the final flower, I joined in the start of the chain to make a continuous loop. Now the garland can be doubled and used as a head band, or looped and worn as a necklace.

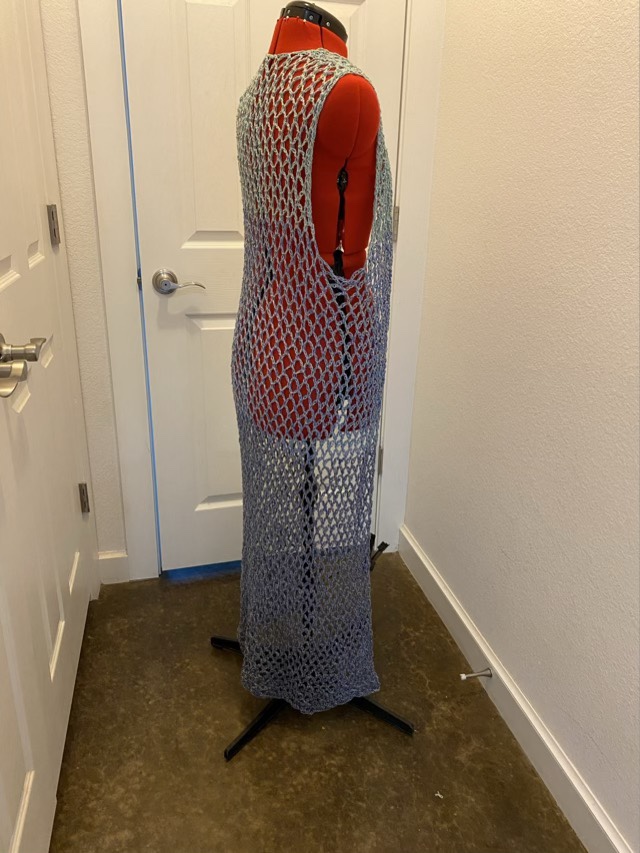
Crocheted duster vest

I obtained a crochet pattern for a vest published in 1969 and decided I needed a duster version for an upcoming chorus show that is featuring 60s songs. I had some fingering weight cotton in my stash and I doubled it, combining three different blue colors with two different grays to get a fade on the garment.

Crocheted duster vest

It was a very easy pattern, just chains of 5 joining the previous row made of chains of 5 with a single crochet. I aimed to make it mid-calf length, but the net pattern now stretches nearly to the floor! It crocheted up fairly quick as well, because it is comprised mostly of air, which also makes it not hot to wear. Yay for netting.

Feet are free

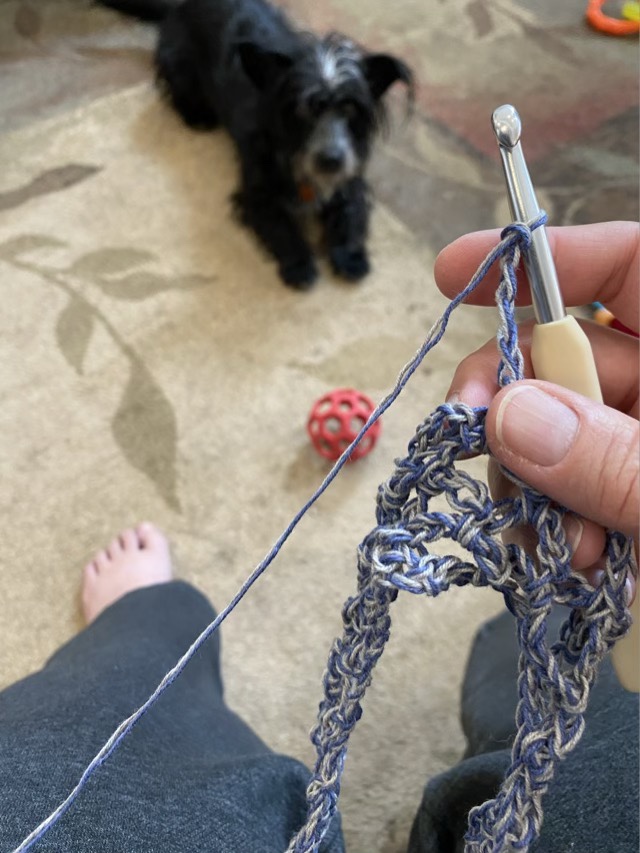
I’ve started a new crochet project. I’m using up yarn from my stash to make what I hope will be a 1960s style duster length vest. We’ll see how much yarn I have. Since the piece is worked from the bottom up, I figure I can keep working until I’m almost out of yarn, then finish the arm holes. At that point I should know about how much yarn that will take. I’m working from a vintage 1969 pattern, and as per my standard method, I’ve deviated. It is an easy thing to pick up and put down, so makes an ideal chair project. I just have to count to five (5 chain stitches to create the net lace). Missy the dog noticed that even though my hands are busy, my feet are free. Good thing that I can kick the ball and still count.

Missy presenting her ball for a kick while I crochet

Lining a crocheted bag

My eldest recently found a beautiful crocheted drawstring bag from a local shop (I’m very excited about the new shop, there are fibers to spin and classes being lined up!) The bag is beautiful, but needed a liner to hold the dice my eldest wanted to put in there. We pawed through my fabric stash and found some light weight black knit that would stretch well with the crochet and wouldn’t show through.

Pieces of knit fabric to make a lining

Because the bag had a round base and cylindrical sides, I matched the design with the lining, cutting a circle of fabric the size of the base, and a rectangle slightly oversized.

Sewing the rectangle to the circle

I started sewing the long edge of the rectangle to the circle, leaving room on the rectangle for the side seam. I used a jersey stitch on my sewing machine to keep it stretchy.

Cutting off the excess

When I finished the base seam, there was extra fabric on the rectangle, which is OK, better than not enough. I trimmed the extra fabric off and sewed up the side seam.

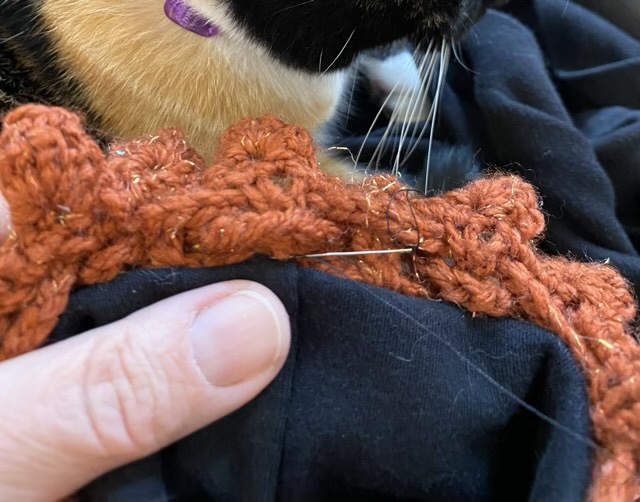
Hand sewing in the lining

With the seams facing out, I fit the liner to the bag, folding over the top of the liner, and hand stitching the folded edge to the yarn work. I was very careful to follow the bag just below the drawstrings so as not to impede their function.

Liner installed
Completed bag

I am pleased with the liner, it expands very well with the crochet, doesn’t peek through the stitches, and should keep anything put inside nice and safe.