Yarn chicken redo

Photo description: crocheted blanket edge with scallops incomplete with not enough yarn left to finish

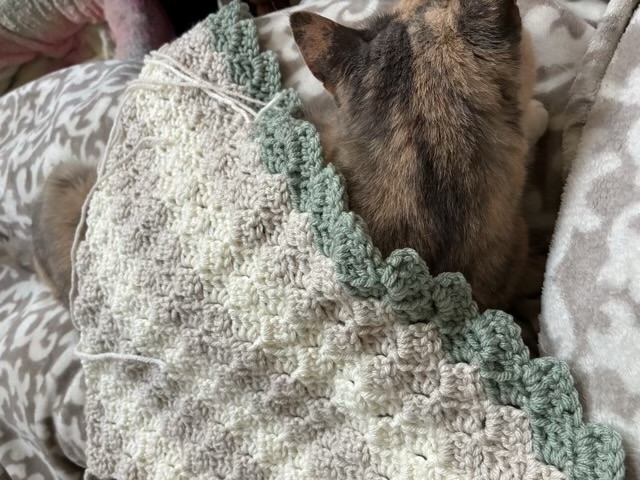
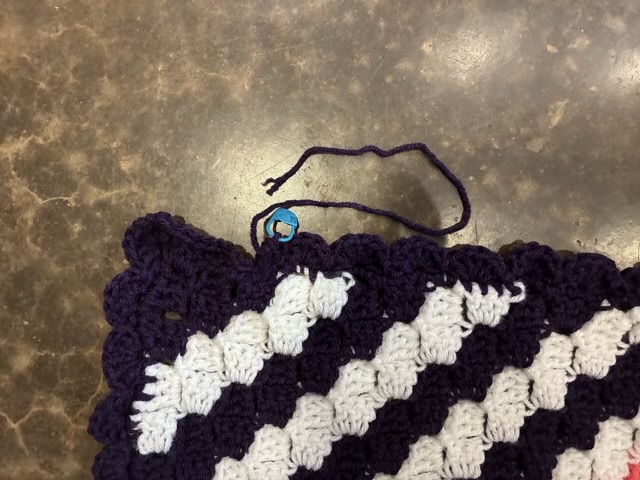
I lost at yarn chicken on a baby blanket edge. I needed to make two more scallops to finish and there just wasn’t enough yarn. Rather than scrap the whole edge, I ripped out just the last side and redid it so the scallops spanned 6 stitches instead of five. This gave me less scallops overall on that edge and I had enough yarn to complete the edge.

Photo description: crocheted baby blanket with scalloped edge before weaving in, showing the extra yarn

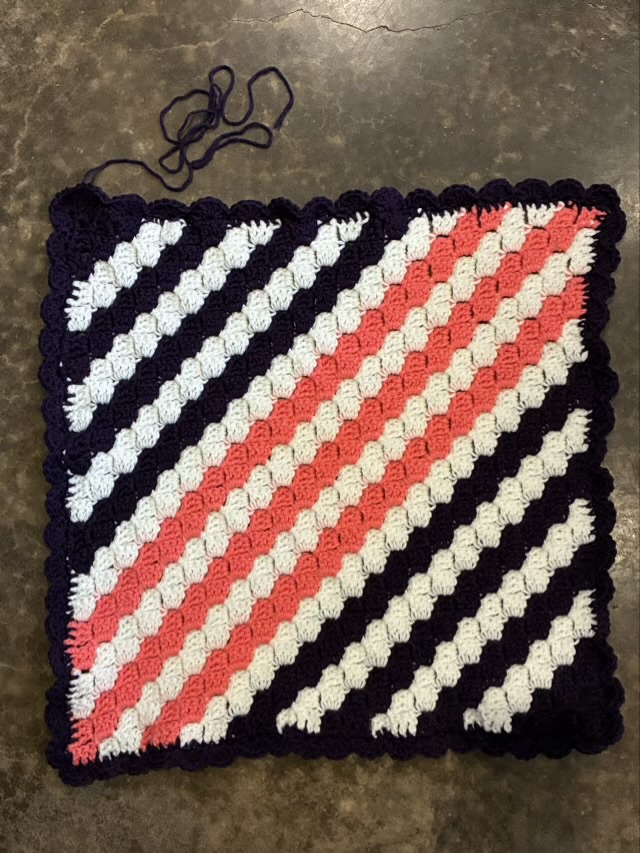
The blanket is based on Mary Maxim’s Easy Diagonal Blanket pattern, but done with alternating two rows of white, purple, and pink. I deviated on the edge too, by doing a single crochet all along the outer edge to hide yarn ends, then making 5-double crochet scallops along the edge.

I used acrylic yarn for the blanket because it is machine washable and dry-able, and new moms do not need any gift that can’t be easily washed.

Throwback Thursday: T21 bracelet

In August of 2017 I made custom metal buttons for Down Syndrome (Trisomy 21) awareness bracelets by drilling two holes in aluminum discs and stamping them.

Photo description: six handmade aluminum buttons in two sizes stamped with “T21” or “Tri 21” and a looped ribbon stamp

I then crocheted braided bracelets and used the buttons for the closures.

Photo description: Trisomy 21 bracelet with custom button and blue and yellow crocheted and embroidered braid
Photo description: bracelet being worn on my wrist

Diagonally crocheted blanket

I’ve started a new blanket. I think I said I wouldn’t crochet a blanket again, but I am enamored with the construction of this Mary Maxim pattern that is worked diagonally. The stitch pattern is very easy and worked in counts of three, which makes me inexplicably happy.

Photo description: beginnings of a blanket crocheted diagonally with scrap acrylic yarn laying on a dilute tortie cat

I’m using scrap acrylic yarn to do 3 row stripes in an alternating pattern. The colors may get …interesting as I go. I’m using a K sized crochet hook and the resulting fabric is soft and flexible.

Crocheted Wisteria Wreath update

I couldn’t take it. Looking at the crocheted Wisteria wreath every time I opened the front door, I couldn’t take the tri-colored “blooms”. I made more light purple elements and replaced the multi-colored ones.

Photo description: original “finished” wreath with two color schemes for the crocheted wisteria
Photo description: same wreath updated to have all light purple crocheted wisteria elements

Now to see how it weathers.

Crocheted Wisteria

I was going to crochet a spring wreath with multiple flowers and leaves, but when I did the first Wisteria drop, the plan shifted.

Photo description: Crocheted Wisteria wreath made with acrylic yarn hung on a red door

I did make some other types of flowers, then abandoned them all to just make Wisteria. The drops are easy to make and rather addictive. The basic plan is similar to making a crocheted worm or spiral.

Make a chain of 30, then chain 3, single crochet into the same chain three times for 10 chains. In the next 10 chains, make 5 chain loops, and in the last 10 chains, make 7 chain loops.

I varied the number of initial chains, experimented with slip stitches instead of single crochets, and changed the ratios of 3, 5, and 7 chains sections. I also tried different color combinations.

I did use some of the leaves I crocheted and applied them to the crochet covered wire wreath, by sewing them on. The bark-like texture was achieved by doing a chain embroidery stitch (I used my crochet hook, with the yarn held behind the wreath.)

I’m not entirely in love with the multi colored Wisteria drops, but we are rapidly running out of Spring here in Texas, and the winter wreath on the front door needed to come down.