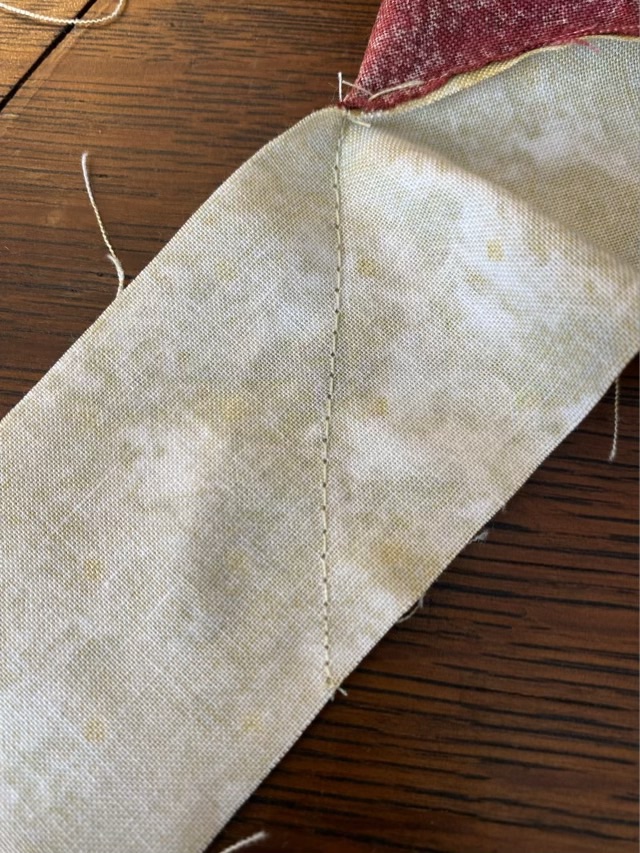
Here is another way to reduce the likelihood that machine sewn stitches with unravel: tiny stitches. On a sewing machine that doesn’t have a reverse stitch, like my Singer model 66 treadle, turning the knob to the left to make the stitches smaller for a few stitches, then back right to increase the stitch length for the rest of the seam, is a little extra insurance. It also helps work the sewing machine oil (SMO) into the threads of the knob. Bonus.
Photo description: seam stitched on the diagonal of a light colored fabric strip showing smaller stitches at each end of the (wavy) stitch line.
This actually takes about the same time as turning the fabric and making a “reverse” stitch, currently. The stitch regulator knob of the 107-year-old machine is still a little stiff.
Yes, I can sew a straight line. I just need more practice sewing a straight line while turning a regulator knob and controlling the balance wheel so it doesn’t go backwards and break the thread. Goals.
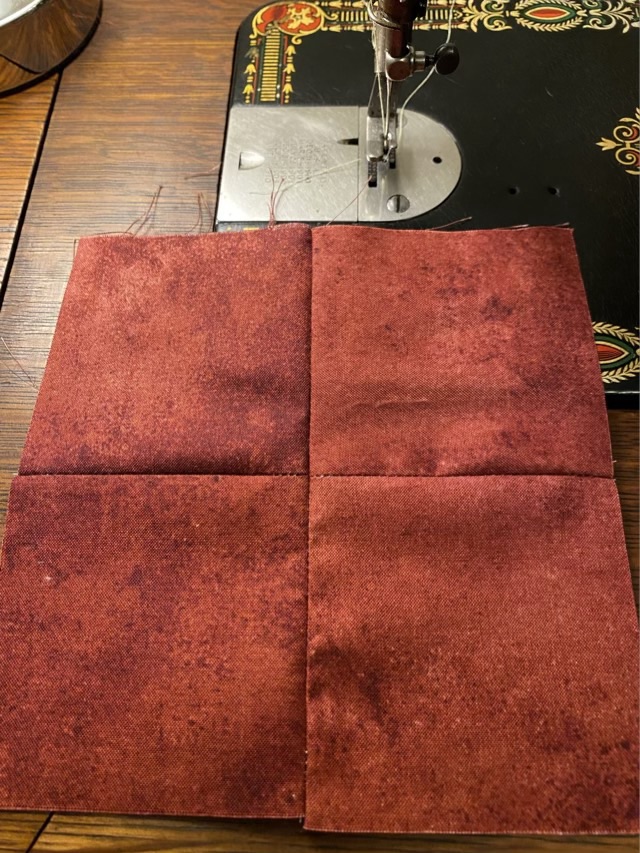
I bought a grab bag of scraps from the local quilt store because it had fabric that matched what I have in my stash. I set it on the sewing table of the Singer model 66 and later decided to try sewing some squares together. I haven’t pressed the seams yet, but I love the way the machine works. It is the advice from The Treadle Lady to take these old machines on a “Sunday drive”. Using them weekly encourages proper regular maintenance, and keeps everything moving.
Photo description: Four squares of red fabric sewn together on the surface of a Singer model 66.
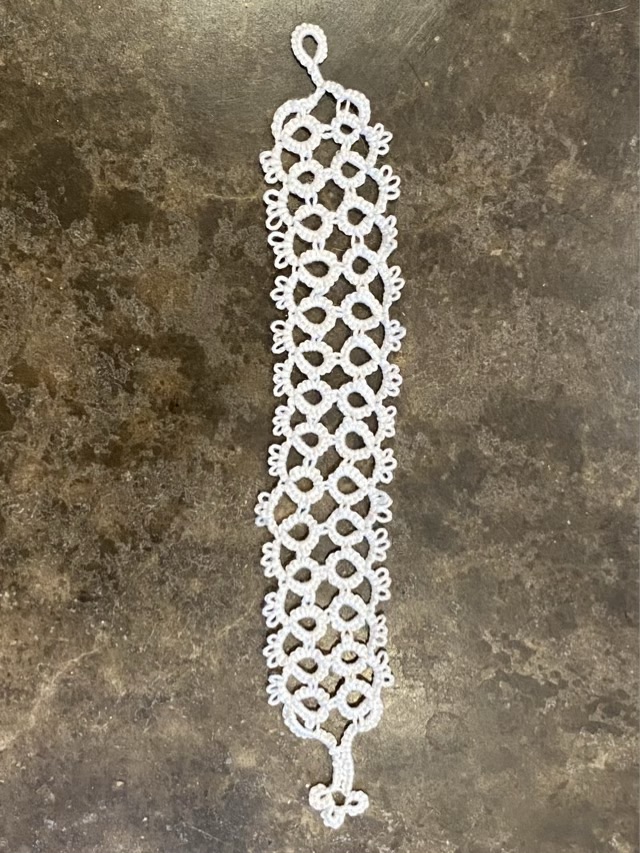
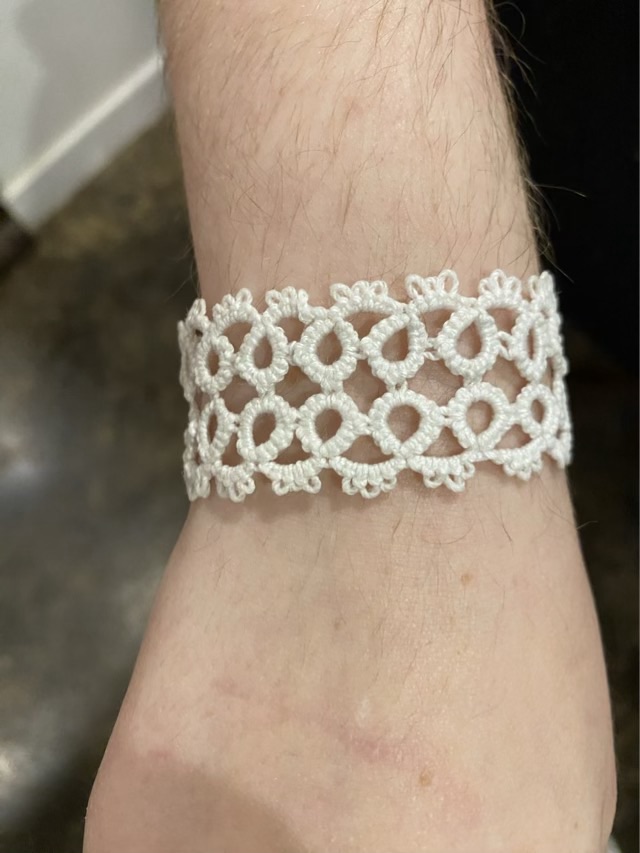
I saw a picture on Pinterest of a tatted bracelet that I recognized most of the elements used for construction. I’m having trouble interpreting written tatting instructions, but a picture is almost as good as a chart, and much easier for me to follow. I loaded up my tatting shuttle with #10 cotton, left it attached to the ball, and started with the ring part of the clasp. It took me a few hours to complete, and I carried it around in my purse for a while to work on when I was waiting. The bracelet is worked with the same series of a closed loop and a chain on both sides, and each connection used a picot.
Photo description: Tatted bracelet made of closed loops and chains with three picots. The clasp is made with a ring on one side and a cluster of closed rings on the other side.
I did have to join in more bobbin yarn, but the ends were easy to weave in with a needle. I joined the last chain to the opposite side with a square knot and wove in the ends. To block it, I soaked it in a solution of white glue and water, to give it some stiffness and protect it from staining. I need to experiment with the ratio of glue to water. The bracelet turned out stiff and itchy, and didn’t resist a tea stain when tea accidentally spilled across the counter.
Photo description: Blocking the bracelet on wax paper after soaking in a white glue and water solution.
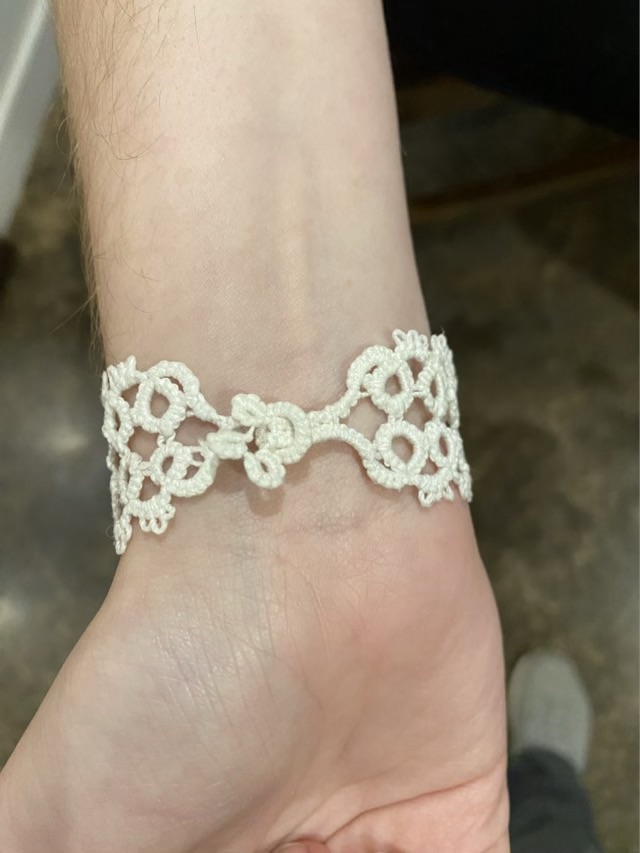
The clasp works reasonably well, although it takes a different set of hands to close.
Photo description: Bracelet clasp shown closed with the loop cluster pulled through the opposite loop.Photo description: Finished bracelet on my daughter’s wrist.
I need to work on the tension of my knots, the consistency of picot size, and the consistency of the closed loop size. I may try another bracelet to get the basics down. The tatted lace is sturdier than crocheted lace, but the counting slows me down, and I need a different way to hold the shuttle so it doesn’t hurt my thumb. So, not my favorite craft, but could be useful in a future project on a small scale.
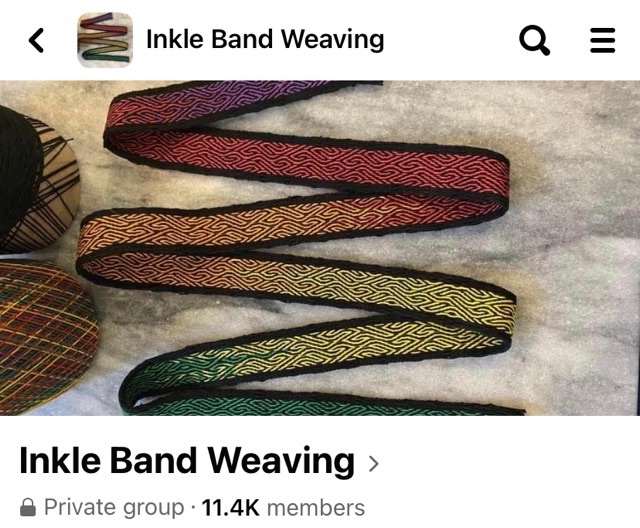
I follow an Inkle band weaving group on Facebook that is under new administration, who are trying to clean up the site and get it back to Inkle weaving (and not a repository for spam). They asked for submissions for a new banner image, and my rainbow tablet weave won by popular vote!
Photo description: Private Inkle Band Weaving group on FB with my rainbow band as the banner image.
They said they would change the image frequently, which is also good. I’m excited that mine was the first picked!
This band went on to become the strap for my ukulele.
Awhile ago I made my Dad a nålbound wool cap with ear flaps. He recently had a haircut and found that sleeping in the wool was too hot, so requested a lighter version of the cap to be on his gift list. Nålbinding is inherently warm, and works best with wool or easily felted fiber, so I changed not only the fiber, but the method of construction. I had some very soft 100% cotton yarn, which is difficult to nålbind, but very easy to crochet. My favorite cushy crochet stitch is a half double crochet, so this is what I used to make a spiral round cap with ear flaps. The yarn was self-striping, and I used a shell stitch above the ears to start the flap then decreased before the flap, and increased around the flap. This was very much a stitch by feel construction.
Photo description: Striped crocheted hat with ear flaps on a table.
I had more yarn, so decided to make a second hat. I tried for a smaller size, but half-double crochet hats don’t narrow as quickly as double crochet hats, so the crown size needs to be significantly smaller. I forgot this fact, and ended up with a hat the same size, just without ear flaps. So I sent both to my Dad to try as after haircut sleep caps.
Photo description: Striped beanie style cap on a counter.