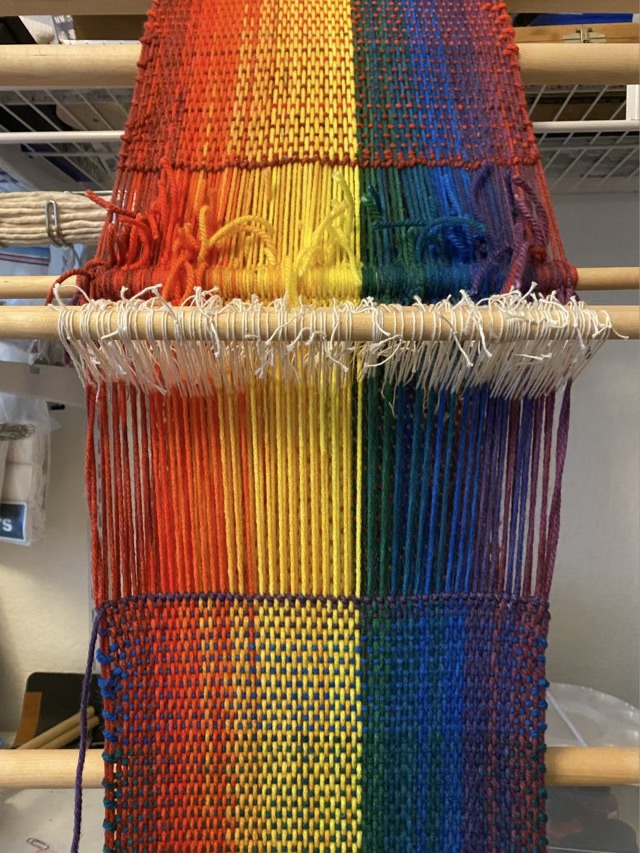
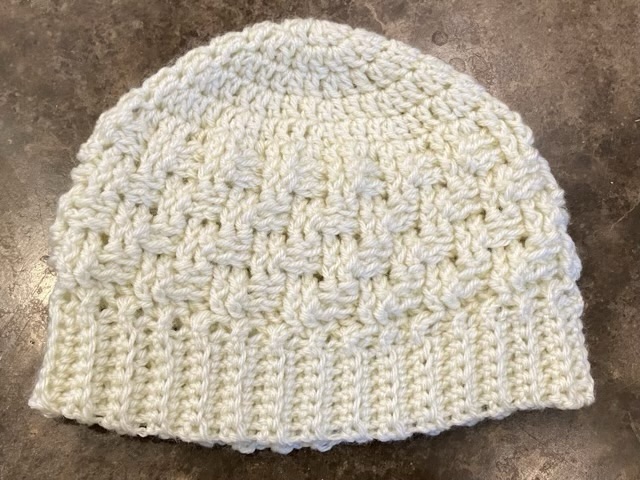
Next on the hat docket: stripes! But with a twist, or rather, a wave. I started the beanie with rows of double crochet in white yarn, then used a combination of single, half-double, double and treble crochet stitches.
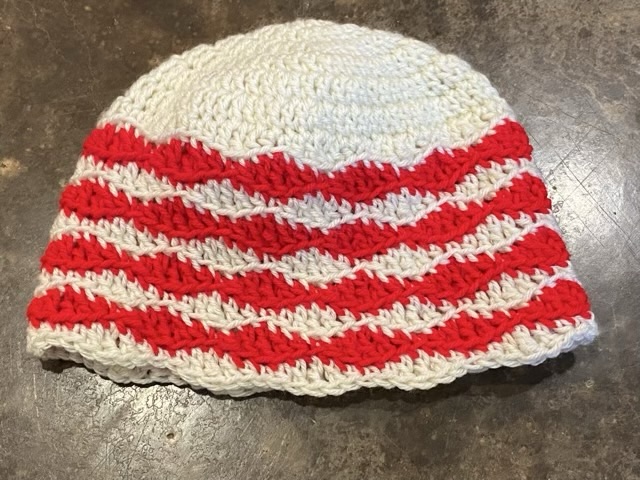
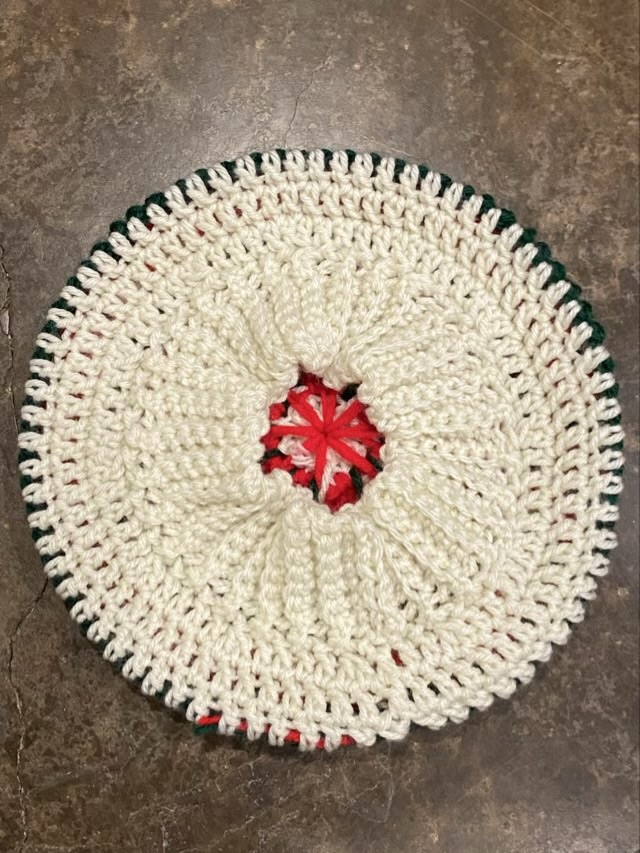
Technical details:
In a magic circle 12 double crochets (dc)
Row 1: 2 dc in each stitch (24 stitches)
Row 2: 2 dc, 1 dc around (36 stitches)
Row 3: 2 dc, 1 dc, 1dc around (48 stitches)
Row 4: 2 dc, 1 dc, 1 dc, 1dc around (48 stitches)
Row 5: 2 dc, 1 dc, 1 dc, 1dc, 1 dc around (60 stitches)
Row 6: chain (ch) 1, *half double crochet (hdc) in next stitch, dc, treble crochet (tc), dc, hdc, sc. repeat from * around. Before completing last hdc, join in new color. Slip stitch to the beginning of the round. Don’t cut old color, don’t carry the old color around.
Row 7: ch 3 (counts as tc), make all stitches in the back loop: *dc, hdc, sc, hdc, dc, tc. Repeat from * around. On last stitch join in first color.
Row 8: ch 1, *hdc, dc, tc, dc, hdc, sc. Repeat from * around.
Repeat rows 7 and 8 until desired hat length is reached.
Tips: when lining up the rows, the tallest stitch pairs with the previous shortest, so the tc will always go in a sc, and vice versa. Putting the stitches in the back loop gives a nice line to the wave.