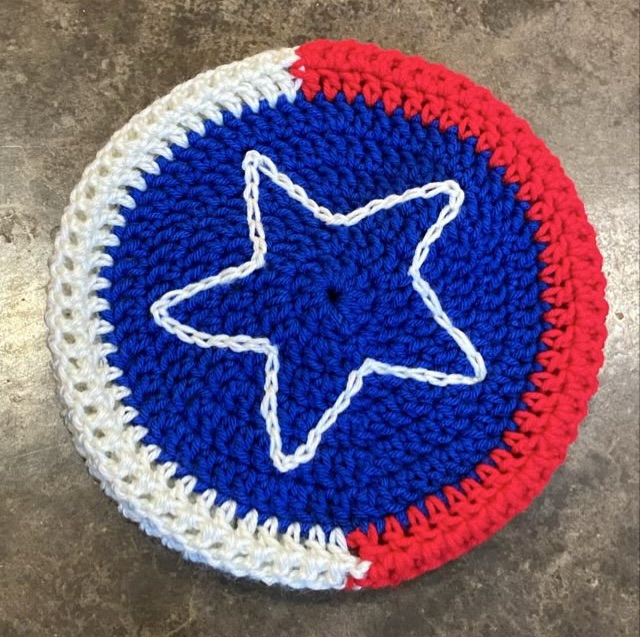
Looking at the embroidered star I posted about a couple days ago, I wondered if I could crochet the star into the top of a hat.
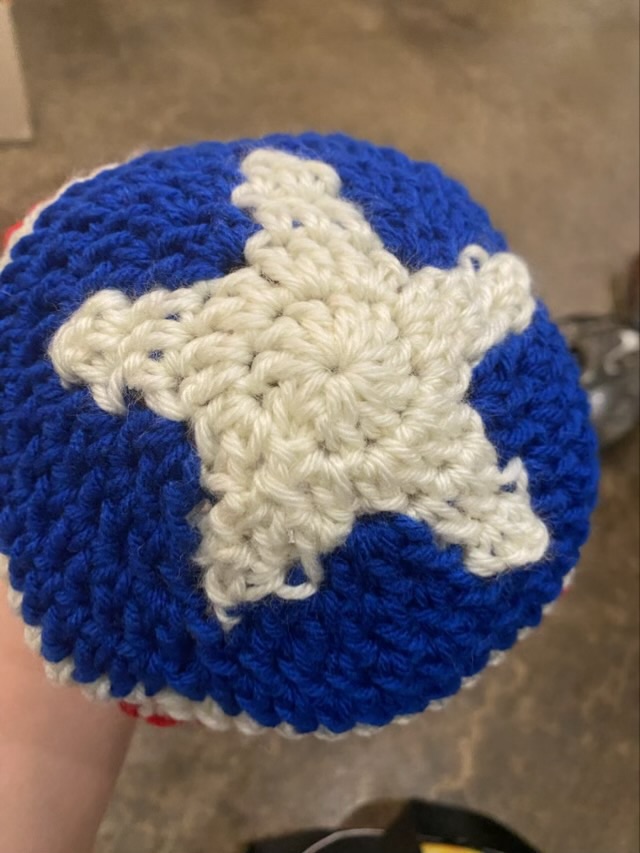
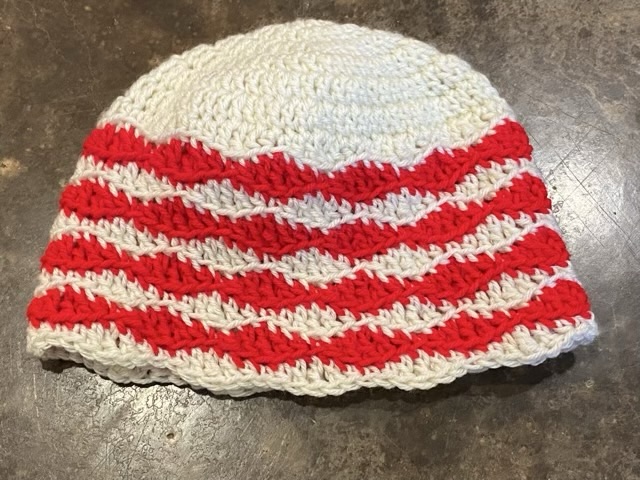
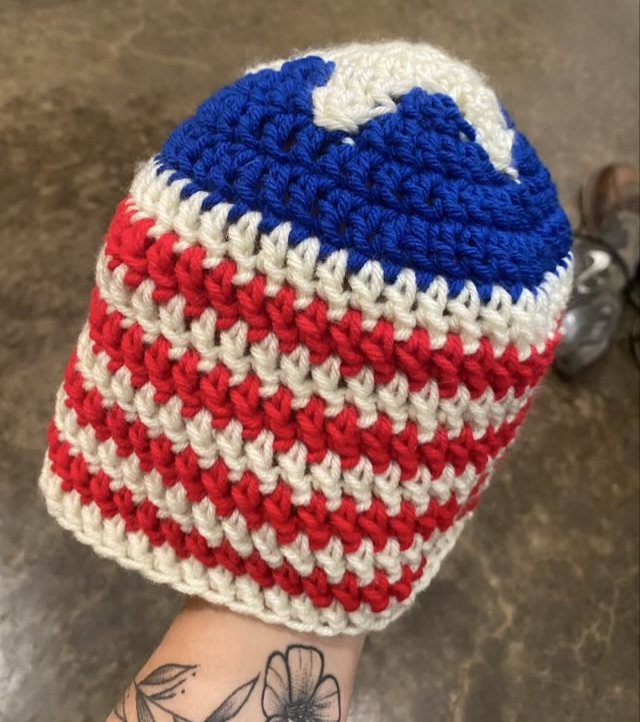
I started with ten stitches in a magic circle with white yarn, and did the second row still all in white, increasing each stitch. On the third row I added in the blue for the background and did the increases for the round in blue. I carried the white and blue yarns around, and switched color on the last move of the prior stitch. I finished with a row of blue, then made alternating rows of white and red down the sides. (I actually managed to make a beanie this time, instead of a beret, because I found the white yarn that matched the weight of the red yarn.)
I think I can make the star better. The nature of crochet makes it twist a little left, I think I can use that trait to make the points pointier.