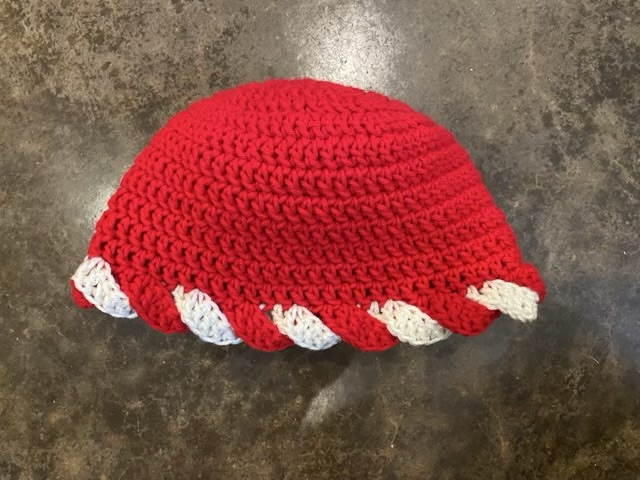
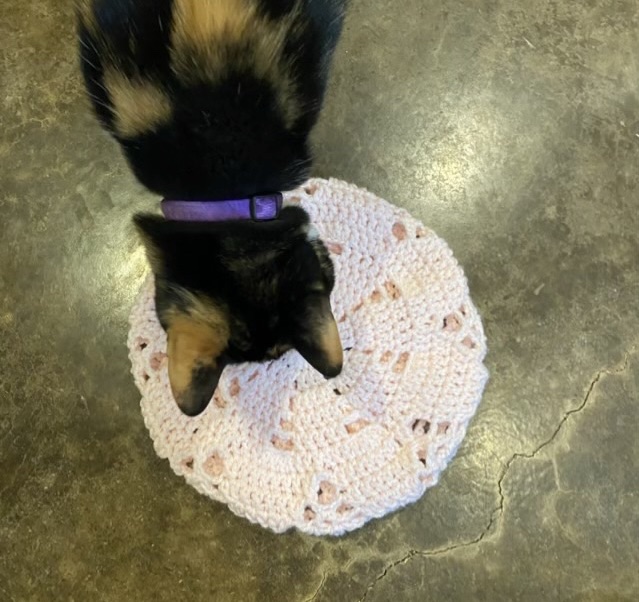
Worry worm

Here is a cute project for yarn scraps: worry worms. This is my first worry worm, but if you plug in “crochet worry worm” into your preferred search engine, you’ll get a whole host of the springy creatures in many interpretations.

Photo description: pink crocheted worry worm with sewn on googly eyes, two black dogs in the background

The crocheted spiral has been around. It was very popular in the 70s especially. It is dead easy: chain 30 then do three stitches in each chain. It coils up on its own. For this worry worm I used single crochet for the body, then did 12 double crochets in the same stitch to make the head. I’m not sure I care for the flat head look, I’ll try something different next time.

The worry worms have a super power, they can listen without judgement. The idea is that here is a little pal that you can tell all your worries, and not worry about it going farther. Many crafters put a little poem on the card with the worry worm and put them for people to find or give them away.

It is a philanthropic use of yarn scraps, and the googly eyes cinch it. They make a nice fidget too.

I wonder how many I can make before the election results.

Throwback Thursday: Halloween

Going back to a pumpkin contest in 2016, here is my hand crafted pumpkin cover of Mama Bear of the Berenstain bears.

Photo description: crocheted bear head with latch hooked “fur”, half ping pong ball eyes, black pom pom nose, and blue mop hat sewn from an old t-shirt hand painted with polka dots

It probably really isn’t in the spirit of pumpkin carving, but at the time we lived in such a humid environment that pumpkins started rotting on day 1. The library would host an uncarved pumpkin contest (paint and glued decorations only) to avoid the rot. I rather like the crocheted cover, it is reusable.

Happy Halloween.

Not as nice

So doilies are round and flat, and berets start out round and flat, so if I find a pretty doily pattern that might work for a beret, right? Um, depends. I found a pattern with a flower center that was quite attractive as a doily. When translated to larger yarn, I had the necessary width before the center flower was done, resulting in a beret with symmetrical holes, rather than a lovely lace.

Photo description: light pink beret top with deliberate holes, sort of in a star pattern, cat feets for the photo bomb
Photo description: brim side of the beret with single crochet ribbing

Back to the drawing board. I’m starting to see the end of the bag of gifted acrylic yarn though!

Photo description: cat photo bomb of the light pink beret, she went to sniff the hat when I put it down. Must have been close to feeding time.

Lace beret

I’ve intentionally made a beret this time, rather than another beanie mishap. The idea was a lace beret with a solid band, like a head band with a lace topper. It is Texas and it just doesn’t stay cold for long, so this would be something to stylishly keep the ears warm. I started with my favorite crocheted lace coaster pattern, then instead of finishing it off with shell stitches, increased it using a mix of V stitches.

Photo description: top of the blue beret showing the radial lace pattern

I finished the beret with a single crochet ribbed band.

Photo description: underside of the same beret showing the open lace against the solid ribbed band

This was a try-as-you-fly kind of project, so I’ll work on a written pattern with another go. I really am pleased with how it came out.

Star beanie

I’ve made a star topped beanie that I’m pleased with. The star has some aesthetically pleasing sparks, and it definitely reads as a star.

Photo description: rows 1-3 of the crocheted star
  • American notation
  • Row 1: 10 double crochet (dc) in a magic circle, slip stitch (sl st) to first dc (count is important for these rounds)
  • Row 2: Chainless Double Crochet Start (CDCS, Moogly has the tutorial where I learned this stitch) Increase (inc: two dc) in each previous dc. 20 stitches.
  • Row 3: CDCS in white, inc in next sc, 1 dc add in blue on last move of the dc, *inc in blue add in white on last move of dc, 1 dc, inc, 1 dc add blue, * repeat from *, inc in blue, join to CDCS with blue. Carry off color around by stitching in.
Photo description: rows 1-4 of the crocheted white and blue star
  • Row 4: CDCS in blue add white, *dc in white, dc in white add blue, dc in blue, inc in blue, inc in blue, dc in blue add white* repeat from * sl st in CDCS in white
  • Row 5: CDCS in white add blue, *dc, inc, 3 dc, inc, dc add white, dc in white add blue*, repeat from * dc, inc, 3 dc, inc, dc, sl st in CDCS in blue.
  • Row 6: CDCS in blue, dc around, don’t carry the white, but don’t cut it. The diameter of the circle will be the size of the hat, add rows of blue, increasing as necessary.
  • Sides: no increase stitches, work half the stitches in white, switch to red, join the white at the other side, chain 2, turn the work, and do the red back to the white, pick up the white and stitch to the red.
Photo description: top of hat showing sparked star surrounded by blue
Photo description: finished hat showing red and white sides