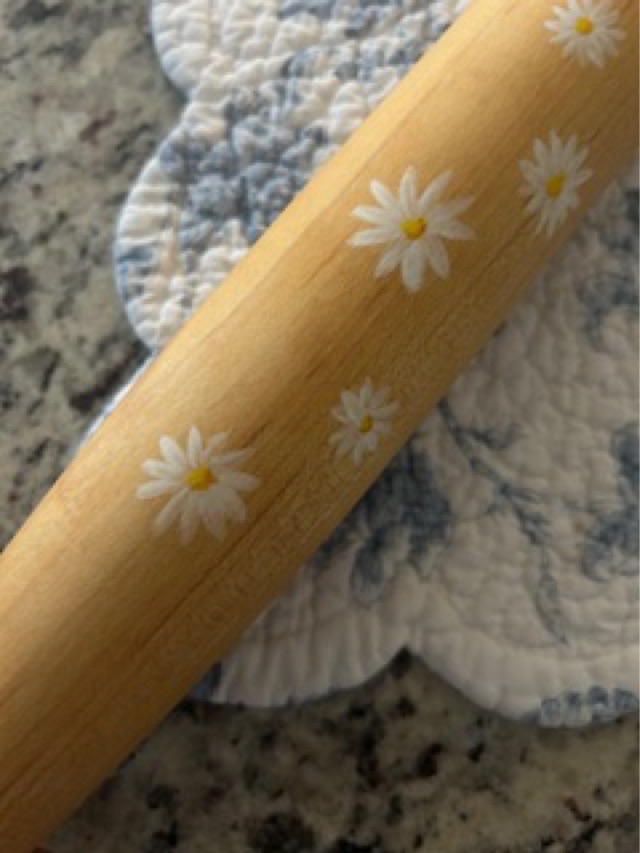
This Throwback Thursday doesn’t go quite so far back, we’re going to December 2021. I made a tapered French style rolling pin for my Mother-in-law and decorated it with painted daisies. I took some in process pictures, but because it was the holidays and I was in a whirlwind, I forgot to take final pictures. My MIL graciously sent me pictures of the rolling pin recently, so now I can share the project on the blog!
Photo description: maple wood tapered end rolling pin fresh off the lathe in 2021Photo description: recent picture of the rolling pin painted with daisies and finished with a food-safe oil and wax mixture (photo credit to my MIL)Photo description: closeup picture of the painted daisies, which really do look better close up (photo credit to my MIL)
I’ve been thinking about doing some throwbacks to projects I did before I started this blog. Here is a crocheted and embroidered Roman style helmet that I made for my sister in 2016. Yes, I’ve always been a serial crafter.
Photo description: yellow crocheted helmet with red yarn crest and gold embroidery. Visor is secured with buttons and is able to lower over the mouth.
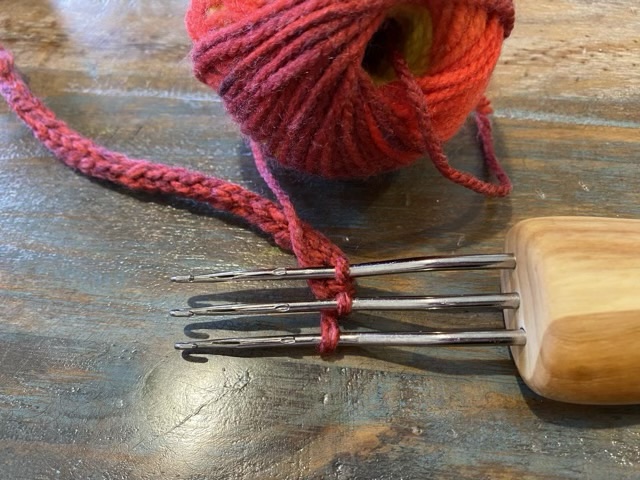
It works! The three hook i-cord maker that I made (yesterday’s post) works quite well to make a cord that is usually made by sliding stitches off a needle to make a round.
Photo description: three hook cord maker with a red i-cord in process.
Casting on three stitches on a regular knitting needle around size 11 makes the cleanest start, but if a needle isn’t available, making a chain with one hook, then placing the loops on the other two hooks, works just fine. To make the rest of the i-cord, you pull the loops on the hook down below the latches, lay the yarn loosely (really, I mean it), over the hooks just below the curve, and pull the loops up and over the hooks. The latches should close as the loops are pulled up, trapping the new section of yarn, and allowing the loops to pass over. A good strong tug brings the new yarn to make three loops, which you then pull back down below the latches. When I picked up the knack, it really went quite quickly.
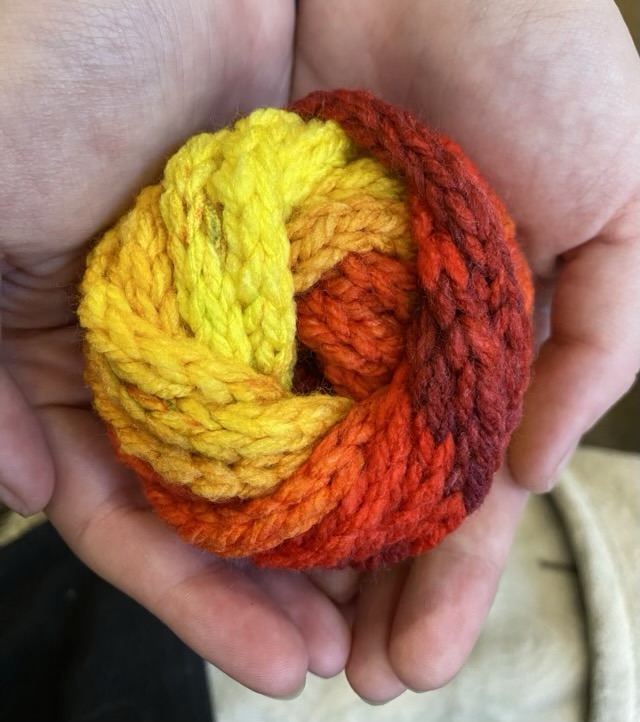
Photo description: wound ball of i-cord made of bulky red, orange, and yellow variegated acrylic yarn.
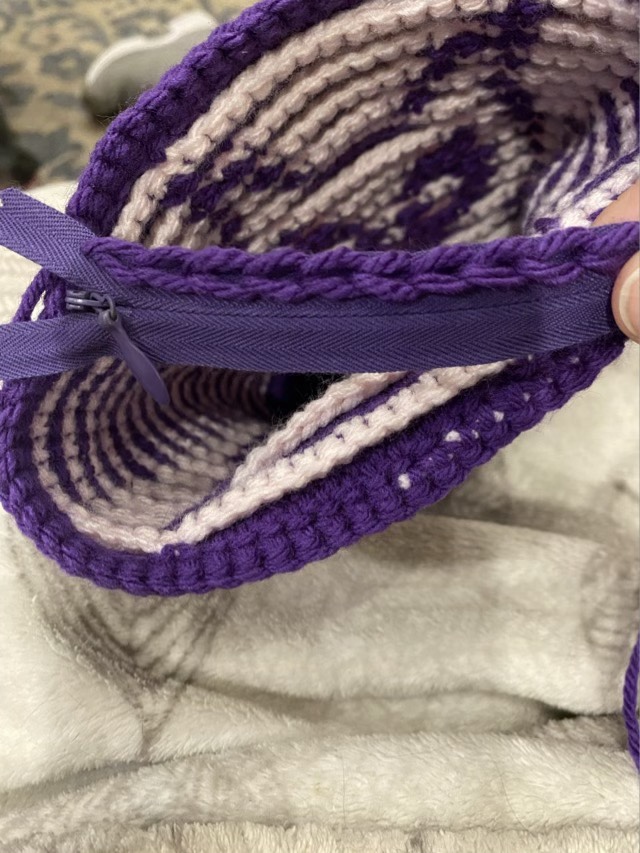
I wanted my owl bag to have a zipper, so I took a zipper from my stash and made a line of chain stitches a yarn needle and matching yarn on each side of the zipper.
Photo description: Purple invisible zipper with one side done with a line of embroidered chain stitch, in front of the bag to be zippered.
I then used a slip stitch to crochet the zipper to the inside of the bag, leaving one row as a lip at the top (mainly to help hide the zipper and stitches.)
Photo description: Finished zipper installation shown from the top of the crocheted bag.
Next for my mosaic crochet experiments is to attempt a chart of an image rather than a repeating pattern. I used the knitting chart app to plot out an owl, with the goal of making a small bag. I used a smaller hook to produce a dense fabric, and made the base as a long oval with increases on the ends in each row.
Photo description: Densely crocheted long oval in the foreground with calico cat and iPad in the background. The oval has been started with a chain, then four rounds added with increases on the ends only.
To make the walls of the bag, I worked in rounds of back loop single crochet, alternating colors, and dipping down with double crochet to block out color in the previous row. My original chart was close, but I had to make some adjustments as I went due to technical aspects. Here is the final chart.
Photo description: 25×28 grid with purple and white owl graphic.
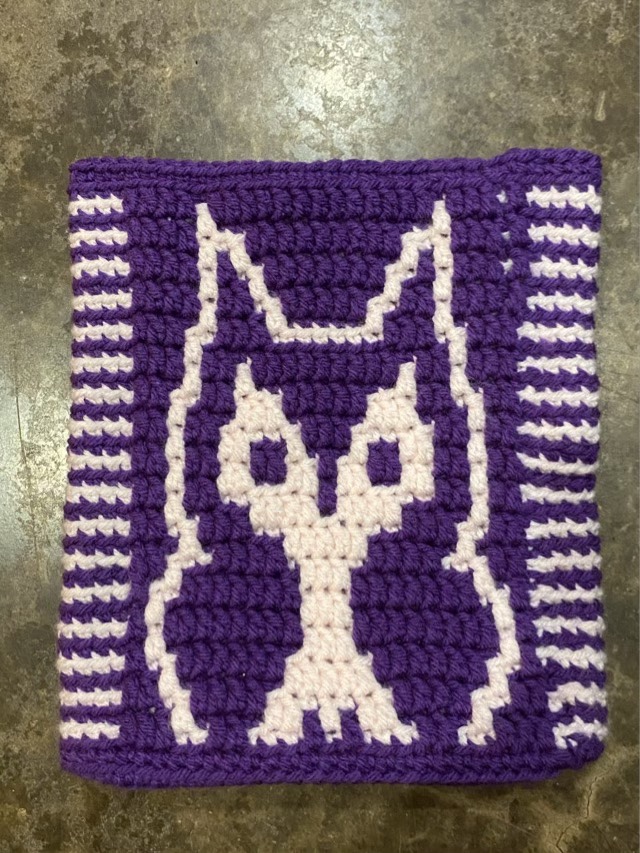
And here is one side of the bag.
Photo description: Mosaic crochet bag on its side showing an elongated owl pattern with pink and purple stripes on the side.
It is still recognizable as an owl, but does have a different look since the mosaic crochet does not produce perfectly square color blocks, at least at my current level of understanding. This phenomenon occurs in charted knitting too. I found the reverse side of the crochet intriguing, as it was almost a negative of the front.
Photo description: Inside out bag with the light pink predominant rather than the purple, and the color blocks are split by row.
Since I worked in the round, I didn’t cut my ends, but took them up to the next row as I circled. This way I had less yarn ends to weave in (yay!)