My husband and eldest started putting up wire around the runs!
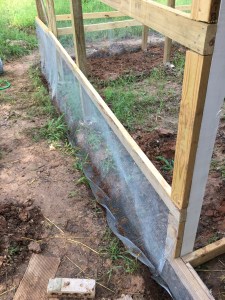
Hardware cloth along the bottom of the runs
We are using 1/4″ hardware cloth along the bottom to keep smaller critters out, but along the upper sides and top we are using larger fencing because of cost.
There is still lots to do before the chickens have free run of the place, but we are getting there!
Let’s see how this goes. We’ve decided to try to raise mealworms (we meaning my eldest and I with reserved consent from the rest of the family.)
Storage tower with painted drawers
I bought a 10 drawer plastic storage system and spray painted the drawers with paint designed to stick to plastic so the drawers would be darker (darkling beetles like the dark).
500 or so meal worms
I then bought 500 (or so) live mealworms at the local pet store. I fed a few to the chicks, just to see what they thought. They loved them.
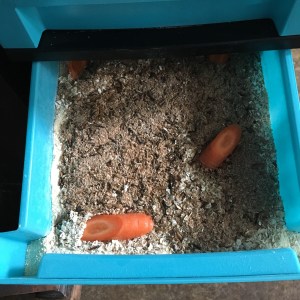
Carrots for moisture
I put some cornmeal and oatmeal in a drawer with a few slices of carrot, then put in the meal worms.
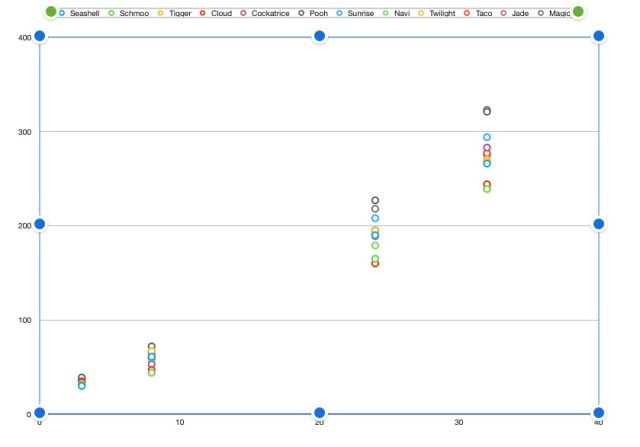
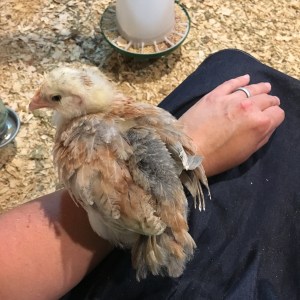
We weighed and re-banded the chicks today. We weighed them first and moved them out to have some outside time. They are all growing nicely!
Chick growth chart
After having some chill time outside, and a bunch of grass, we worked on rebanding. (I tried to take a picture, but they are so wiggly!) They all needed new bands, some more than others, but I feel better that they all have nice loose bands now. Another plus about their five toes, that fifth toe does a great job holding up the cable tie.
While they were outside, I also cleaned out their inside area. I’m pretty sure half the litter was old food. Messy things. Good thing they are cute.
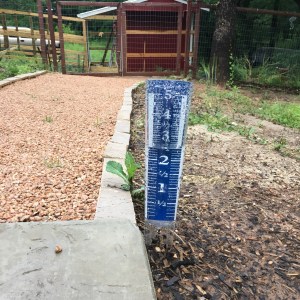
We’ve been getting quite the down pours this spring. We had 2.5 inches last night. Last night.
New rain gauge filled with last night’s rain
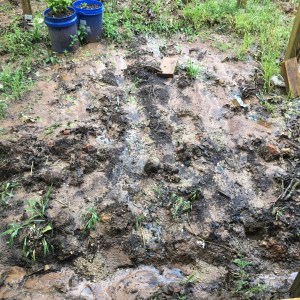
I had already decided that the garden in the middle chicken run wasn’t going to work (mainly because it is quite shady in spring), and had moved the basil plants to pots. Last night’s rain finished washing away the garden area.
Washed out garden
So now the plan is to sow some rye for the chickens and to help hold the soil. We’ll see how that goes.
In a pinch, or if you need a bunch of needles for teaching a class, you can make knitting needles from dowels you can find in a hardware store. Making your own needles not only gives you a greater connection to your knitting, it is a much cheaper way to have wood needles, which I find more pleasing than plastic or aluminum when knitting (these are cheaper than those too).
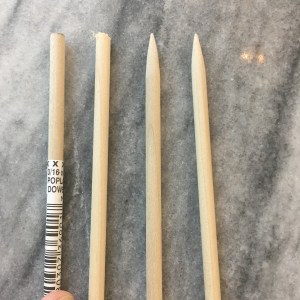
To make these needles I picked up 3/8″ poplar dowels, which are about 68 cents each, at my local hardware store. I also used 120 and 320 grit sand paper. I cut the dowels to 14.5″ (I used a chop saw, but a hand saw would also work). You can use the 120 grit sandpaper to sharpen one end of the dowel. Make a slightly more slanted angle than a sharpened pencil. Blunt the end slightly, so that it is still easy to pick up a stitch, but is harder to split the yarn.
Sharpening the dowel using sandpaper
Sand the whole needle with 320 grit paper so the yarn slides nicely, but isn’t slick. Rub your hands along the needle; the oils from your skin will help the yarn slide on the needle, and the needles with continue to improve with use.
From left to right: 3/8” dowel, cut dowel, shaped end, sanded end
I used wooden beads with a 3/8″ hole to put a stop on the end of my needle. Alternatively you could use a fancier large hole bead, air dry clay, or Sculpy clay on the end to make a stop. A drop of glue will help keep the stop in place.
Wood bead with 3/8“ holeEnd stop
If you knit with a tight tension on your yarn, you may break the needle, but you can always make more needles. And learn to ease up the tension without breaking one of the fancy turned needles from the specialty yarn shop (ouch).