Eggs

We are currently getting about two eggs a day. One in the early morning, one either late morning or afternoon. Even though I am gathering one egg at a time, I still tie on my egg apron before I go out. It makes me happy to see an egg in the pocket! (I made the aprons two years ago for my kids so they could gather eggs at Oma’s.)

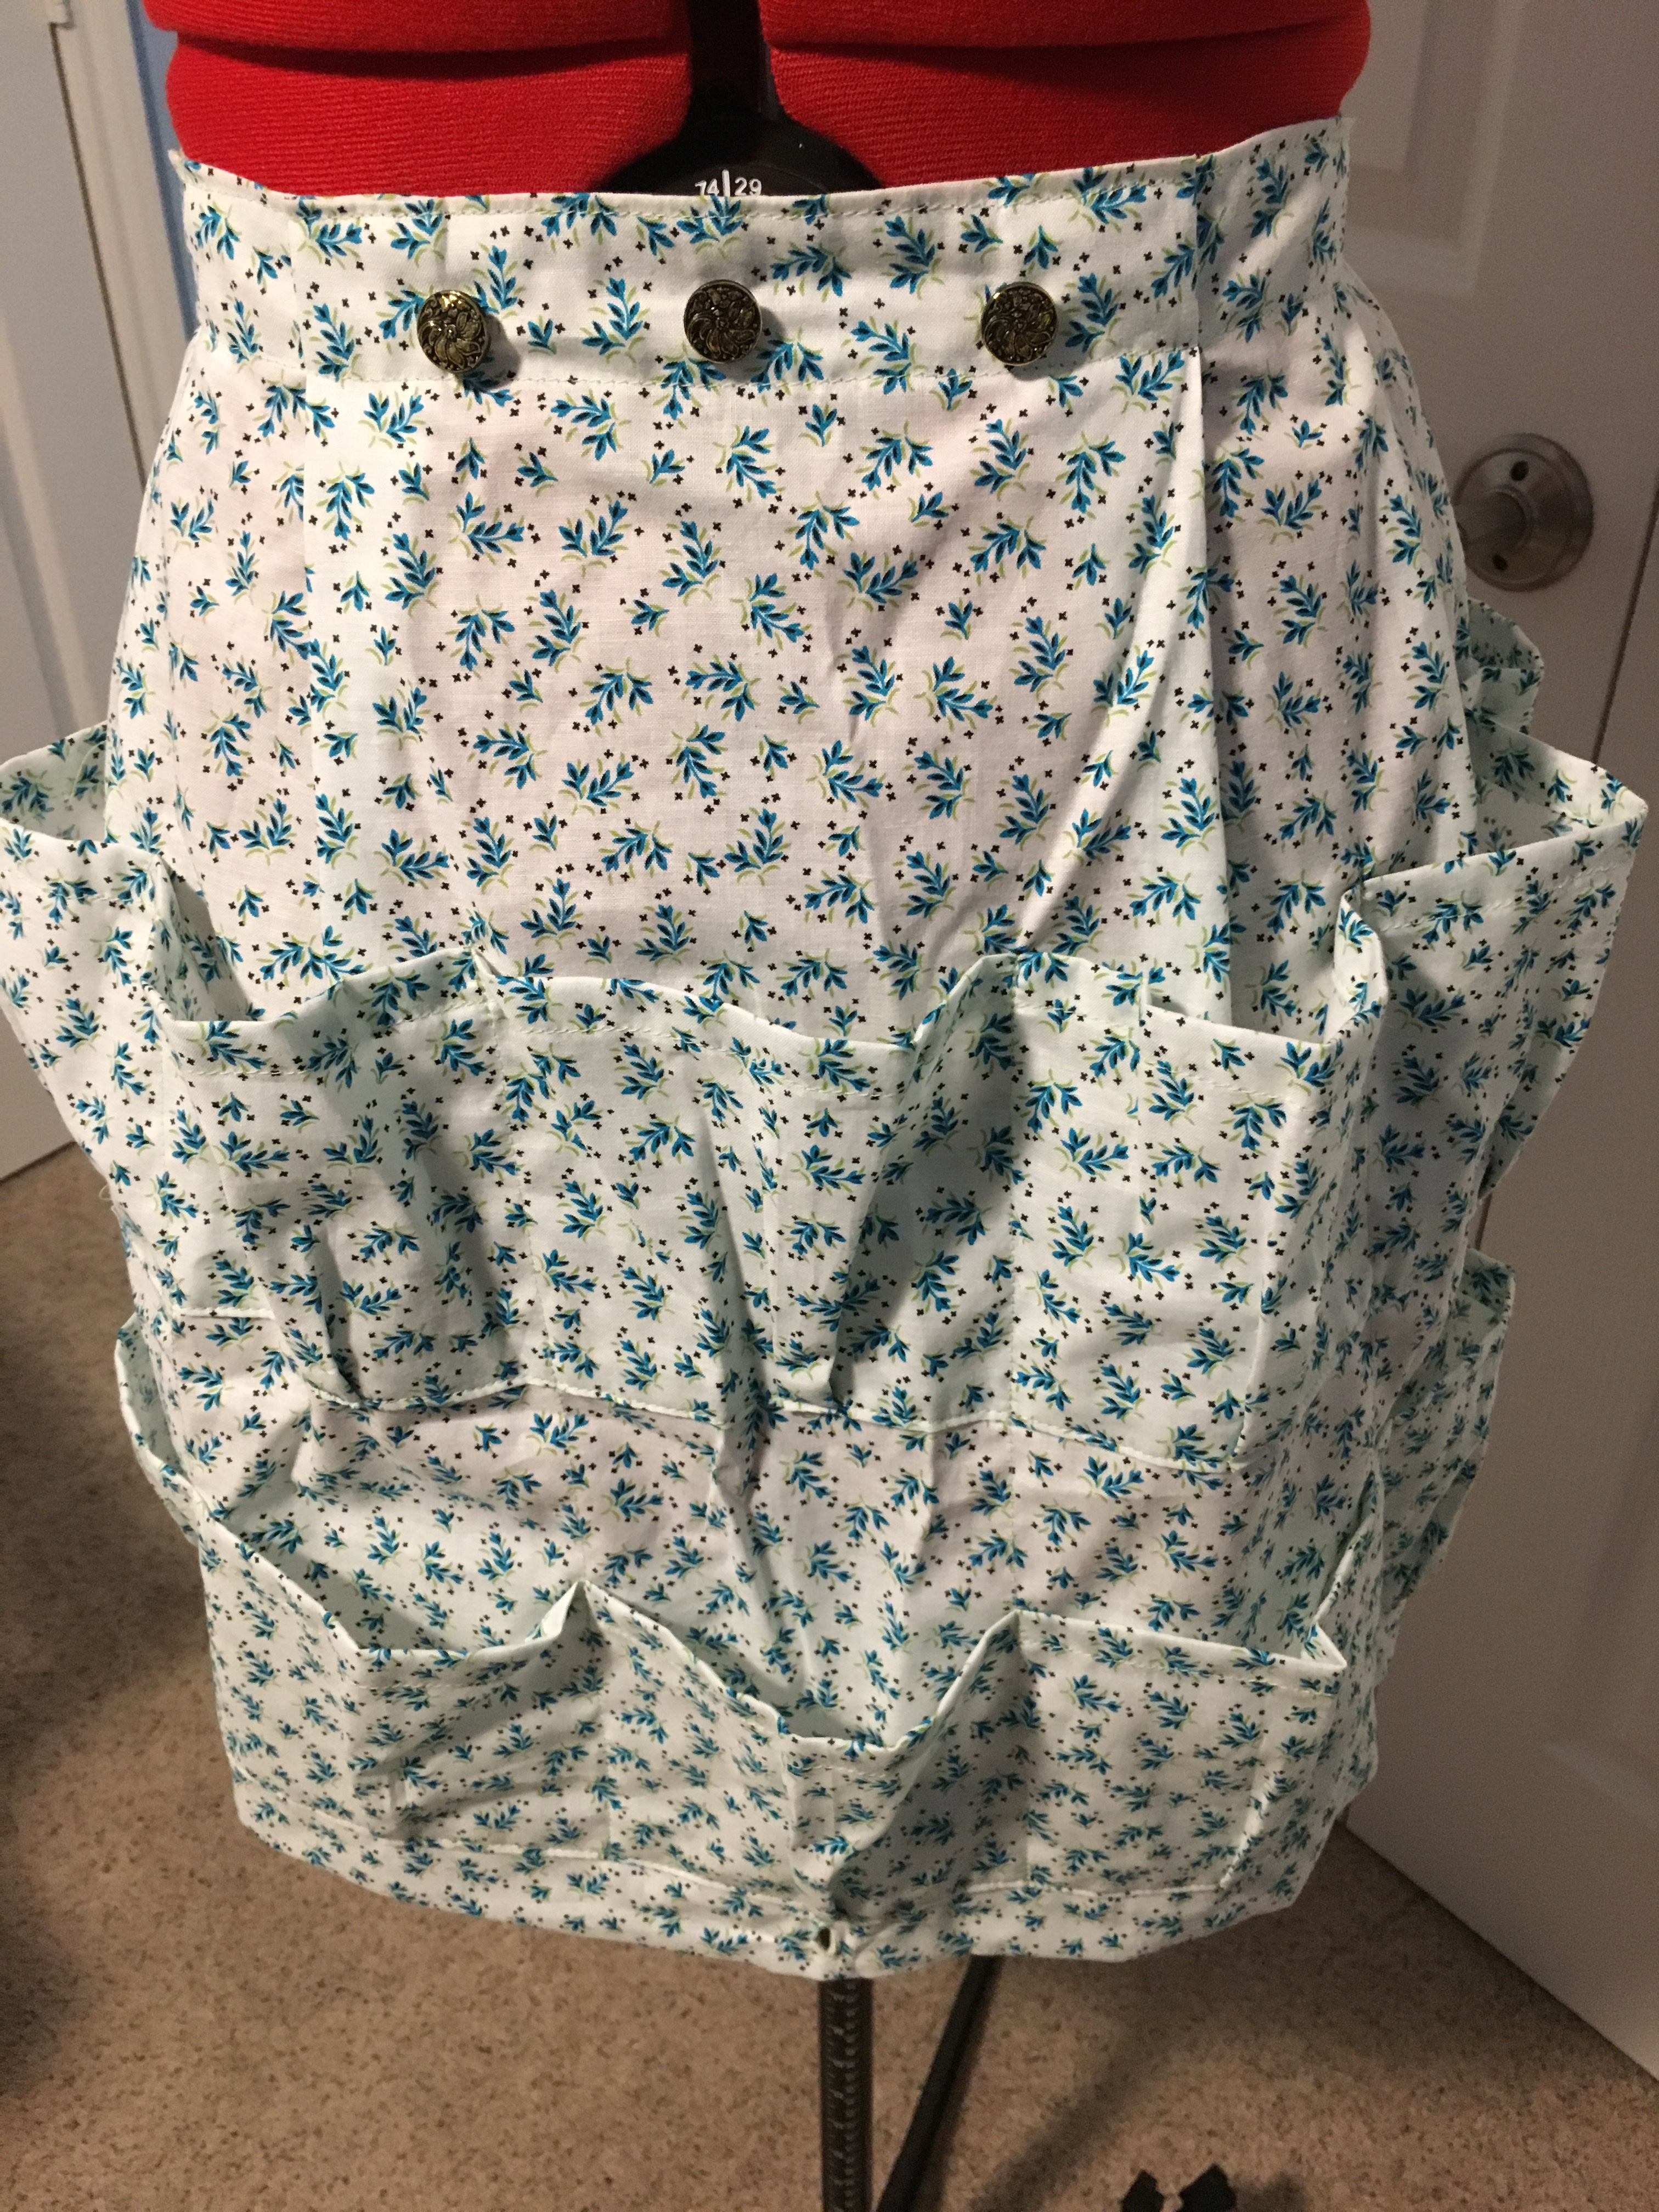
Egg in a pocket
Egg/harvest apron made from calico fabric (2017)
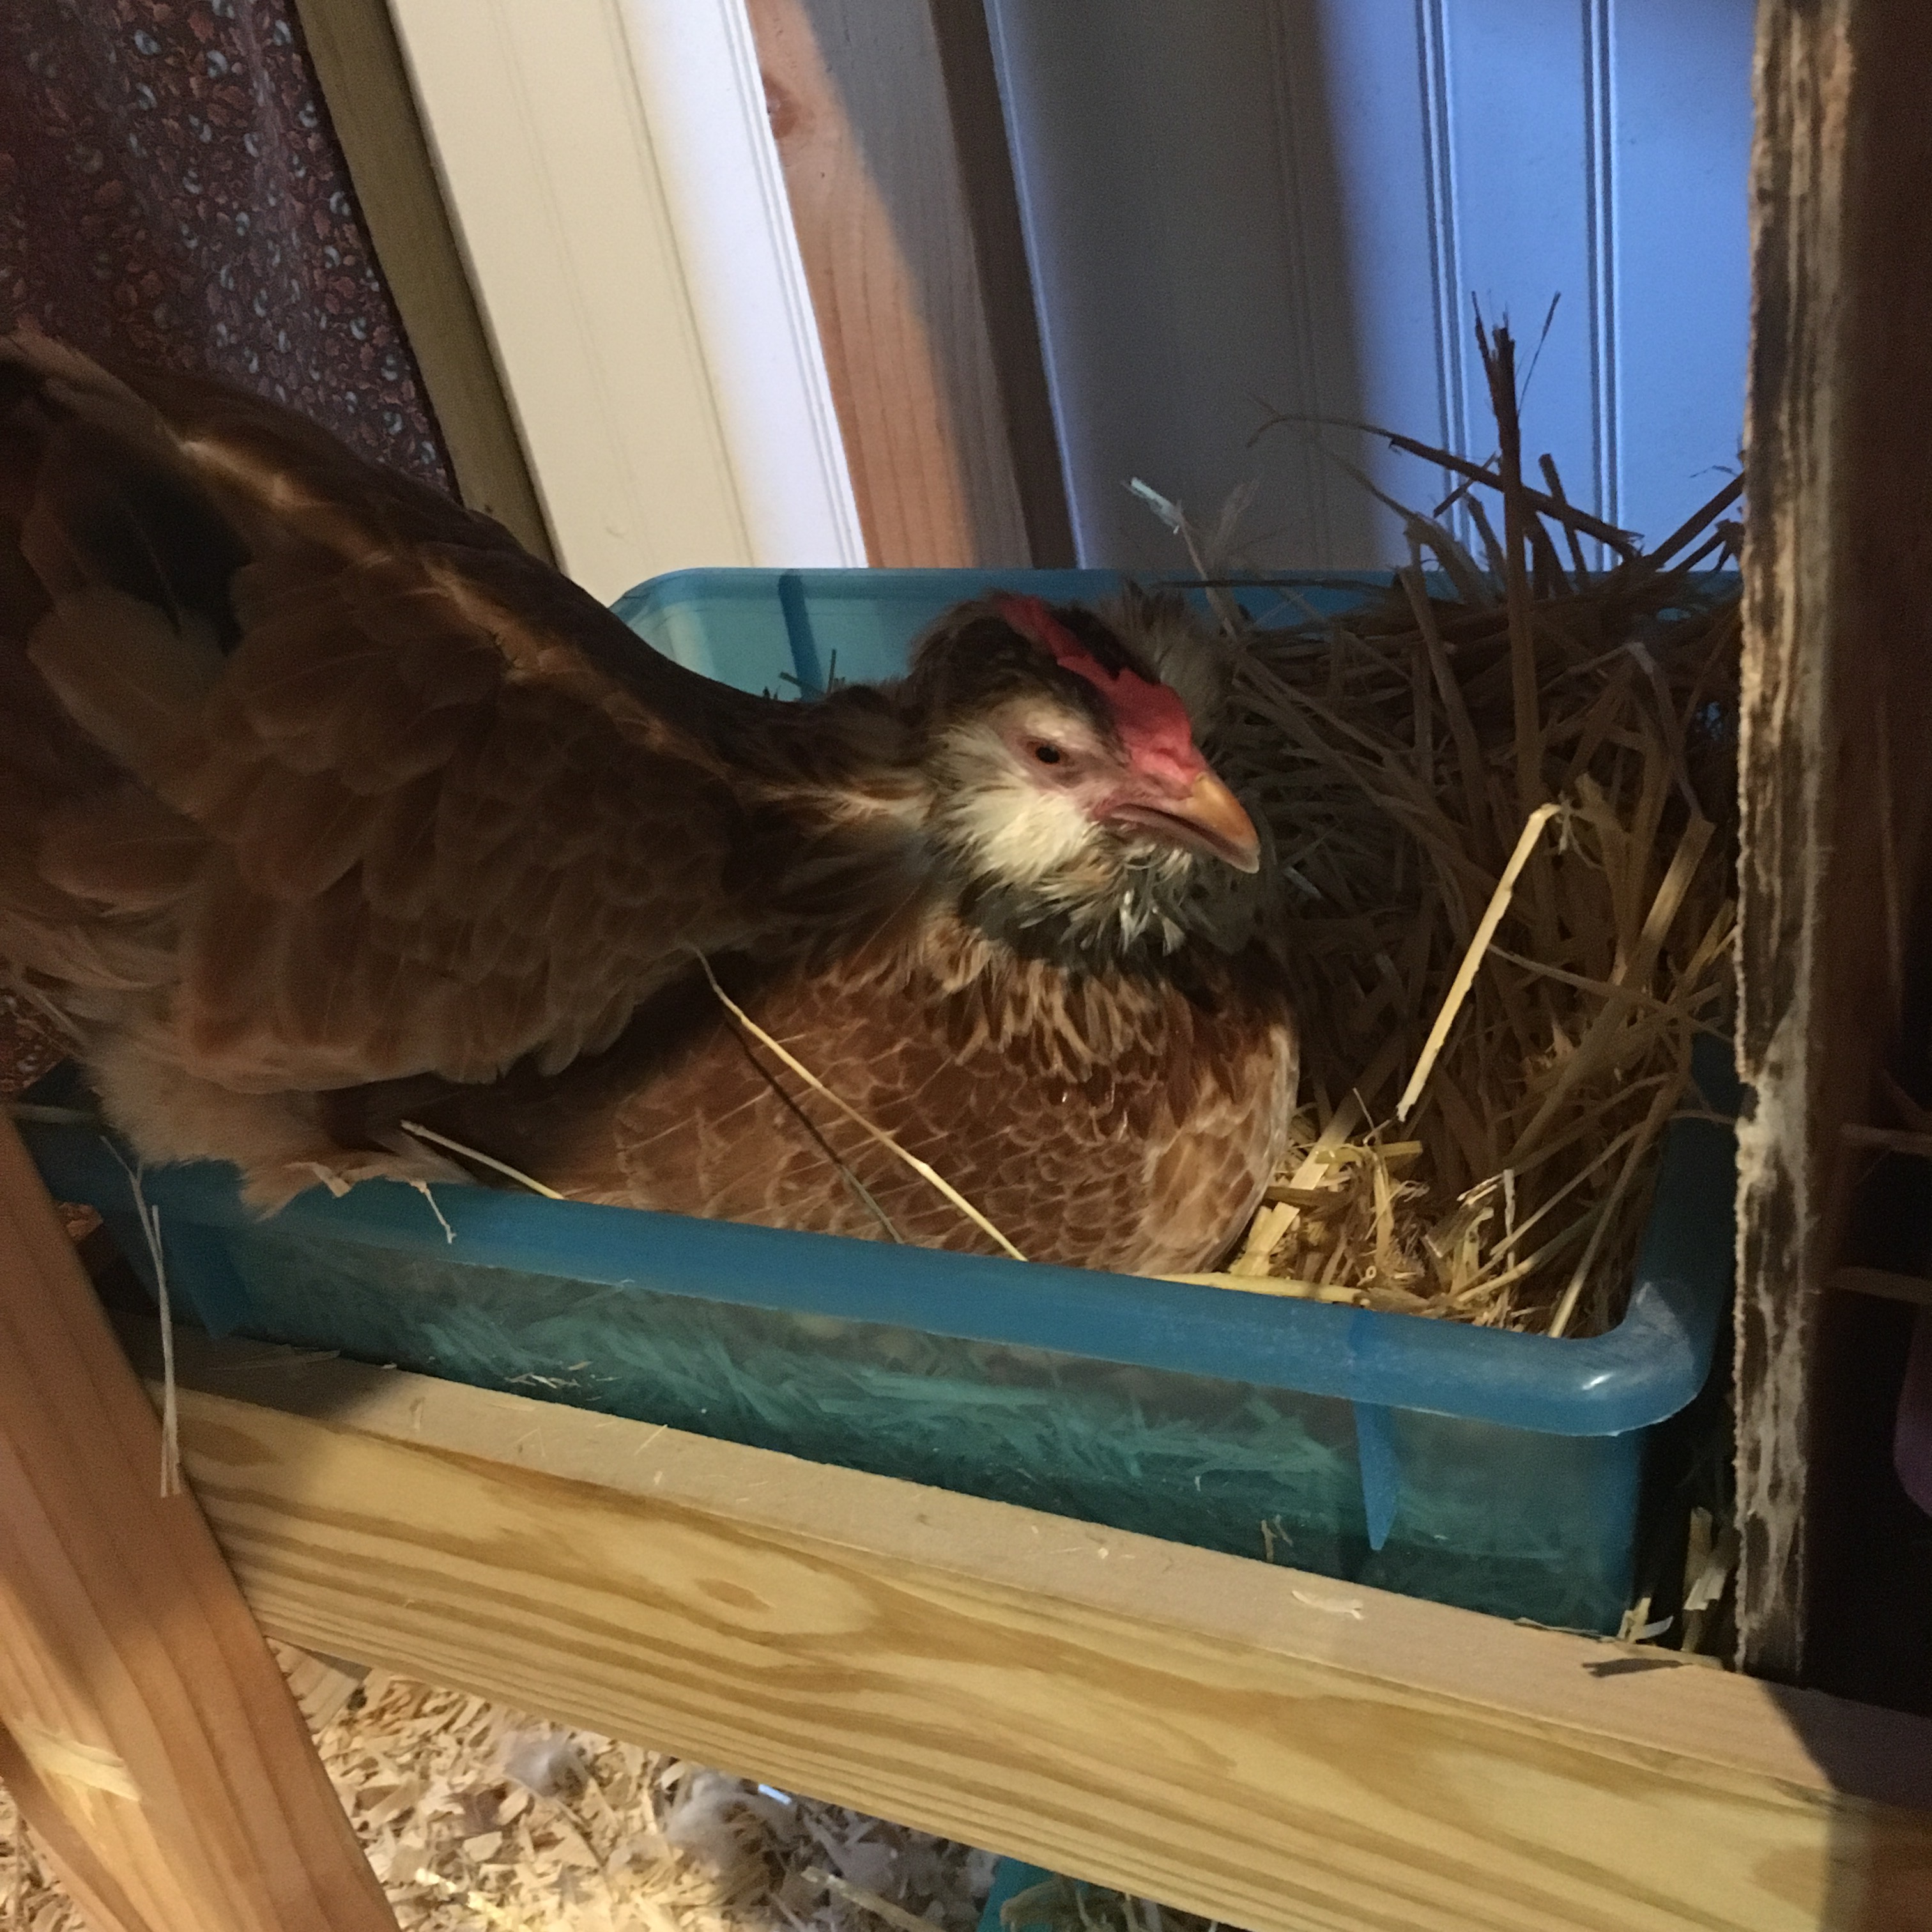
Chicken on a nest

Mostly I find eggs in the nest boxes under the work bench, but early in the morning I found one in the shavings under the roost, and another time by the coop door. I guess the chickens were surprised. We think that Cloud, Pooh, and maybe Magic are laying, because they take the submissive posture when their back is touched. The others don’t.
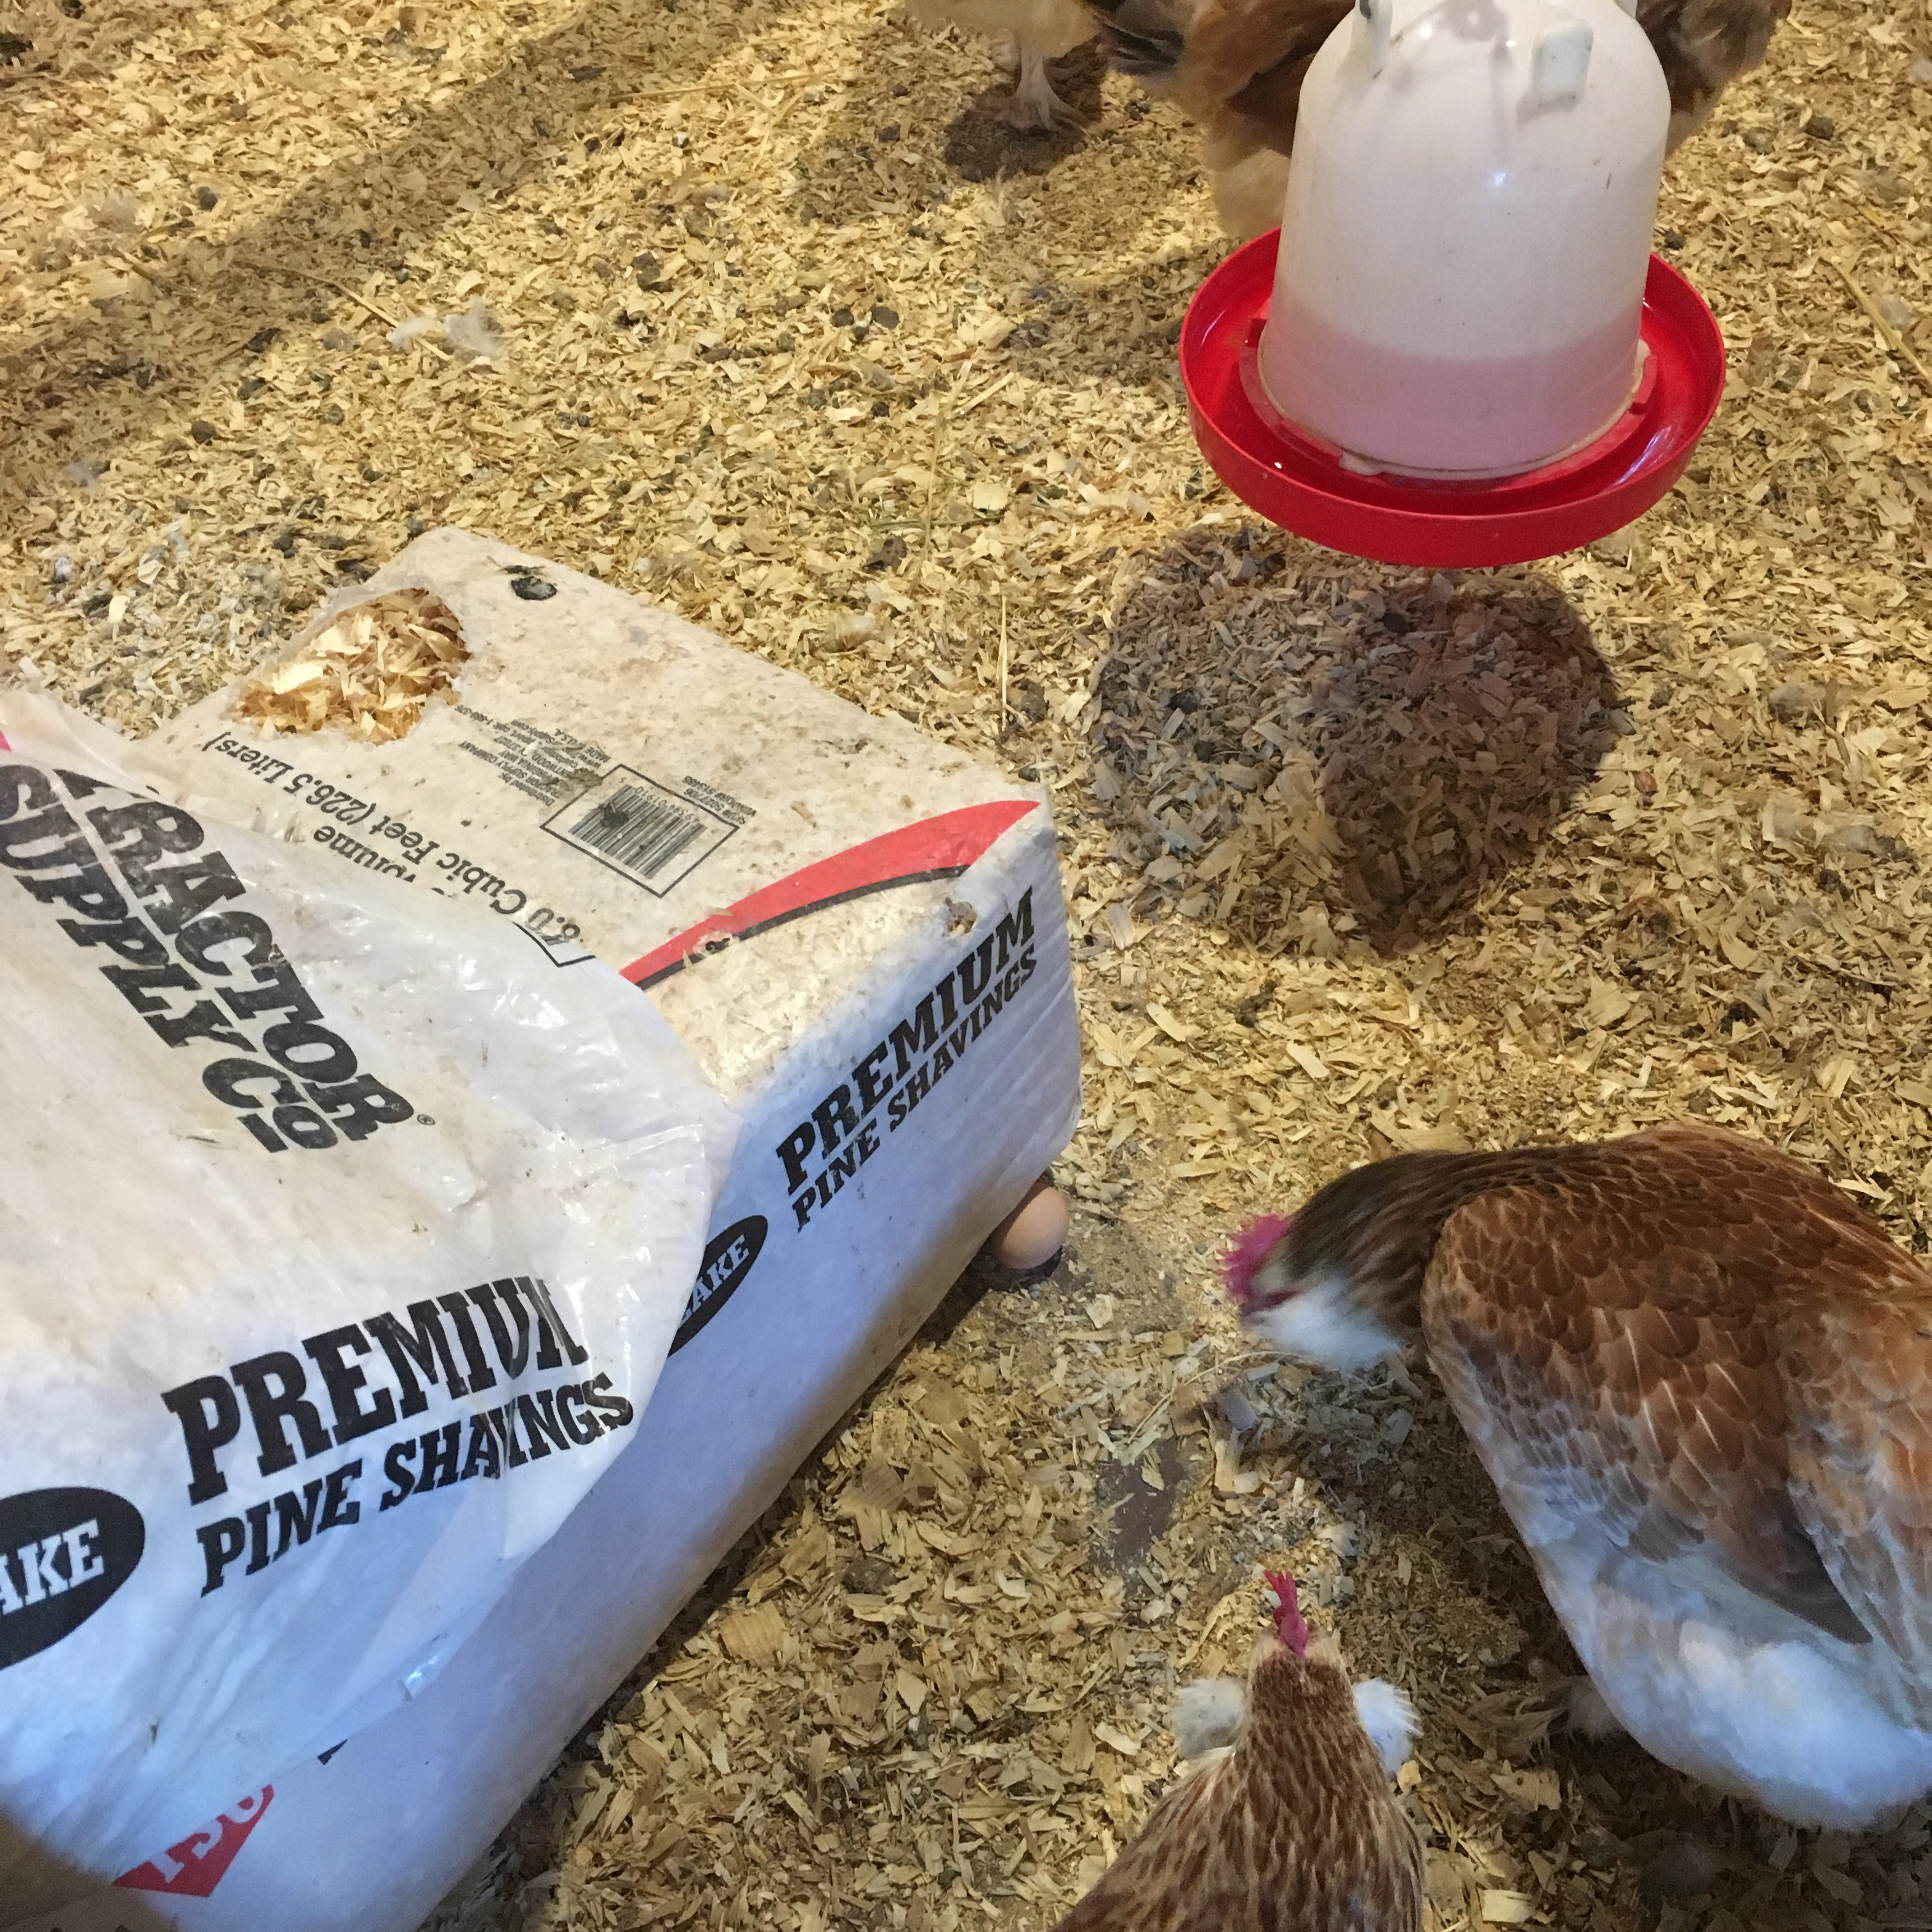
Stray egg

I also decided to blow out some eggs to keep the shell. It will be interesting to see how the size of the hens eggs change over time! These eggs were much easier to make holes in than my store bought eggs without completely cracking them. Better shells maybe? I used a knife with a sharp tip to tap the hole in each end (larger on one side for the egg material to exit), rounded the holes by gently scraping with the knife, scrambled the inside with a wire, and used a straw to blow out the egg. (I’ve seen where those eggs come from! My lips are not touching that egg shell!)
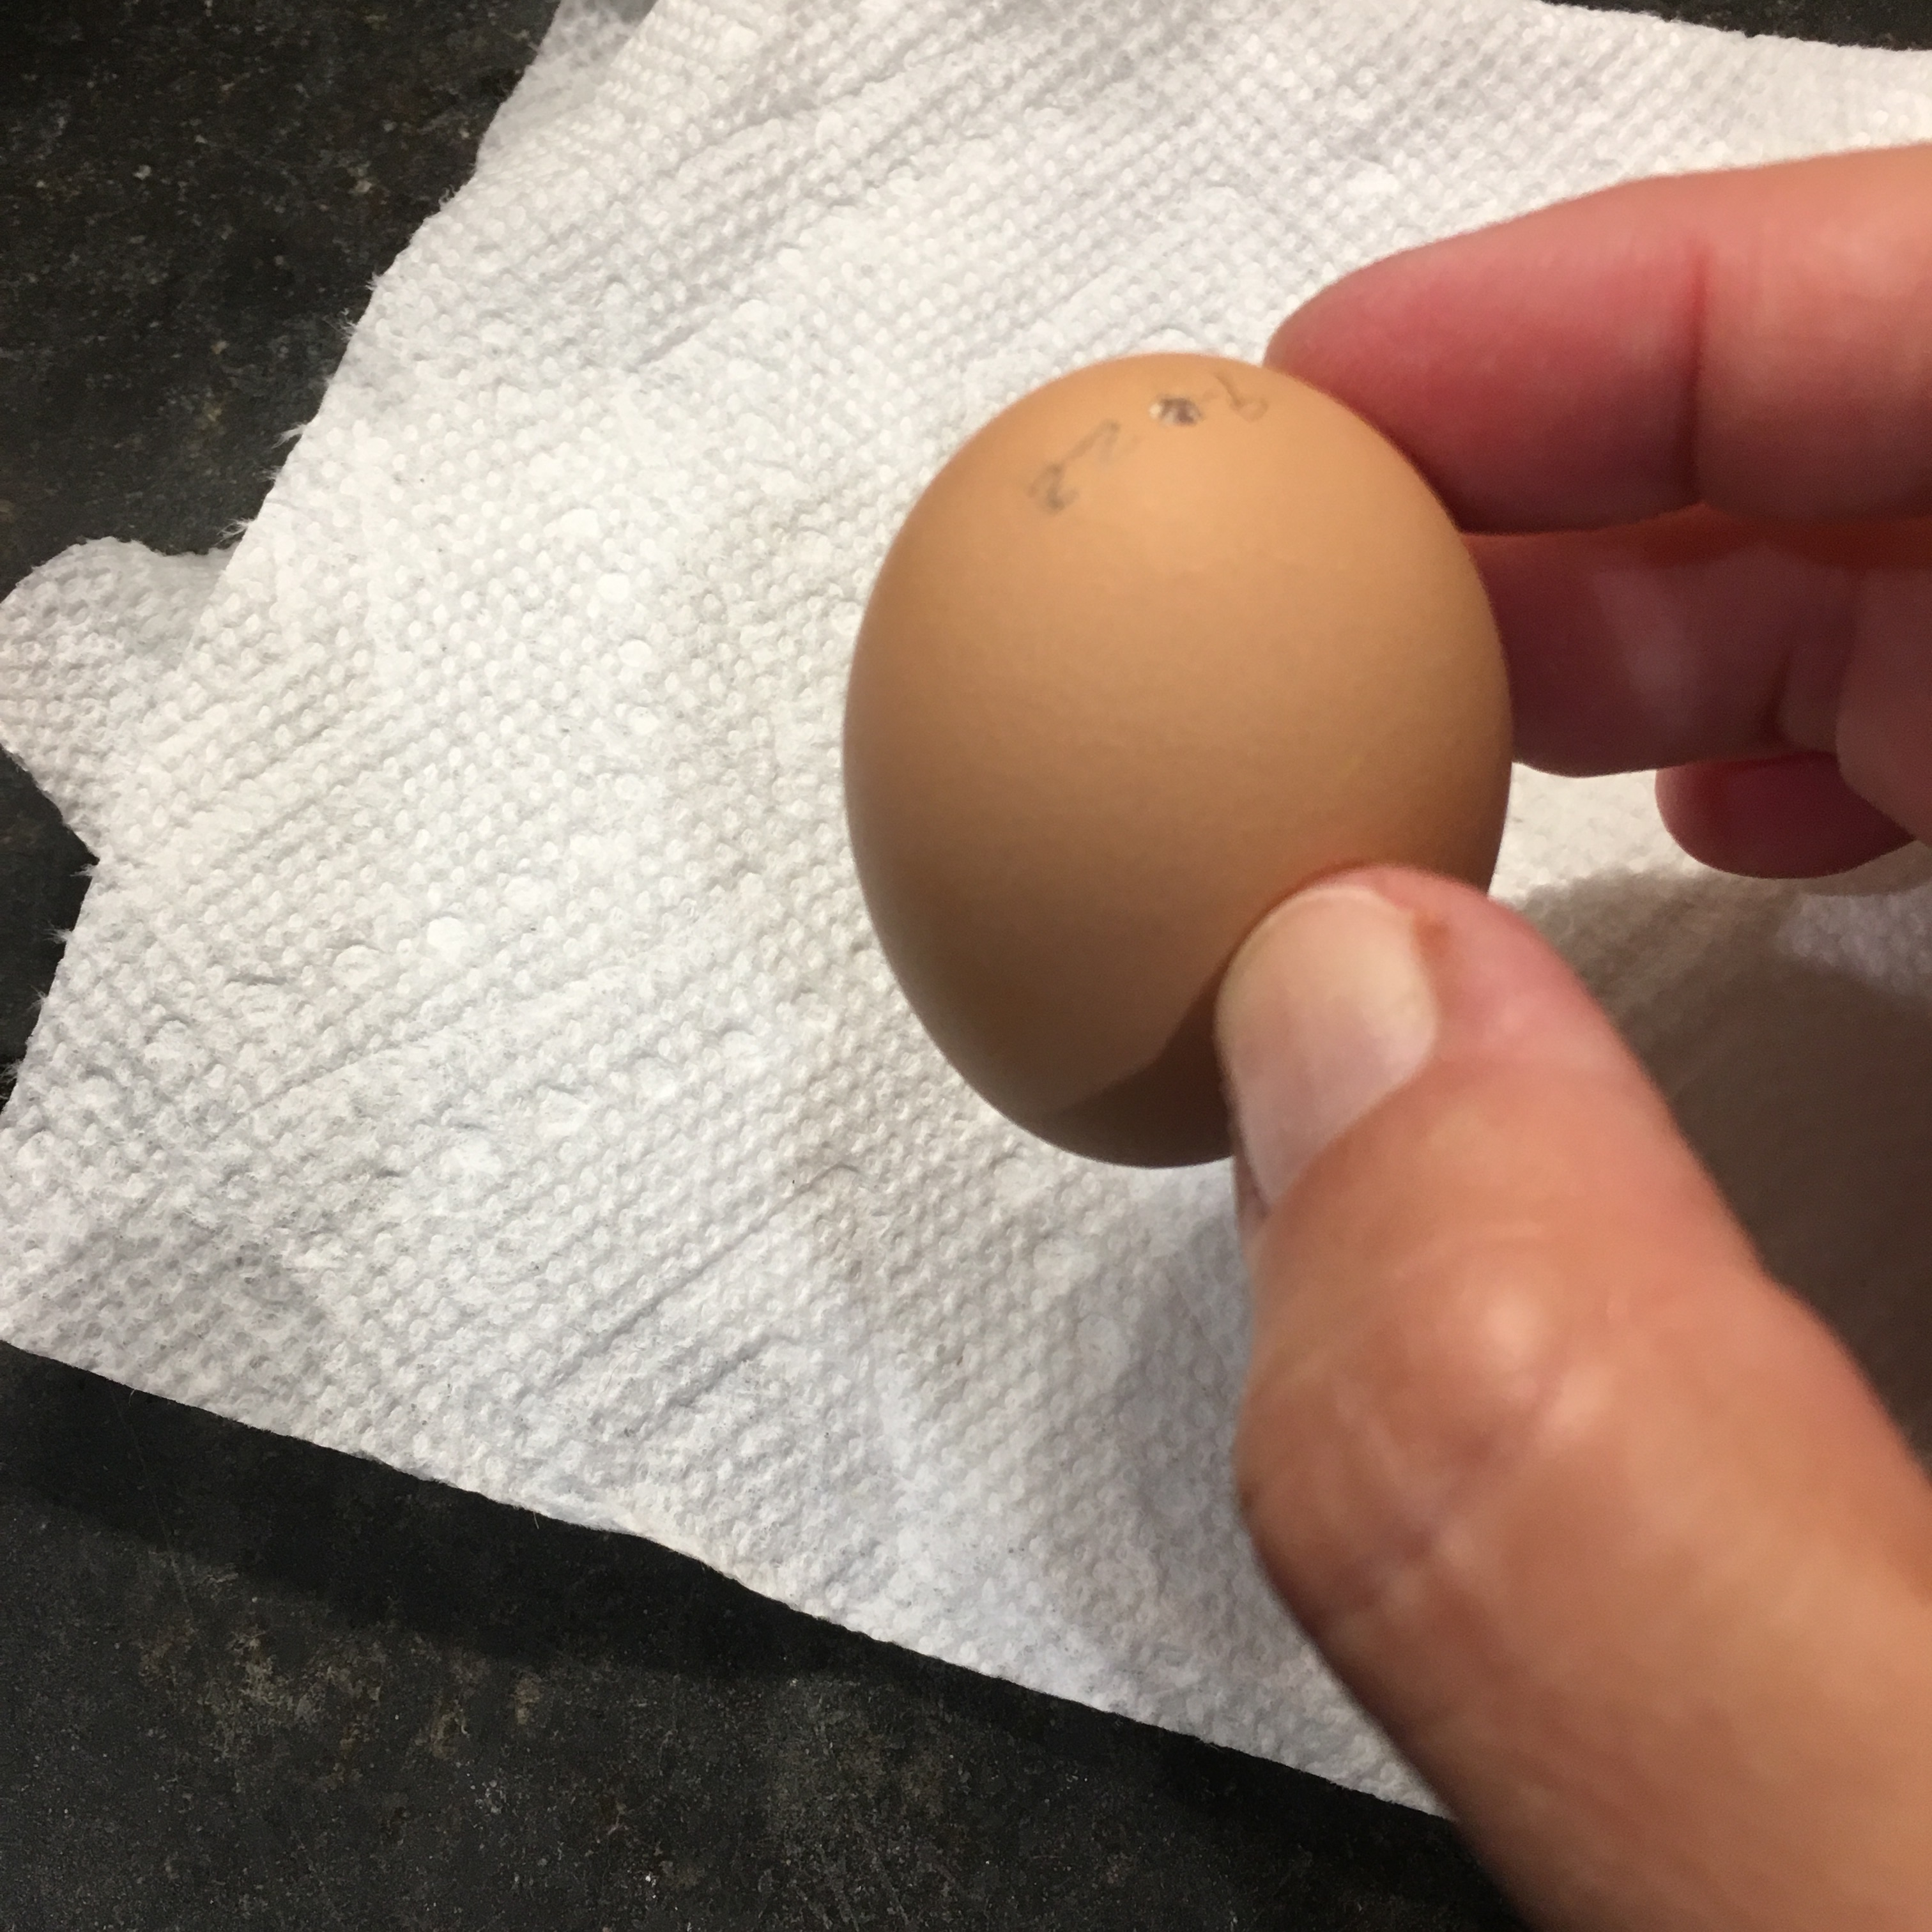
Blown out egg shell

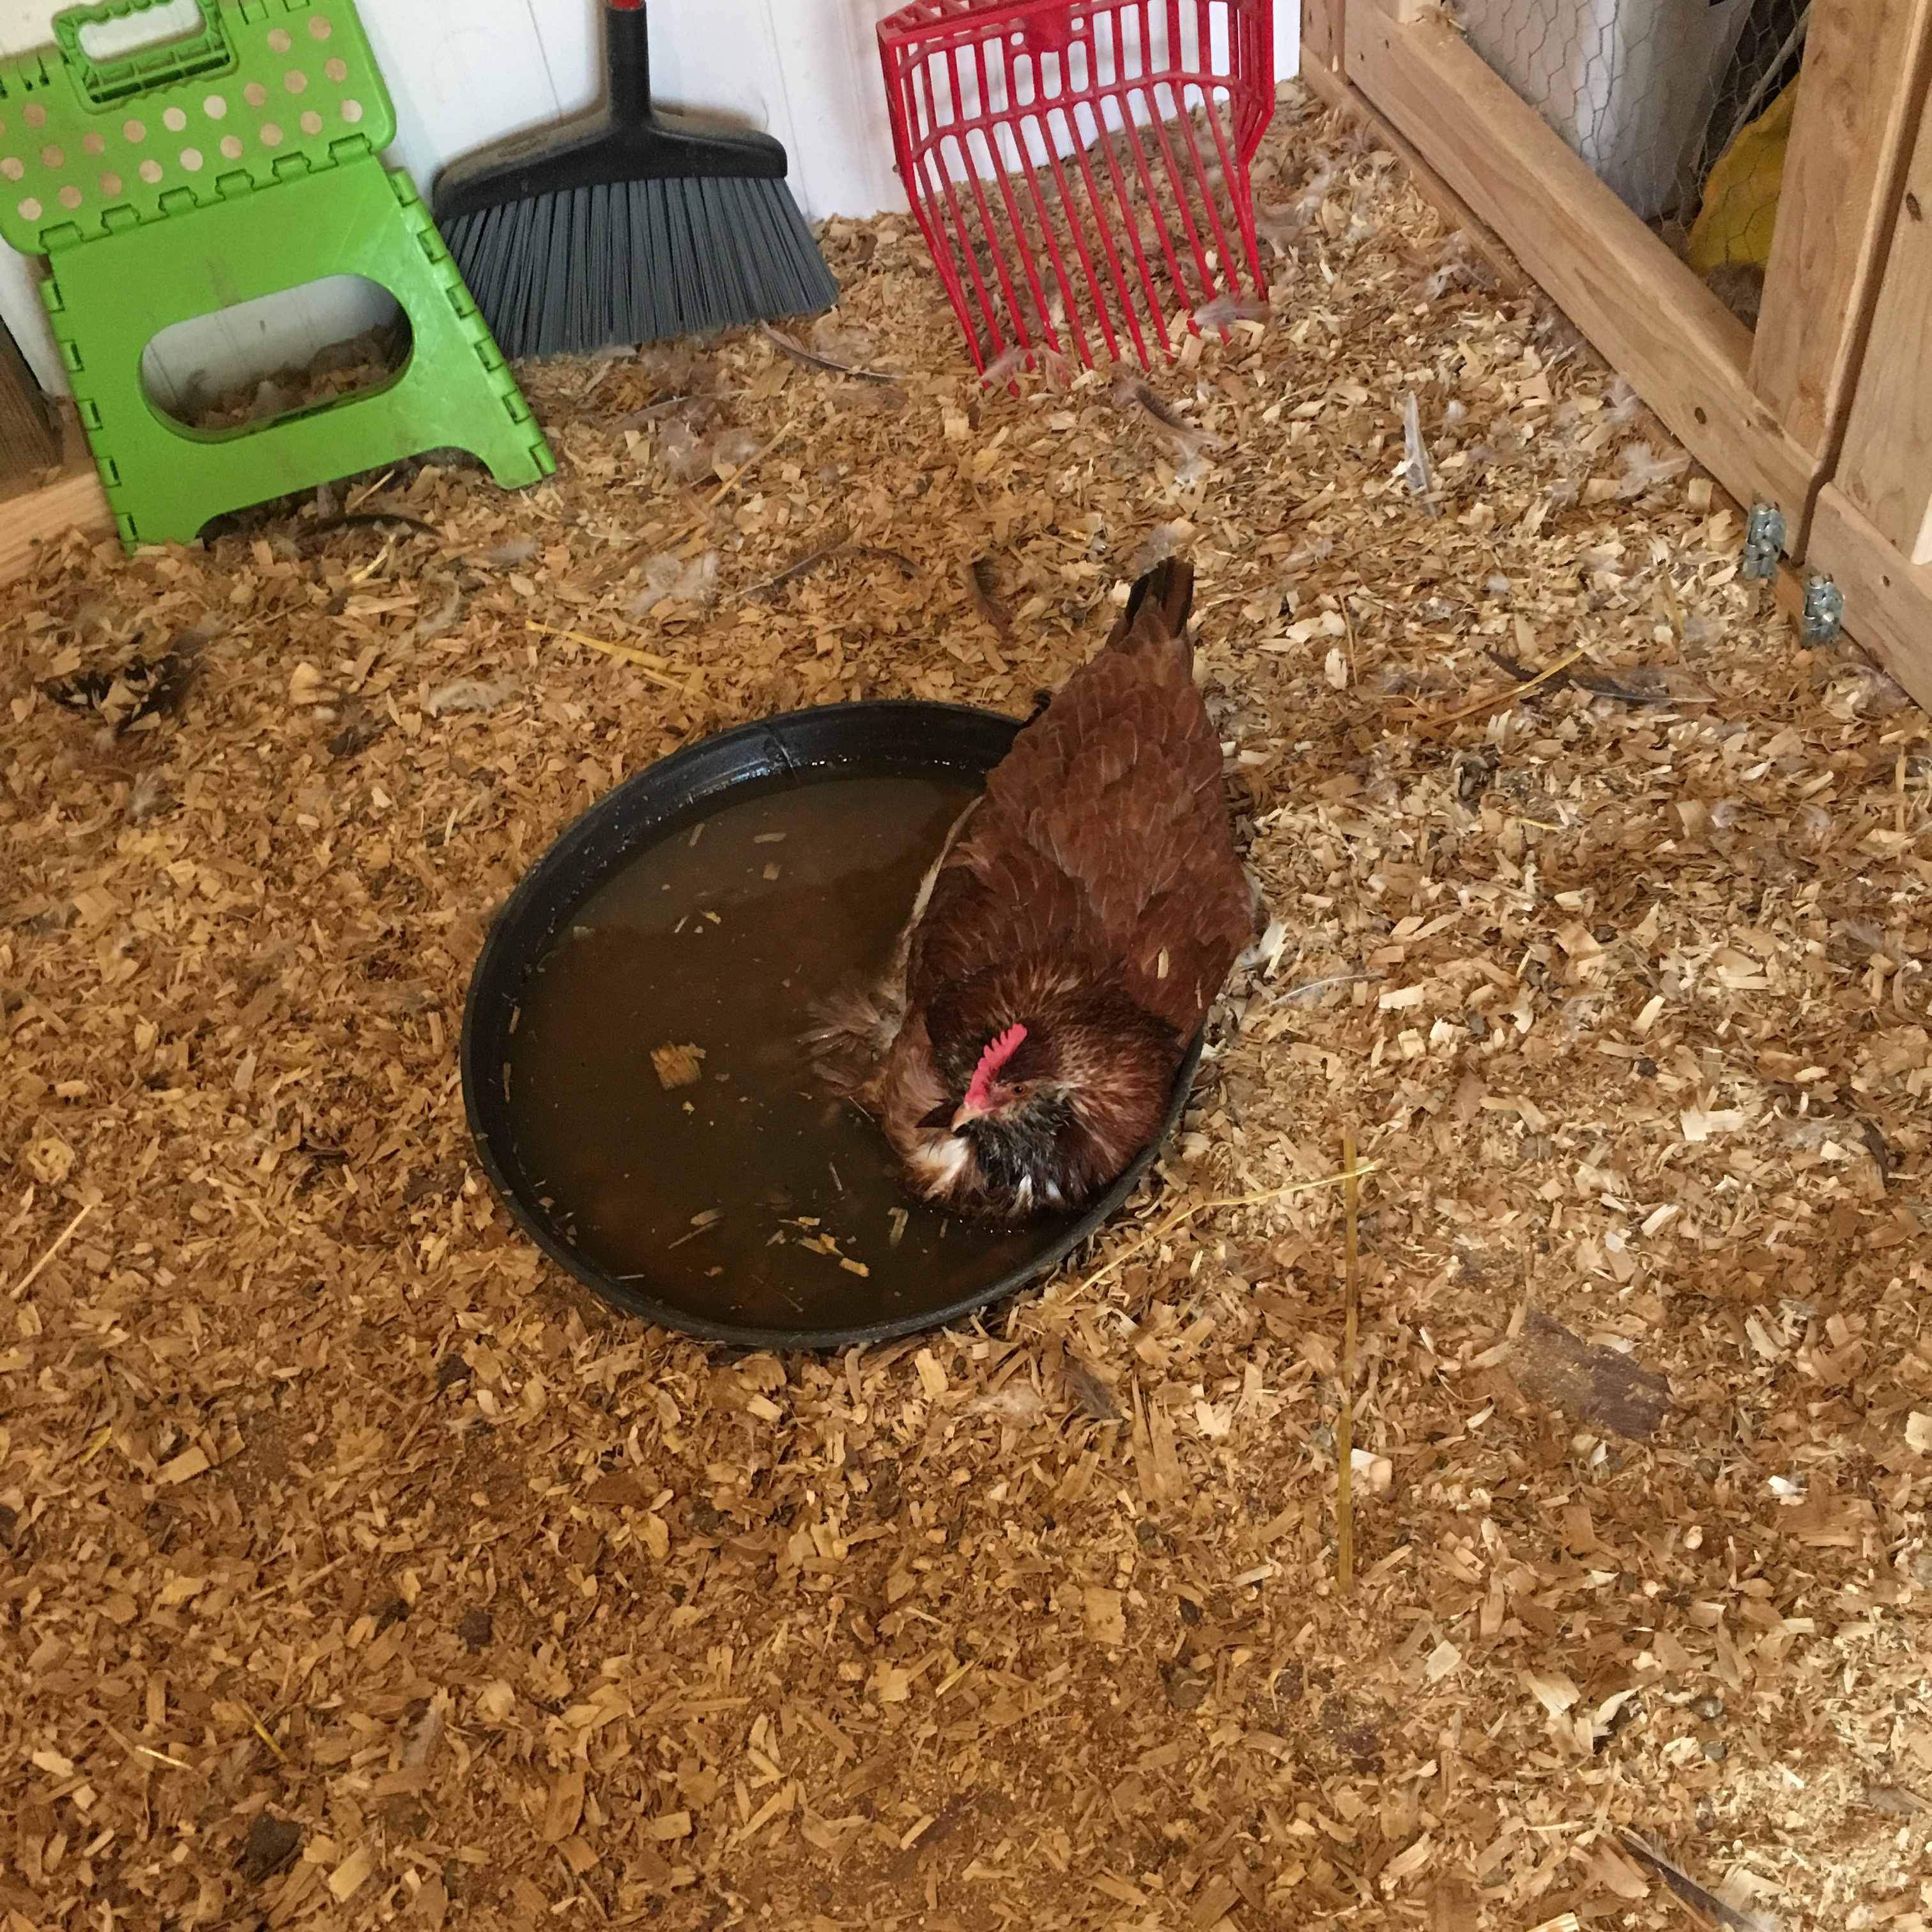
Uh, that is not a dust bath.

Seashell laying in the foot bath

Seriously? I thought chickens didn’t like to be wet. I’ve been watching the chickens dust bath closer and closer to the foot bath, but I didn’t expect to find one laying in the water. She wasn’t stuck, can walk fine, didn’t seem overly bothered that her feathers were wet, just … confused. I will have to keep an eye on her too. That was definitely not a fresh foot bath. Ew.

Chemistry

Had to dust off my chemistry degree to tend to Navi. The treatments for impacted crop were not working, so we moved on to treatments for sour crop, thinking that she has a fungal infection in her crop. I’m still following the advice in “The Chicken Health Handbook” by Gail Damerow. For sour crop, she recommends a flush, then treatment with Copper Sulfate. To make the Copper Sulfate drinking solution, first you have to make a stock solution, then add a little of the stock solution to a gallon of water. This is where my chemistry neurons had to be dusted off, and frankly I had to consult with my chemist Mom, because inorganic chemistry has never been my strong point. I made the stock solution and drinking water, which promptly turned cloudy and a little while later had precipitates at the bottom.

Copper Sulfate Solution made with softened water (precipitate formed)

Copper Sulfate solution should be clear. I figured out that it was probably that I used softened water from the sink, so remade both solutions using Reverse Osmosis water. Ah, a clear solution. My Mom hypothesizes that the precipitate was probably Copper Chloride Hydrate. I could have tested the precipitate, but I had already used the solution for a root killer in the yard, pouring it on poison ivy and saw briar stems. Copper Sulfate is a fungicide and a root killer.

Copper Sulfate solution made with reverse osmosis water (clear!)

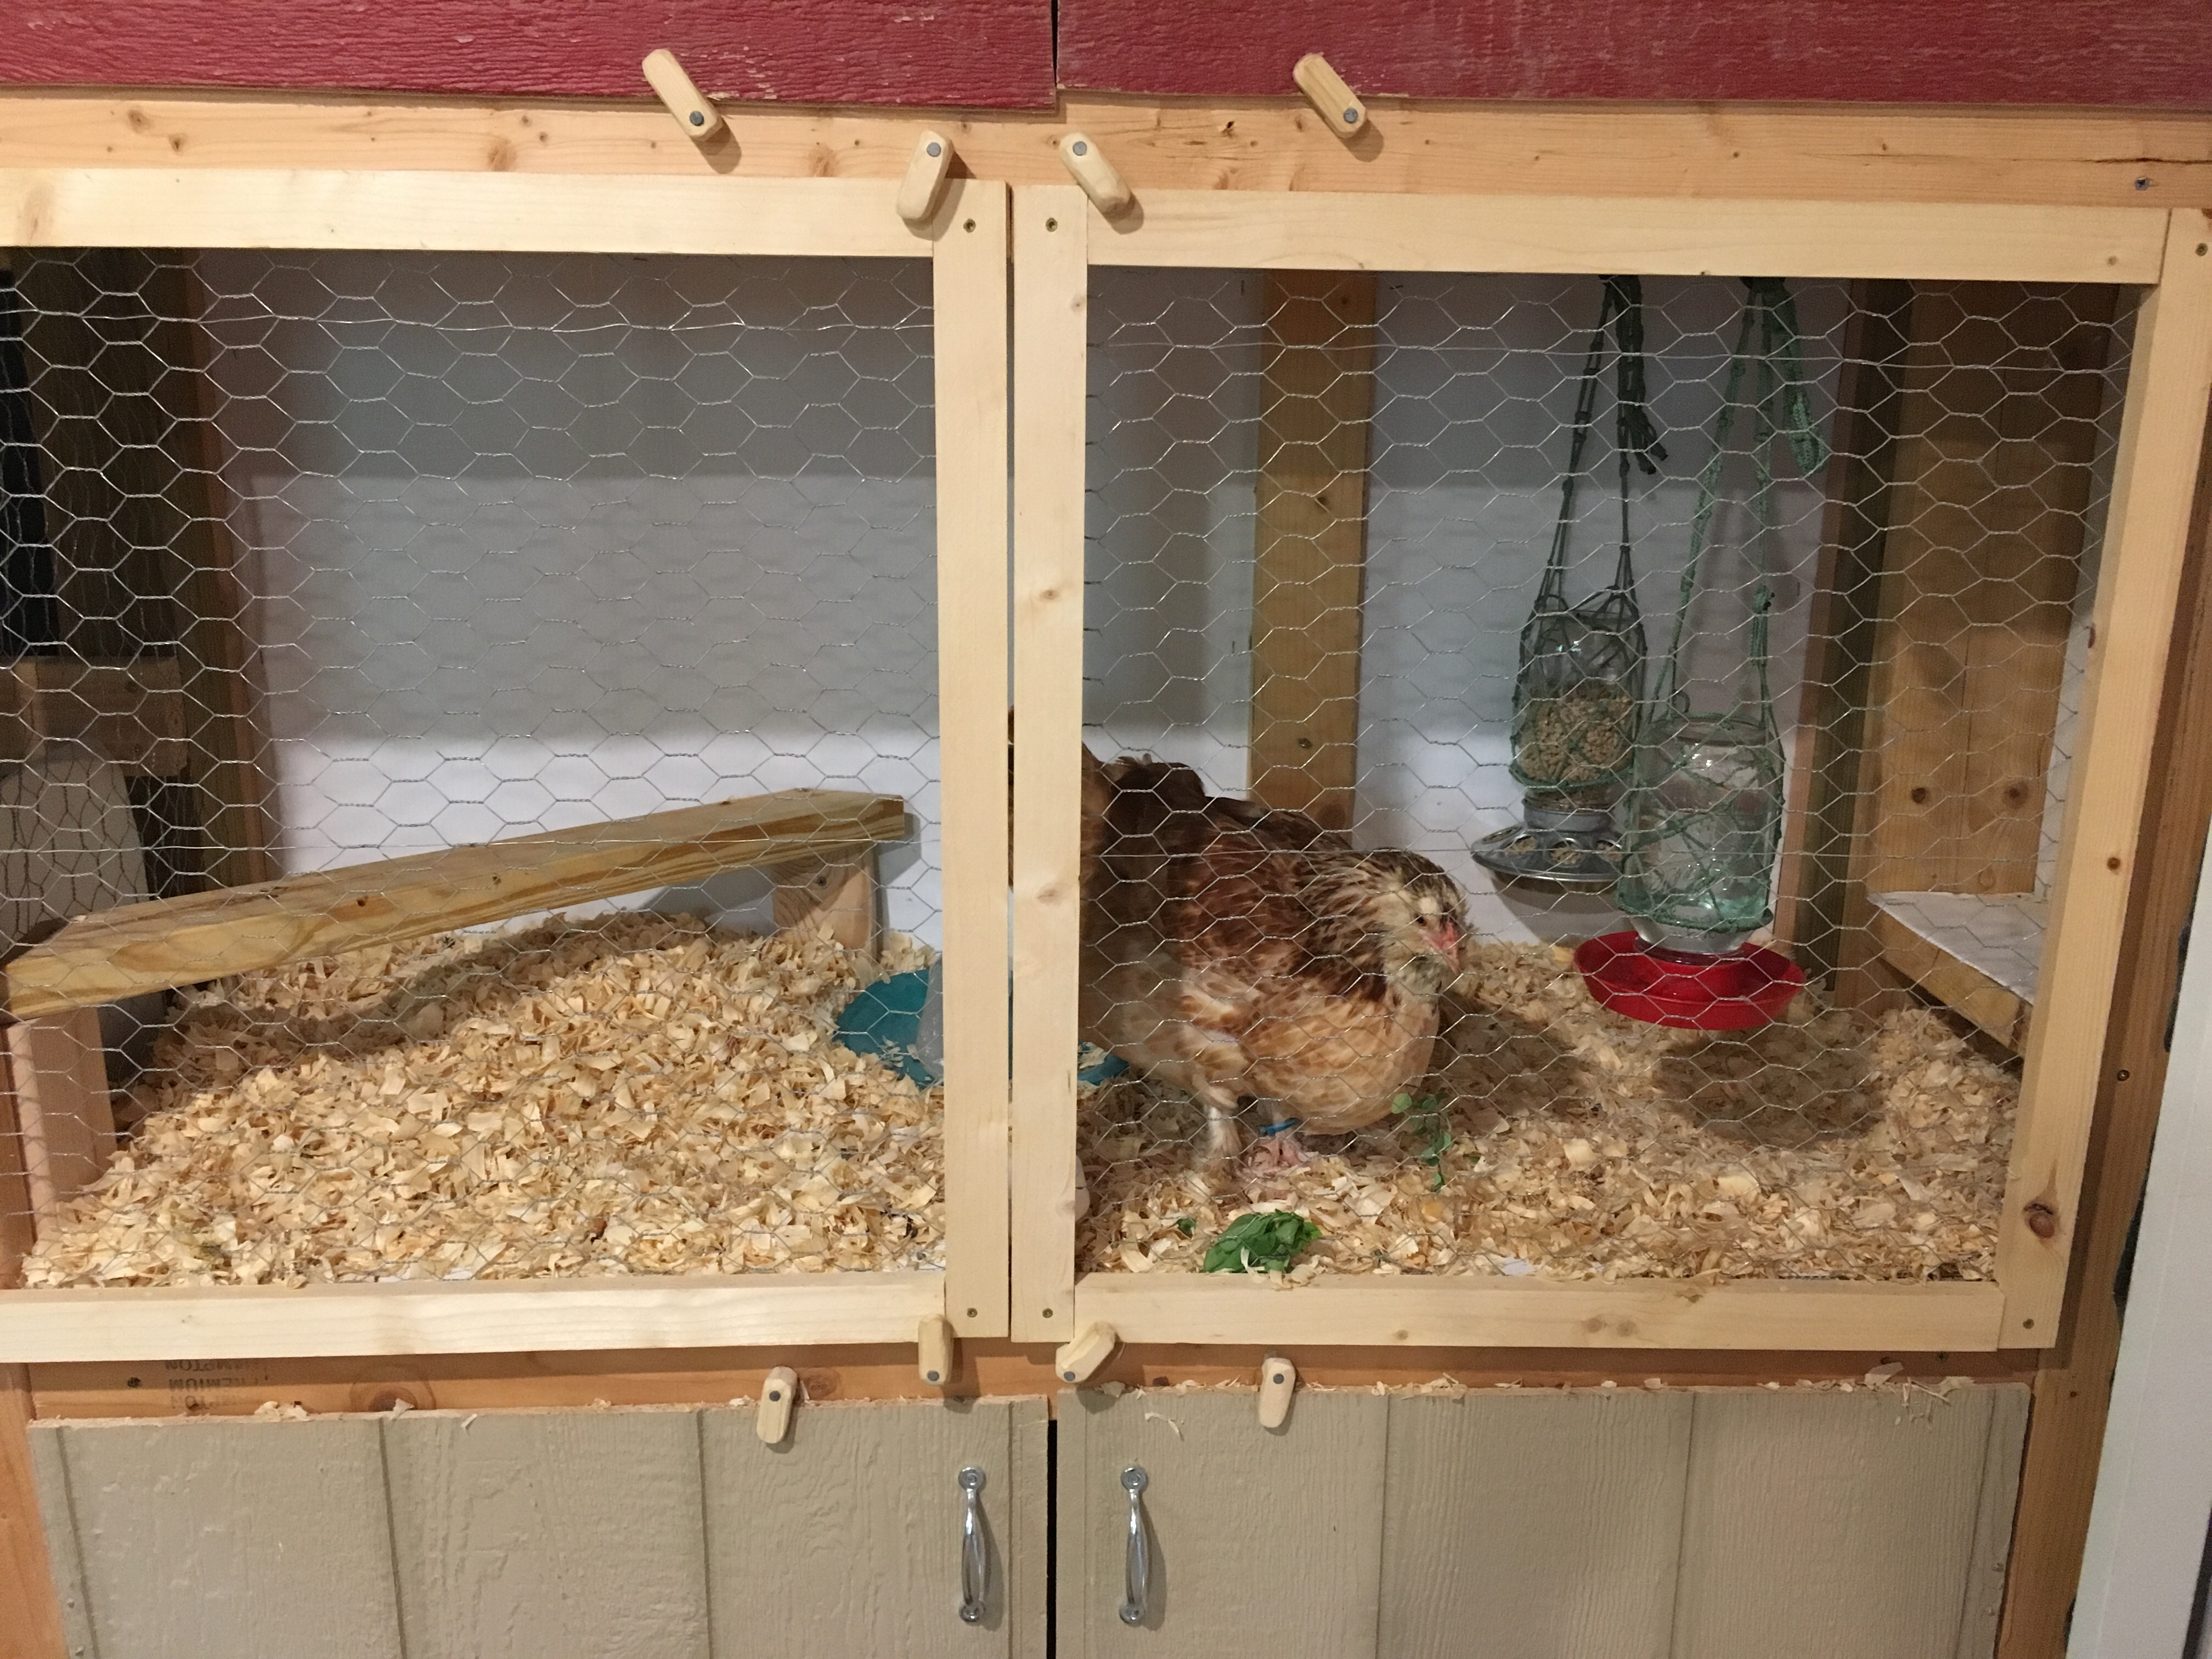
We’ll see if this treatment helps Navi. She is in isolation, but I’m glad I took my Dad’s advice because the isolation ward is at a good height, I can lean in, and it is plenty big for one chicken. Navi can see the other chickens, has a roost, food, water, and even a small foot bath. Although with her medicated water, she only gets a frozen water bottle on a plate so she doesn’t drink foot water. Ugh.

Navi in the isolation ward

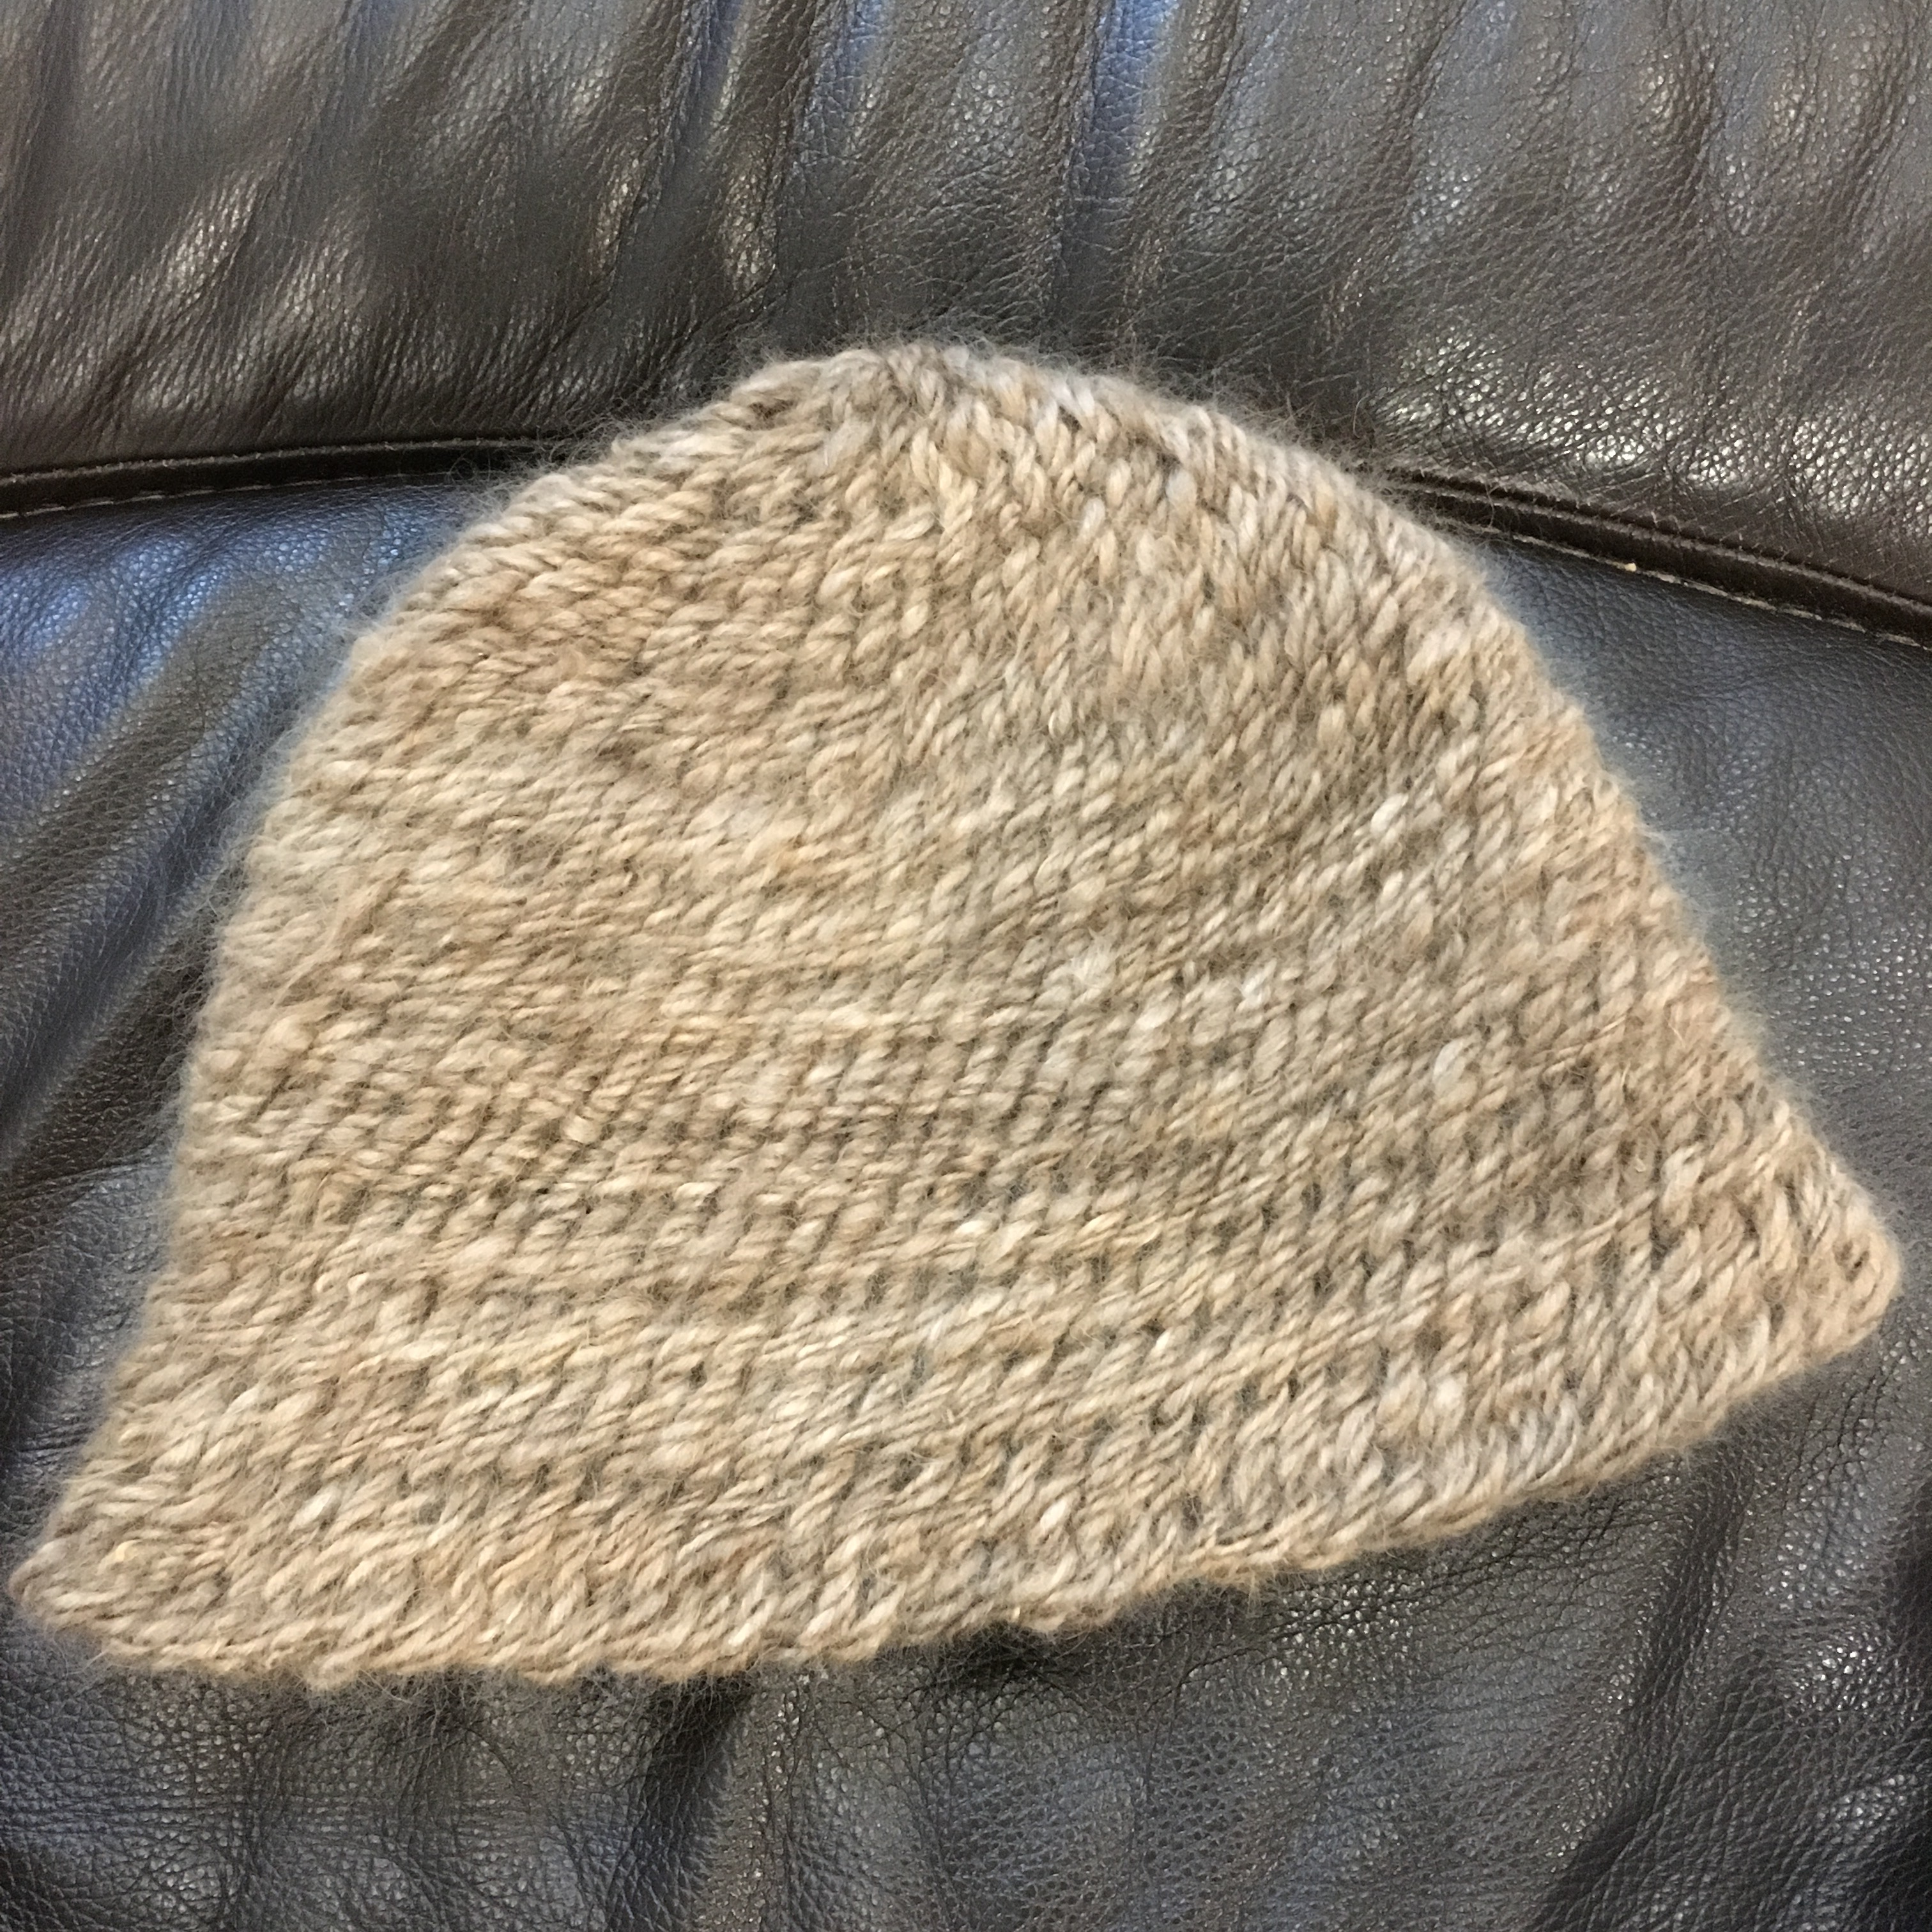
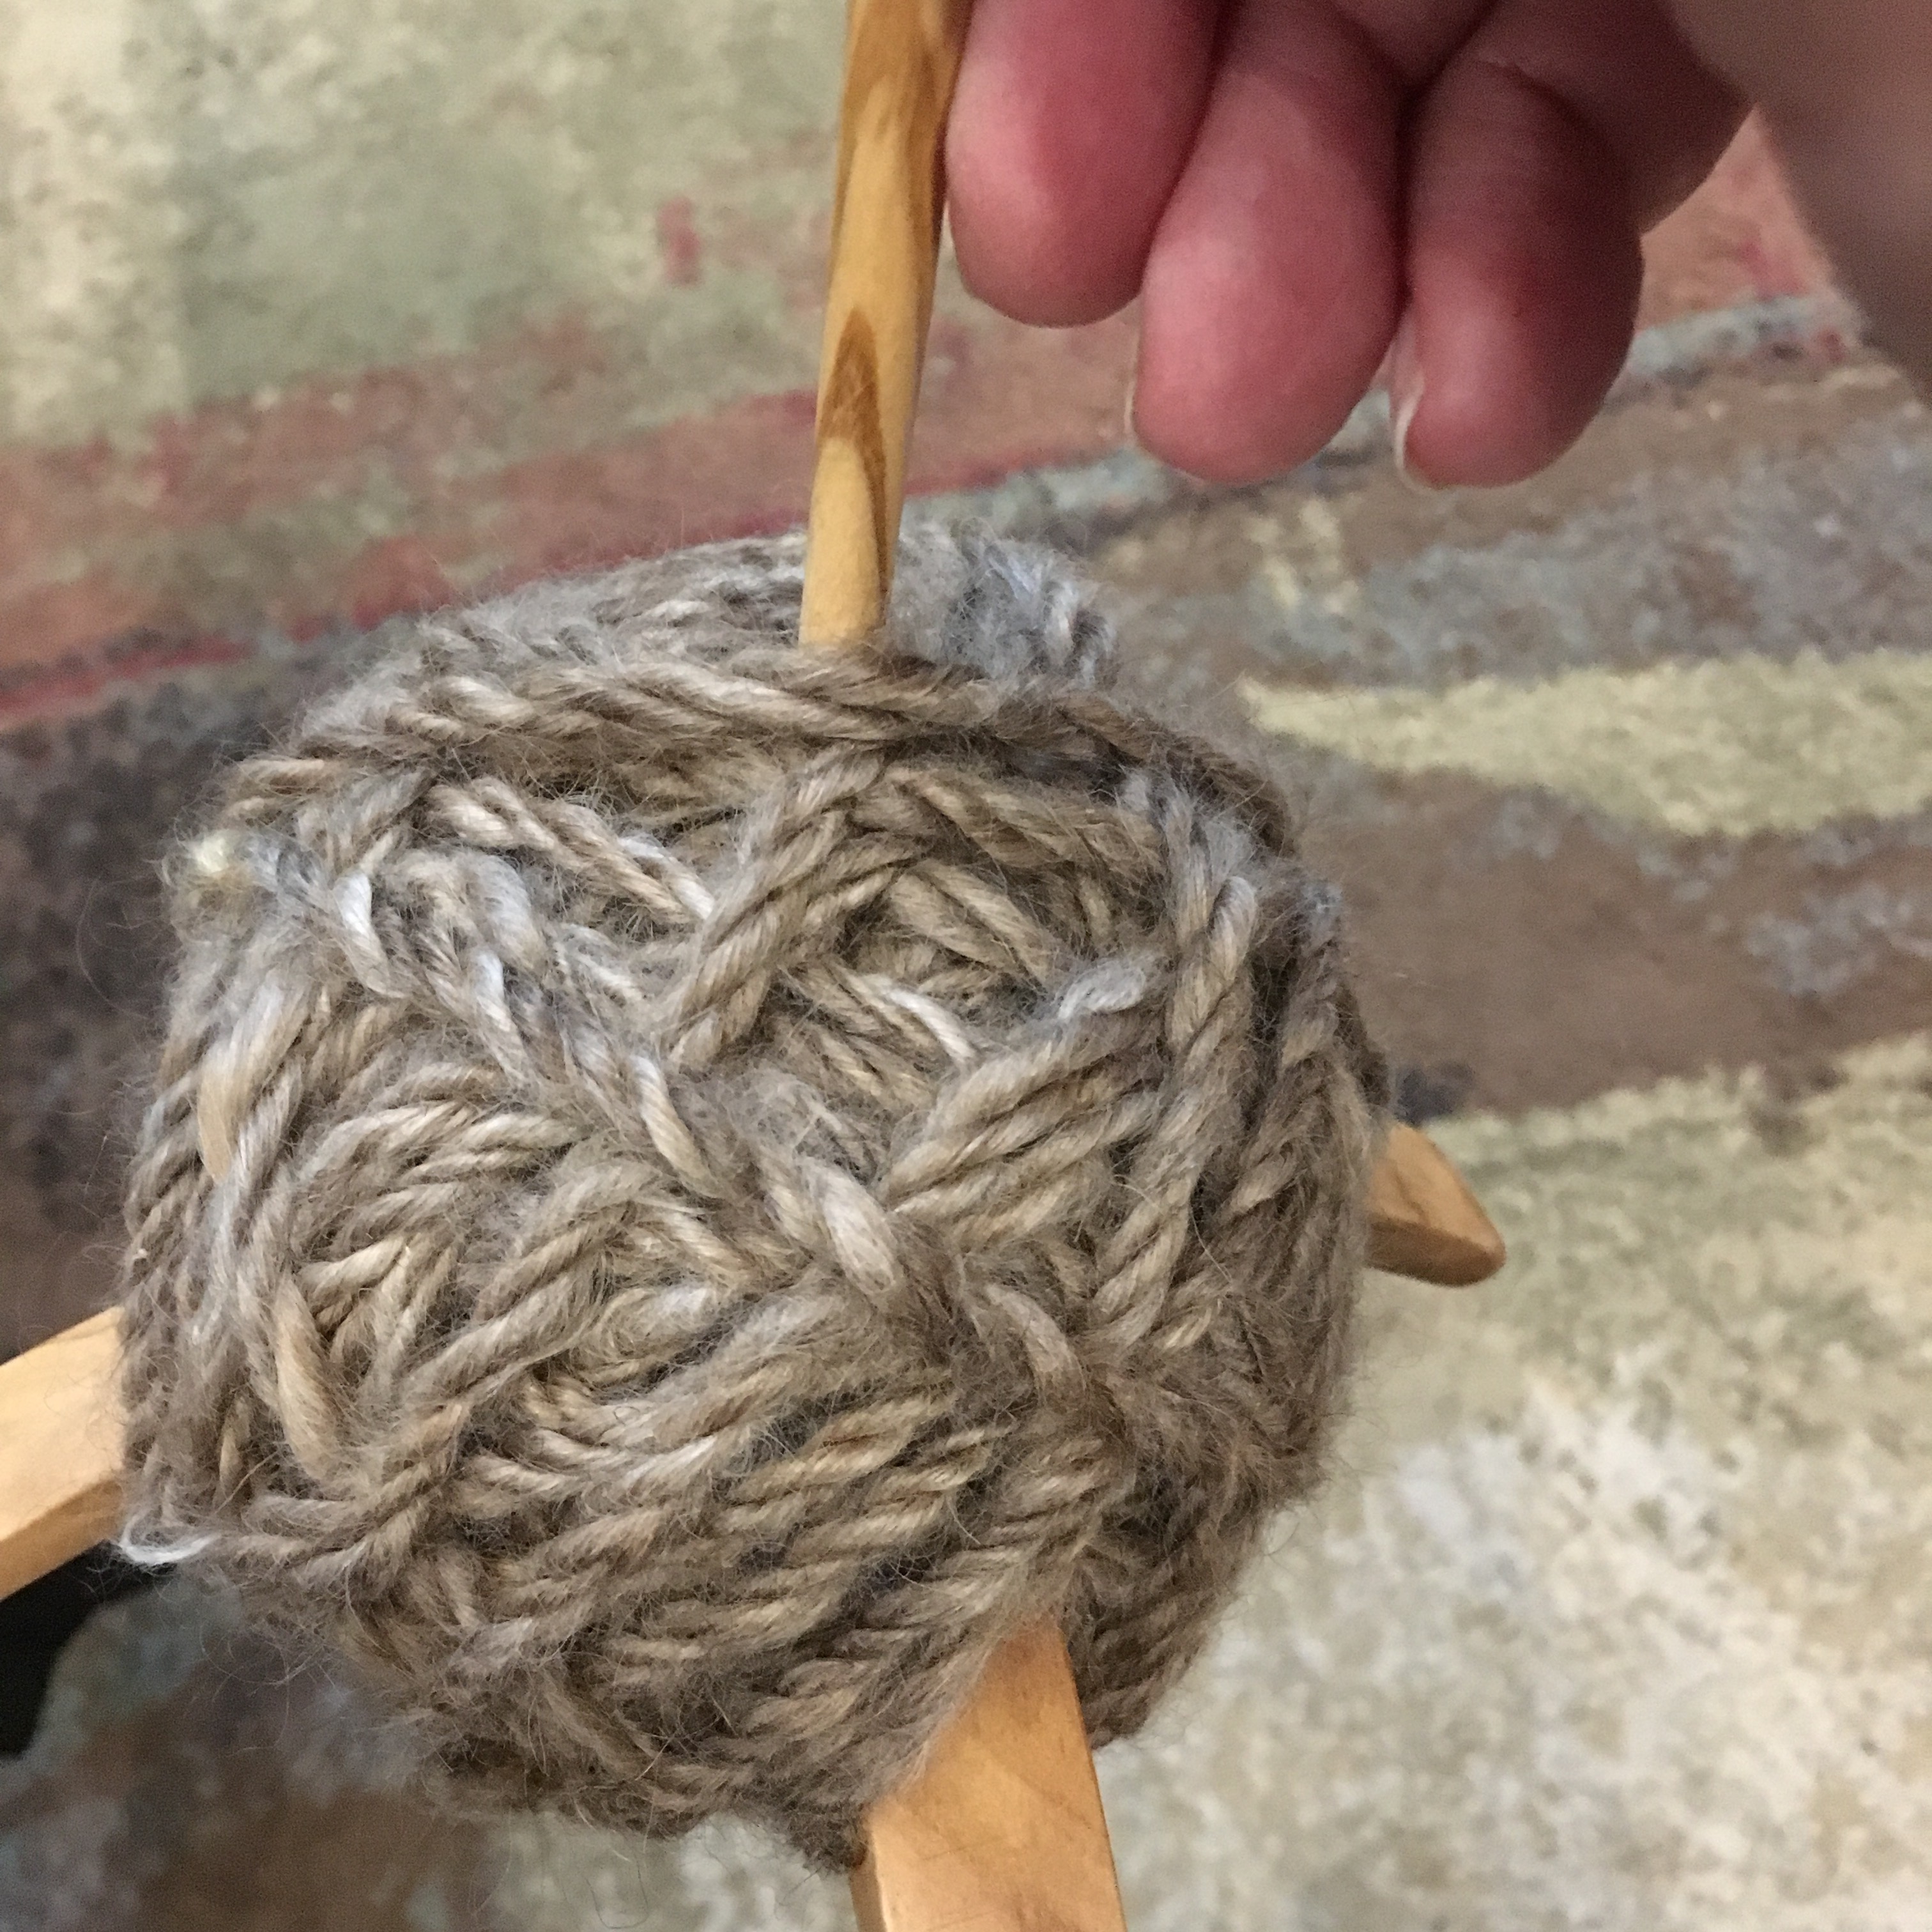
Mohair hat

100% mohair, natural color (no dye), hand spun, 3 ply, nålbound with York stitch, cloche style hat.

York stitch hat

I love how the Z twist of the plied yarn goes perfectly with the York stitch so it looks like the twist goes from the crown to the brim. The mohair also has a lovely shine and an epic halo.

My youngest modeling the hat

My youngest wanted to be my hat model this time. The hat is a bit on the big side for her, but it is easier to see the mohair halo when the hat is being worn!

Plying

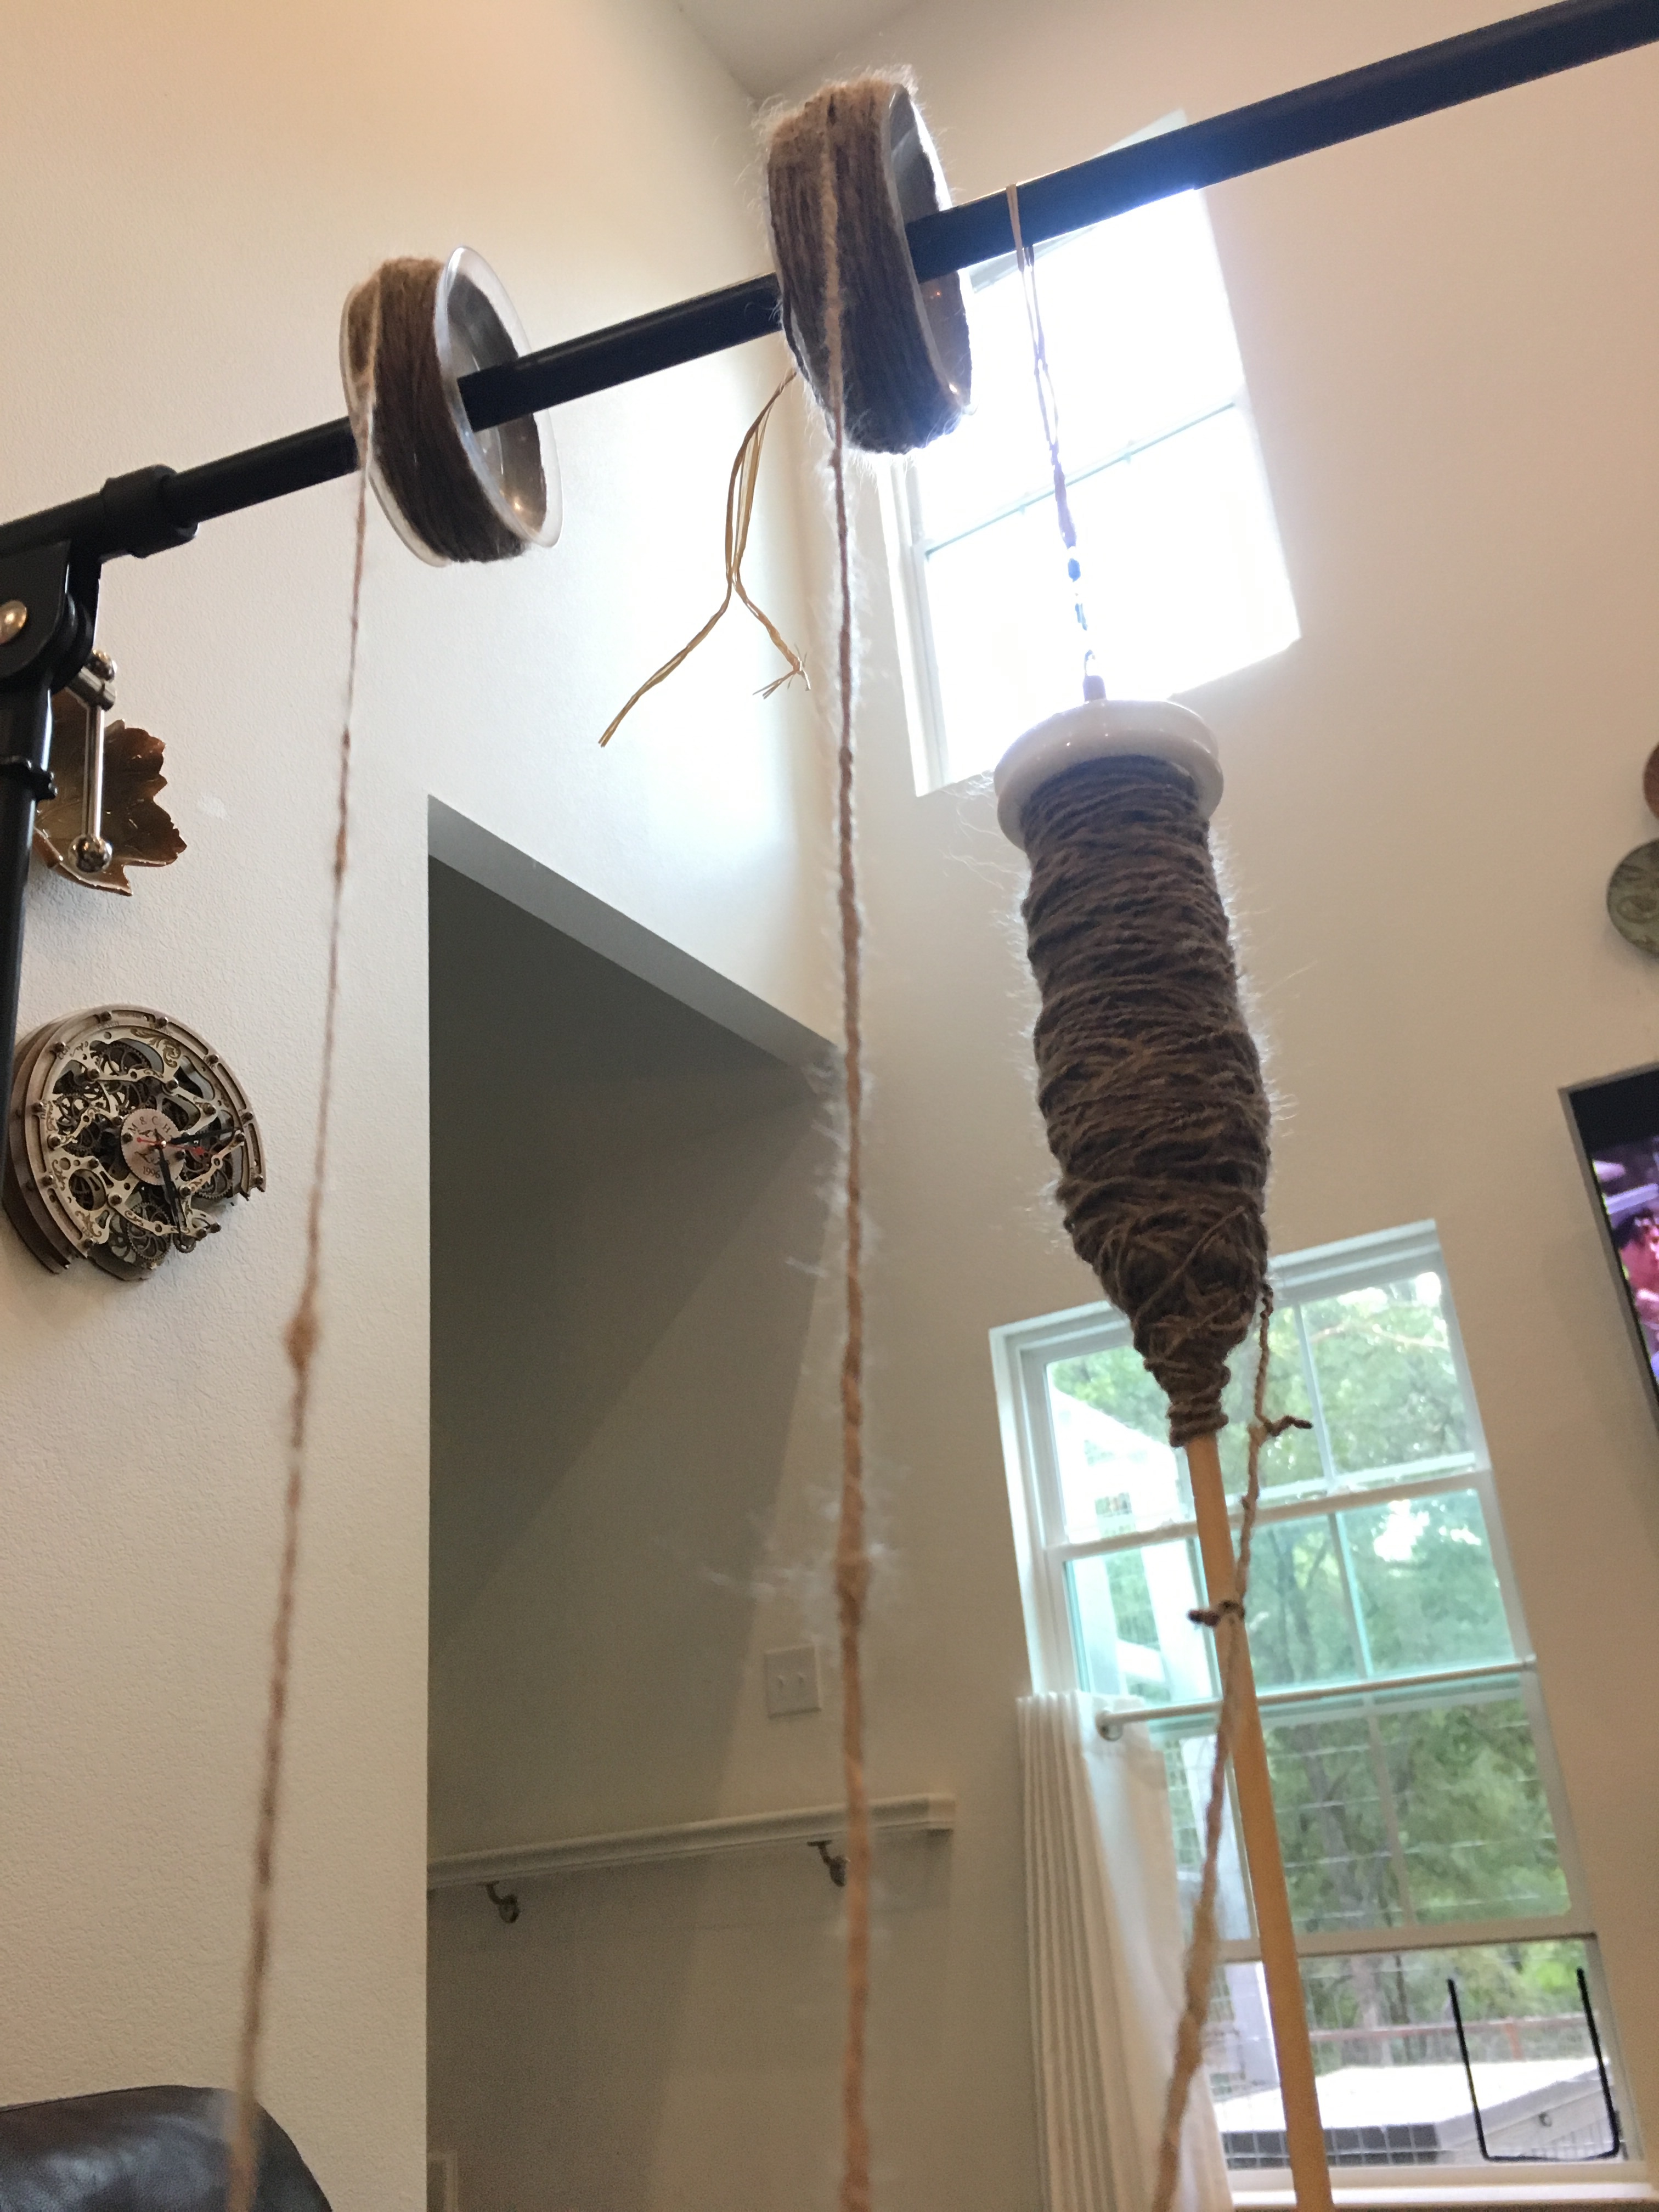
I have six bundles of Rutabaga’s fleece, so I decided to wash three, spin them separately, then make a three ply yarn. I don’t have (and haven’t yet made) a lazy Kate to hold the spools and spindles while I ply, so I hung them up to keep things from tangling. It worked pretty well.

Spools and spindle hanging from a microphone boom stand

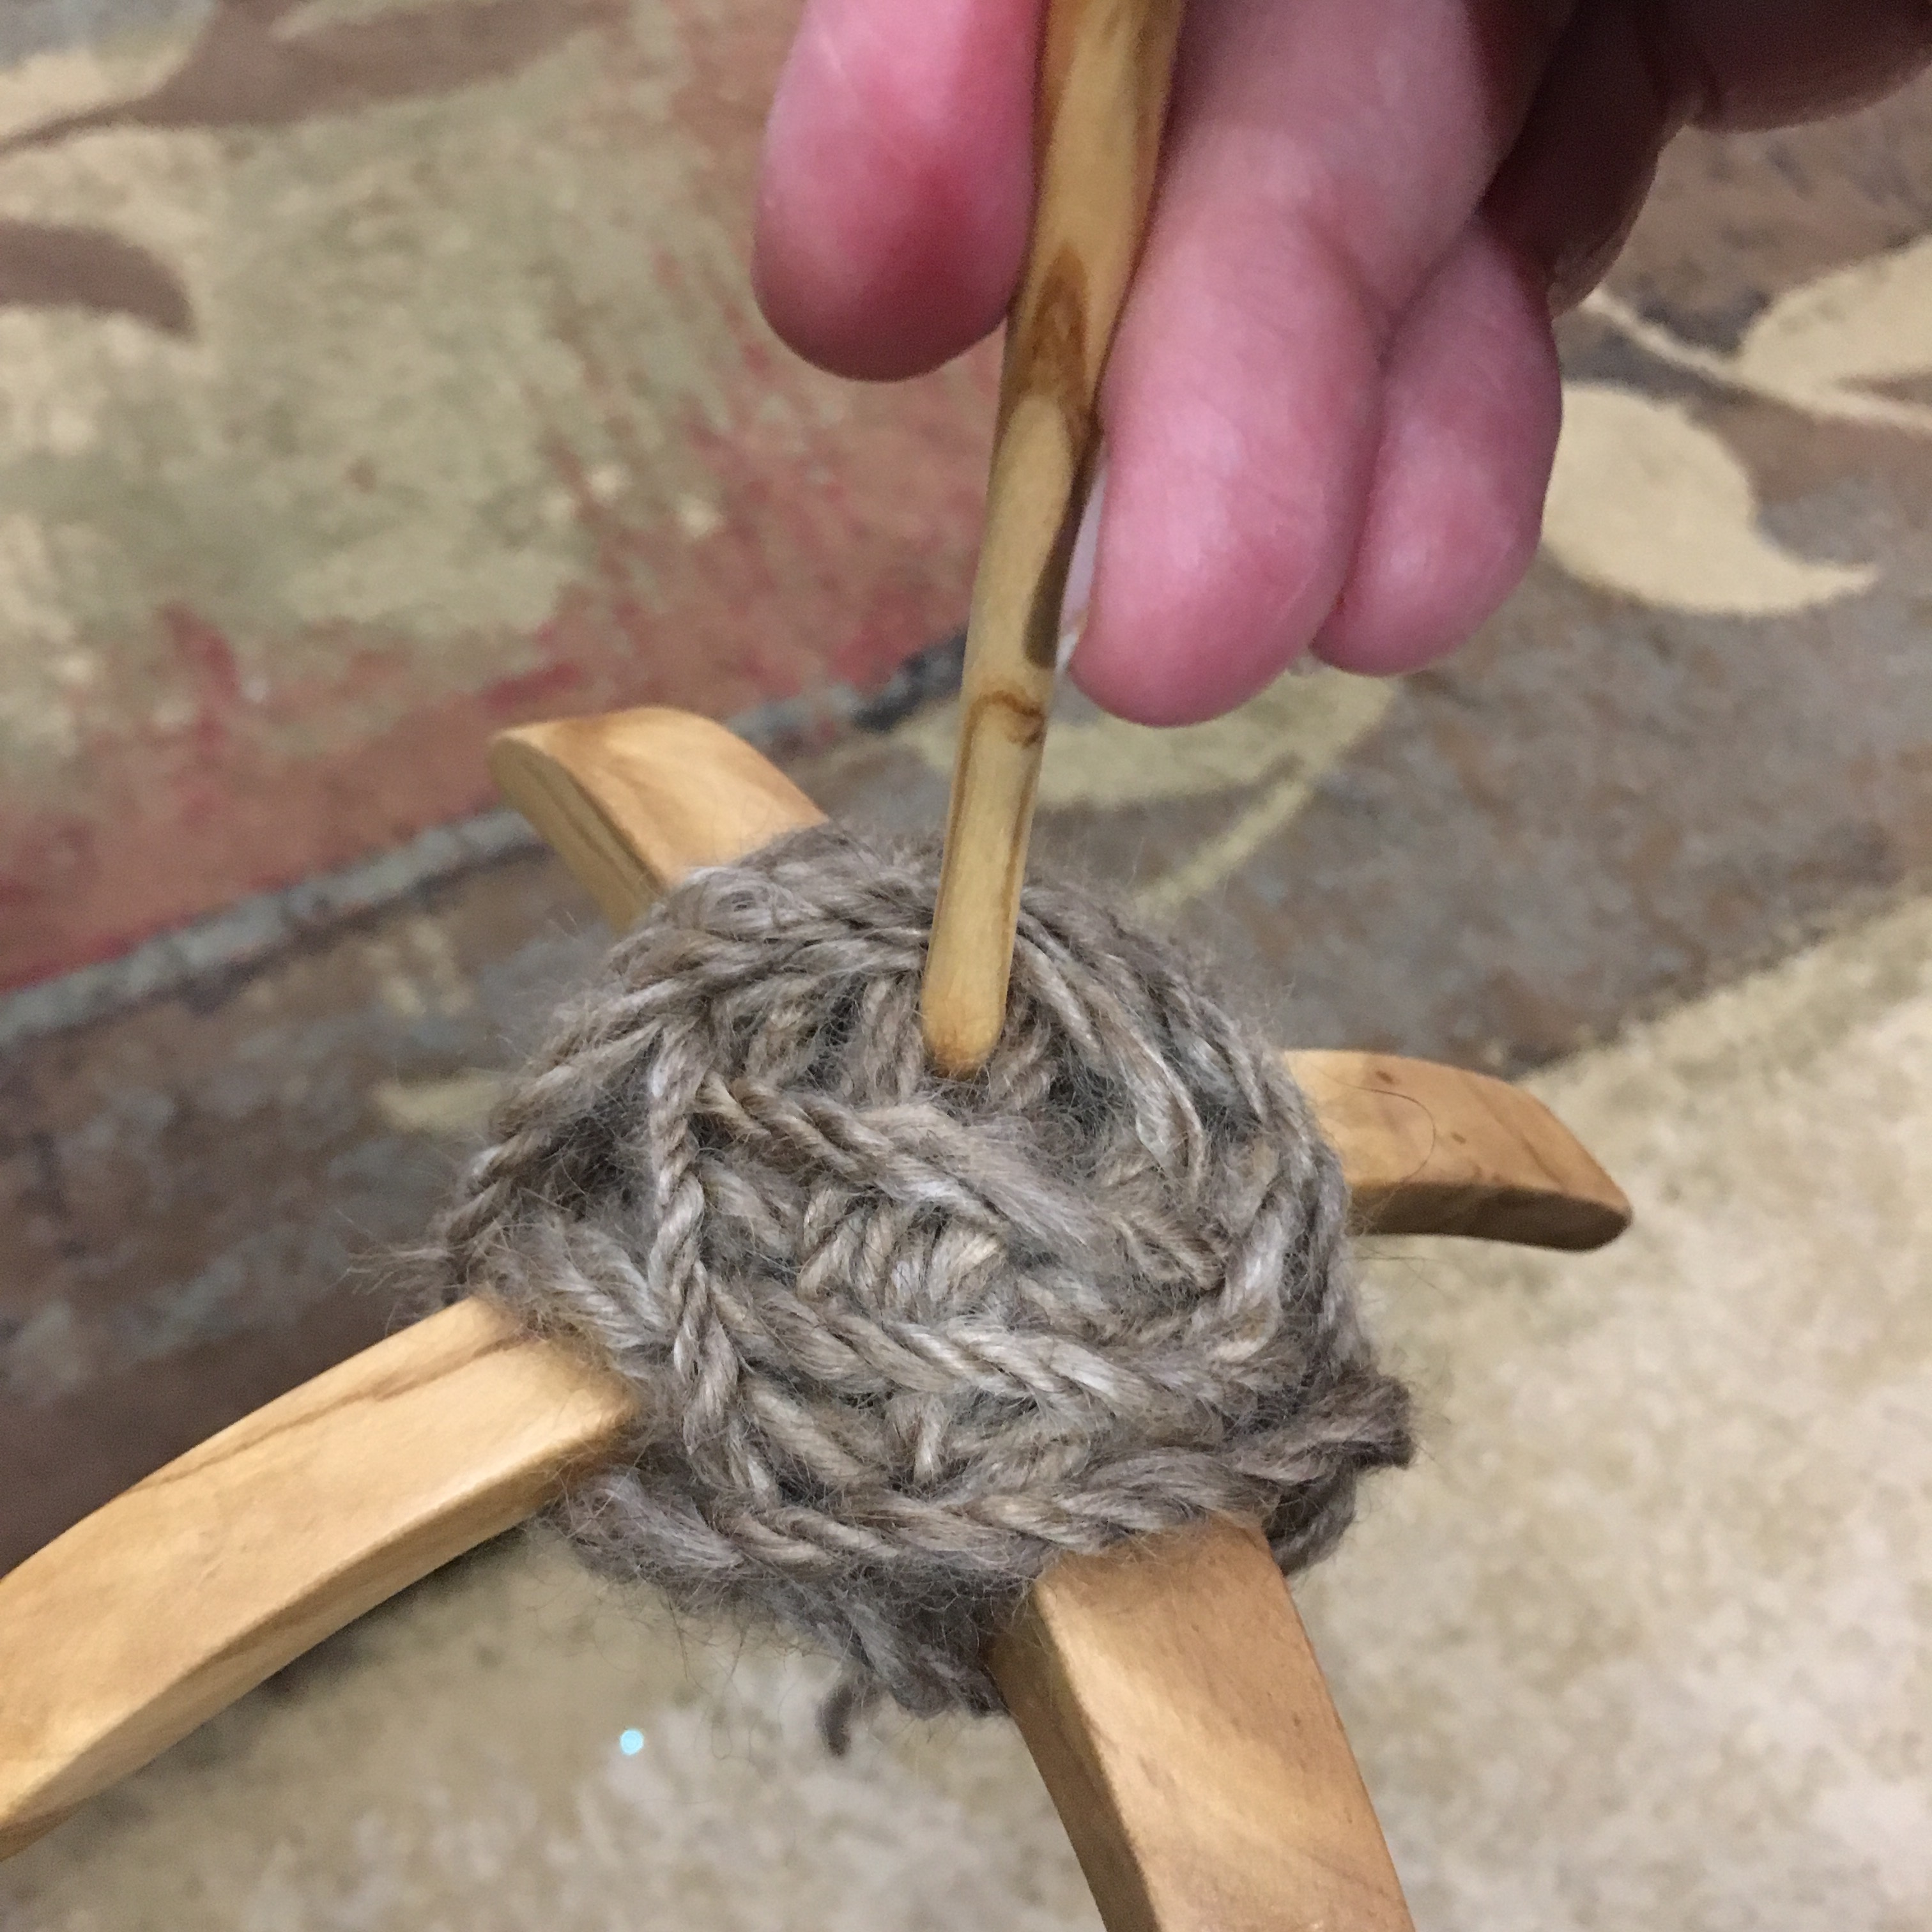
I used my Turkish spindle to ply because I left the last third of the single ply on my top whorl spindle. Plying involves twisting two or more strands of single ply yarn together, using the opposite twist. My single ply has an S (counterclockwise) twist, so I plied using a Z (clockwise) twist. Plying is much easier than spinning because there is no drafting! Although I did have to watch for tangles. Having the yarn under tension because the spools were suspended helped. Here is a short video.

Three ply mohair yarn

My single ply yarn wasn’t perfectly proportioned, so I ran out of one strand first. Rather than waste the ends of the other two, I chained plied the remaining yarn. Chain plying is like making a chain in crochet; by drawing a loop through another loop. It results in a three ply strand, but you only need one source of single ply rather than three. I had read that mohair was not a good candidate for chain ply, but I honestly can’t tell the difference in the finished yarn.

Chain plied mohair