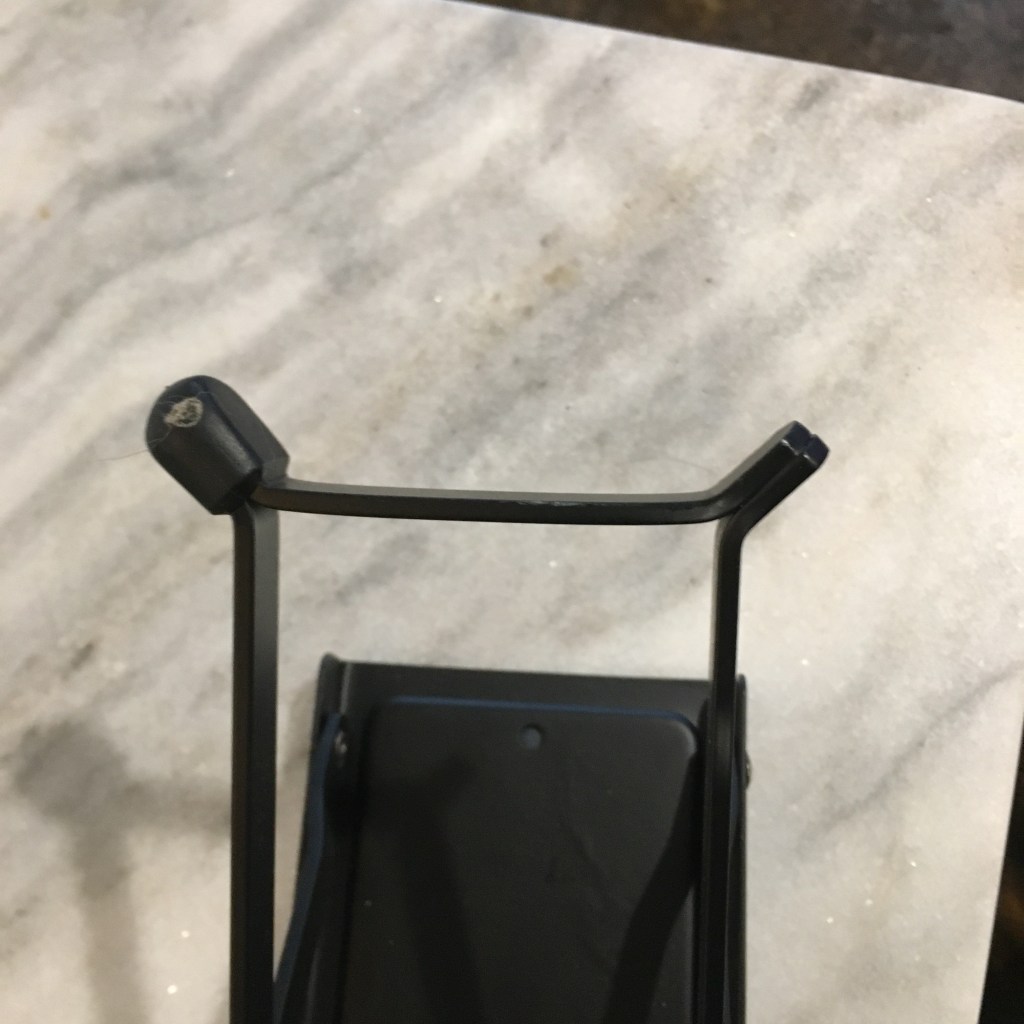
I noticed one of our guitar foot stands was missing a rubber foot. I noticed it because my youngest and I were practicing and it scratched my floor when I moved it. Ugh.
Missing rubber foot
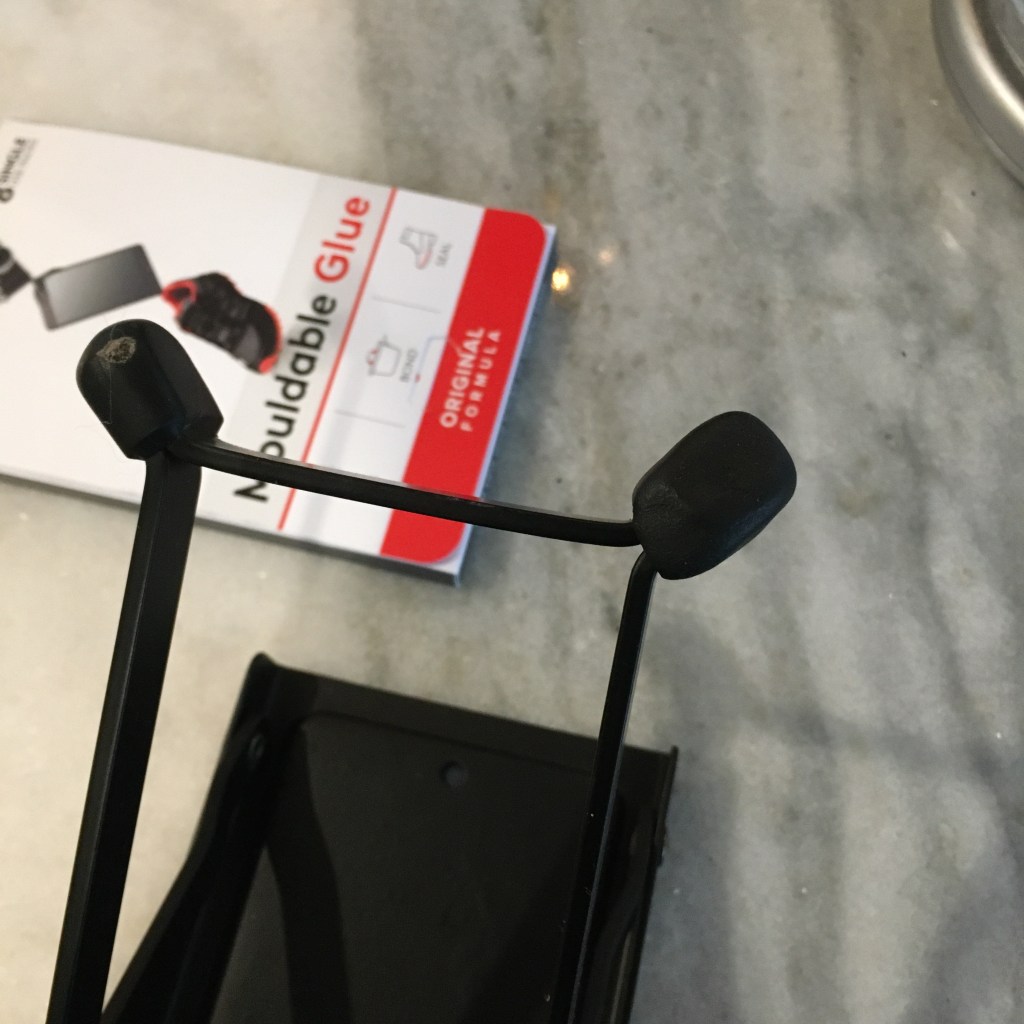
One of my readers told me about Sugru moldable glue (Thank you!). So I tried some to replace the missing foot. It works well! It is easy to shape, and after 24 hours it solidifies into silicone rubber with almost the exact same feel as the remaining feet. The stand is stable and doesn’t scratch the floor. Hurray!
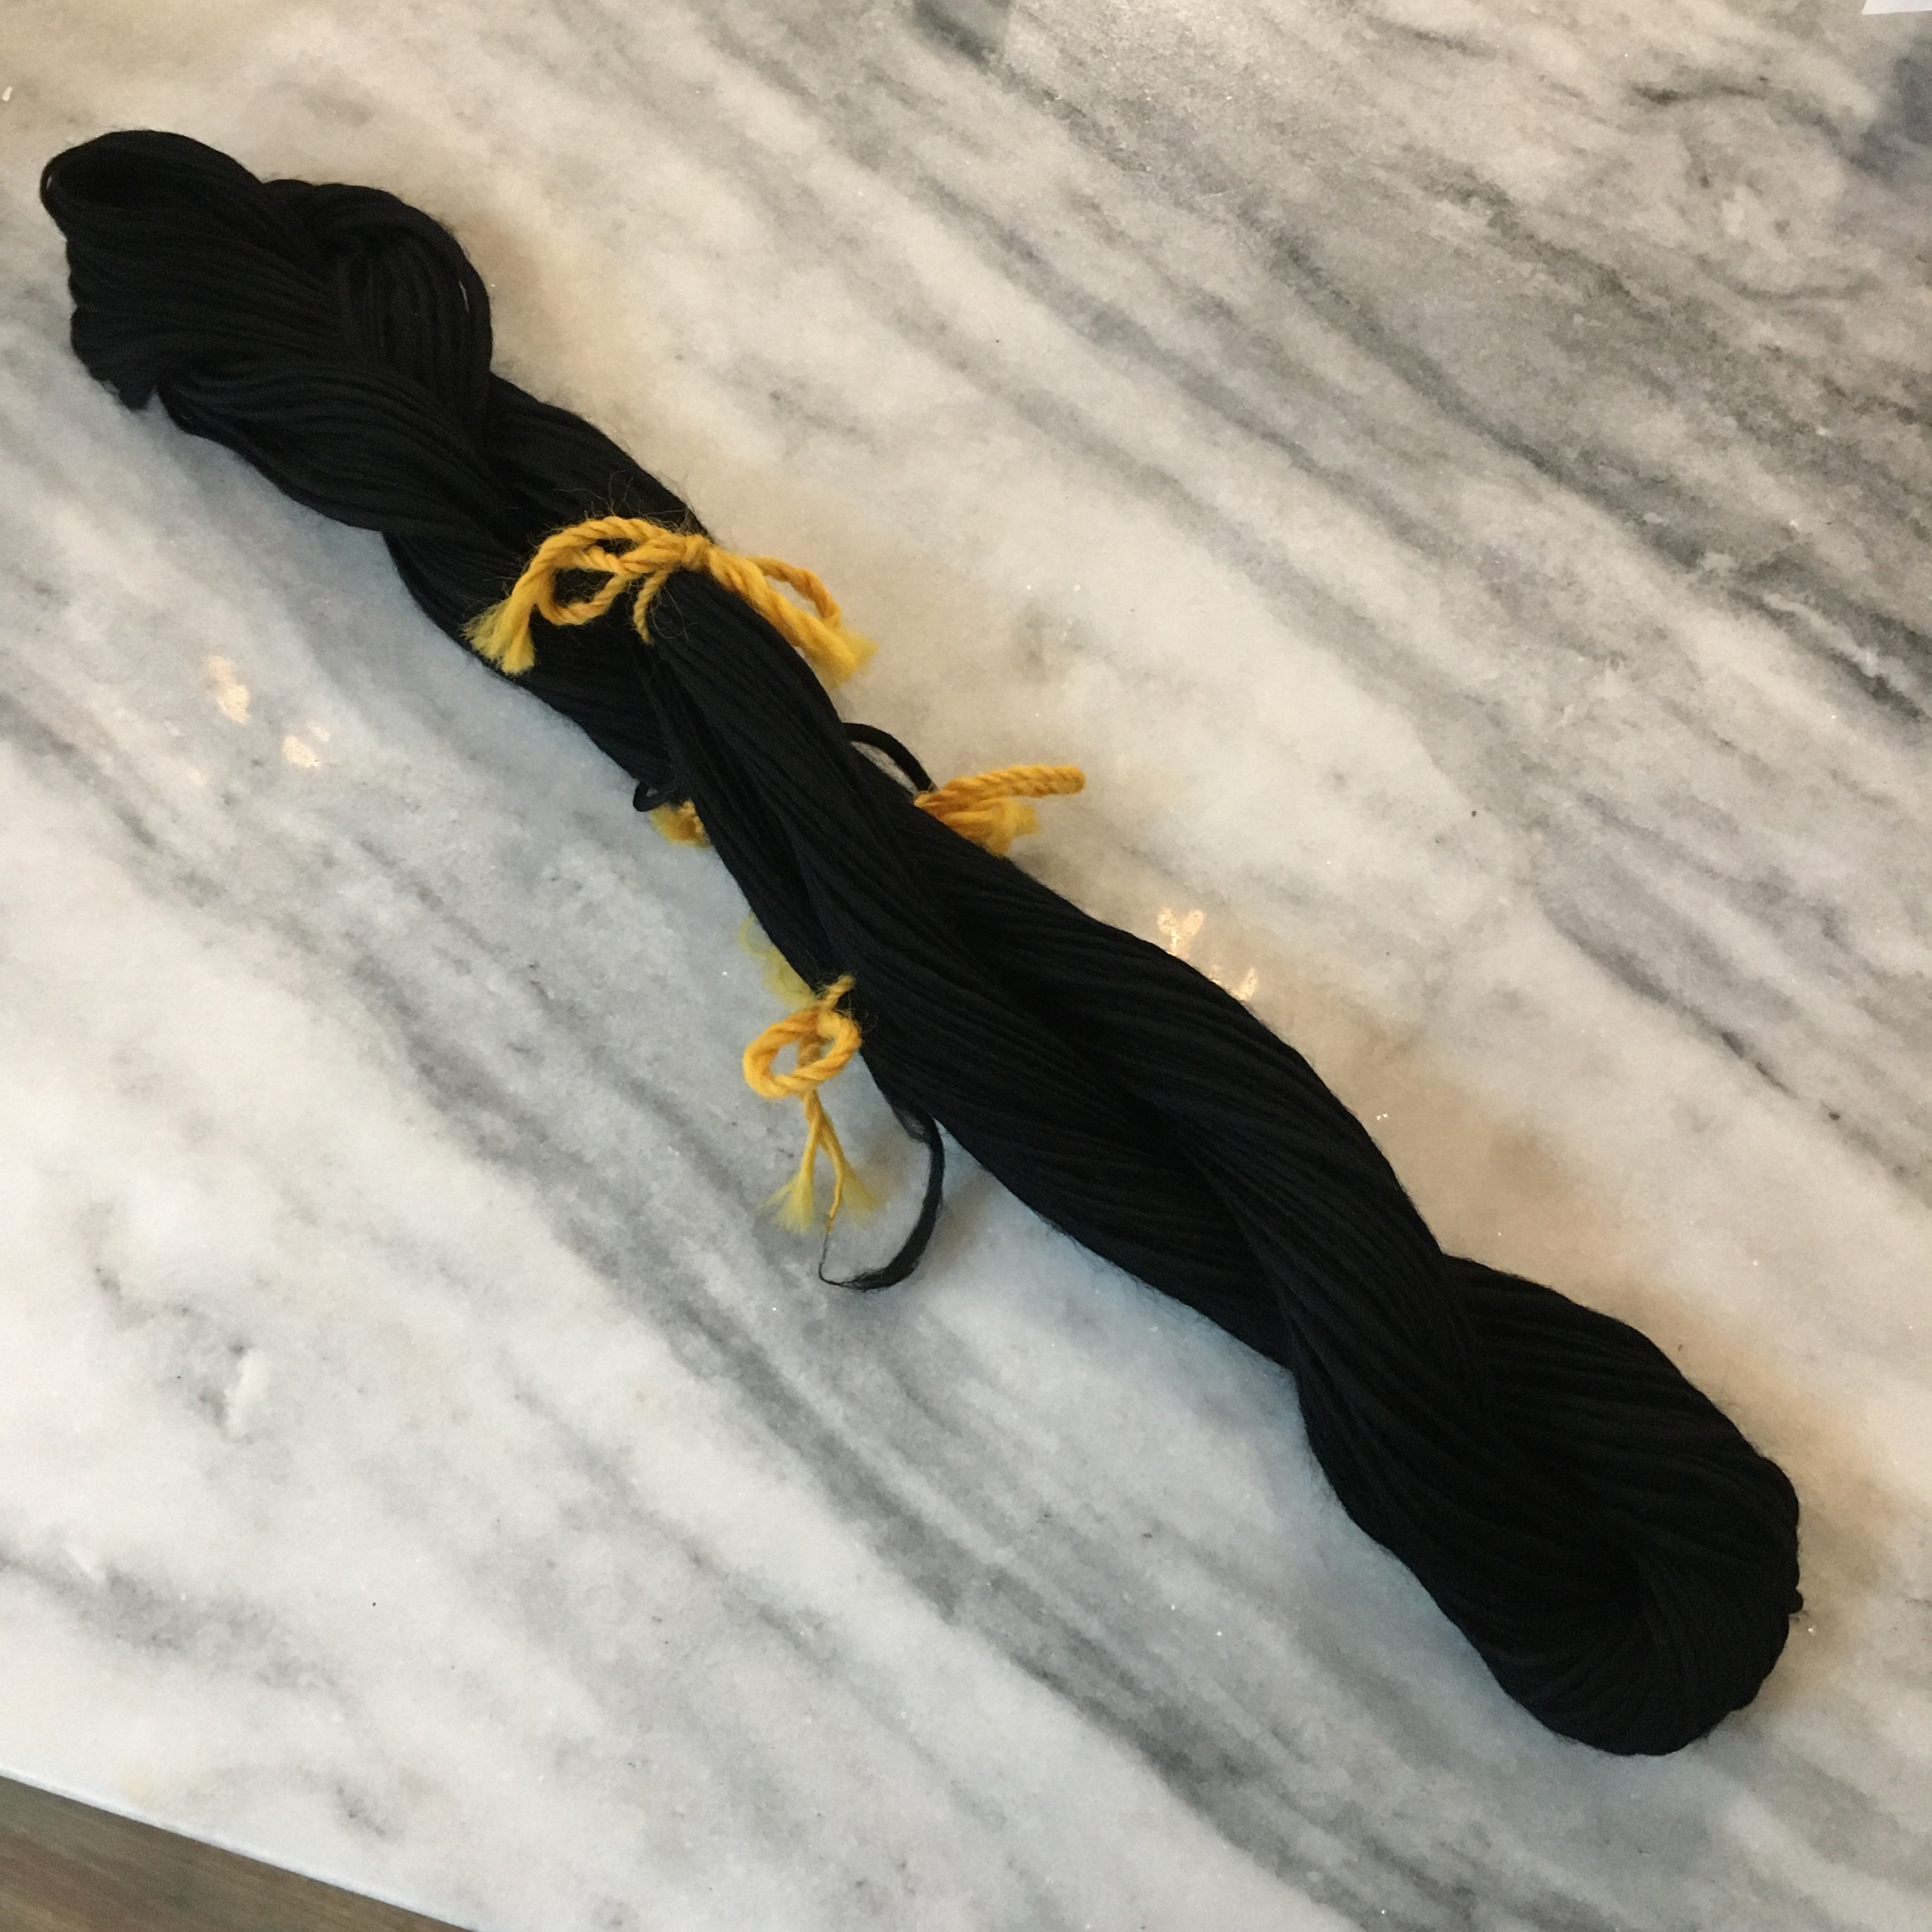
Last we left it, my single ply black wool merino yarn was drying on the niddy noddy. Oh that works!! It took less time to dry, and it came off the niddy noddy easily (the caps were too tight, but I could get one arm off the niddy noddy easily). The yarn is balanced (which means it doesn’t get twisty), and seems strong (although I really do need to work getting an even thickness, but that should come with practice).
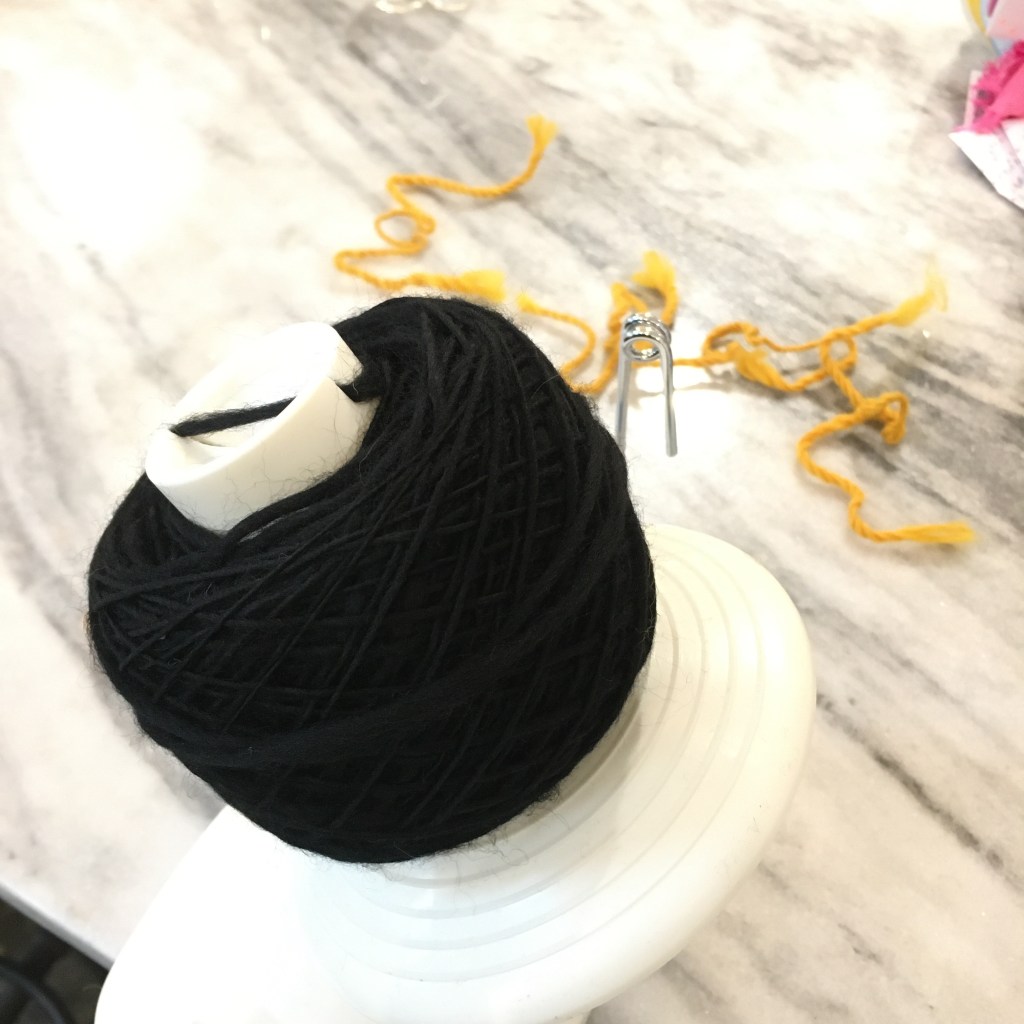
Yarn on wool winder
It is a little bitty cake (just 53 grams), but since it was a proof of concept experiment, that is fine.
I am keeping an eye (with the trail cam) on the deer that visit our back yard. After all, we’ve seen does and bucks and spring is coming up, so maybe there will be a fawn?
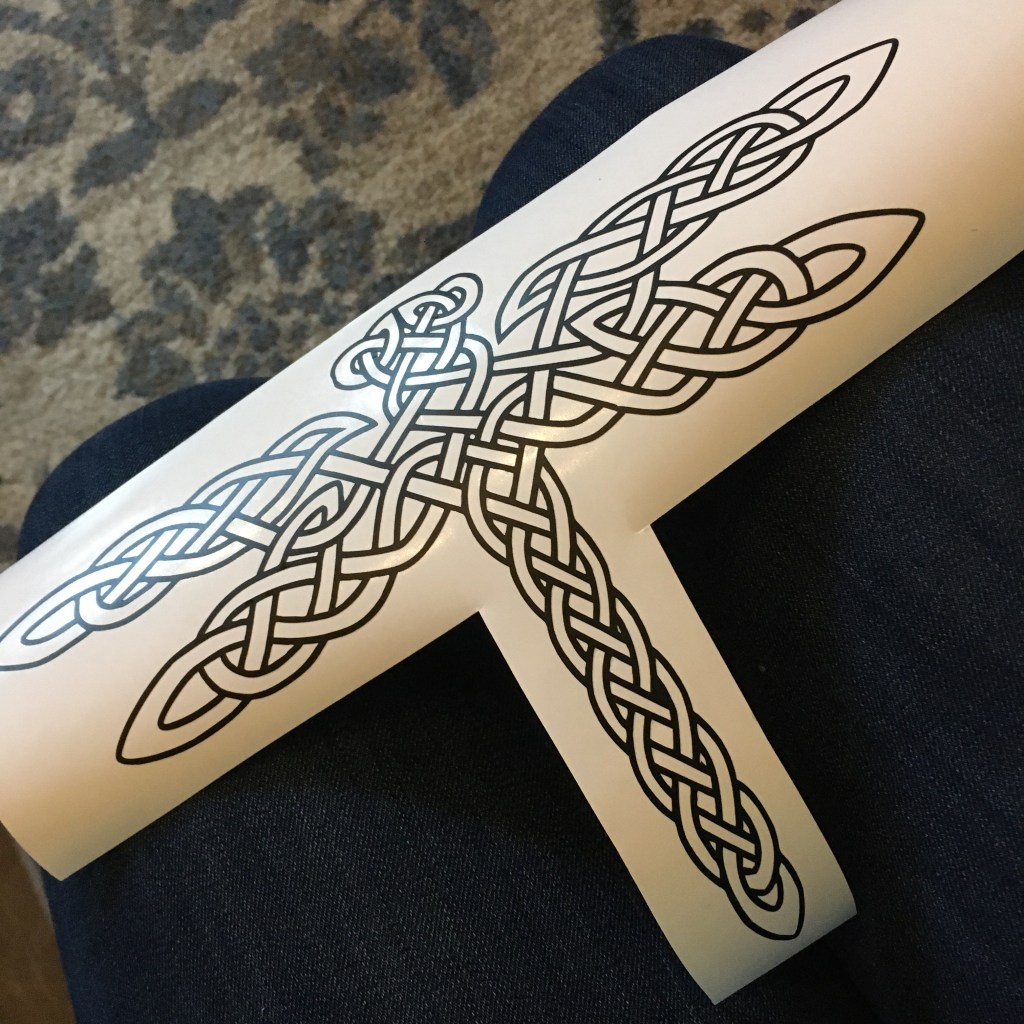
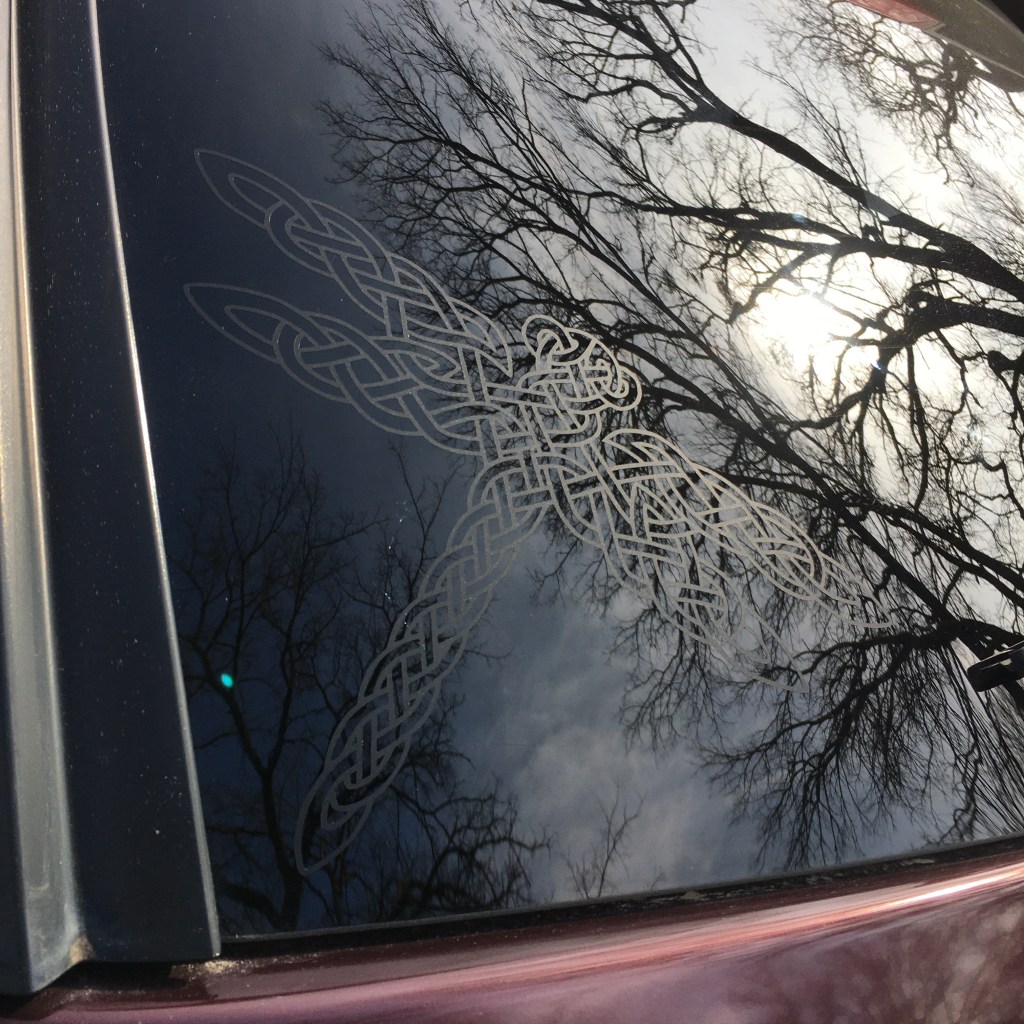
I liked the way my husband’s matte black decal came out so much that I made one for me. Not a castle, but a celtic knot dragonfly that I designed years ago.
Celtic knot dragonfly cut from vinyl
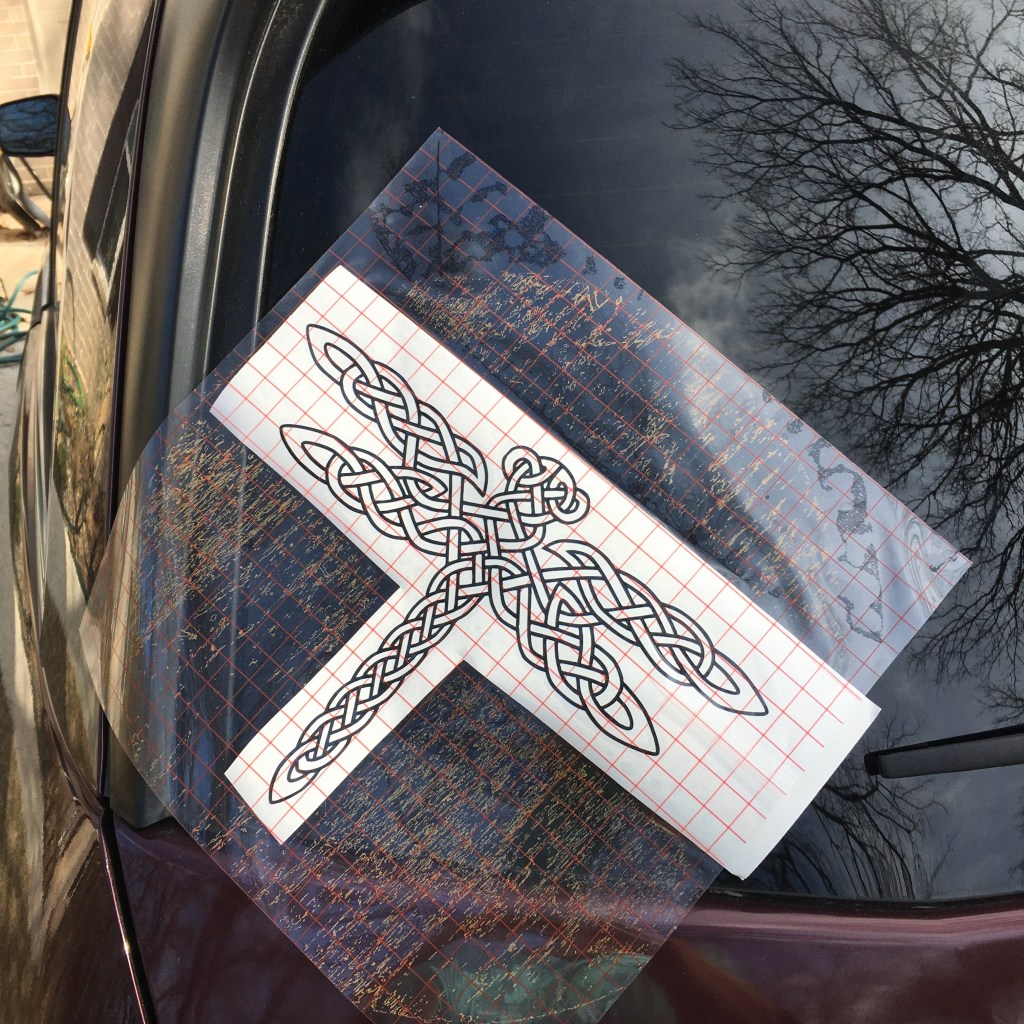
I found that leaving the white backing on, but having the transfer paper exposed around the edges allowed me to have wiggle room when lining the decal up on my window. It was much easier to adjust, then when I liked the position, I left one edge stuck down, peeled off the backing, then smoothed the whole decal down. It is good to learn new things.
Lining up the decal
Speaking of learning new things; that transfer paper is no joke. The tan texture in the photo above is the top layer of the wooden stool I was using as a table. Oops.
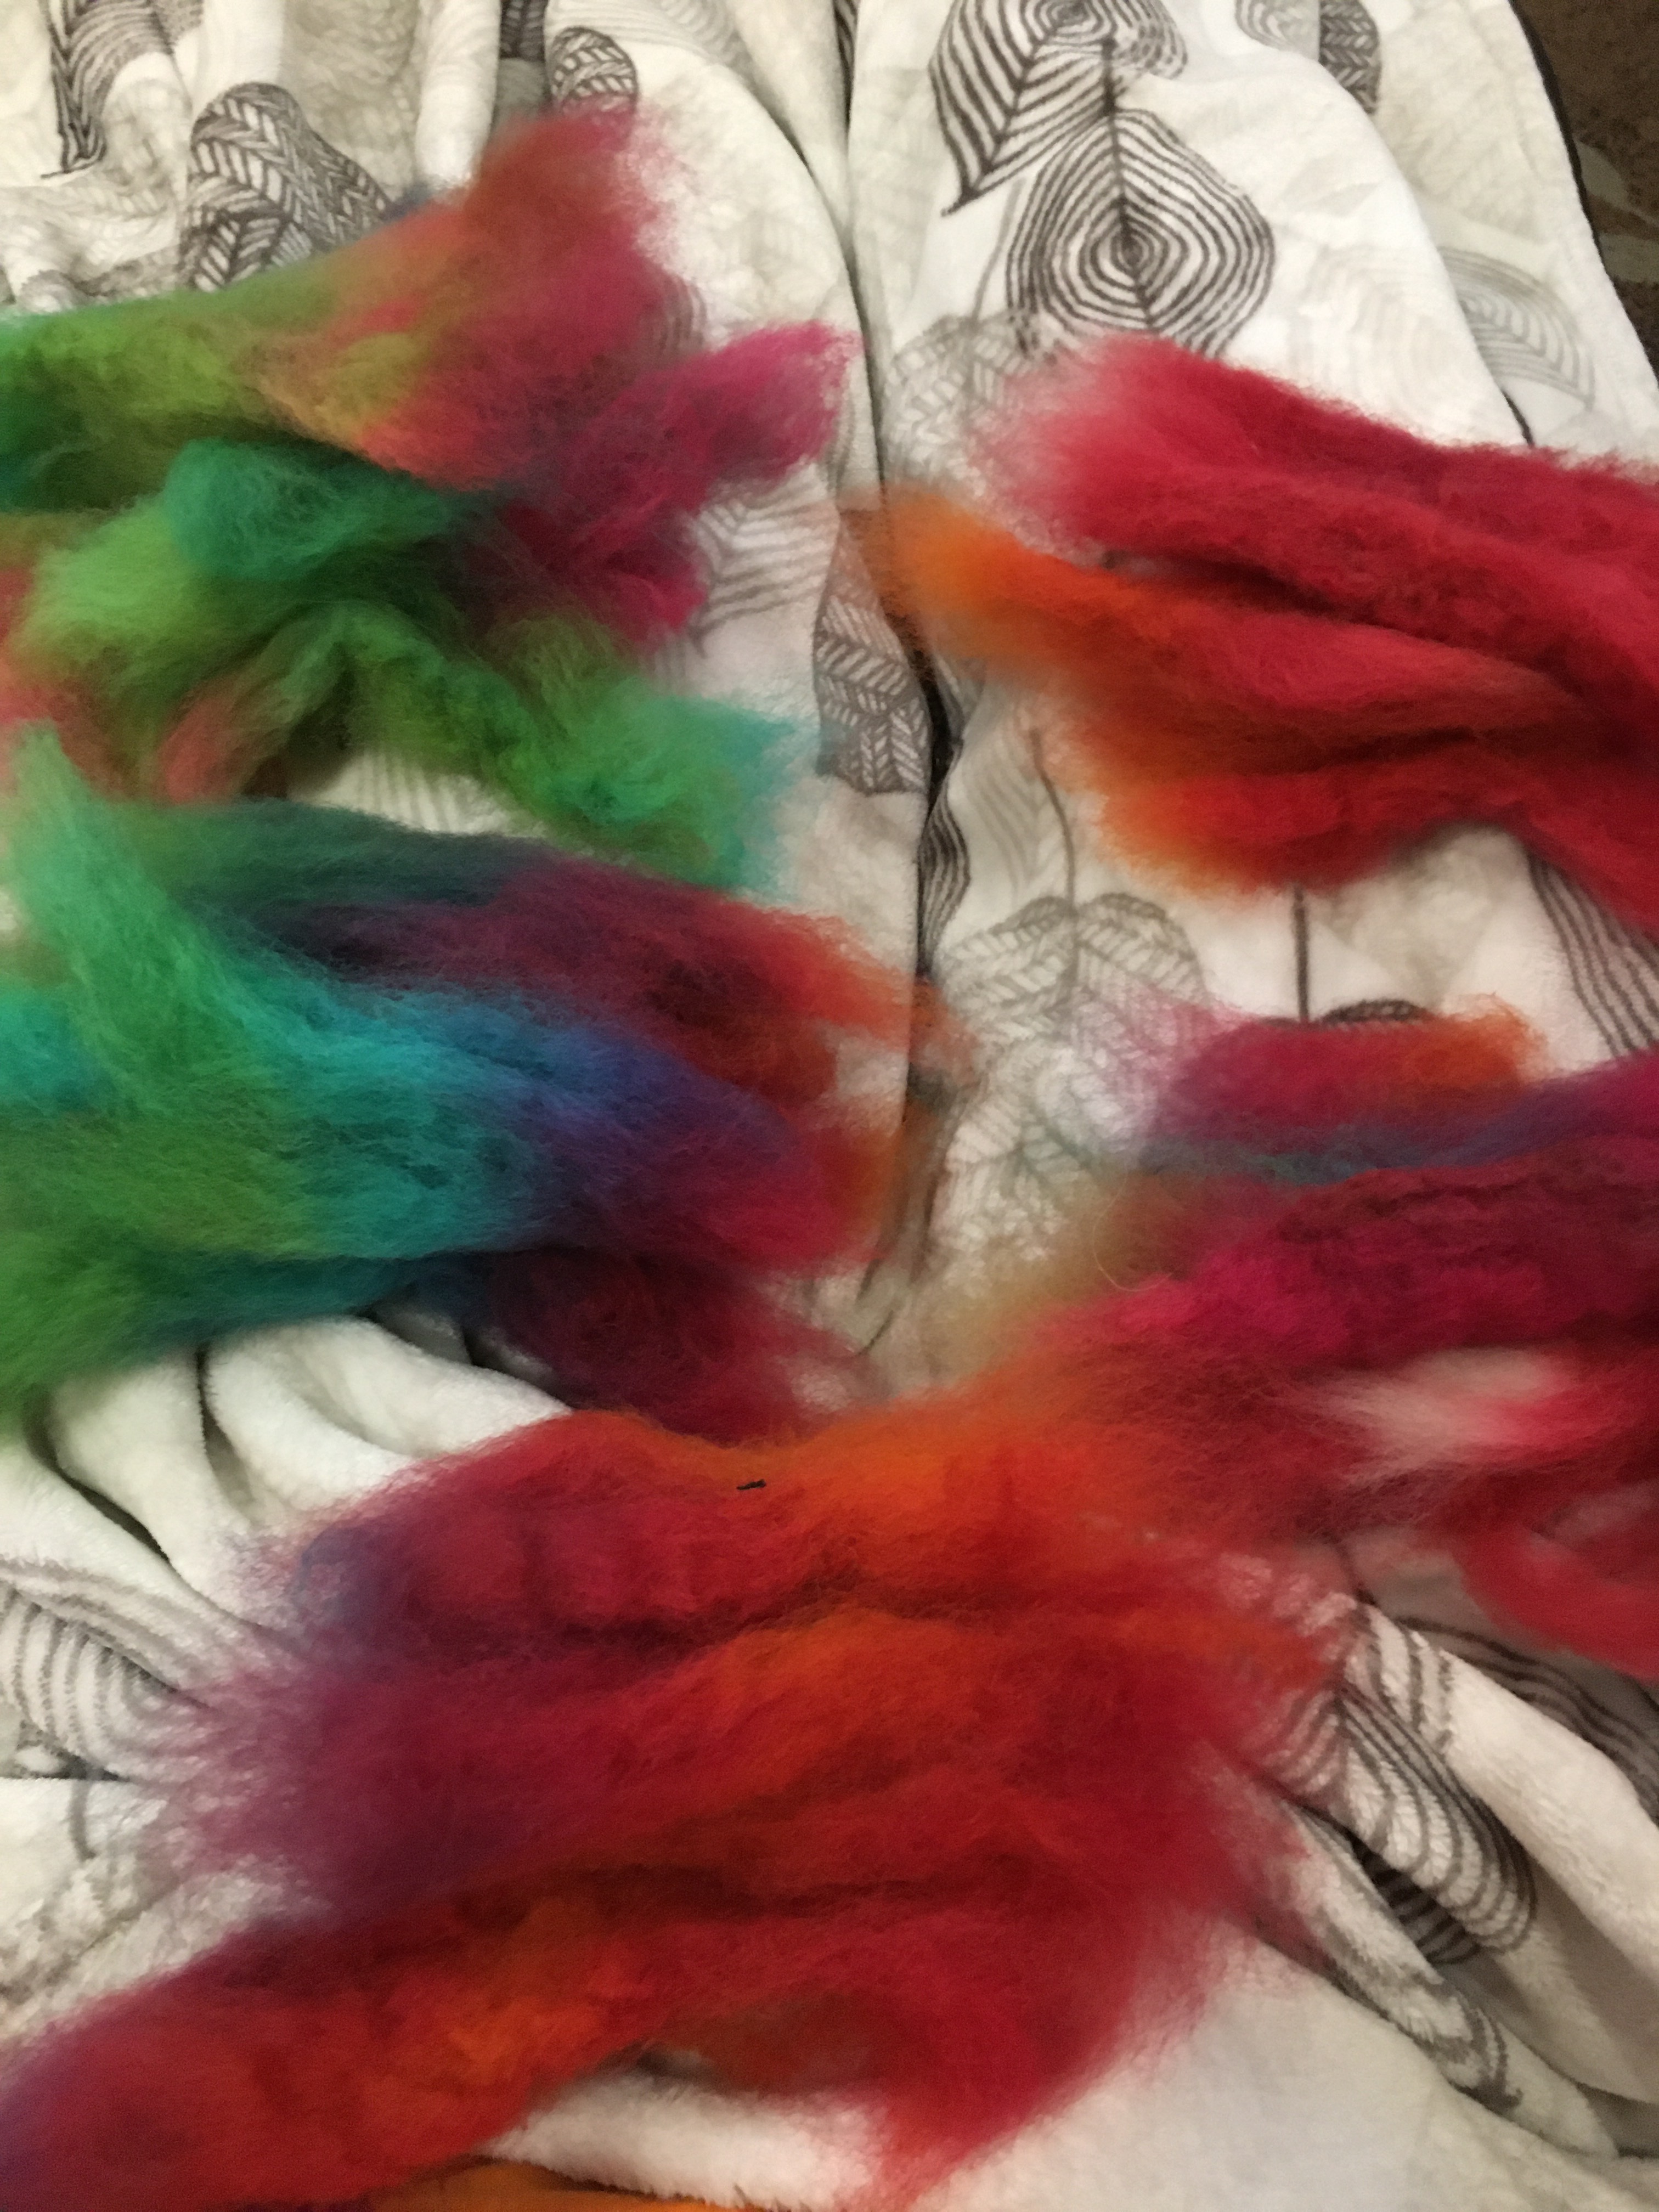
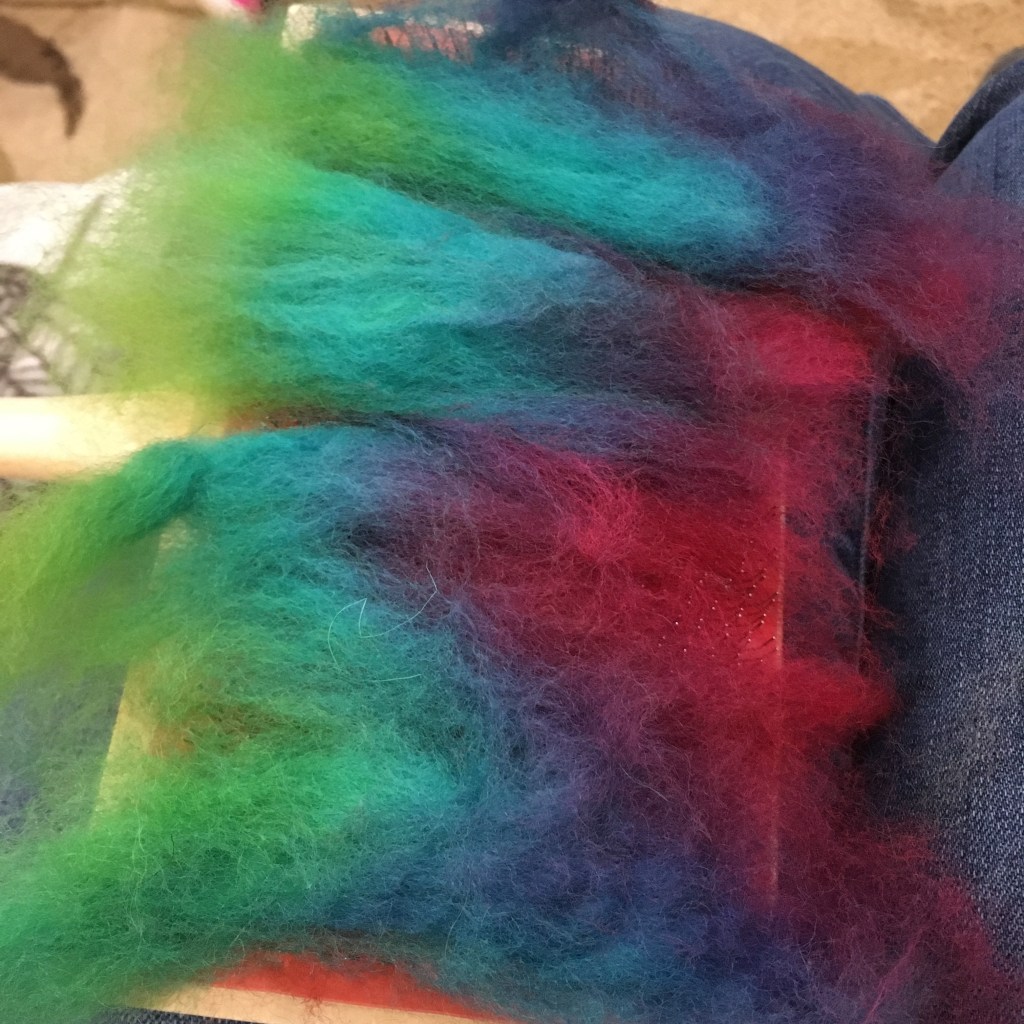
I’m practicing with my wool carders! Carders are wooden paddles with wire bristles, like a large brush. You use them in pairs to prepare fiber for spinning. I have a beautiful bundle of rainbow colored merino wool roving my Mom gave to me, dyed in a repeat pattern. I decided to pull the colors apart and make a continuous rainbow yarn. This gives me a chance to not only use the carders, but to practice blending colors as well.
Pulled apart sections of roving, sorted by color
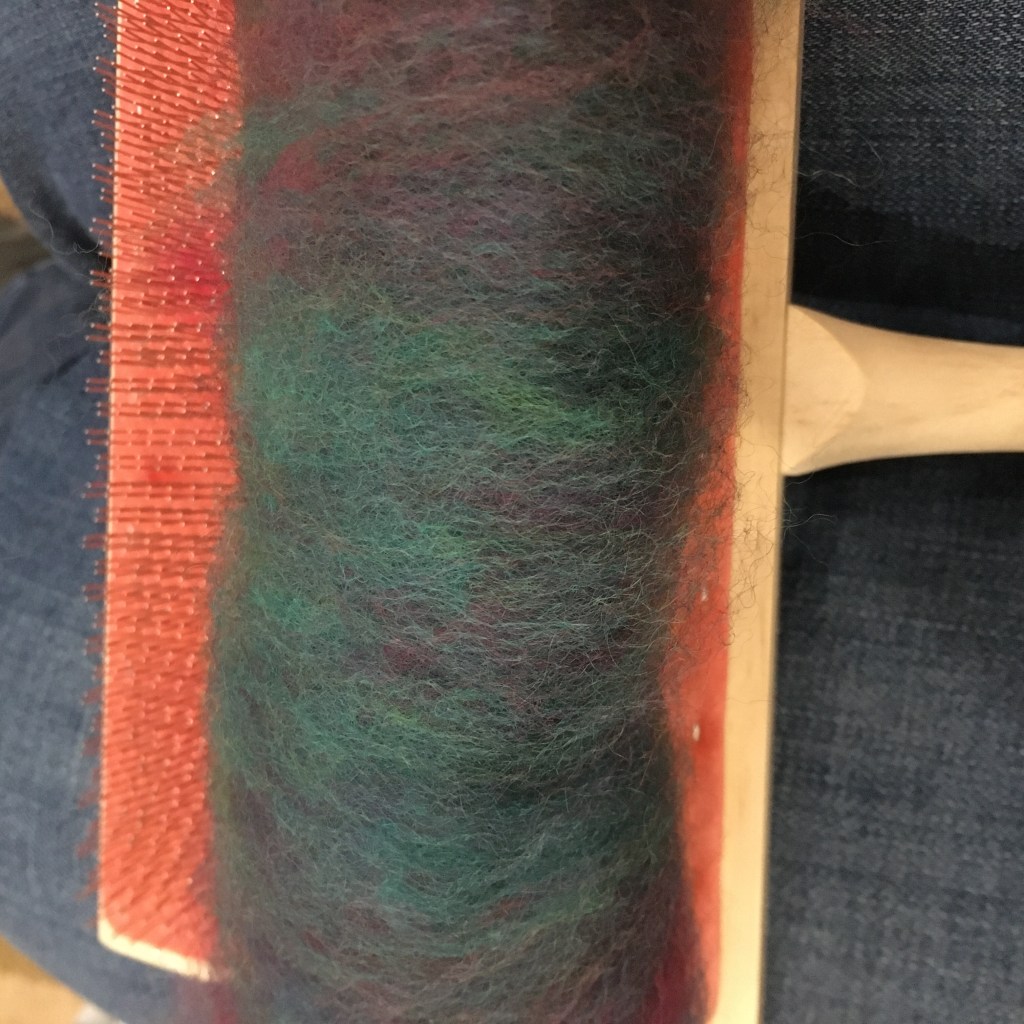
To blend the colors, I loaded the carder and tried to spread out the color to reduce streaks. Since the staple length (the length of the hair) is longer than the sections of color, most individual fibers have more than one color so it was impossible to completely separate colors and maintain the integrity of the fiber. It worked out well, though, because after carding I ended up with nice blended colors! I carded each section three or four times before rolling the fiber up to make a rolag.
Wool loaded on one carder
There is an art to carding fiber. Most of the instructions I’ve read stress not letting the wire bristles touch. I didn’t understand that at first. Then as I worked with the carders I saw that as you draw one brush across the other, the fibers pull out. It is possible to brush the fibers to pull them out and lift them from the other carder without touching bristles and without burying the fiber into the bristles. I’m still working on the technique!
Carded rainbow wool
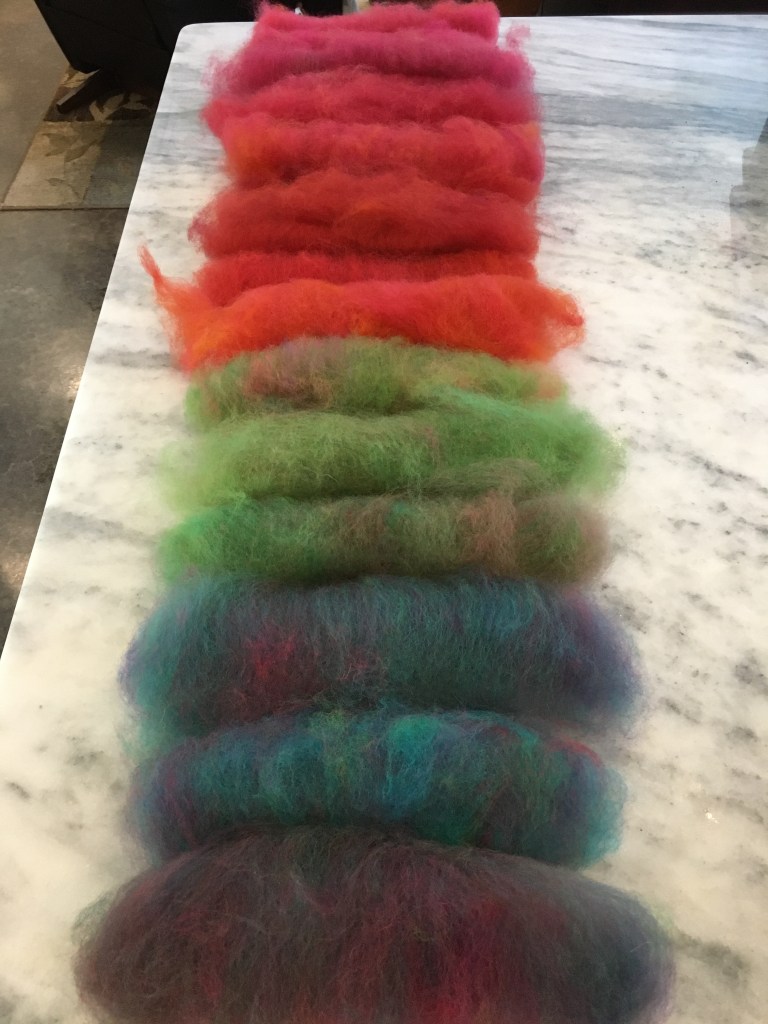
Once I had the colors blended sufficiently, I rolled the bat of fiber up, making a rolag.
Rainbow rolags
I’m really pleased with the color blending. Now it is time to spin!