Oh, that’s what it’s for

In searching for materials to make tassels the other day, I found an old ball of thin cotton yarn that I either inherited or picked up in a grab bag at a garage sale. It worked very nicely for the tassels I wanted. Then I noticed that it looked very much like the thread used in the weaving pictures, so of course I had to use it to warp my little loom and try weaving on it!
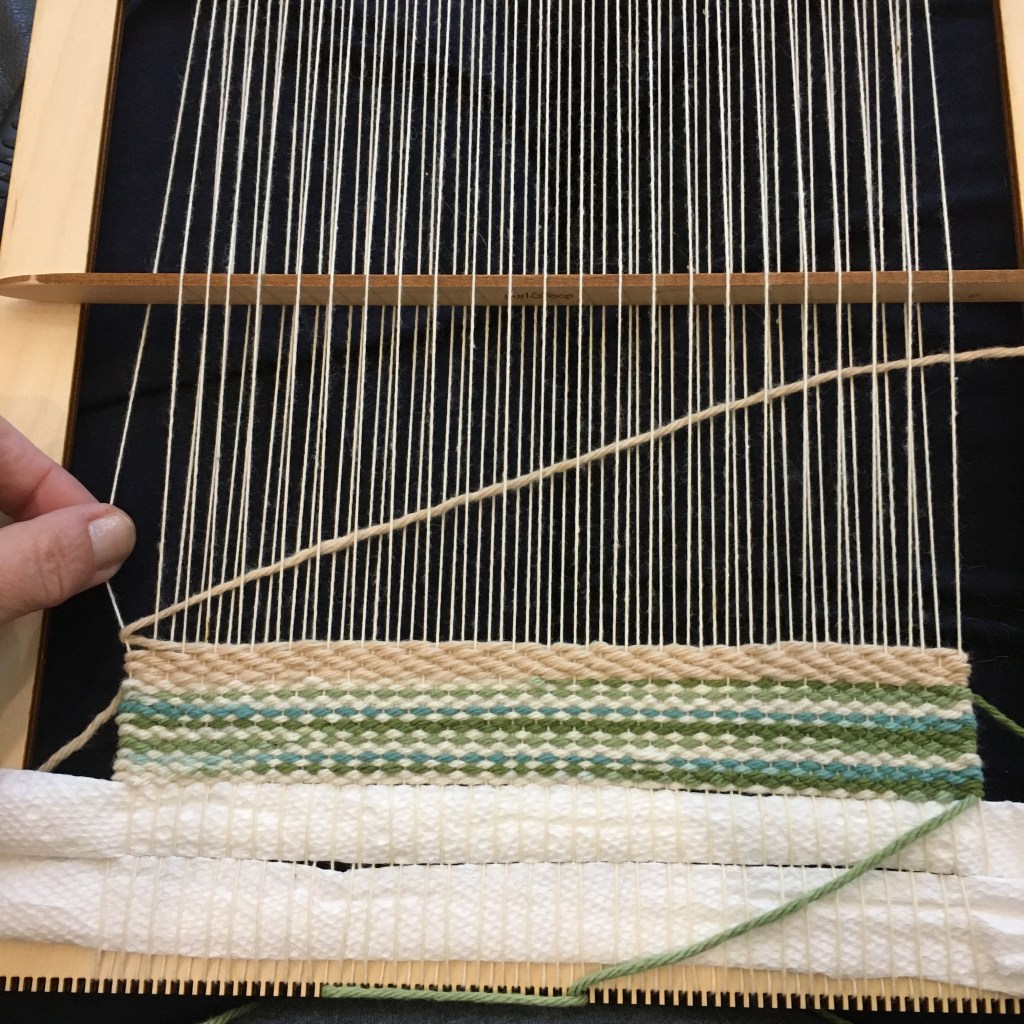
Purl & Loop weaving loom with found cotton warp threads

I used each peg on the loom with the found yarn. I couldn’t pack the yarn tight enough on a plain weave to cover the threads, but I figured out the Linen weave, and it covered the warp threads well. I also discovered that I can’t do the Linen weave during cocktail hour. Oops. At least it is a washcloth and still useful even if it is wonky.

Pulling the warp threads through the weaving

Pulling the warp threads through the work for the fringeless finishing method was easier too, but I don’t care for the look of the warp threads on the edge. I also tried weaving in the ends all along the selvage to strengthen it, but that needs either a rethink, or more practice.
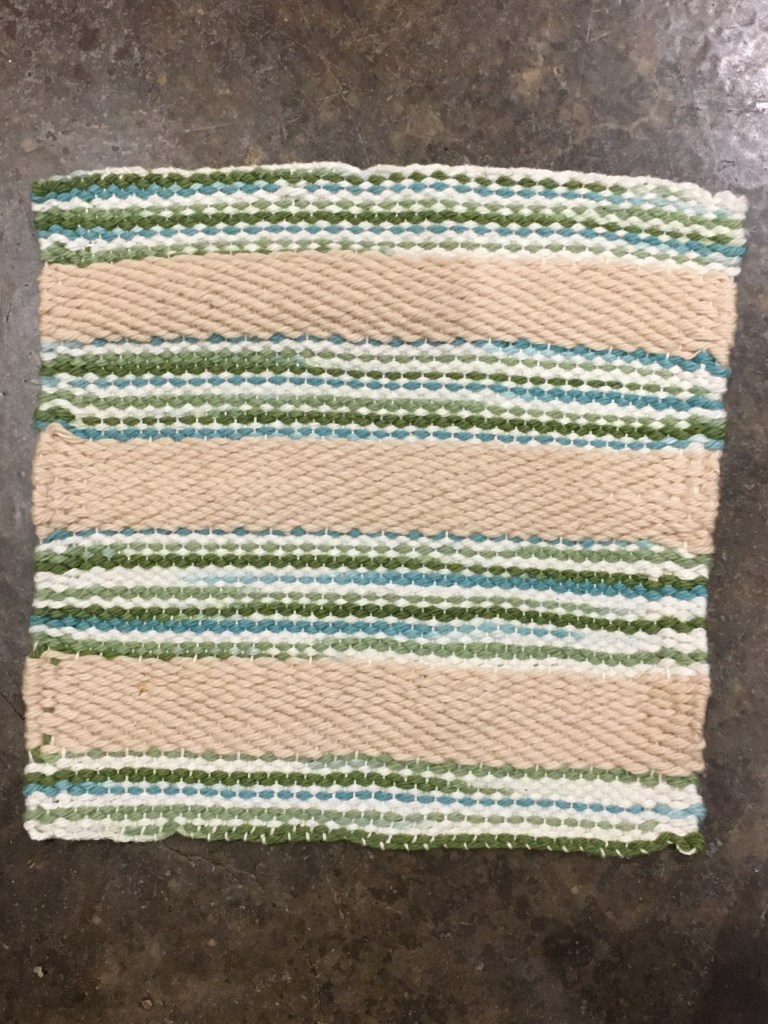
Finished washcloth, still wonky, but practice is helping.

Shh, he’s hiding

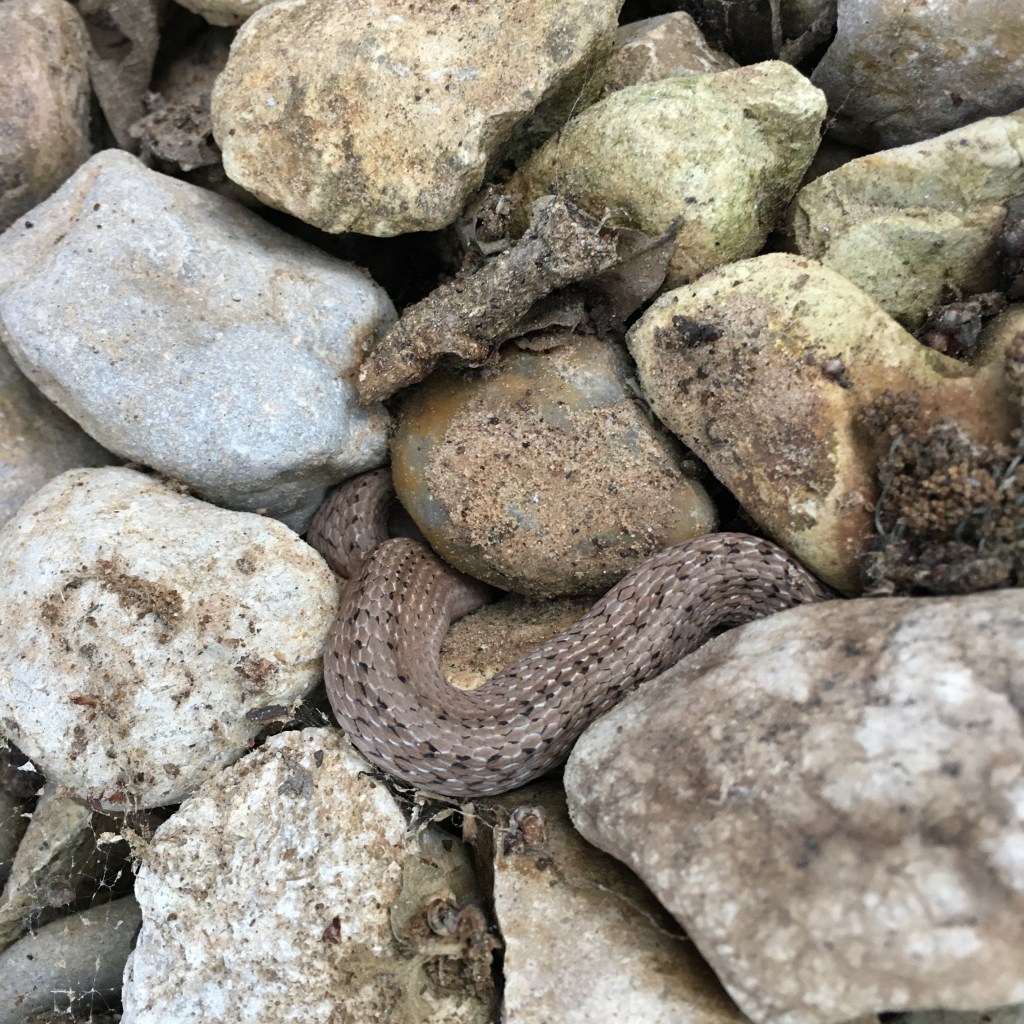
We started up a fire in the fire pit, and when I was removing the grass spider webs I found a snake. Not something I expect to find hiding under a sheet of web! He was not caught, but when I uncovered him, he slithered off, under the pot (we use an old cast iron cooking pot as a fire pit). I was afraid he was going to cook himself under there, but my eldest spotted him later hiding just outside the hottest part of the rock.

Texas brown snake

As the fire died down, we watched the grass spiders and Texas brown snake. Both are beneficial and pose no risk to humans, so they stay!

Tassels, two ways

One of our favorite teacher gifts to make is bookmarks, and special book marks need tassels. I don’t know why, but they do. (Even though the cat usually finds the tassels and pulls out the bookmark!) I have to look up how to make tassels every time, and every time I don’t like the tutorials I find. So here is the process I used this year, so I can find it next year, and maybe the information will benefit someone else as well.

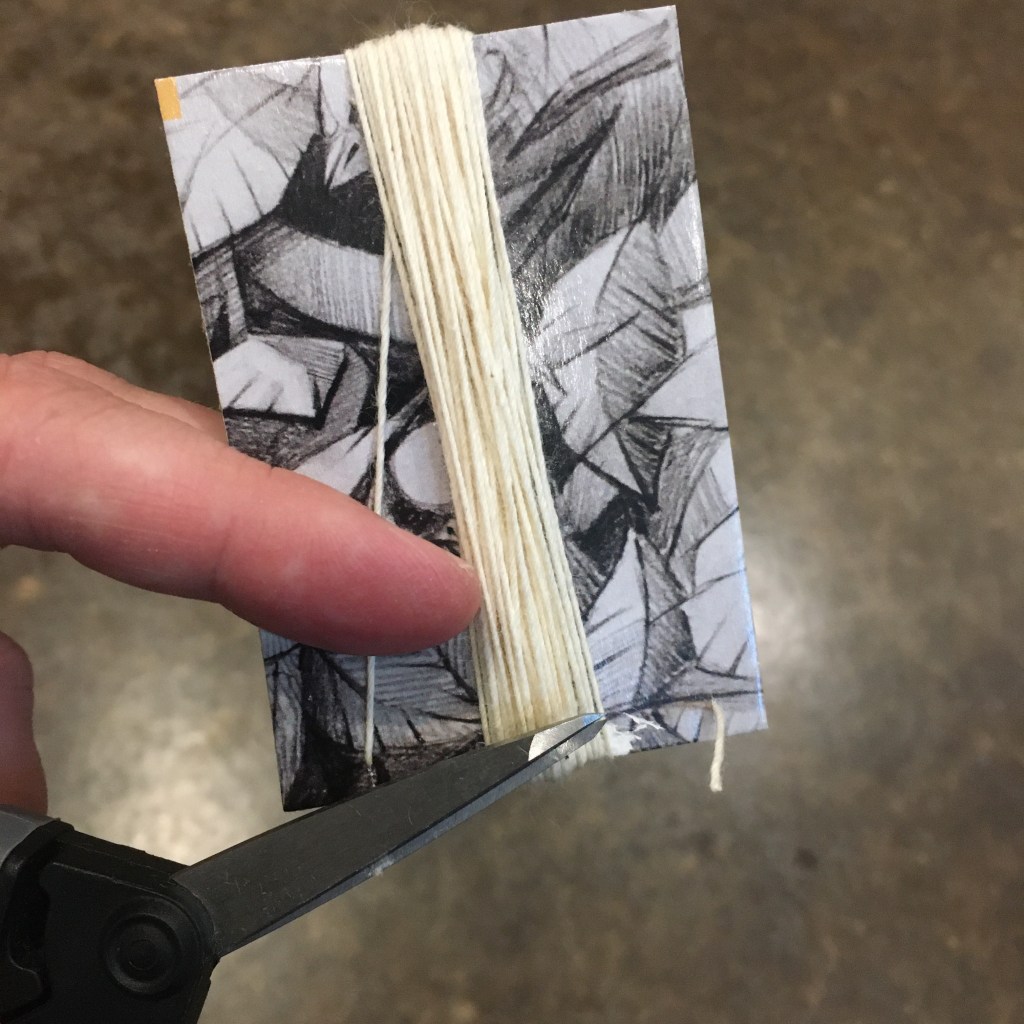
40 wraps of thin cotton on a 3” rectangle of cardboard
Cut bottom loops only
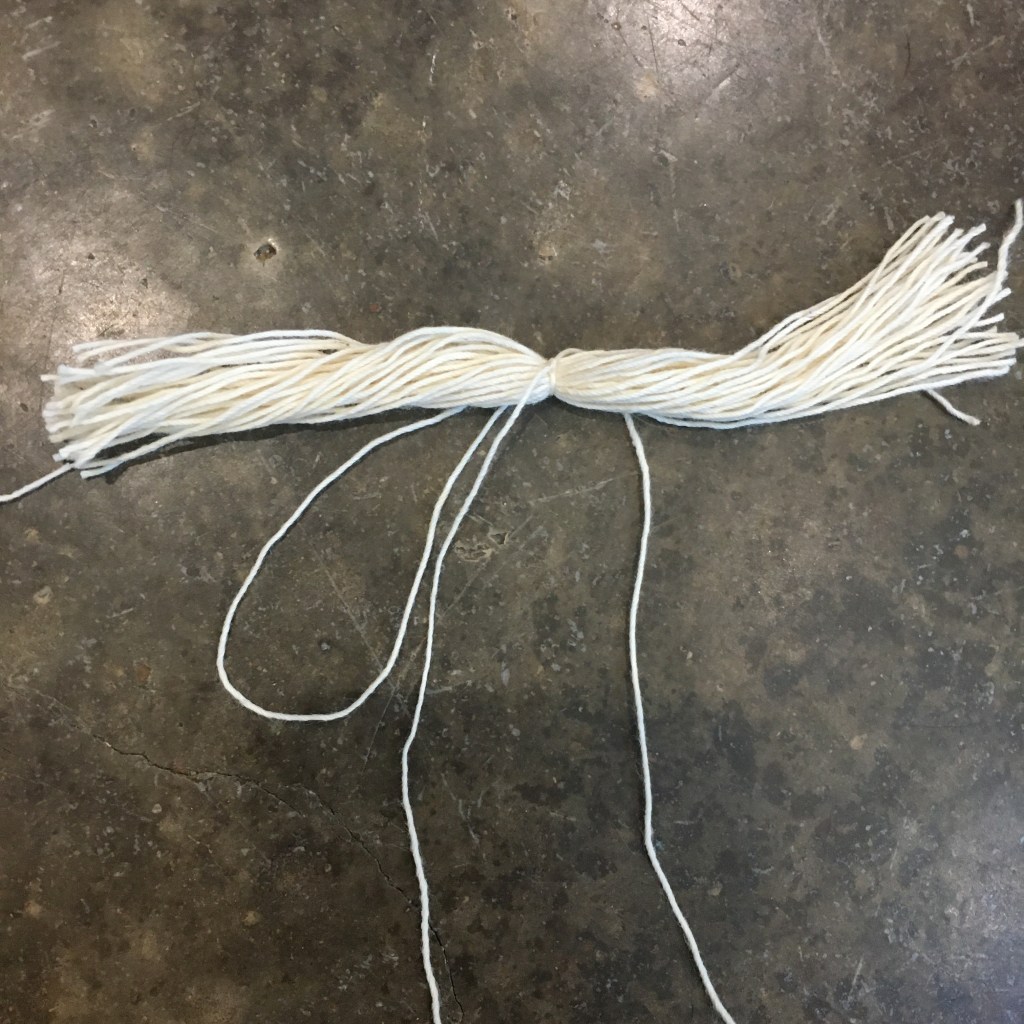
Use another strand of string to tie the middle (if not using a bead, tie a loop)
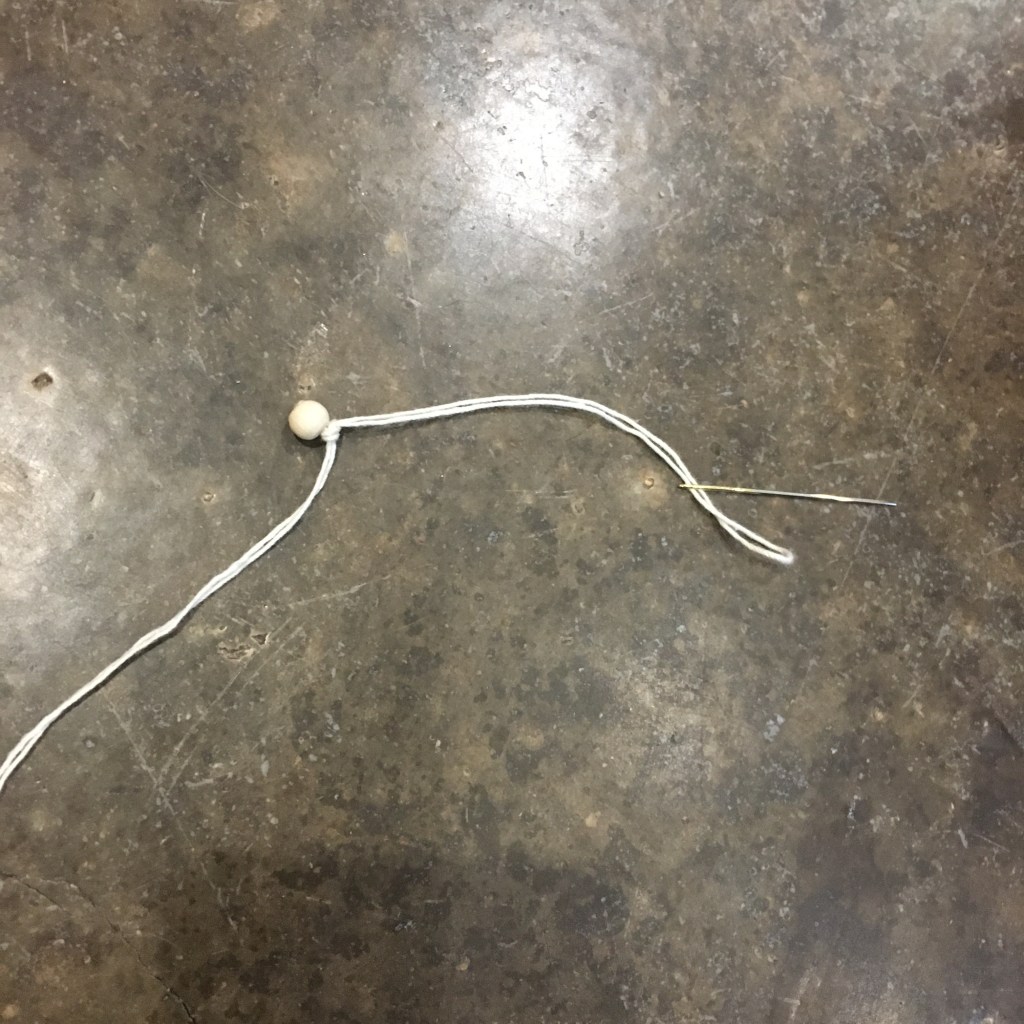
Fold a string in half, thread through bead, tie the bead about 3” from the loop
Poke needle through the center of the bundle of string
Arrange string evenly around bead
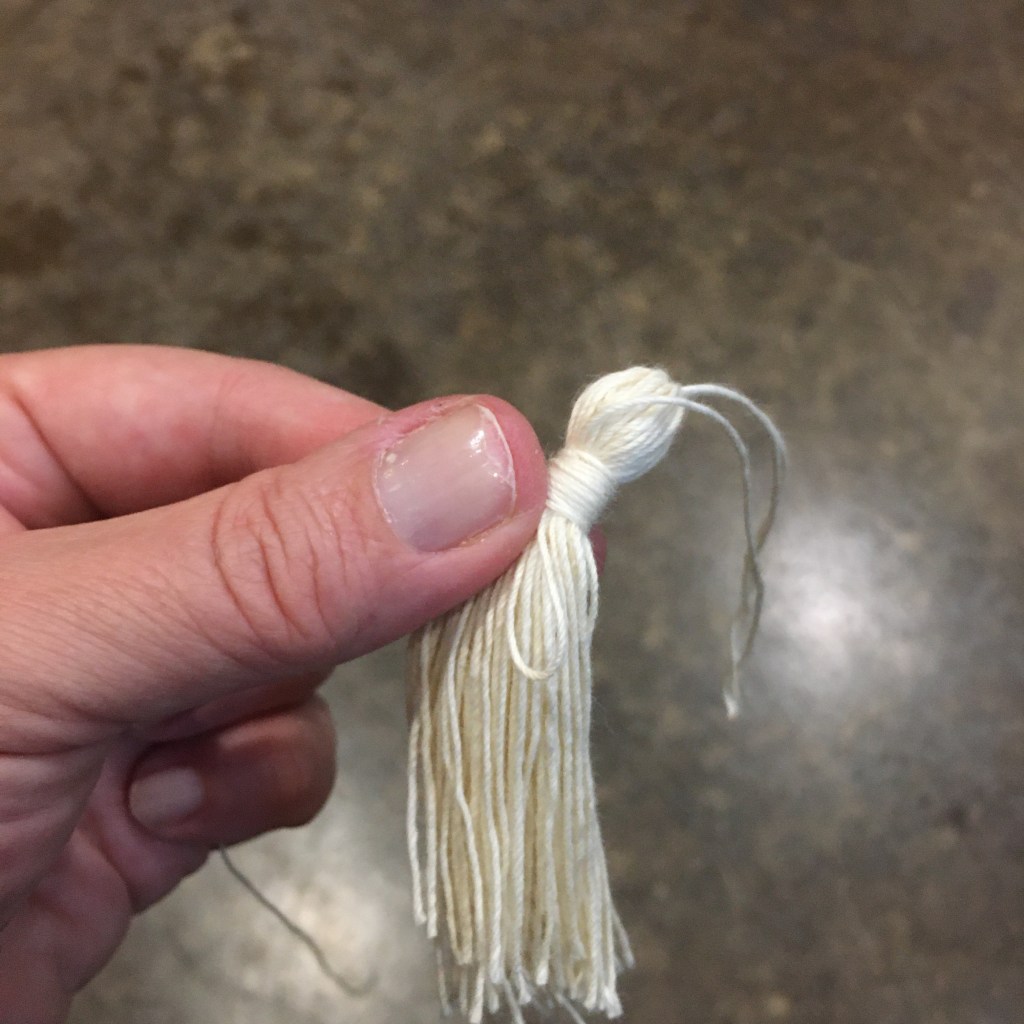
Wrap tie from the bead toward the tassel, put the end through the loop, pull ends under wraps
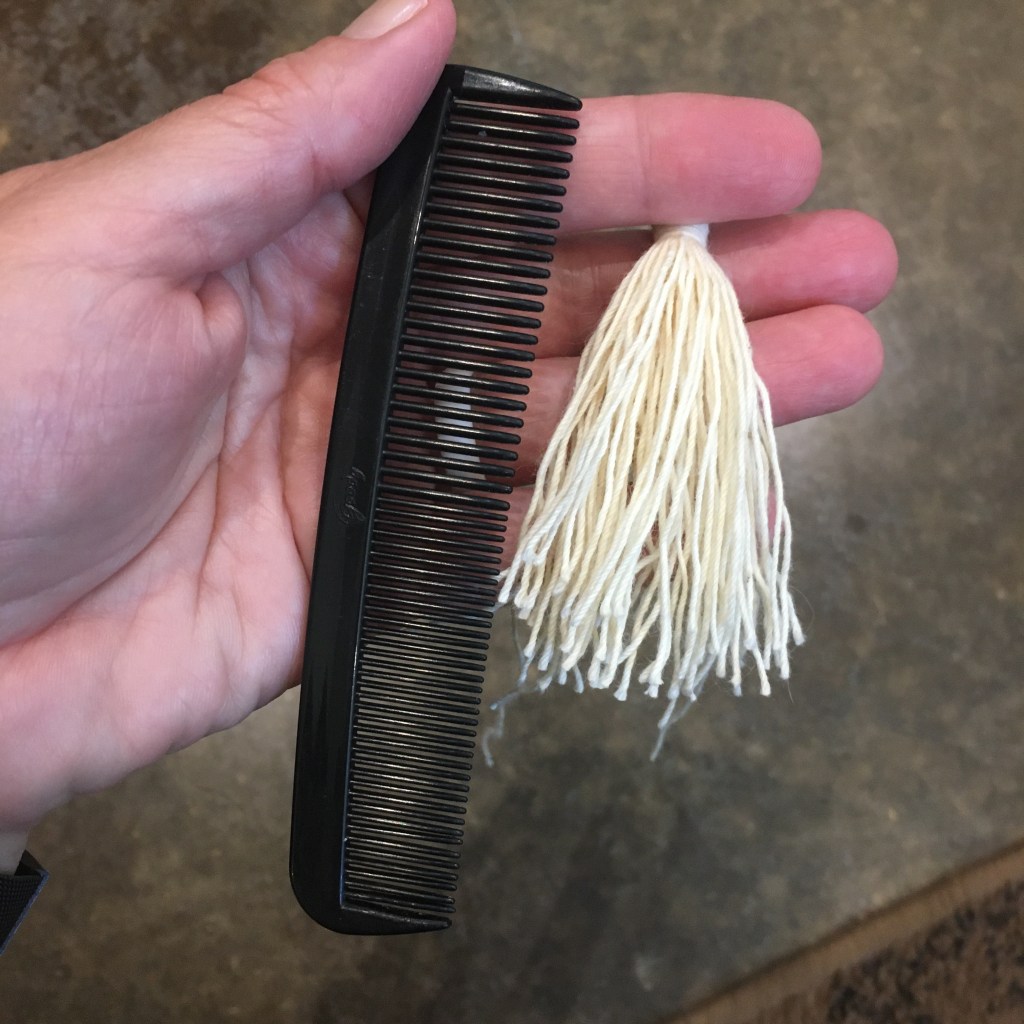
A comb works well to straighten out the tassel strands
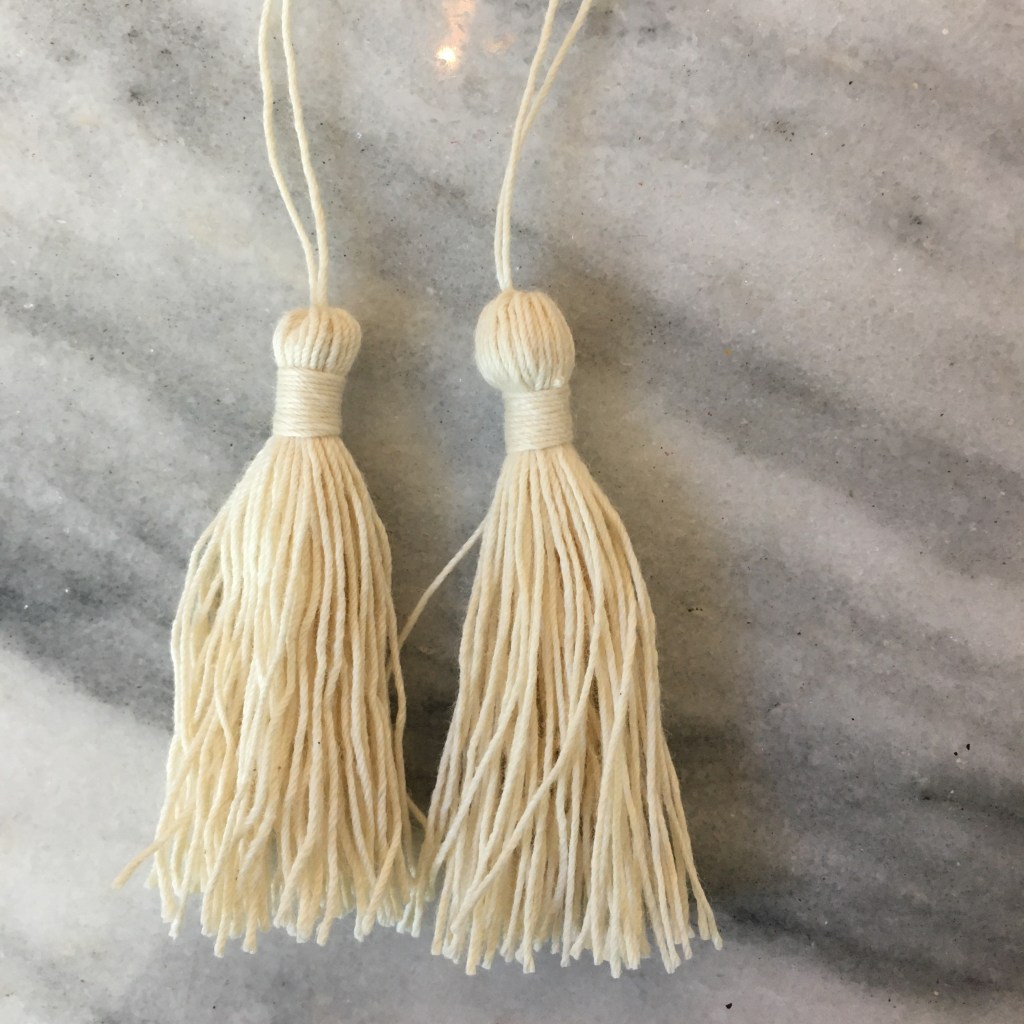
Trim tassel. Tassel on left has no bead, tassel on right has a bead

This is a very busy photo

So much going on!

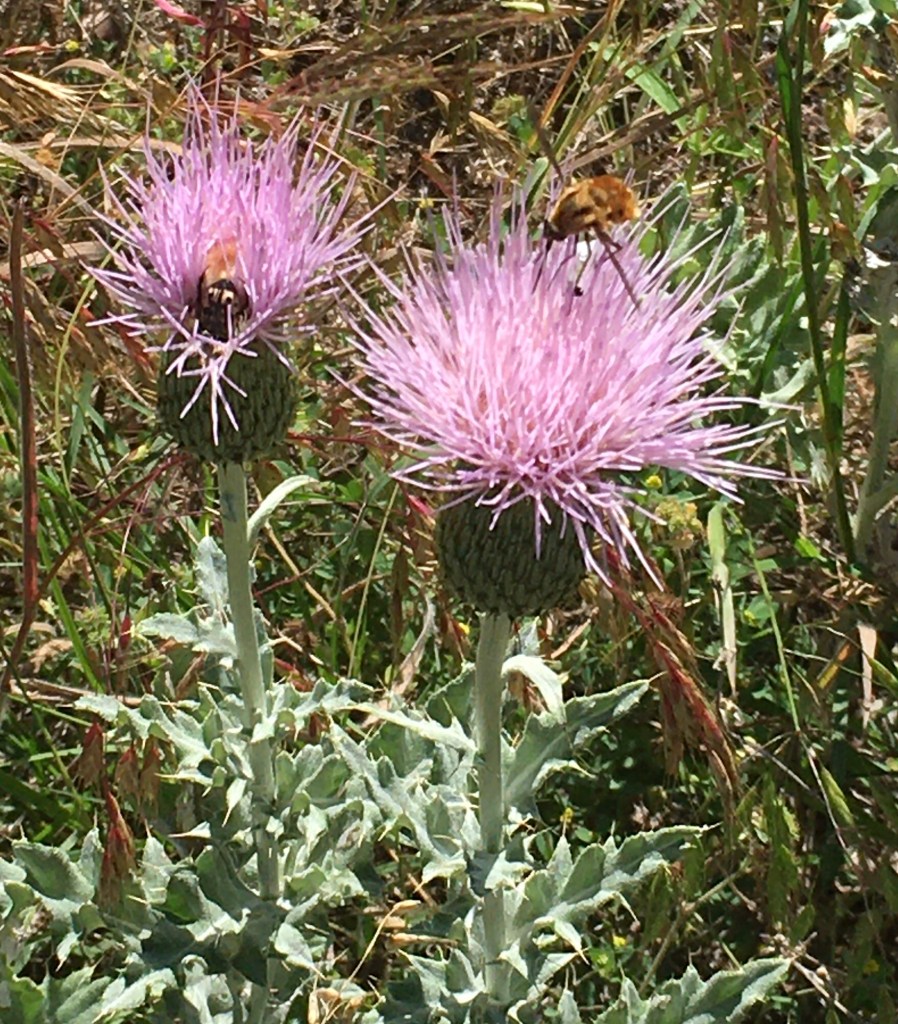
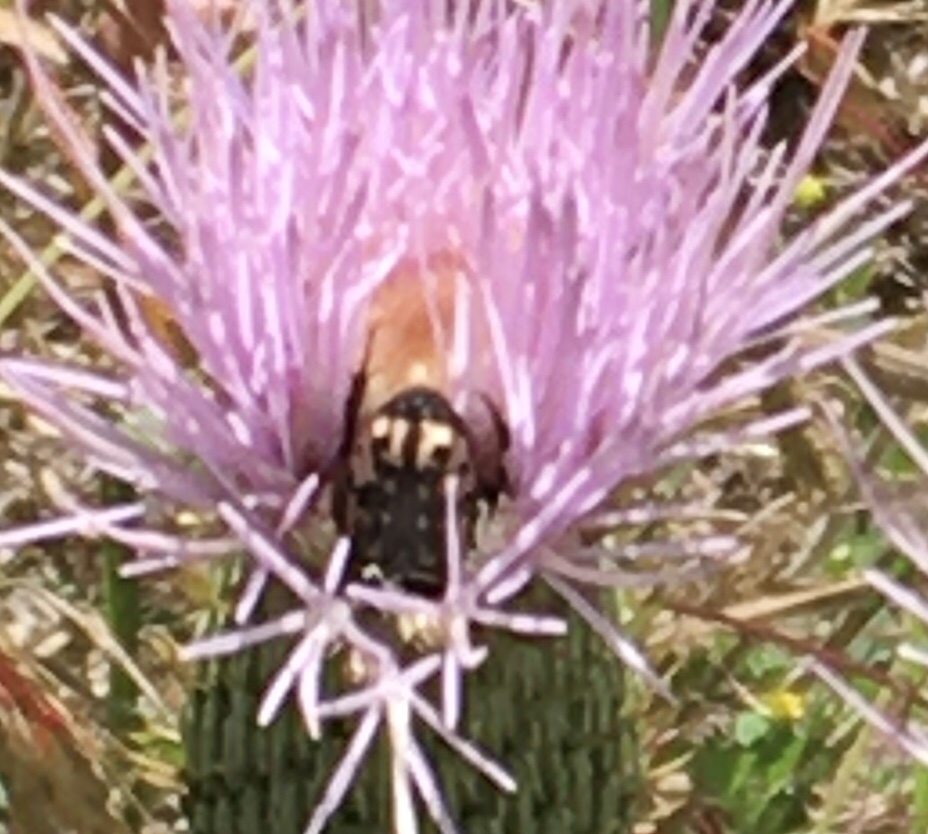
On a walk at a local park, I stopped to take a picture of thistles. I love the look of these thistles! The leaves are silvery, and I like the tassel; yes they are prickly, but at a distance that has its own kind of charm. I ran the photo through the iNaturalist app to figure out what kind of creature was sipping nectar, and it suggested thistle, and two very different insects. Huh? Then I looked closer and there are two insects in the picture! The bee fly on the bloom to the right, and the back end of a flower scarab in the bloom on the left. I have not documented either creature, so it is quite the exciting picture!

Zoom in on bee fly
Zoom in on beetle bum

I have finally added an “About Me” page, accessible from the menu on my page ofchickensandcraft.home.blog. It rather highlights my fractured nature, but if you have been reading my posts for any length of time, you have probably picked up that I am easily distracted and try many things!

Well that went better

In reading more about weaving, and actually watching some videos (not in their entirety of course, I don’t have that kind of attention span), I noticed the warp yarns were further apart than my warp yarns. I grabbed a bag of variegated cotton bits and this time I tried skipping a peg between warp threads. I also used some tissue in the first two rows as spacers, and found a method for getting the sides more even by pulling the end warp thread away against the weft of each pass. I still have a little hour glass shape, but the tension across the whole piece is much, much better.

4 epi rather than 8 epi warp

With the wider warp, which I think would be 4 ends per inch (epi), I was able to pack down the weft (back and forth passes of yarn) to cover the warp (up and down) yarn. I get stripes instead of the interesting color play, but the finished fabric is so much softer and thicker. It was easy to pull the warp threads through the piece for the fringeless method of finishing, and easy to weave in the ends. (I actually enjoy weaving in the ends, but it is basically sewing, and I like needle work.) The colors are interesting; it is obvious that I’m working from leftover bits of yarn, but my youngest thinks the pink and rainbow is awesome. So there we go.

Finished worsted weight cotton washcloth 4 epi