I finished a pair of socks in three months! This is much better than the year and a half for the last pair. It must be noted that I can only knit for about 15 minutes before I get distracted; I am not a power knitter. I usually knit as a time filler between other activities.
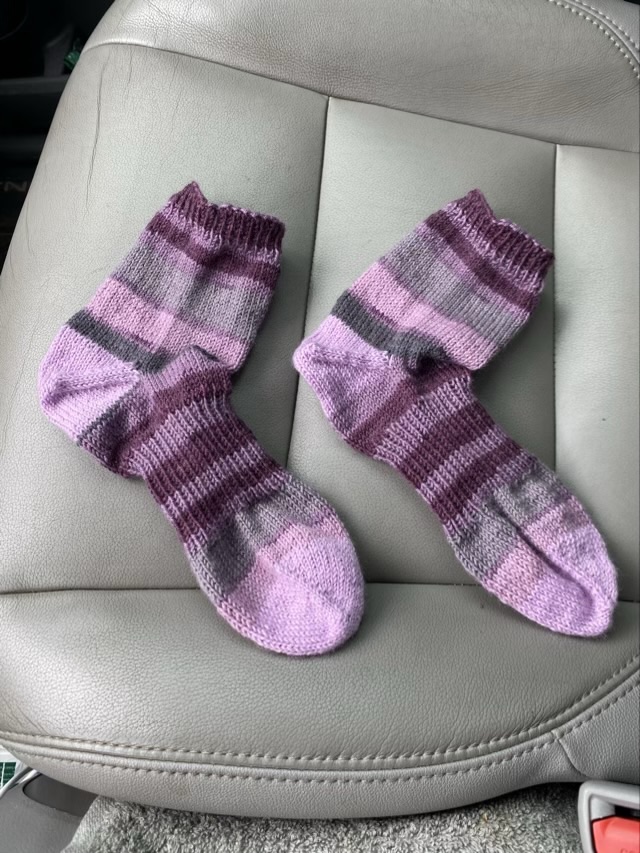
I knitted these by feel and measurements, rather by row, and that also helped save me time. The ribbed arch is a personal preference that I added to the basic sock instructions.

That the socks match almost perfectly is pure serendipity. Or fabulous planning by the yarn manufacturer. I split the skein of yarn in two by winding one cake until I reached half the weight, then wound the second cake of yarn. I knitted from the center of each yarn cake, one per sock. I used a coordinating solid color for the toes and heel to avoid disrupting the stripe pattern. To be honest, I’m a little sad that they match so well, I rather like coordinated mismatched socks. Hm.