Möbius crochet tessellation

In the pursuit of a möbius scarf that has a center line that stretches with the fabric, I have twisted my brain inside out, backwards, and forwards. I finally sat down and drew what I wanted.
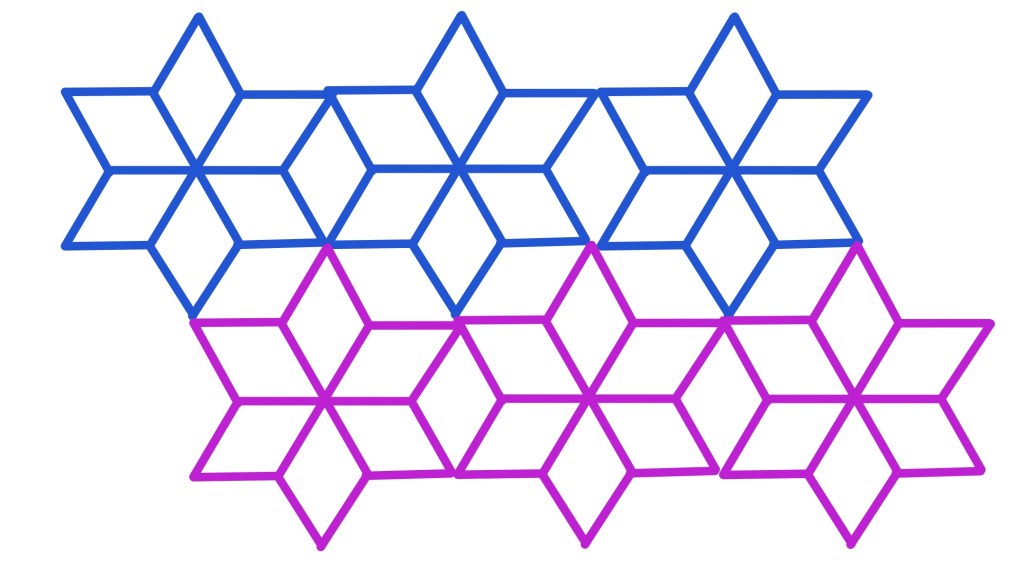
Tessellated parallelograms

I used different colored lines to trace how the crochet stitches should go.
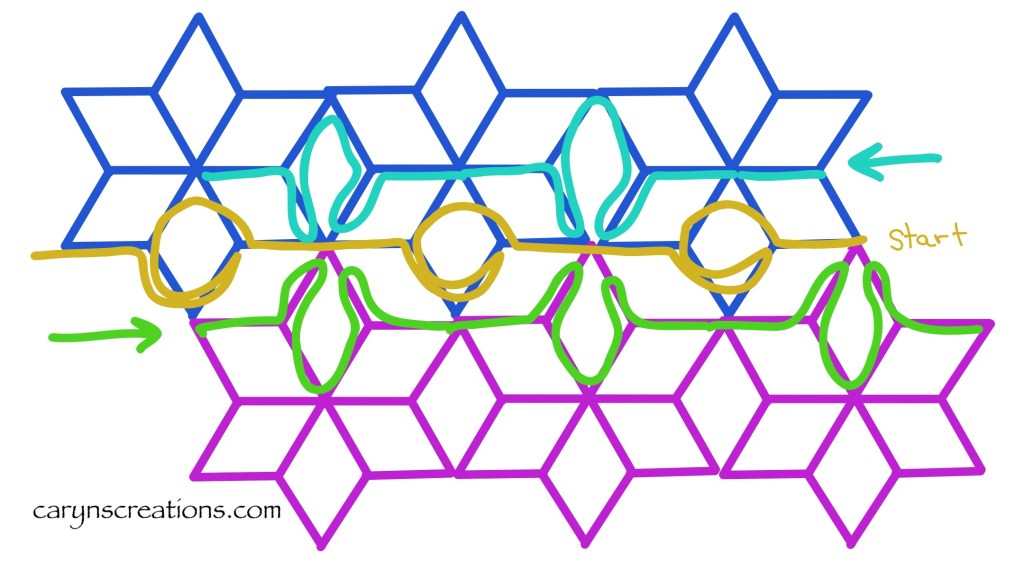
Breaking up the tessellation into crochet-able lines

With a little experiment to verify my thought process, I then used crochet symbols over the sketch to solidify the plan.
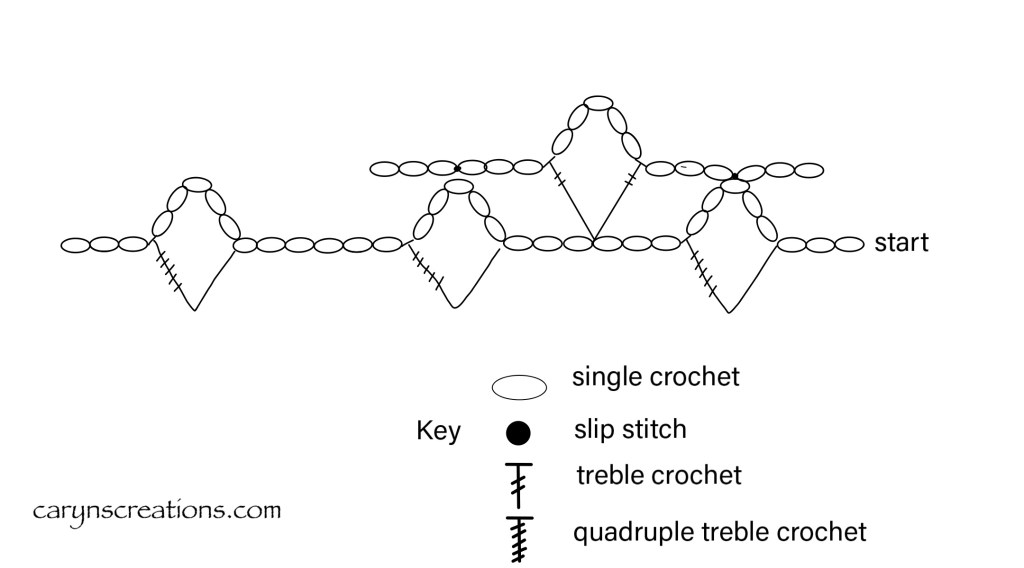
Capturing the essence of the pattern with crochet symbols

The foundation chain is not strictly a chain, but a connected series of loops. Most crochet patterns start with “chain x number”, but not this one. I only illustrated a single repeat for the subsequent rows, as that is all you need. Each row is offset from the previous row. I’m not going to give a specific pattern for a specific size or number of rows, but I will attempt to put into words what my drawing shows, for those that may need it.

quadruple double crochet (qdc): yarn over 5 times, insert hook into work, (yarn over, pull through two loops) six times

Treble crochet (tr): yarn over 2 times, insert hook into work, (yarn over, pull through two loops) three times

Foundation chain (row 1): chain 8, *quadruple double crochet (qdc) into the fifth stitch from the hook, chain 11, repeat from * to desired length, qdc, chain 3, join with a slip stitch to beginning chain.

Row 2 (and all subsequent rows): chain 6, mark third chain, slip stich in 5 chain loop, * chain 3, tr into middle of six chain length, chain 5, tr into same stitch, ch 3, repeat from *. Chain 3, tr, chain 5, join with slip stitch at mark, 3 slip stitches to get to next starting point.

To make this Möbius, when you come round to the mark, give the foundation chain a slight twist and crochet on the opposite side. Each round will go on both sides of the work (the magic of Möbius).
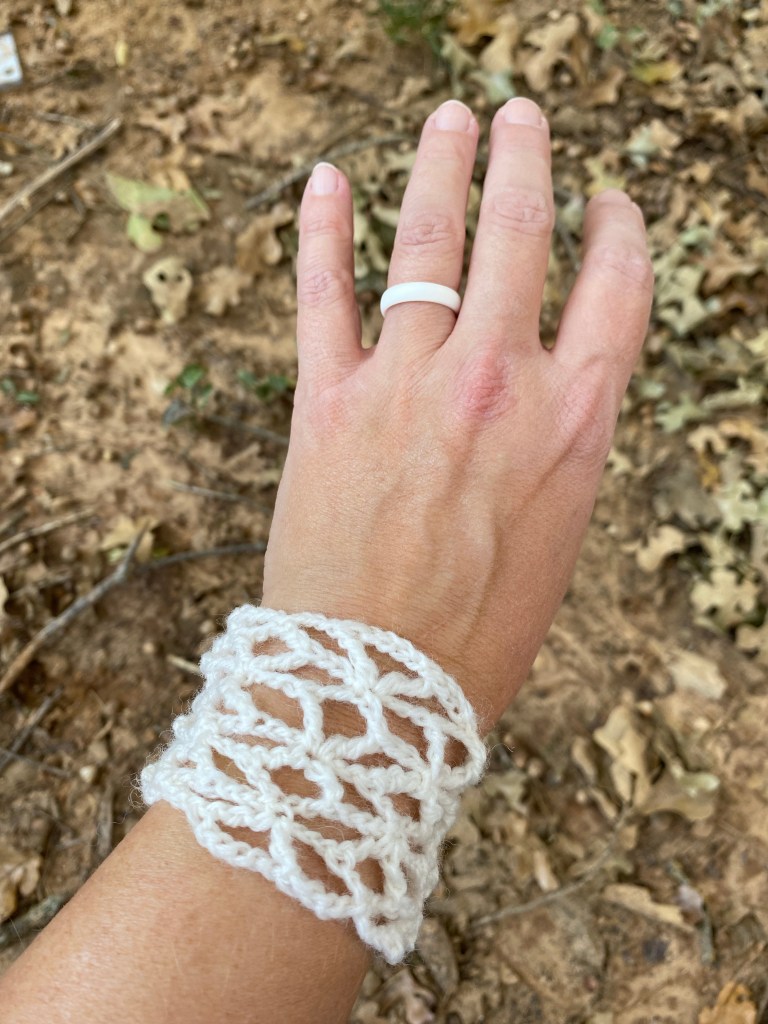
Wrist-sized test piece
Wrist sized test piece showing the twist

Now to make an actual scarf!

It makes me happy anyway

I’ve started to spin the Shetland wool batt on my walks. I gently separated narrow strips from the large batt, and loaded my arm bag with what I thought was enough to last me one or two walks. Five walks later, and I am still on the initial load of fiber. Granted, I am spinning it finer than I spin alpaca, but wow. Even though it is slow going, I really, really enjoy watching the twist move into the fiber, and the pleasant way the wool drafts out. The plan is still to make a two ply lace weight yarn. I’ll have to test the wraps per inch (wpi) after I ply to see just how fine (or not) I’m spinning. Lace weight measures at 30-40 wpi, while sock or fingering weight measures at 18-30 wpi. I suspect I will have a fingering weight when I ply, just looking at the singles on my spindle.

Spinning Shetland wool with a drop spindle

I could probably spin even finer, but I would probably have to use a supported spindle, which I have not figured out how to do while walking.

Musical beds

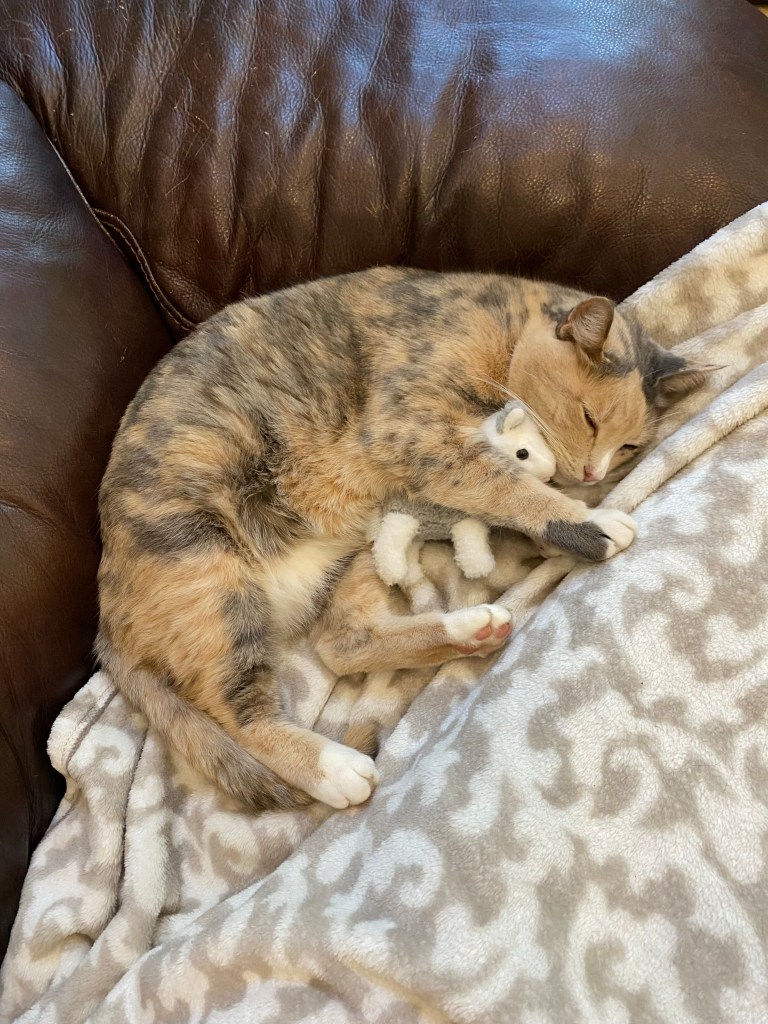
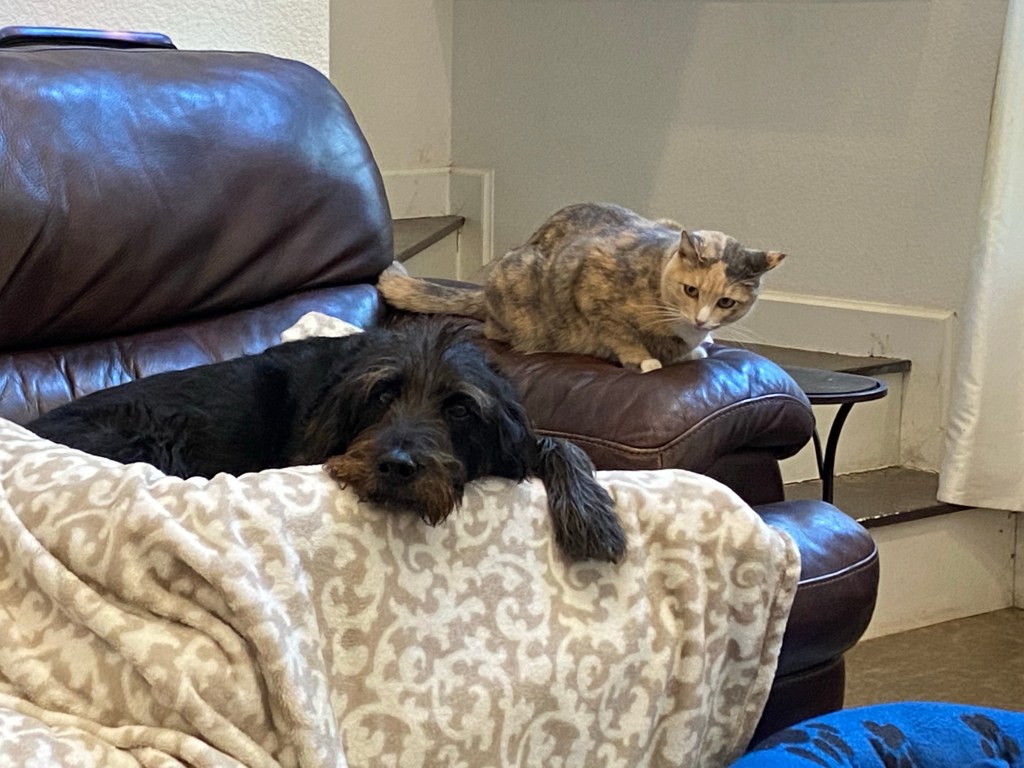
Sophie the cat is quite put out when Griffin the dog cuddles on her favorite couch.

Sophie shoots Griffin a dirty look for taking her spot

So Sophie, out of spite maybe, takes Missy’s bed, much to Missy’s confusion (although honestly, Sophie looks quite perplexed as well).

Missy is befuddled that the cat is in her bed

Eventually, it all worked out the way it is supposed to, and at least Sophie and Missy are content.

The usual suspects in their usual spots

Don’t worry about Griffin, his favorite place is in his crate where he can have some quiet time.

Learning to make crackers

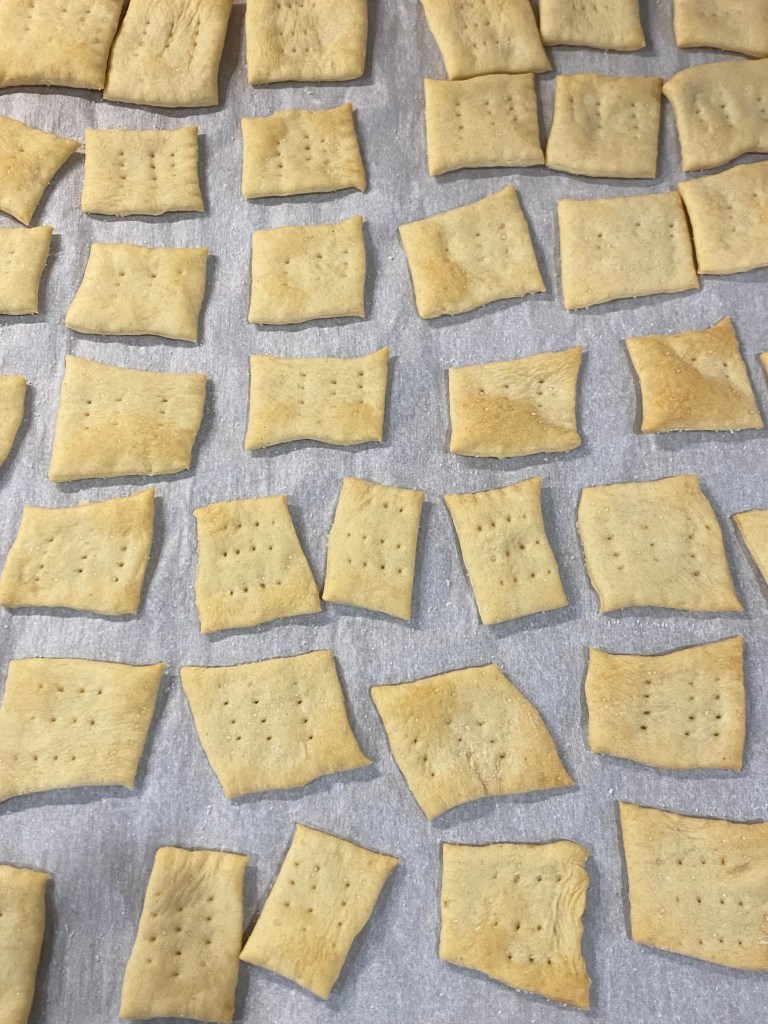
The next thing on my list to make with Heritage Wheat is crackers. Purchased gluten-free crackers are fine, but making GF crackers is daunting. With the gluten available in the Heritage Wheat, the process should be better. I tried one recipe that was quite simple, but called for the dough to be rolled out to 1/8”, which was far, far too thick. Instead I found a recipe from King Arthur Baking that worked very well. The dough doesn’t take long to mix, but then sits in the fridge overnight. Rolling it out thin and cutting it wasn’t hard, just took a little time. I did over bake some at the edges, and some in the middle didn’t crisp, so I stuck those back in the oven with the door open and the oven off. I think next time I make these I will bake them for about 10 minutes, then turn off the oven, crack the door, and let the crackers cool in the oven.

Traditional soda crackers made with Heritage Wheat

Surprisingly, these crackers tasted better on day two. They were also quite lovely crumbled into my tomato soup. Mmm.

Homemade crackers in tomato soup

Ok, so the soup came from a can, but the crackers were home made!