Exploded burl

I attempted to make a bowl on my lathe with my four jaw chuck. To say that I am still climbing the learning curve would be most accurate. I did use my band saw to trim the block close to round and remove the sharp corners, but I couldn’t get it set solid in the chuck, it kept slipping out of round. So I used four small screws and attached it to a face plate instead of using the chuck. That worked much better for this piece of wood. I was able to rough in a bowl shape, but then things took a turn for the worse. It turns out that the burl block had a fissure running through that split as I began to hollow out the bowl. (The turning puns will probably continue, just so you know.)

Fissure through the burl

I probably stood there with the bits in my hand for a good five minutes assessing the damage. Then I carefully removed the piece from the lathe, stored the screws, and put the burl halves in my wood bin. I cannot currently conceive of rescuing a bowl from the wood, but burls are precious and can be beautiful, so maybe there will be some future turnings that can be salvaged. I think it is time to try something else for awhile, and let the trauma of an exploded burl rest.
Clean chuck

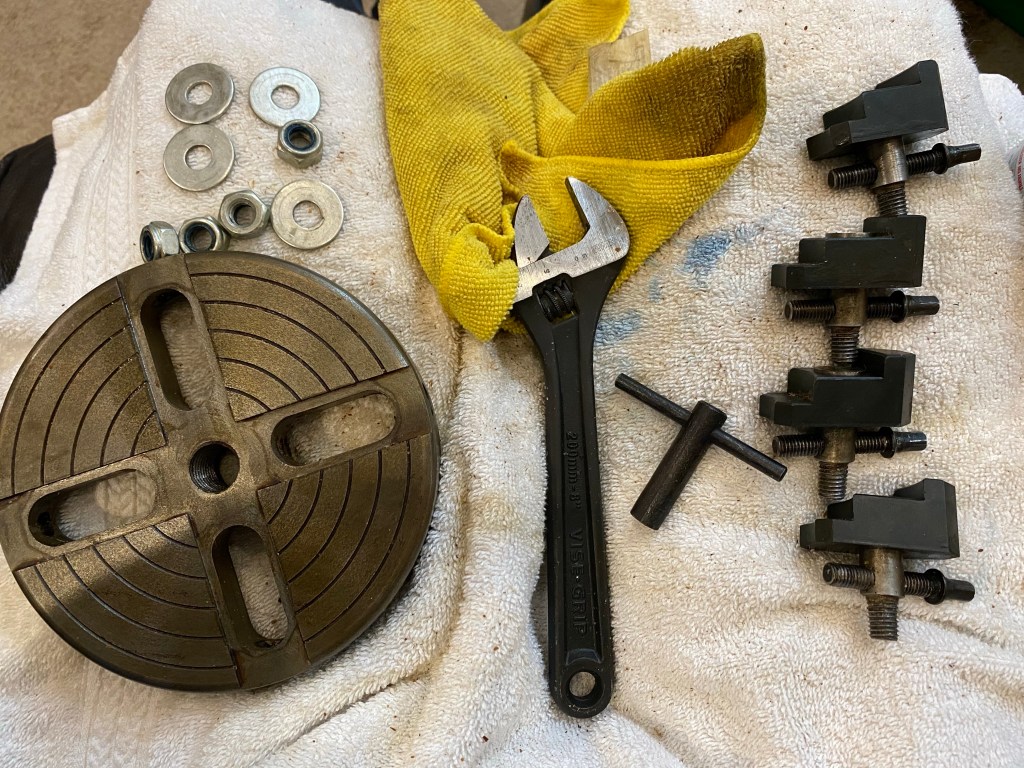
I’ve had a four jaw chuck for my lathe since I’ve had the lathe, but have never used it. I kept it in a protective plastic bag, but still wood shavings found their way in, and the protective oil polymerized, making the surface of the chuck a sticky mess. So it was time to disassemble and clean it! (And see how it works.)

Four jaw chuck taken apart for cleaning

I removed the jaws and gave everything a good rub down with liquid wrench and a rag. I needed to let some of the jaws soak, then give them a right whack to loosen the bolt so they could rotate. Once all the old lubricant was removed, I reassembled it.

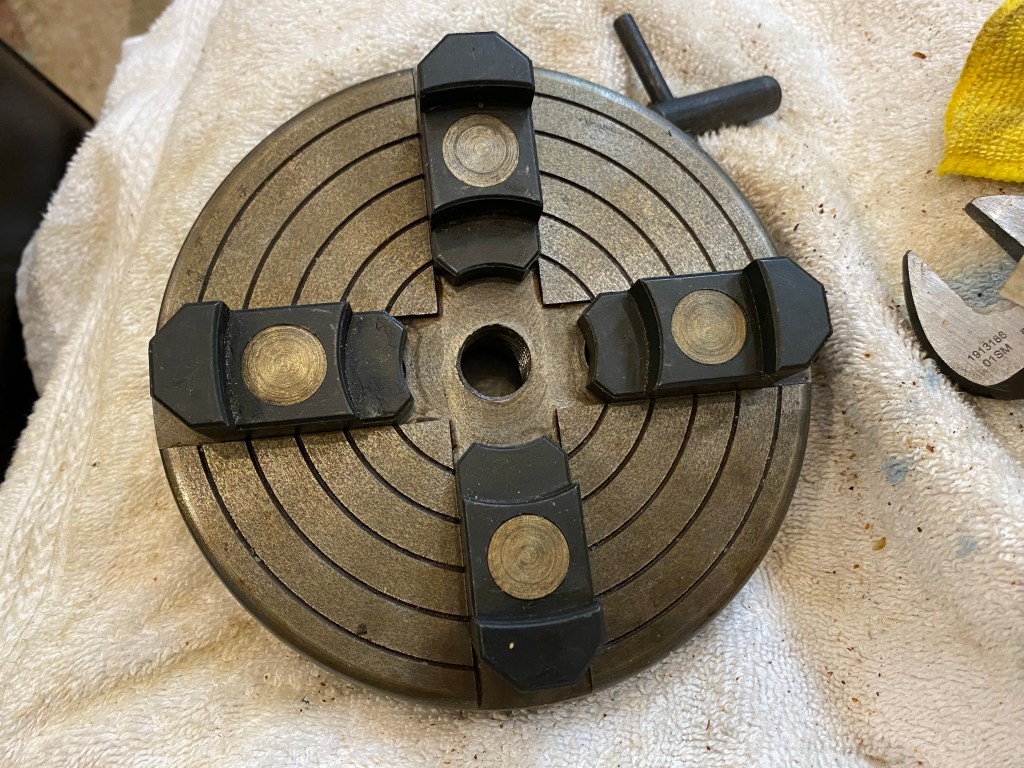
Reassembled four jaw chuck

The chuck itself does not have a maker’s mark and the instruction manual is not with my other manuals. So I had to look up some videos on how to use it (and found some really poorly translated instructions). I tried setting it up as pictured, but wasn’t comfortable with the security of the grip, so flipped all the jaws around to hold smaller stock, which does work well.

Happy Holidays

Happy Holidays from my Thansgiving cactus.

Thanksgiving cactus (Schlumbergera truncata) bloom

P.S. I did break down and buy fresh eggs for the holiday baking. Powdered eggs are great for pancakes and quick breads, not as nice for pie crust or pie filling. Shh, don’t tell the hens.

Testing the hook

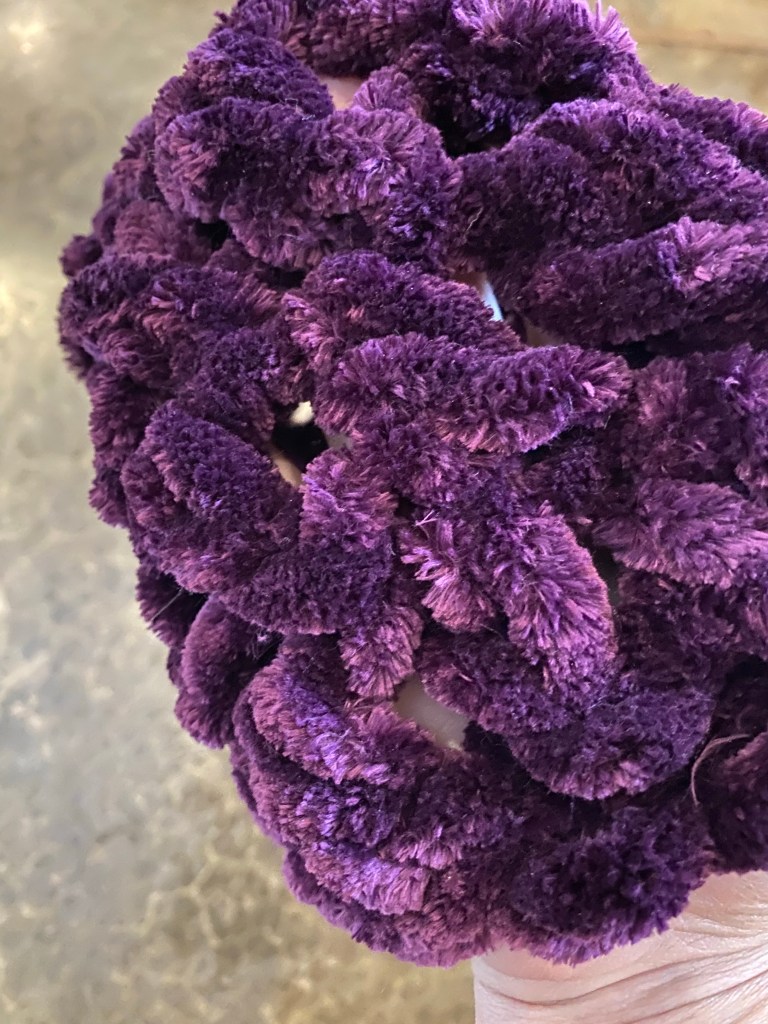
Rather than send an untested tool off to my Mom, I tested my newly made S hook on a third skein of yarn. What to make? Well a hat, of course. I love making hats because they go fast and I have the pattern memorized. It took me a few goes to get the hat started; the yarn and the hook are so big, I was getting lost in the holes. I’m not quite sure I agree with the “S” size designation on the label. With a double crochet stitch, such as I use in my hats, it leaves quite large holes.

Holes in the crocheted hat

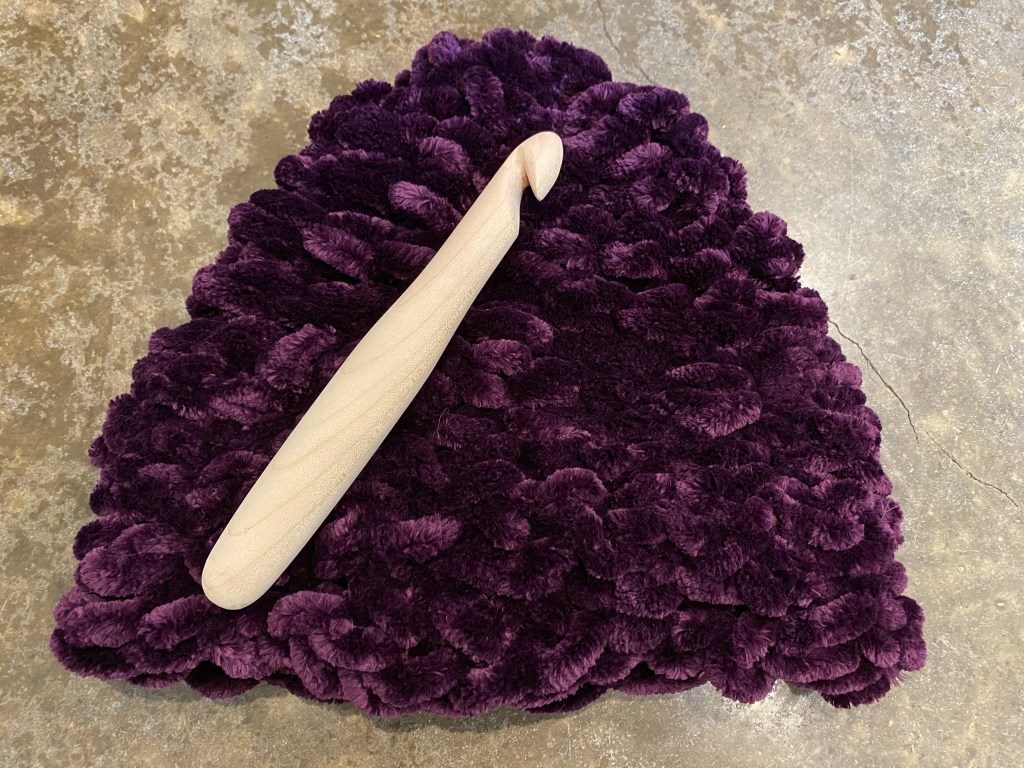
But the hat was really comfortable and a good size. What do do? Maybe a decorative stitch? Sure. I took some more yarn from the skein and did a simple chain stitch through the mesh, starting at the top and spiraling down to the brim. I needed to add a few chains to the crown as I went around, so as not to tighten the hat, but it did a great job filling in all the holes. It did however, use the rest of the skein of yarn. The resulting hat is quite floofy, but much warmer.

Finished hat, with crochet hook

I did all the testing of the hook prior to finishing, in case I needed adjustments. It wows me that the hat took a whole skein of yarn. If it doesn’t work as a hat, the cats will probably love it as a bed.

Really big hook

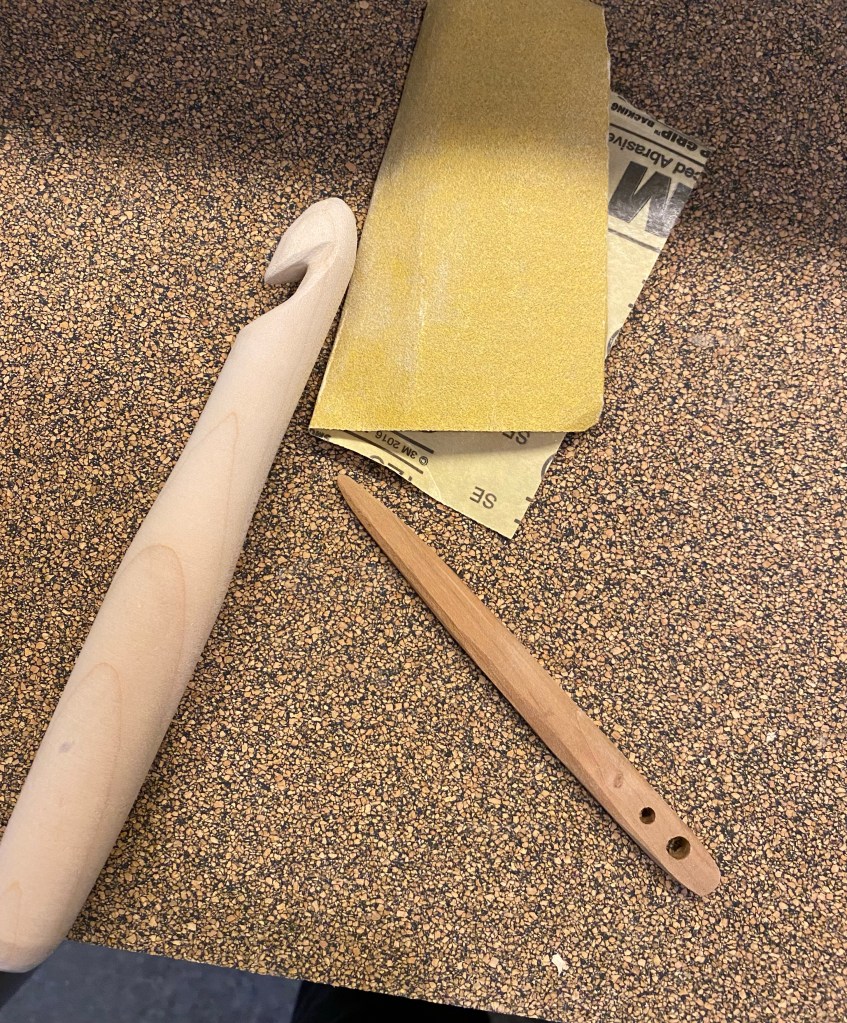
I found some lush purple yarn at the store that I thought my Mom would love, but it needed an S hook. Wha…? An S size crochet hook is 19mm in diameter below the neck, which is a very large hook, not quite to broomstick handle size (which is 1 inch or 25.4 mm), but still quite sizable. Hm. A hand made crochet hook would go well with gifted yarn, yes? I selected a nice length of big leaf maple wood from my hoard and turned it on my lathe. When it was a pleasing shape, and the neck and head were the right diameter, I removed it from the lathe, trimmed the ends, and cut in the hook. I found that a wooden nål, with its tapered tip, makes a really excellent sanding block to shape the hook. I worked mostly with 120 grit sandpaper to get the shape, then refined with 220, then 320, then 400 grit.

Using a nål as a sanding block to refine the hook shape

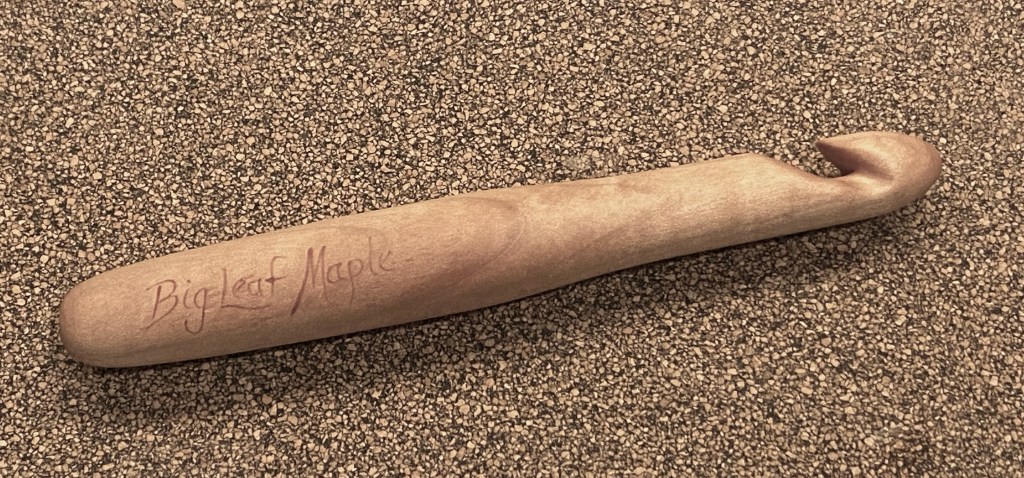
I used acrylic paints to write the name of the wood and put the “S” designation on the end, then sealed the wood with many layers of tung oil.

Finished S hook