Happy New Year

I hope it is a happy new year. I think the phrase “cautiously optimistic” is probably getting run into the ground at this point, but I remain with reserved hope that this year will be better than the last. To start off the year on a good note, here is one of my favorite cat pictures. I was working on the sink in 2003 and my cat Shadows peeked in to see what I was doing. Her careful observation mirrors my current attitude well.

Cat looking cautiously down the hole

Here is to this year being filled with the making of things!
Fluffy butt Friday

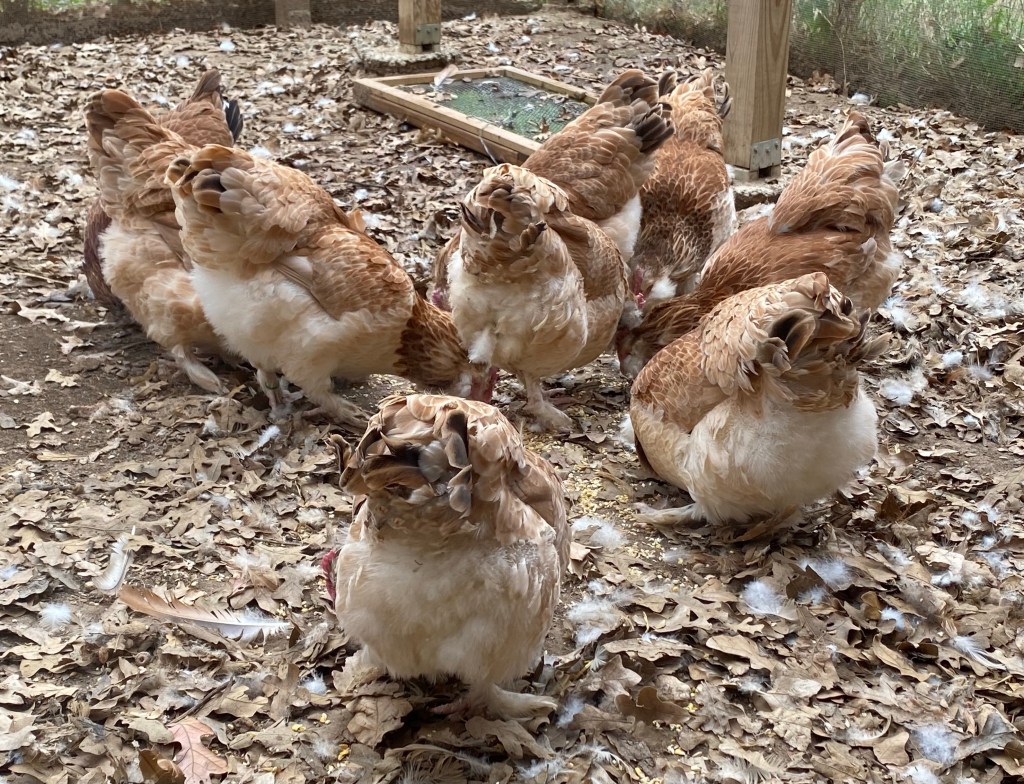
Since it is Friday, and I have happy healthy hens, I have a fluffy butt Friday photo to share. Showing off the girl’s fluffy tails is such a big thing with chicken keepers because chickens that don’t have poofy bums are having health issues. To see a line of clean derrieres is an outward sign that they all might be healthy, which is a great feeling for a carer. I say “might” because they still need their health checks, to part the feathers and look for blocked passages and pests, but a butt that is outwardly dirty is a sign that needs immediate attention. So here is to more fluffy butt photos!

Chickens enjoying some scratch, showing off their fluffy pantaloons

Thistle spurtle

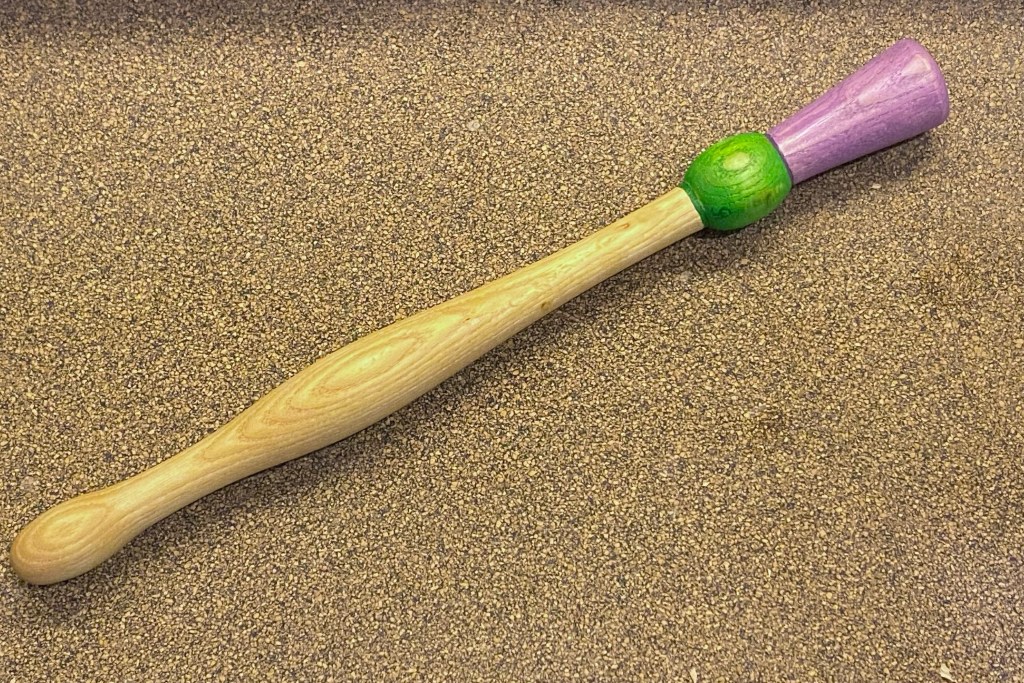
Since the Scottish Spurtle, a tool used to stir porridge and stews, is often turned with the handle in the shape of a thistle, I decided to go a step farther and paint the handle thistle colors as well. I turned the spurtle from a maple blank, sanded it down, then used thinned acrylic paints to paint the bulb green and the bloom purple. I also added a bee on top. Once the acrylics were dry, I sealed it in many layers of tung oil because tung oil is food safe.

Bee painted on the end of the spurtle handle
Finished Spurtle

French-style rolling pin

I thought a French-style rolling pin would be a nice easy turning project. Hm. I started with a maple wood blank and roughed in the shape, which is tapered at each end. These rolling pins do not have moving parts, but are used by rolling your palms across. I intended the center of the pin to be 2” in diameter, but it is much harder to get a long straight section than I thought! I stopped chasing the illusive straight line in order to preserve some of the diameter, which ended up closer to 1 3/4”. I finished by sanding down in increments to 400 grit, then wet the whole piece, let it dry, and sanded with 400 grit again. I then used a acrylic paints to decorate the pin with daisies for my mother-in-law. To keep everything sealed, I applied seven coats of tung oil by rubbing it into the surface in thin layers.

French style rolling pin with daisy decoration along the side

Toy top the first

Since the lathe has been set up, I’ve been itching to attempt turning toy tops. After having my burl explode, I decided to try something small and happy. I used a bit of maple wood and secured it in my four jaw chuck with the jaw flipped around, and used my new roughing gouge to get rounded, then refined with my old skew chisel. I made little bumps because they made me happy. Making the stem made me nervous and I didn’t get it as thin as I wanted, but it spins!

Turned toy top made of maple wood

Then, because why not, I painted the bumps with acrylic paint so that when it spins, there is a gradient.

Blue and red acrylic paint applied to the top
Top spinning, showing the gradient of mixed colors

I finished the top with several coats of tung oil.