I like using combs to hold my hair back from my face. I tried finding some that had a little bling for chorus performances, but was only finding the kind for weddings and formal updos, where the tines stick into the hair, but need pins or other methods to stay put. So I sparkled up my own pair using Loctite super glue and flat backed AB rhinestones. (AB stands for aura borealis, a coating put on beads to give them a color shifting shine.)
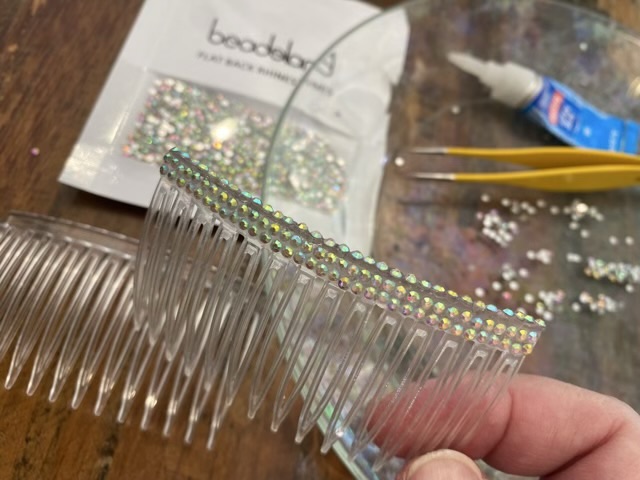
I used a little too much superglue for regular applications of rhinestones, but it turned out OK for the combs because it filled in the spaces between the jewels so hairs don’t get caught in the sparkle.