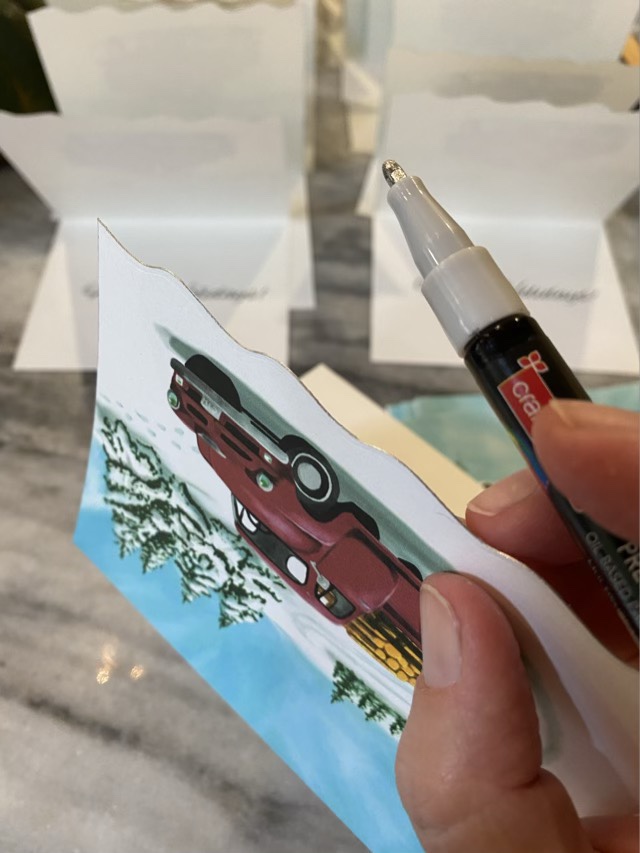
To add a little pizzazz to my greeting card, I ran an oil-based silver marker down the edge of the card stock to gild it. It gives a little definition to the edge, and a flash of sparkle. It worked well, though one pen only covers the front three edges of about 12 cards. This collection was a custom order, but I did a few extra and uploaded them to my Etsy site.
Gilding a greeting card with oil-based silver marker
The term “desire path” is new to me. Merriam-Webster defines it as:
an unplanned route or path (such as one worn into a grassy surface by repeated foot traffic) that is used by pedestrians in preference to or in the absence of a designated alternative (such as a paved pathway)
I went down a whole rabbit hole of architecture choices both embracing desire paths (paving the chosen routes in an attractive manner), and rejecting desire paths (deliberate right angles and tempting grassy stretches with nasty little signs).
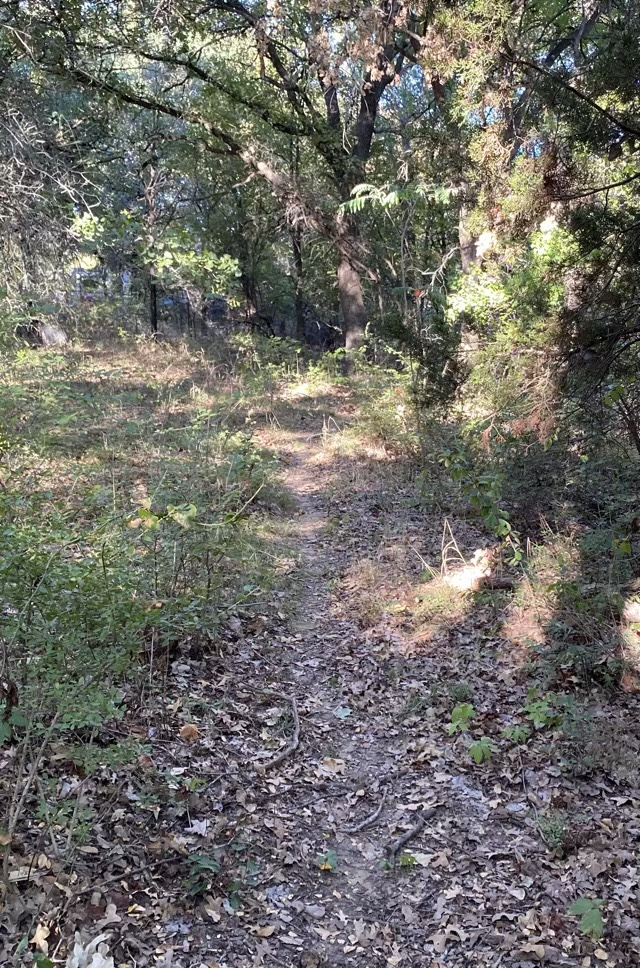
I have ventured back into my woods after my achilles tendon tear a year ago. My paths are mostly traversable especially where the critters have kept up use. They need a good trim, but I was surprised how well I could negotiate the way. The path pictured below didn’t start as a critter desire path, but was forged with the sweep of a motorized trimmer five years ago. The critters like it though.
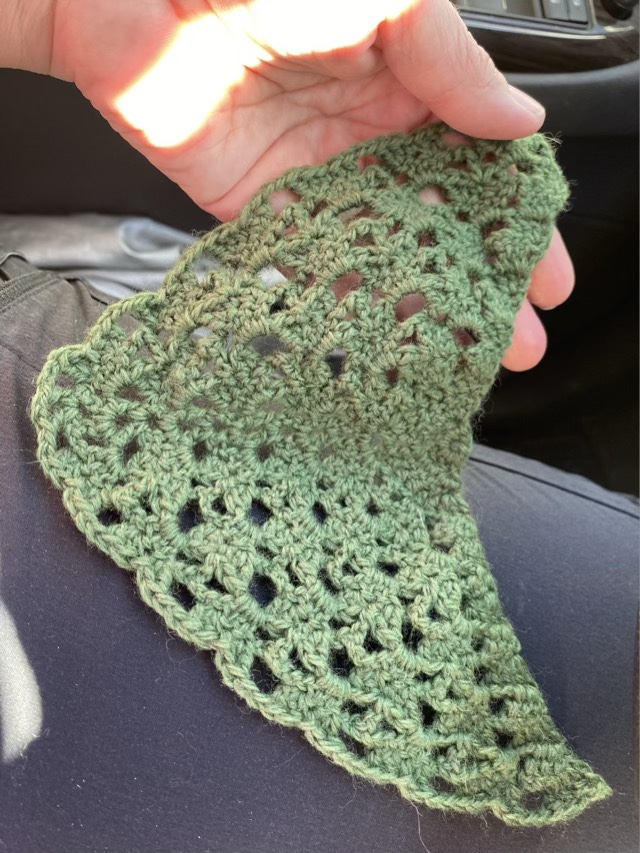
It isn’t often that I finish my prototype after I finish a larger project. Usually the idea is to wrap up the smaller project first so I’m better prepared. Ah well. This doll’s scarf was my purse project, and I used it to figure out a pattern I purchased. When I finished the larger scarf (see yesterday’s post), I still had waiting time, so pulled this project out of my purse and bound it off.
Finished doll scarf
Since I added a button to the larger scarf, I gave this one a button too. I found in my stash a hand made polymer clay and metal button I created years ago. It coordinated with the yarn beautifully!
Blocked and buttoned triangular doll scarf
The pattern for this scarf is from Dessert Blossom Crafts and is called “Amore Shawl”. It is a nice pattern once you get the repeats down.
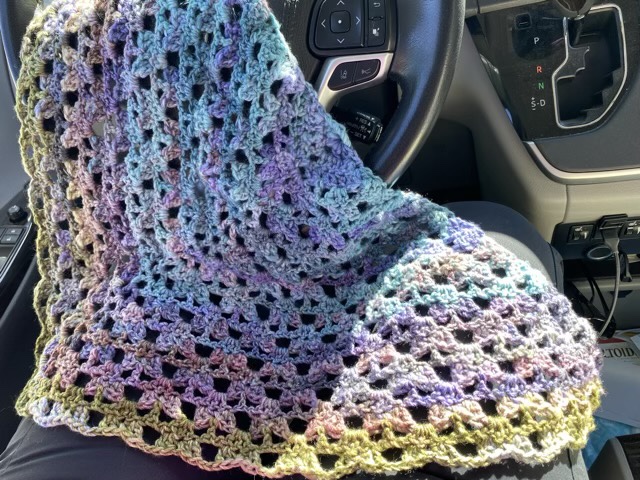
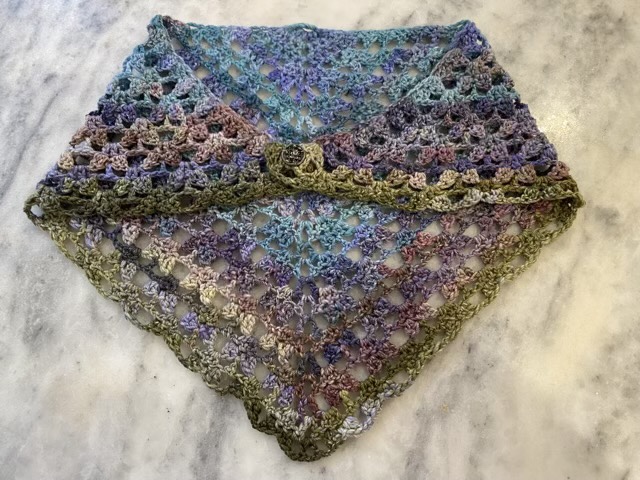
My second waiting shawl is more like a brief pause shawl. It took less than a week to finish, and probably only three or four hours of active work. Crochet lace goes fast, especially with thicker yarn.
Finished shawl/scarf, hand spun roving from Supernova dye works, crocheted with a pattern from Desert Blossom Crafts
It is more the size of a scarf than a shawl, and to help it stay on, I put a button on one corner, and use the natural holes in the lace as button holes.
Shawl after blocking with sewn on button
I like how the color variation came out. When I spun it on my vintage wheel, I separated out the colors in the roving, sorted them, then spun. I used a chain ply to preserve the gradient. The gradient came out beautifully when it was crocheted!
Step three in my 3D print design process has yielded a beautiful result! I was fascinated with a spindle printed in flexible filament I found at the fiber festival and asked my printer if he had flexible filament. He had a better idea: PETG. This is a plastic used for water bottles and is very sturdy and impact resistant. Done in clear it also has a sheen almost like calcite. So pretty! It is easy to sand and shape as well. I sent a new design to be printed.
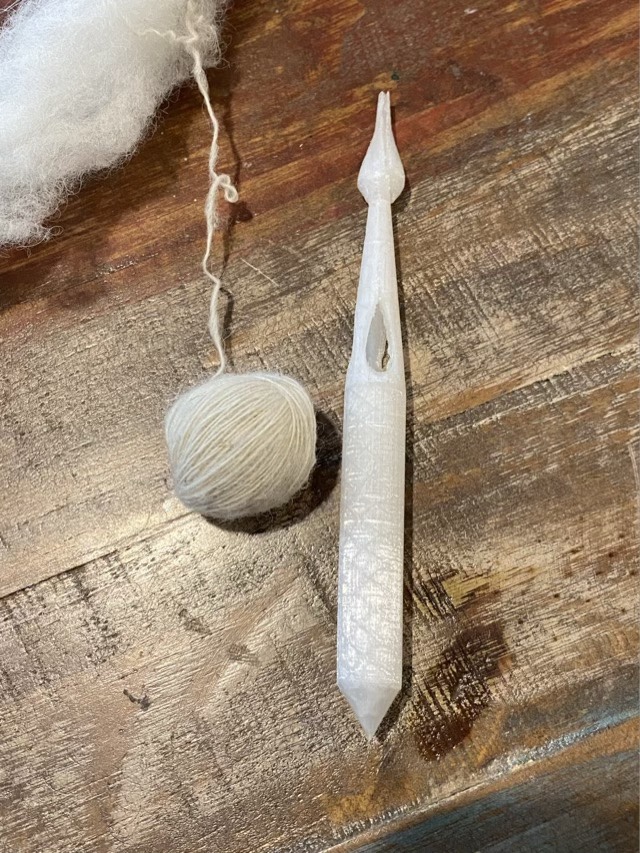
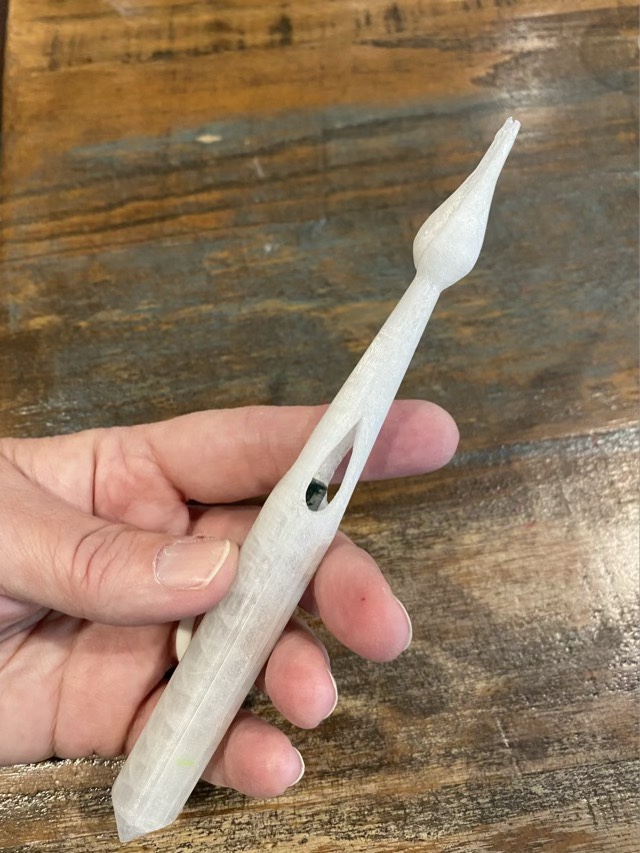
New 3D printed spindle in testing
I took some Shetland wool roving with me to pick up the spindle, then sat at my favorite coffee shop and spun while sipping a gingerbread latte. Yum.
Cop of yarn and printed spindle
The cop of yarn I spun slid off the spindle easily. I did use some 400 grit sand paper to take down some of the printing artifacts inside the channel and holes. The spindle is very light, so my printer suggested putting weights in the cavity I designed. Brilliant. I found some long square tube beads that fit down inside. The little bit of extra weight helped it spin better, and is adjustable! Nice. I prefer square weighs, so if they escape they don’t go rolling everywhere.
Spindle with beadsSpindle with beads inside the cavity for weight
I like this version, but I have some tweaks to the design for the next round. Eventually I will have to do a destructive test, and drop my pretty spindle on the ground. But I’ll wait a bit.
A shout out to my printer, X of all Trades, and the best coffee shop out there, The Full Cup, without whom I wouldn’t have found someone to make 3D prints!