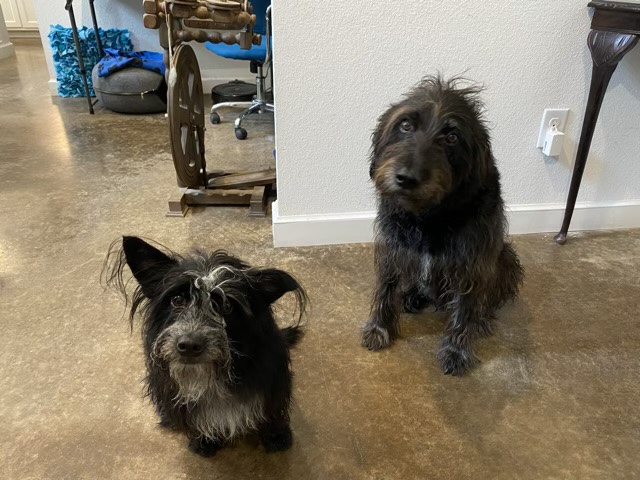
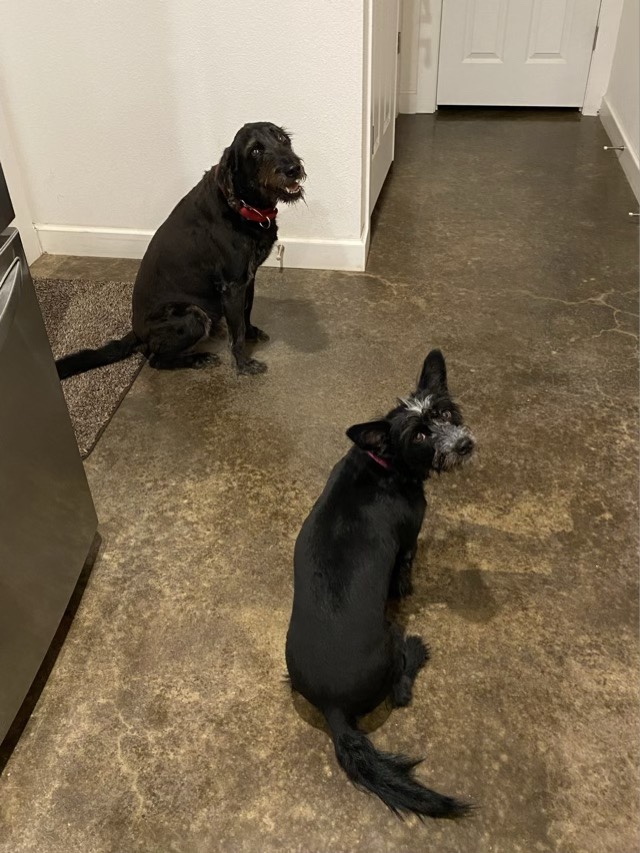
Summer do time for the dogs! I usually just shave their backs for temperature sake, but Griffin’s hair was starting to form dreds, and Missy’s was getting long and scraggly, so this time I shaved them down to the toes. (I did leave their tail hair, because it was the only place that was matt free.)
Shaggy dogsShaved dogs
I trimmed close around their faces too, just not as close as their bodies. This helped even out Griffin’s eyebrows, as he had to have a stye removed recently and the vet shaved his eyebrow for the surgery. I’m definitely not a professional groomer, but they are much happier without their winter coats as summer temps are setting in. I do recommend getting a good quality trimmer if you’re going to do your own grooming, definitely worth the investment.
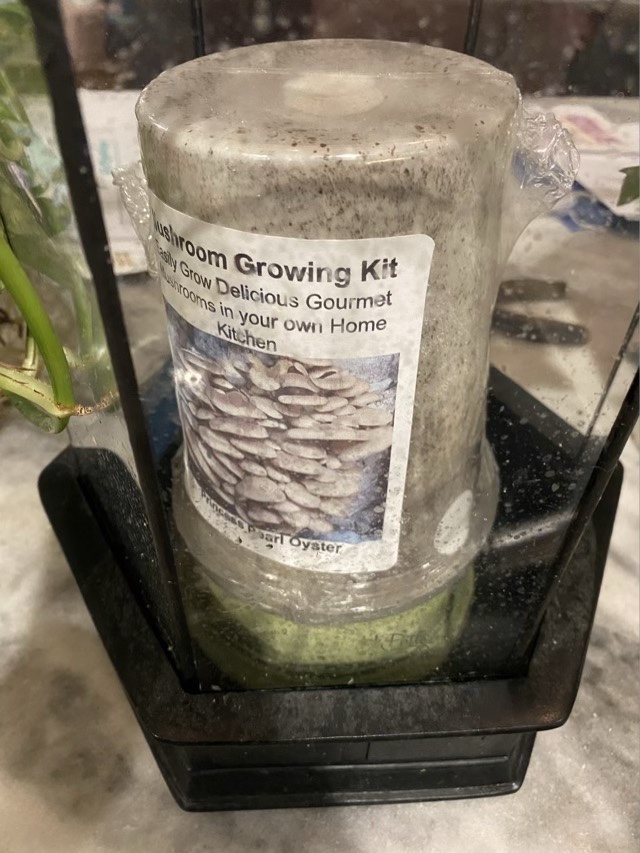
The home mushroom kit that I purchased six months ago has fully colonized! The instructions say to keep the plastic wrap on until it turns completely white (which means the mycelium has completely covered the substrate).
Colonized mushroom kit
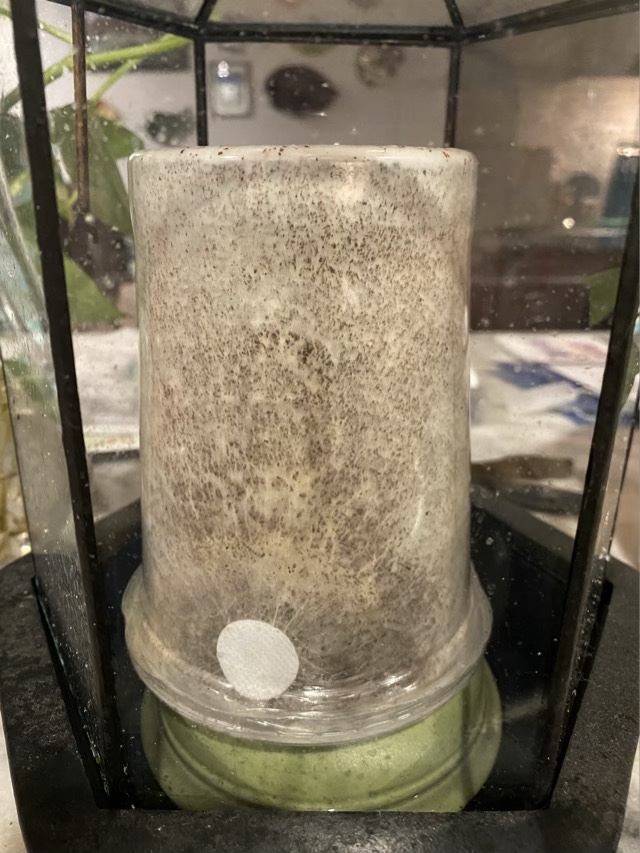
The plastic wrap is now off! I’m keeping the moisture around the fungus high by having water in the bottom of a terrarium. The kit is on an upturned bowl to keep it out of the water.
Plastic wrap removed
I’m hoping to see the fruiting bodies emerge soon, but really I have no idea how long it takes. I’ll keep you updated.
I found another thing to do with my woven bands: bracelets! I chose to sew leather ends on to reduce bulk, and I had the materials.
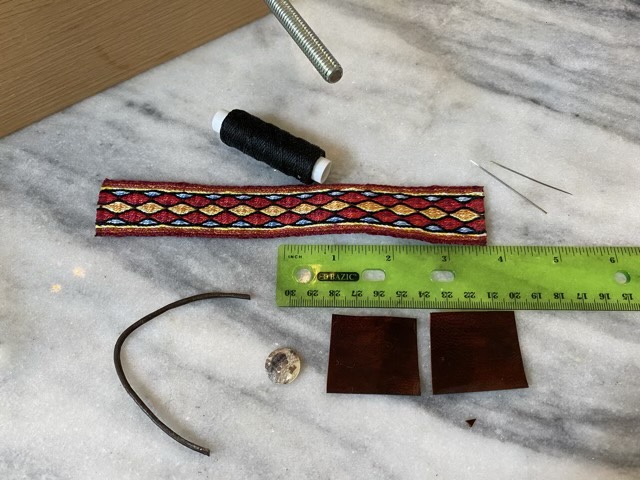
Materials to make the bracelet
I cut a strip of goat leather and stained it dark brown, then sealed it with an acrylic clear coat. I cut two smaller rectangles from the finished leather, cut a length of leather cord, sealed the ends of the woven strip with clear glue, selected a shell button, and sewed using waxed nylon cord.
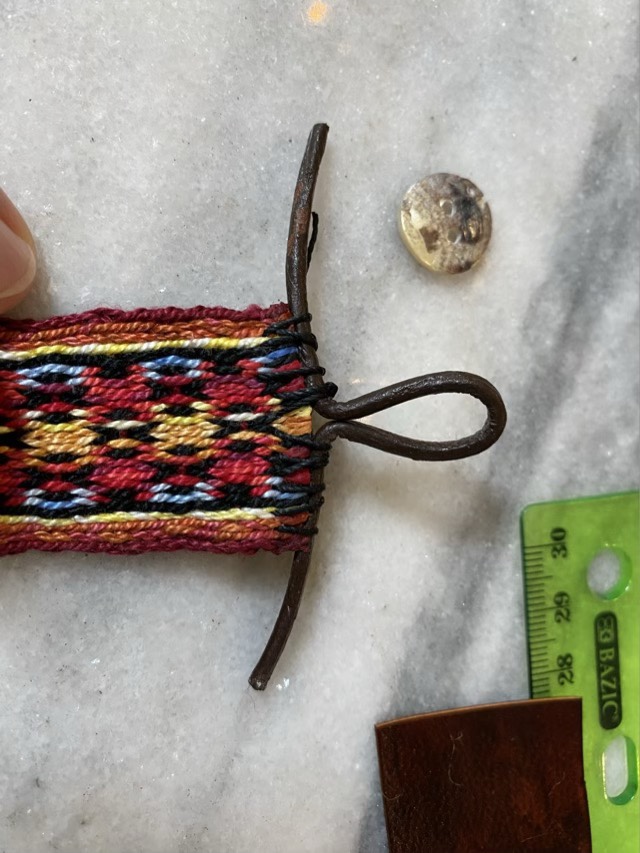
Attaching the eyelet
To form the eyelet for the button hole, I folded the leather cord in half, then bent the ends outward at a 90 degree angle. I secured it to the end of the woven band with waxed cord, then cut off the excess. To cover the end, I cut a slit in one leather rectangle to slide over the eyelet, then sewed the leather to the band. The nylon thread was thicker than I wanted visible, so I separated the three strands and just sewed with one.
Sewing the leather using a clamp
My wooden book clamp serves well as a leather stitching aid. I used wax paper to keep the newly finished leather from sticking to the wood. (I recommend waiting 24 hours before sewing, but I was impatient.)
Finished button hole end
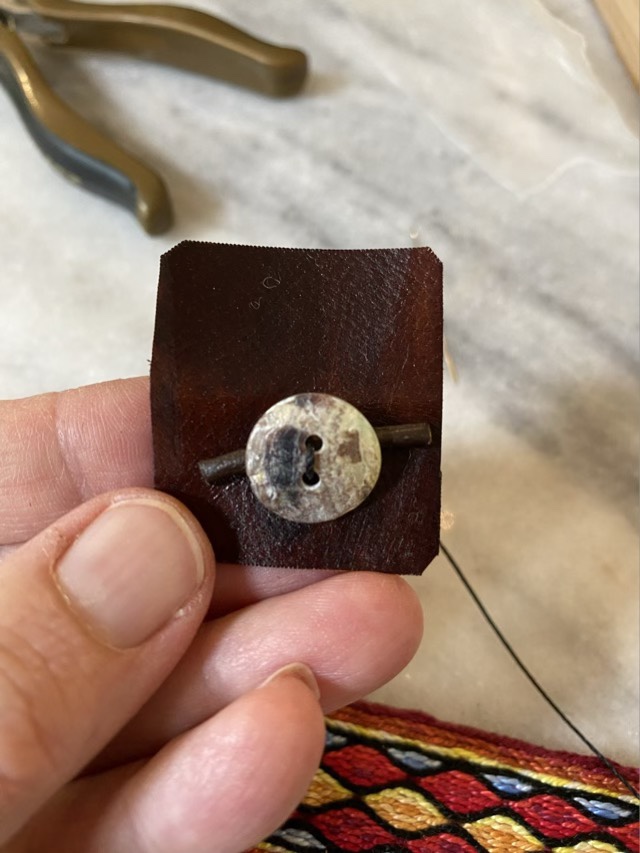
For the button end, I sewed the button offset on the other leather rectangle, using cord scraps to space the button off the leather. If the button is sewn tight to the surface, there isn’t enough room for the eyelet.
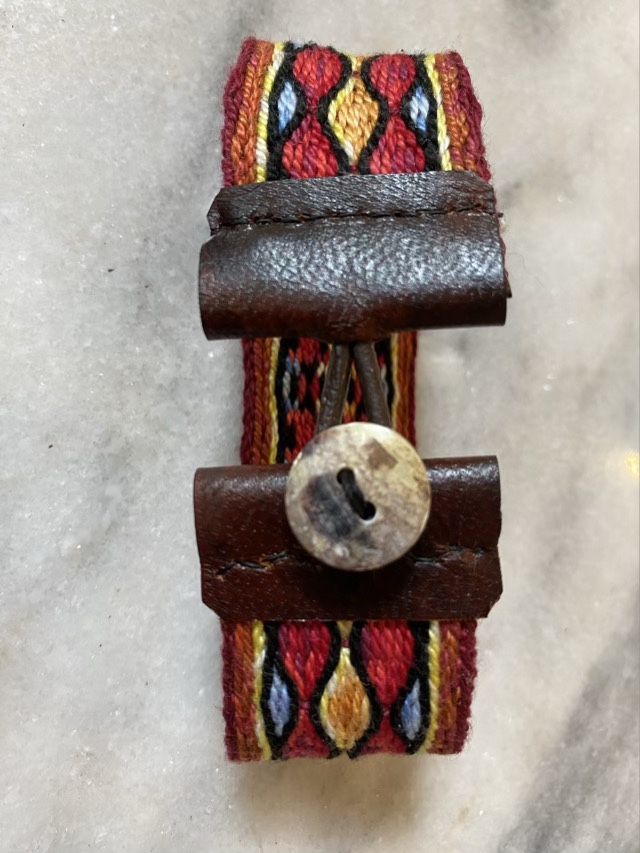
Button sewn using a cord for a spacerButton end sewn using a wooden clampFinished hand sewn leather button clasp
I’m pleased with the finished bracelet. Although I would have preferred the leather ends to butt together, the gap actually makes the bracelet more comfortable to wear by giving more flex. The bracelet is easy to button one handed, and is light.
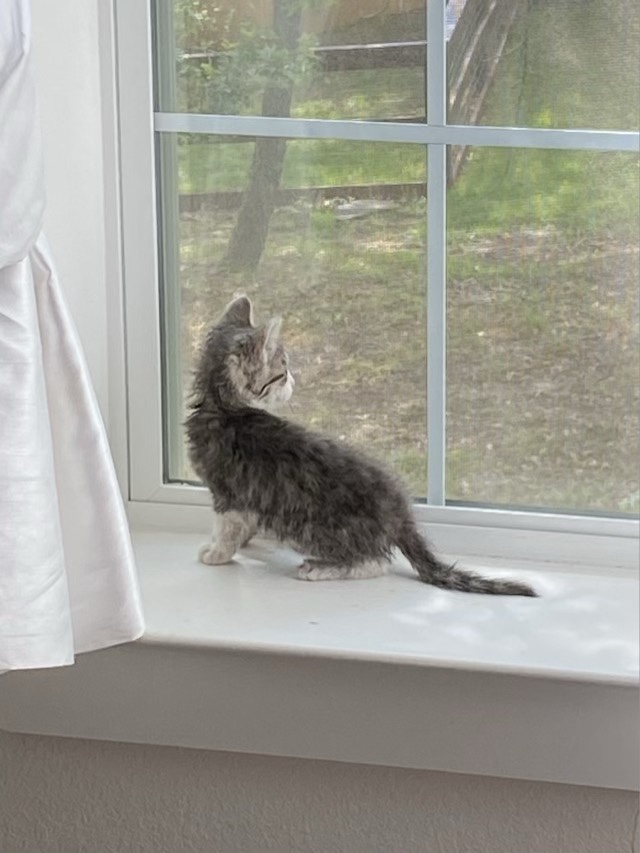
I had just picked up coffee from my favorite coffee shop, and was driving down Main headed home, when I saw something dart across the road. It was the size of a squirrel, but didn’t move like a squirrel, was a streak of gray and white, but wasn’t an opossum. I slowed down to look as it ran toward a tree and saw the outlines of a cat. I pulled off the road and approached. It ran away and I could tell it was a kitten. Oh dear. I cornered it in a rose bush (or something with thorny stems, I didn’t even feel the scratches) and pulled it out by the scruff of its neck. It is amazing the problems that can be solved in the heat of the moment; I dumped all the items out of my car organizer and had a make-shift carrier, complete with zipped mesh top. (I’ve had it for years, never considered that it was appropriate temporary containment for small critters.) I took him (definitely a he) by the vet’s office and they said he was about 2 months old and yes, a boy, and did not seem to be harmed by his flight across four lanes of traffic. I took him home (the local cat shelter is full up with bottle fed babies), brushed out the burrs, clipped his nails, and gave him a bath with baby soap. One of the vet techs suggested the name “Thorn”.
Kitten after a water and soap bath
He is set up in the spare room, which is where I usually put ferals to recover from getting fixed. We’ll see how he does with some kitten food and cuddles, get him an official vet visit and get him neutered, then see about finding him a home. My husband is allergic to male cats (our working theory is they don’t tend to be as fastidious about grooming as some females), so he is safe and cared for now, but can’t stay here. I guess I’ve been selected to foster.
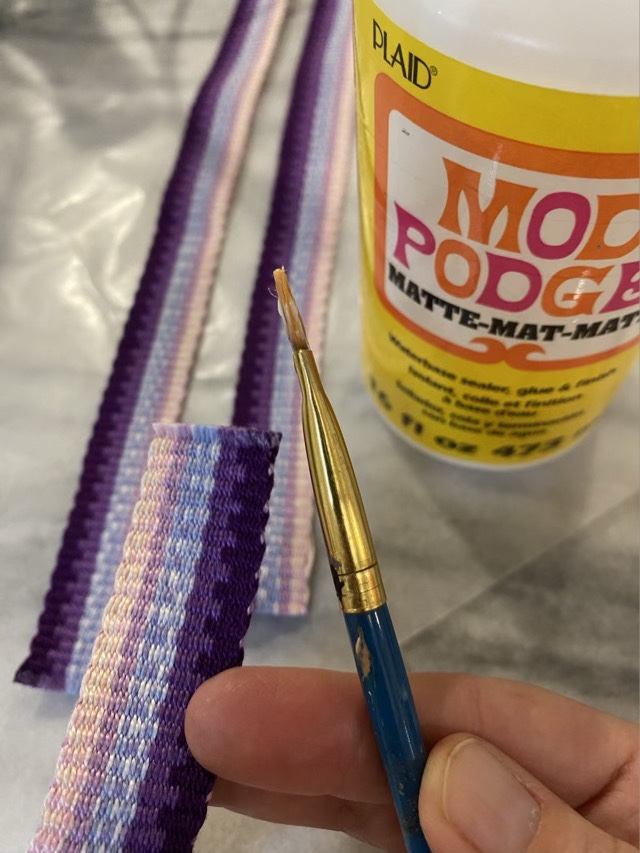
I’ve been pinning many pictures of things I can do with my Inkle loom woven straps. So many things, but what caught my attention this time were wrist straps. Most of the articles talk about attaching keys, but I also saw wrist straps used for walking canes, cameras, and small bags. I also saw a method for securing the end of the cut woven strap with clear flexible glue. I used Modge Podge, which worked well painted on the ends and allowed to dry.
Securing cut ends by painting on clear glue
There is metal clamp hardware that make the creation of a wrist strap quicker, but I preferred the sewn leather direction. I noticed that leather makers use a wooden clamp that is similar to my bookbinding clamps. My clamp is larger, but it worked well to hold the pieces together while I stitched. I used a single ply of waxed nylon thread to sew a loop of leather to the ends of the strap.
Stitching leather using a book clamp
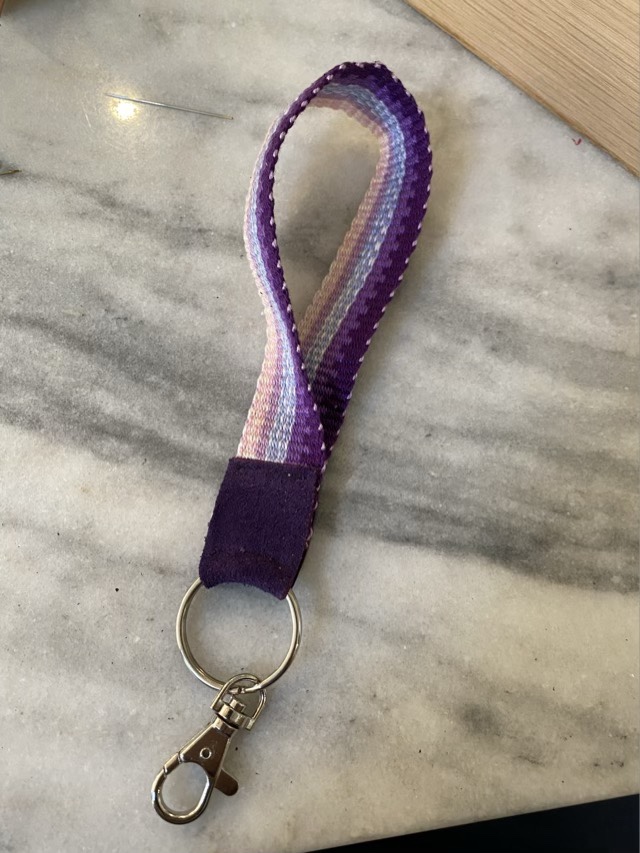
Rather than a D ring, I used a split ring and a toggle clasp because these can be removed if the strap needs to be modified with different attachments.
Wrist strap made from an Inkle loom woven strap and leather
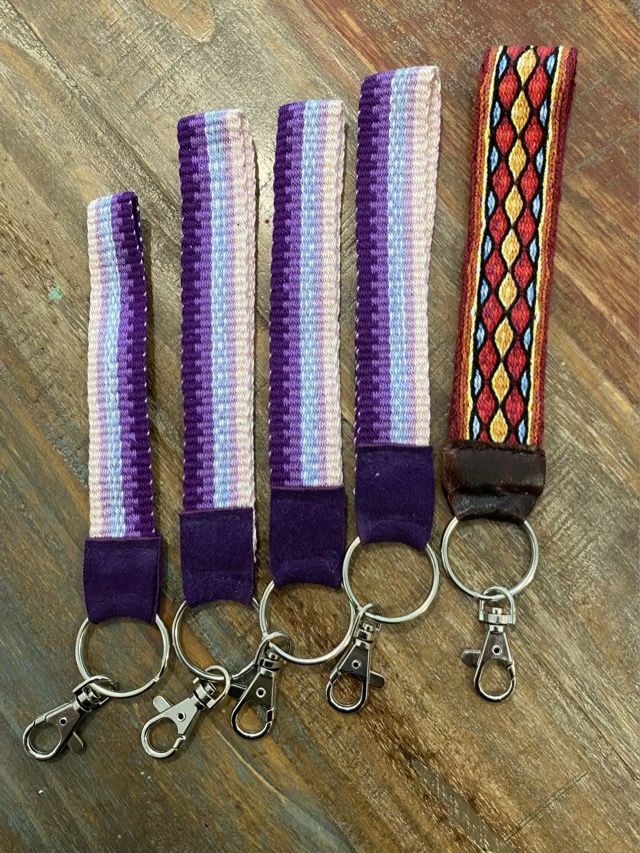
I liked how this one came out, so I made more.
Hand woven, hand sewn, cotton and leather wrist straps