Once again, I have a hard time making many things all the same. What happens if I change stitches, or hook size, or yarn type, or starting stitches, or… well you can see where my mind goes. I did a little experiment with the worry worms and stitch type. I used three different stitches: single crochet, half double crochet, and double crochet.
Photo description: three worry worms made of crocheted rainbow variegated yarn, from left to right they are made with double crochet, half double crochet, and single crochet. All start with a chain of 30 and have three stitches in each chain.
As expected, the length and width changed with the different stitch types. What I didn’t expect was the neat chain edge on the half double crochet, and it has a nice full squishiness to it. I don’t care for the double crochet worm, it came out limp and floppy, which I didn’t expect from a larger stitch.
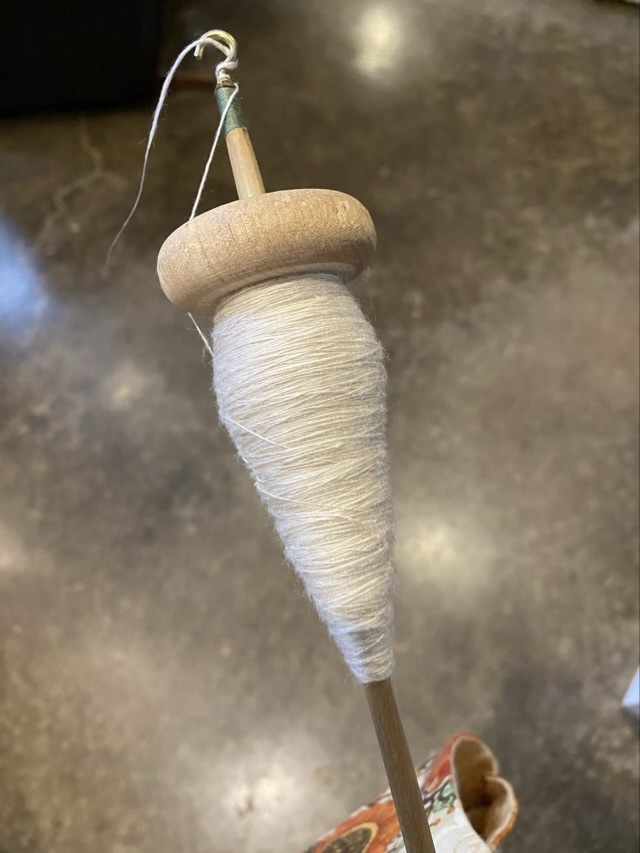
I finished the first spin of the mint top fiber from my plant fiber sample pack my sister gave me almost two years ago. I am down to three packs from the original set. I’ve spun the rest and made up fiber pages for all of them. I may need another book to hold all the pages!
The mint top is “cellulose fiber infused with mint”, which is supposed to make the fabric feel cooler. I didn’t notice any cool feeling when I was spinning it, and it doesn’t smell like mint. It is a pleasure to spin though, and spins fine easily.
Photo description: fine single spun mint top fiber on a wood drop spindle
My plan is to three ply the single to give it some weight. I’m contemplating whether to chain ply or divide the fiber onto three bobbins. If I chain ply I don’t have to remove it from the spindle, or can transfer it to a single bobbin if I’m worried about the spindle jumping around. If I divide, I’ll have some single left over and I’ll have to transfer it to three bobbins. The risk of breaking lies in transferring to different bobbins and potentially losing some twist and weakening the single, or applying too much stress when making loops for chain plying. I think I’ll think on it some more.
Scrolling I saw reference to a Chaunacops fish, which is a deep ocean variety of sea toad that can be a lurid red. One of the commenters said it looked like their grandma crocheted it. Hm. Could I crochet one?
Photo description: screen shot of an image search for Chaunacops fish, with four images and image sources showing light pink to bright red walking fish
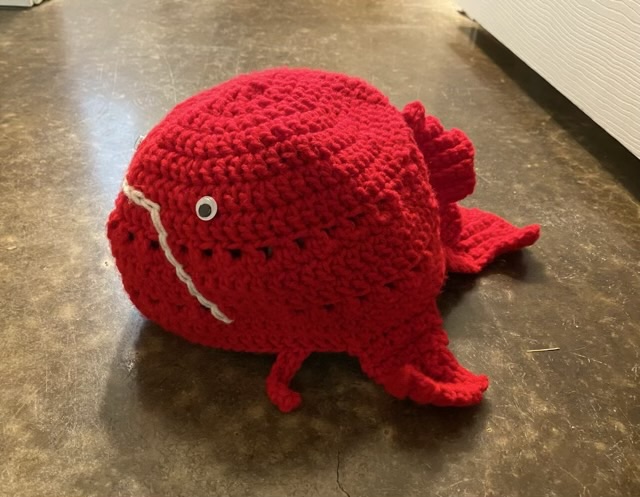
I’m in hat making mode, so rather than make a stuffed animal, I decorated a red beanie with fins, tail, and mouth.
Photo description: bright red sea toad hat with embroidered white mouth and sew-on googly eyes
I didn’t do a pattern, this just was a fun little experiment. I do like how well a single crochet ribbing does for making fins.
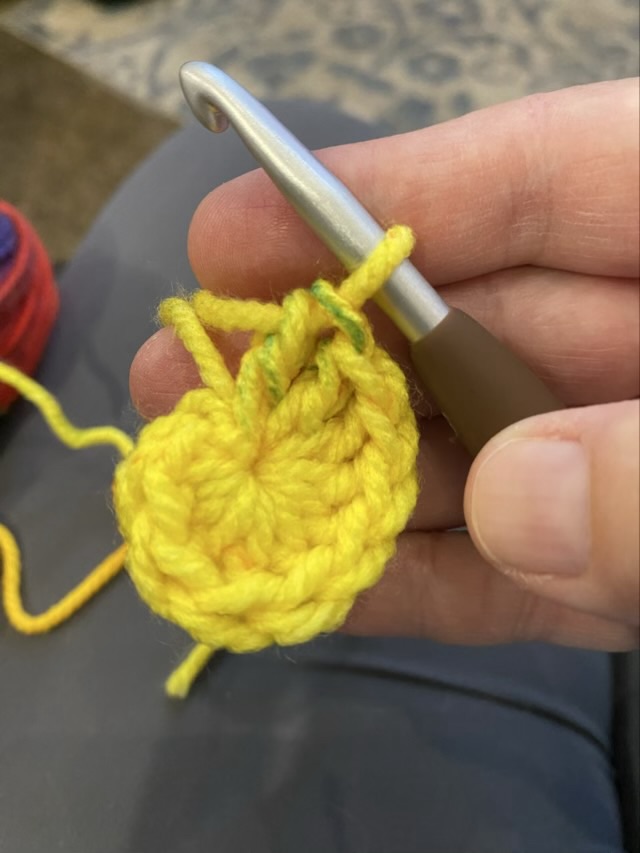
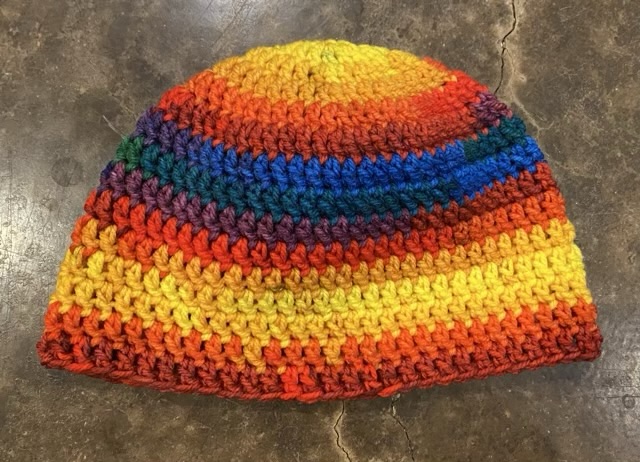
Another way to start a beanie is making a spiral. The good part of the spiral is that there is no seam where a row starts, so it works well with variegated yarn with a long stretches of color. The tricky part is you need to use stitch markers to mark the beginning of the round to get your increases correct, and you need to decrease stitch size at the brim before weaving in the end.
Photo description: magic circle spiral start, chain 1 in a magic circle, then single crochet, half double crochet, and eight double crochet, pull circle tightPhoto description: rainbow beanie crocheted as a spiral, but looking like stripes because of the long color repeatsPhoto description: the crocheted hat pairs well with a woven scarf made of the same yarn
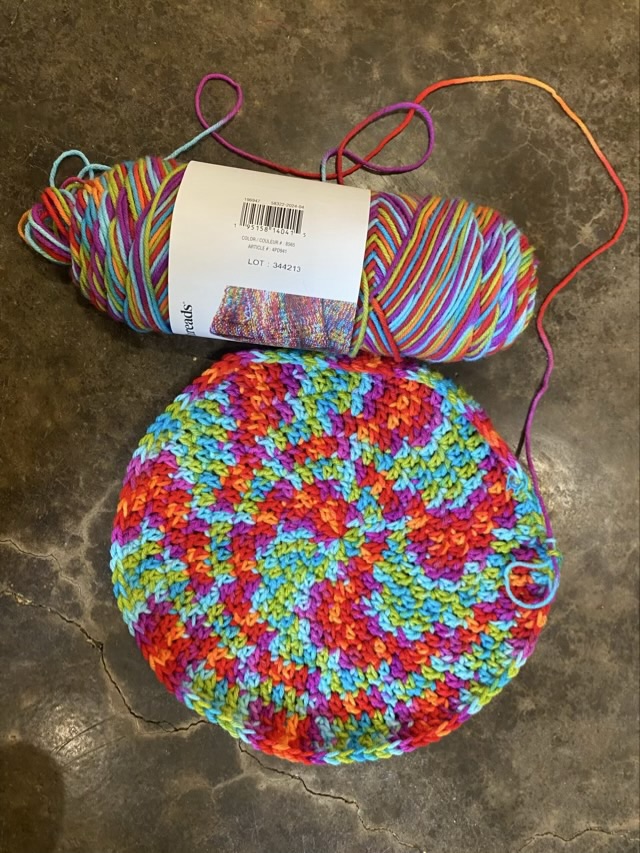
I’m not a fan of color pooling, which is when a variegated yarn lines up as you knit or crochet and you get patches of color. Random, strangely shaped patches. I was in the craft store with my youngest doing a store walk to get some exercise and fill time, and a skein of brightly colored yarn called my name. (Walking a craft store makes for an expensive trip, just for future information.) I started making a beanie and then the colors pooled. Yuck. This is probably one of the worst examples of color pooling. I didn’t realize that they put the cool shades and warm shades together and I ended up with garish almost paisleys rather than a blended rainbow.
Photo description: rainbow skein of yarn with a label showing a nice blended rainbow blanket, with my crocheted hat with pooling rather than blending in reds and teals
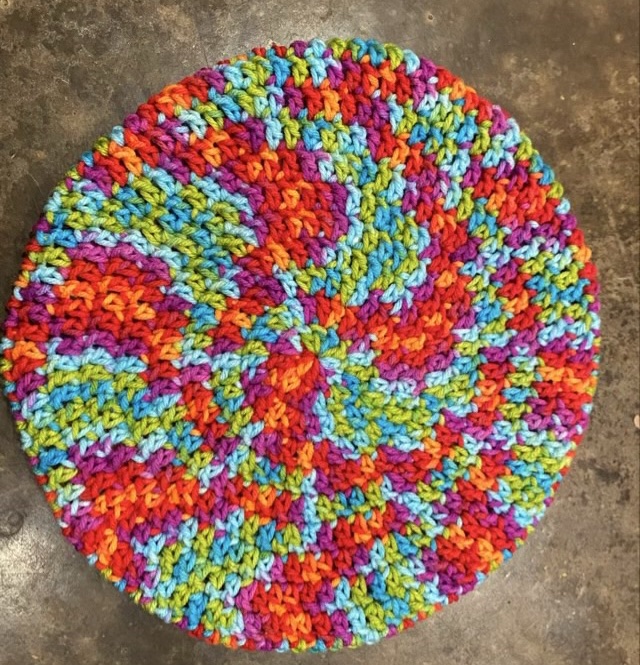
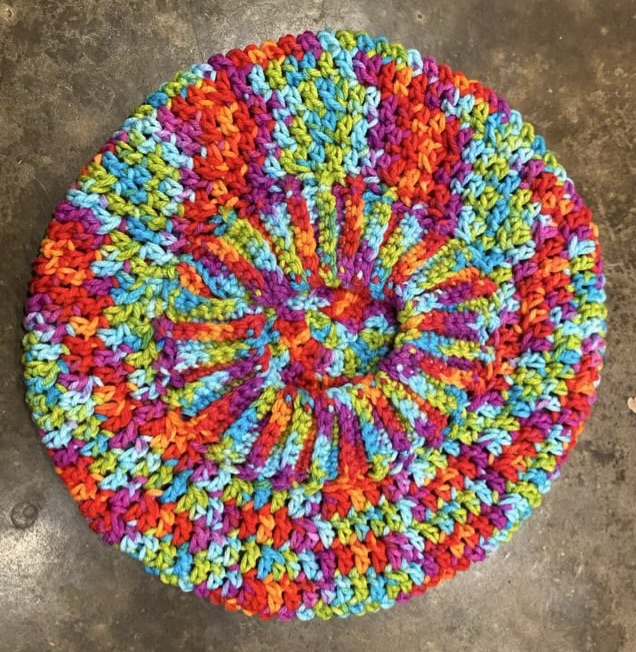
Something this bold and in your face needs to be a beret rather than a beanie, so I kept going with the diameter. I made a stretchy band with ribbed single crochet, and there finally achieved a more pleasant to my eye color shift.
Photo description: top of the beretPhoto description: band side of the same beret
I didn’t rip out the work, because everyone is different and there might be someone attracted to the fire and ice flames of the hat, and have the personality to pull off the bold beret. Or at least keep their head warm.