Wild silk

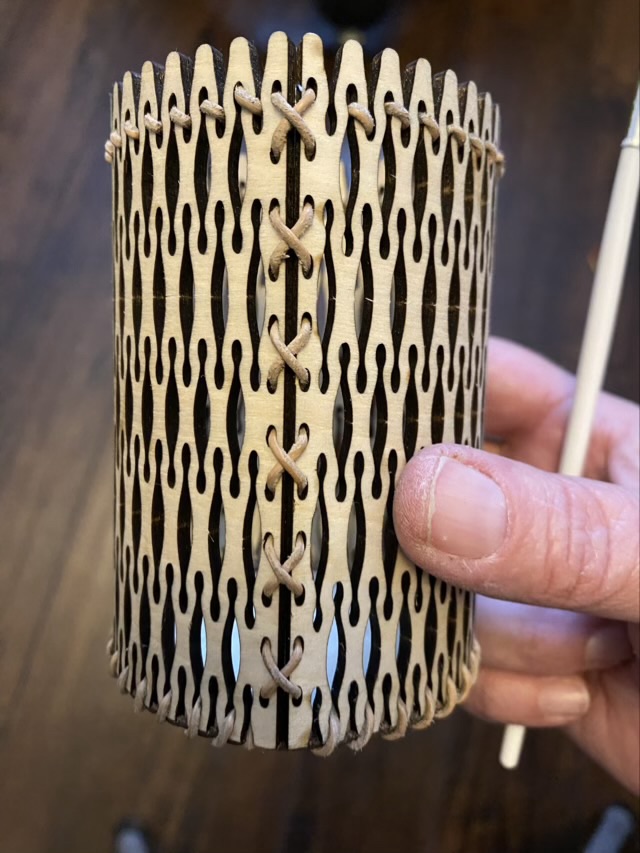
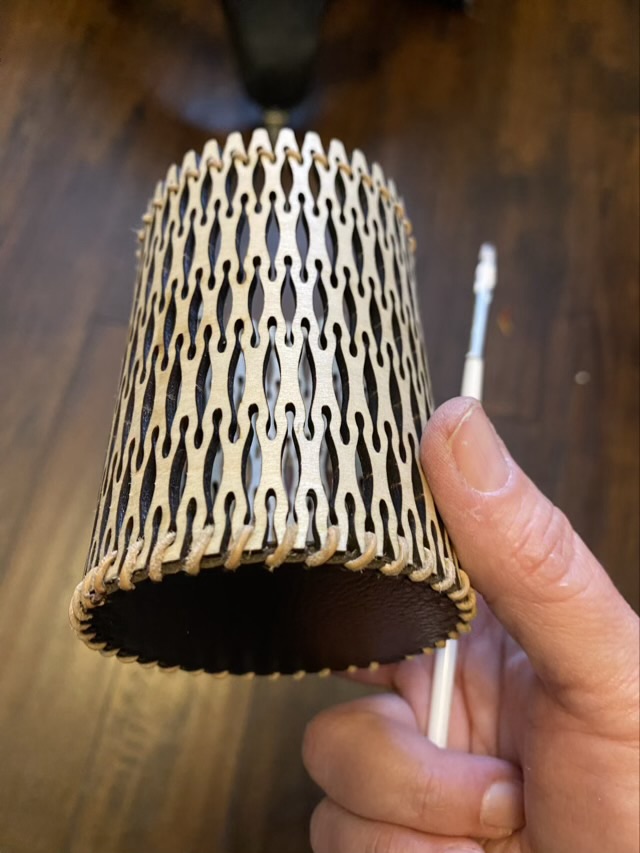
I found a Polyphemus Moth cocoon! These giant silk moths are native to Texas and form a beige colored oblong cocoon made of silk. It was on the ground outside my house, one end open where the adult moth escaped.

Photo description: probable Polyphemus Moth cocoon

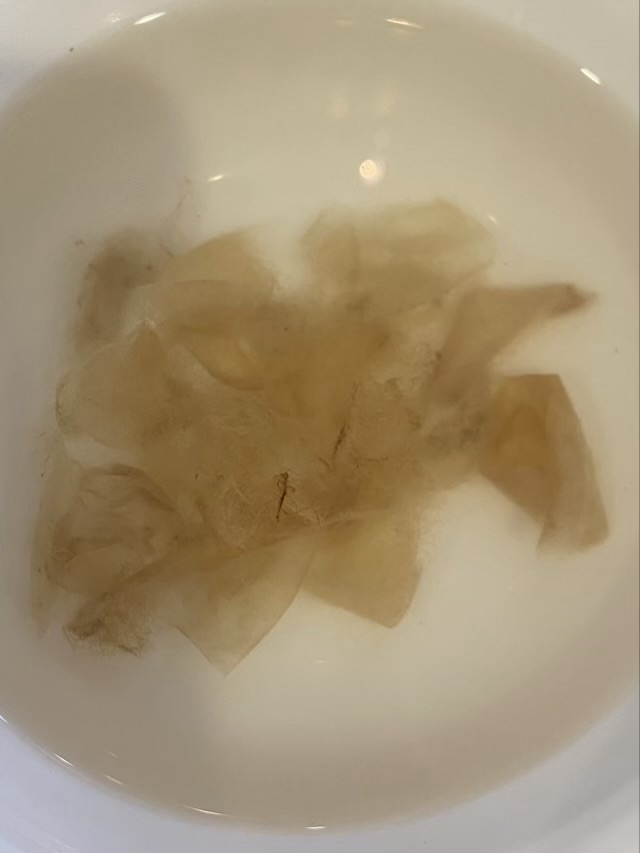
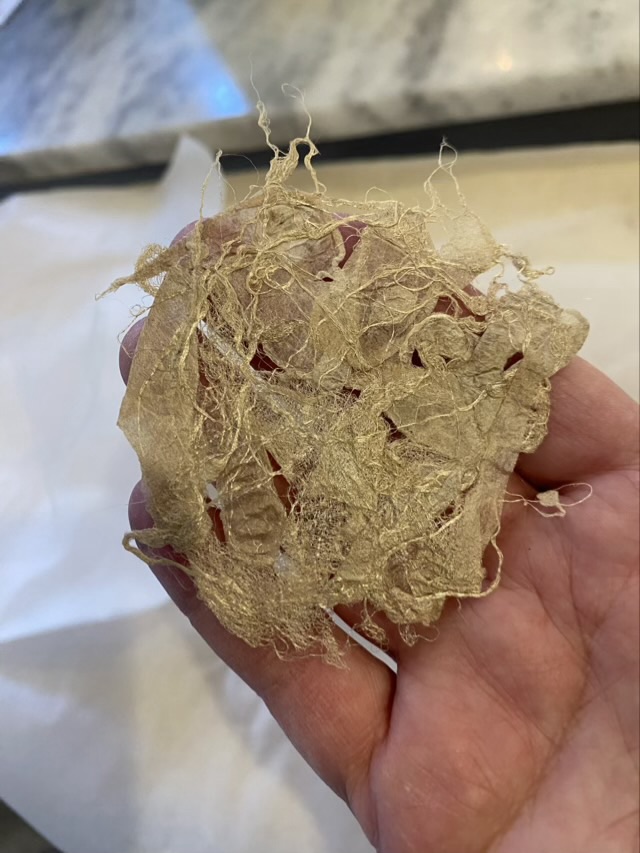
I decided to see what I could do with the cocoon. I started attempting to pull the silk fibers away from the cocoon, but it was difficult, so I soaked it in water. Then I realized the remains of the pupa was still inside the cocoon, so I cut the cocoon open to get it out. With the side split, I was able to tear sheets off the cocoon with some success. I left the cocoon to soak in water and over several days was able to pick more of the cocoon apart. I picked away the soiled bits, and gave it a wash with dishwasher soap.

Photo description: cocoon layers soaking in water

During the soaking, Camaj fibers released an instructional PDF on making silk paper. Hm. I ordered the PDF and read the whole thing, and using their method, made a single small piece of silk paper from the cocoon.

Photo description: Polyphemus Moth cocoon paper, inside lighting
Photo description: Polyphemus Moth cocoon paper, outside lighting

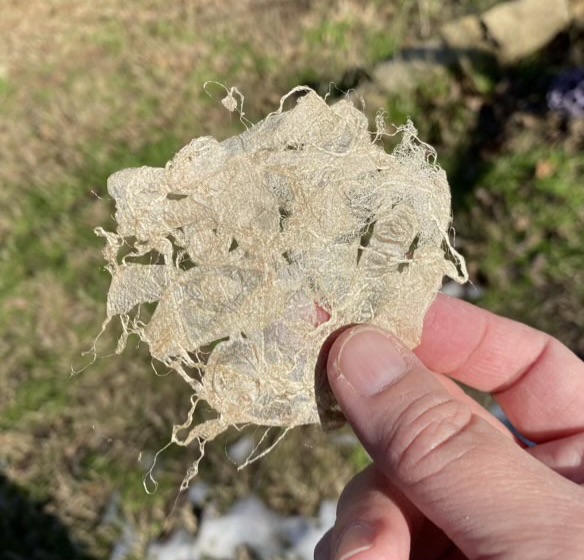
The pictures really don’t do the paper justice. It is soft to the touch and has a pretty luster. I have no idea what I’m going to do with it, but it was a satisfying project.

Cotton bolls

I’m enjoying spinning my cotton bolls. It is a meditative process, from picking the seeds out of the fiber to spinning it up. I have the time and no deadlines so I can enjoy the process. I absolutely see why cotton gins were invented, because seed picking bales of cotton by hand would be an arduous task.

For grins, I laid out a cotton seed head, then another with the bolls removed, then another with the seeds removed.

Photo description: three cotton seed heads, the left intact, the middle with the bolls separated, the right with the seeds removed from the fiber

I also did a video showing how I remove the boll and seeds, then spin the fiber. I have not been carding the fiber, but experimenting with the pulled fluff.

Throwback Thursday: glass buttons

In March 2012 I had a custom order for glass clay buttons for the Kansas State Button Society. I designed the button with input from my grandmother’s button group, made a silicone mold into which I pressed the glass clay, hand built the button shank, hand painted each button, and fired them in batches in my kiln.

Photo description: multiple colors of flower and fan glass clay buttons
Photo description: close up of the buttons with a ruler showing each button about an inch and three quarters
Photo description: one button mounted on the card that was given out during the Spring 2012 meeting

Making larger batches is a completely different animal than designing a single component. The glass clay was fun to play with, but was brittle, so the buttons were decorative more than functional.

Orange peel texture

This is one of my favorite crochet textures. I’ve heard it called many names, but orange or lemon peel is what sticks in my head. It is an alternating pattern of single and double crochet stitches across, the on row two the single crochets go in the previous double crochet, and the double crochets go in the previous row’s single crochet. It takes a little time to recognize which stitch is which, but the finished project is very forgiving.

Photo description: swatch of orange peel crochet with double crochet top and bottom edge made with hand-spun mint infused cellulose fiber and a 1.75mm crochet hook

Laser cut dice cup

Making kerfs, small straight cuts, in thin plywood allows the wood to bend without breaking. Those kerfs can also be decorative. I found free patterns on an Instructables post, downloaded them, and used the basic building blocks to make an SVG file for a round dice cup. The SVG file was built with sections of the rounded pattern, which resulted in incomplete cuts only a fiber width thick, but enough that many of the cutouts had to be manually ejected (dental tools or long thin carving tools work well for this).

Photo description: cut sides of the dice cup with stuck cutouts, along with the end of the metal tool I used the weed the pattern

I mentioned that I don’t like butt joints, so I added lace holes along the edge and secured the join by lacing with leather cord. I then measured the diameter of my cup and cut a circle of wood to fit inside the bottom. This is a different kind of butt joint, so I also cut a piece of recycled leather (thank you old recliner) with holes spaced to line up with the gaps in the sides. I glued the leather to the wood and used the same leather lace to sew around the edge of the base.

Photo description: laser cut leather base for the dice cup
Photo description: reinforcing the base with leather lace sewn through the holes using a long nose pliers to reach inside the narrow cup
Photo description: finished cup with leather lace securing the joins and another line of lace as a decorative element at the top
Photo description: dice cup bottom oblique view

I used my go-to finish, Howard’s Feed-N-Wax, which was problematic. The wax became wedged in the small decorative curves and was very difficult to rub into the surface. Some time in the oven on low melted the wax, but I think for the next project I’ll use light coats of a spray finish.

This was an interesting project that resulted in an unusual object, but not one I think I’ll repeat. I will take elements of this piece and apply them to other ideas.

Experiments continue.