Clean chuck

I’ve had a four jaw chuck for my lathe since I’ve had the lathe, but have never used it. I kept it in a protective plastic bag, but still wood shavings found their way in, and the protective oil polymerized, making the surface of the chuck a sticky mess. So it was time to disassemble and clean it! (And see how it works.)
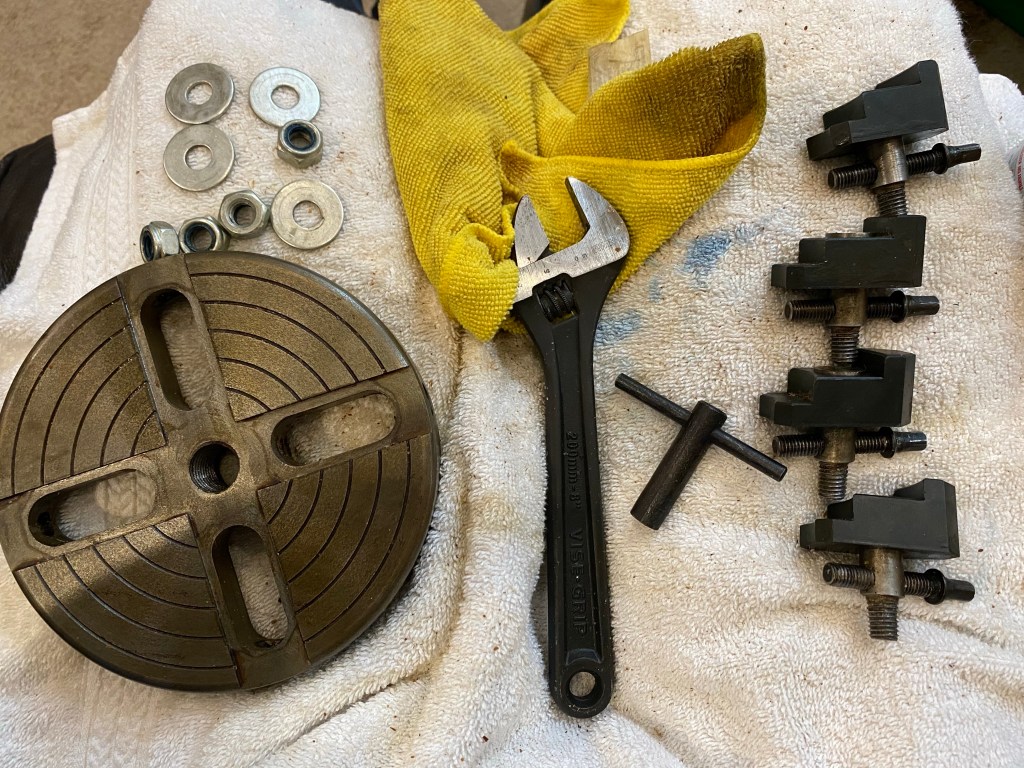
Four jaw chuck taken apart for cleaning

I removed the jaws and gave everything a good rub down with liquid wrench and a rag. I needed to let some of the jaws soak, then give them a right whack to loosen the bolt so they could rotate. Once all the old lubricant was removed, I reassembled it.
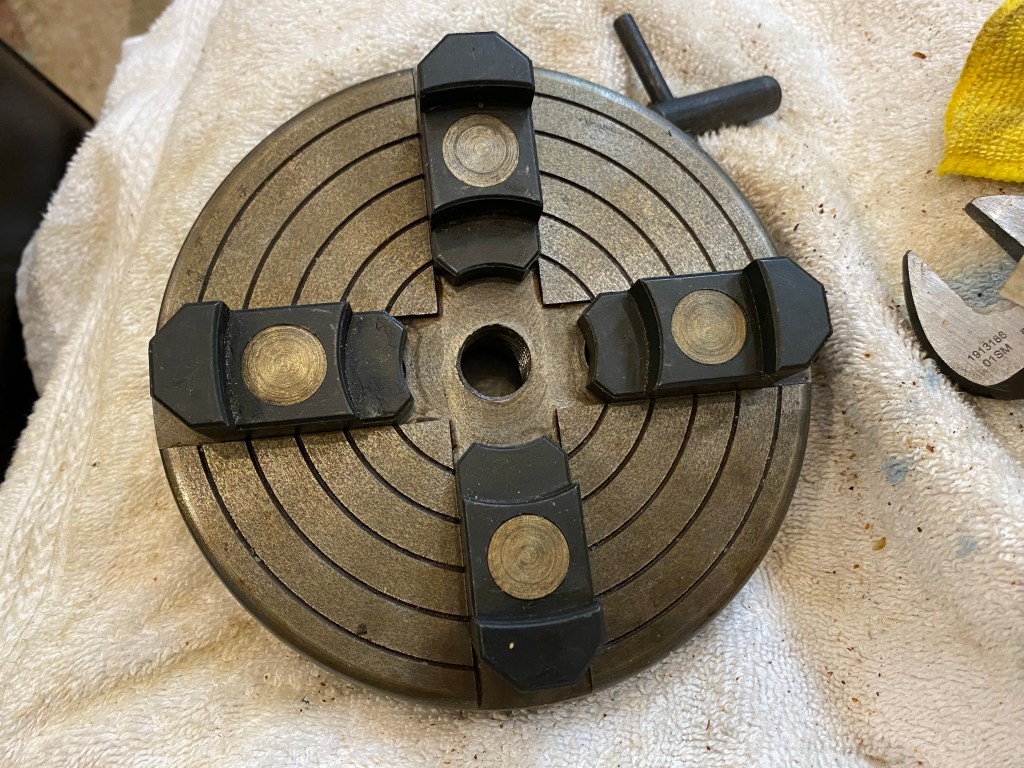
Reassembled four jaw chuck

The chuck itself does not have a maker’s mark and the instruction manual is not with my other manuals. So I had to look up some videos on how to use it (and found some really poorly translated instructions). I tried setting it up as pictured, but wasn’t comfortable with the security of the grip, so flipped all the jaws around to hold smaller stock, which does work well.
Cracked

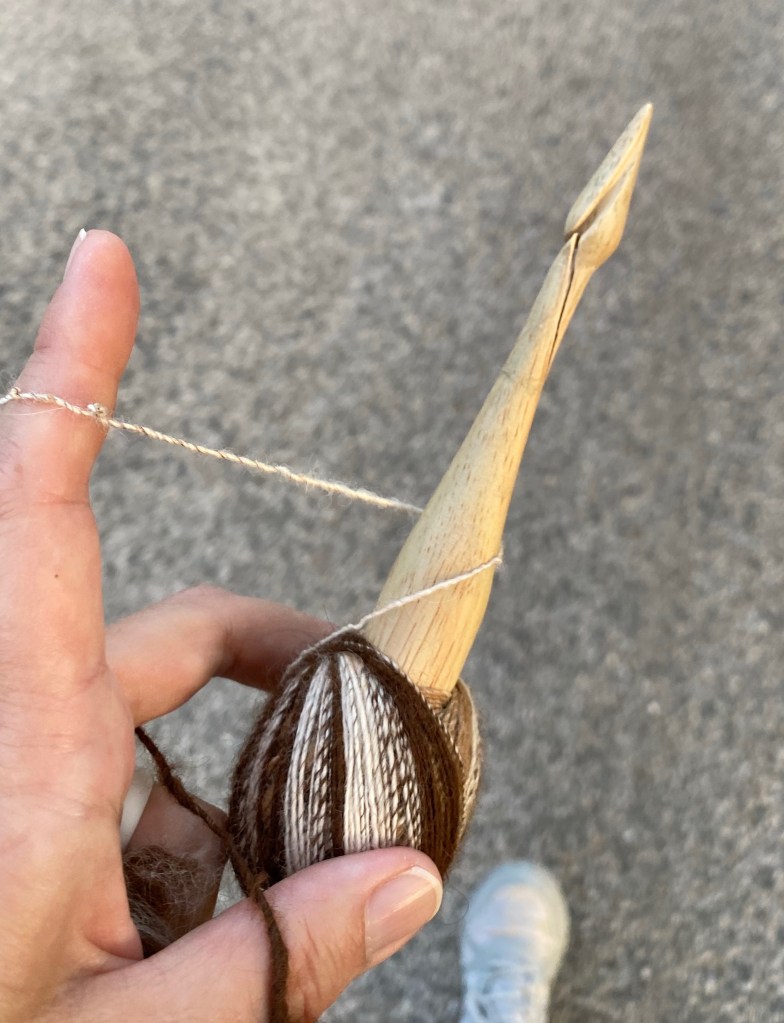
Ah, beware a change in properties. I have been spinning wool blended with silk, and just switched to alpaca with a bit of silk, which spins up slightly differently. I admit I was a bit cavalier and full of confidence, and was not as careful as I should have been at the start of a project. As a result, the spindle flew from my fingers and rather than bumping the base, the top tapped the asphalt. Crack. The wood split at the neck. Devastation.

Cracked spindle

The head of the spindle was still hanging on, so I took my yarn and wrapped it a few more times around the neck than I usually do. This allowed me to spin for the rest of my walk.

Makeshift “repair” to hold the crack together for the short-term

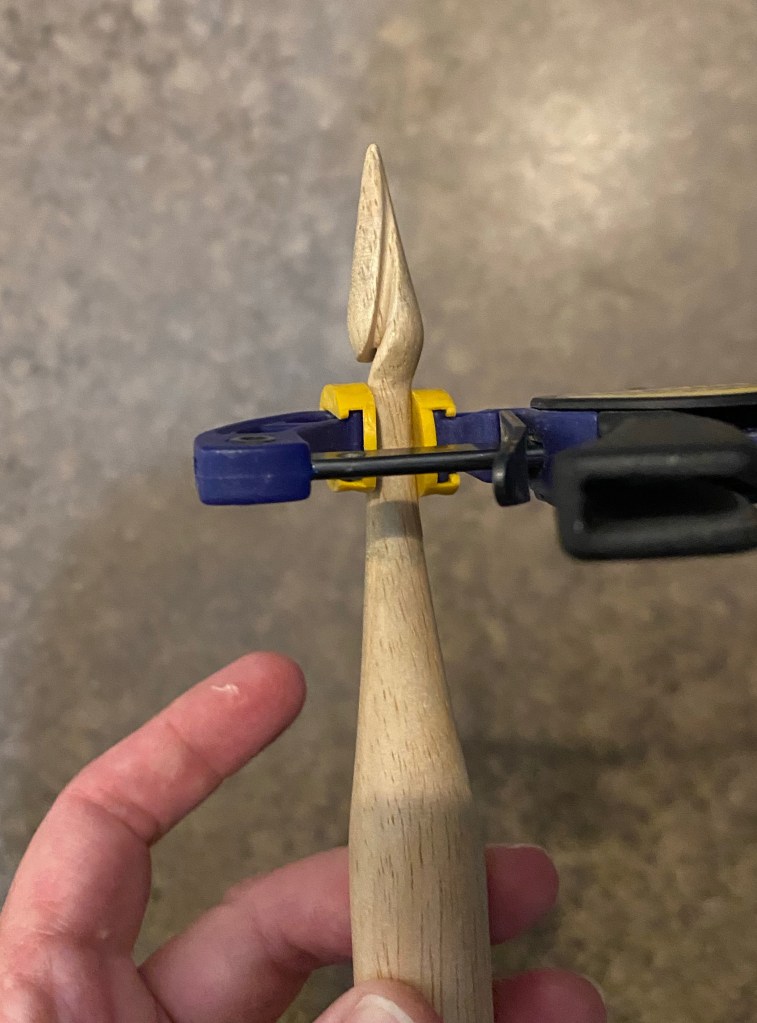
When I returned home, I put some wood glue in the crack and clamped it shut then wiped off the excess glue. When it was dry, I used 400 grit sand paper to smooth the area.

Clamped spindle

I love this spindle, even with the repairs and test holes. Apparently I need to make myself a backup!

Insulating cake strips

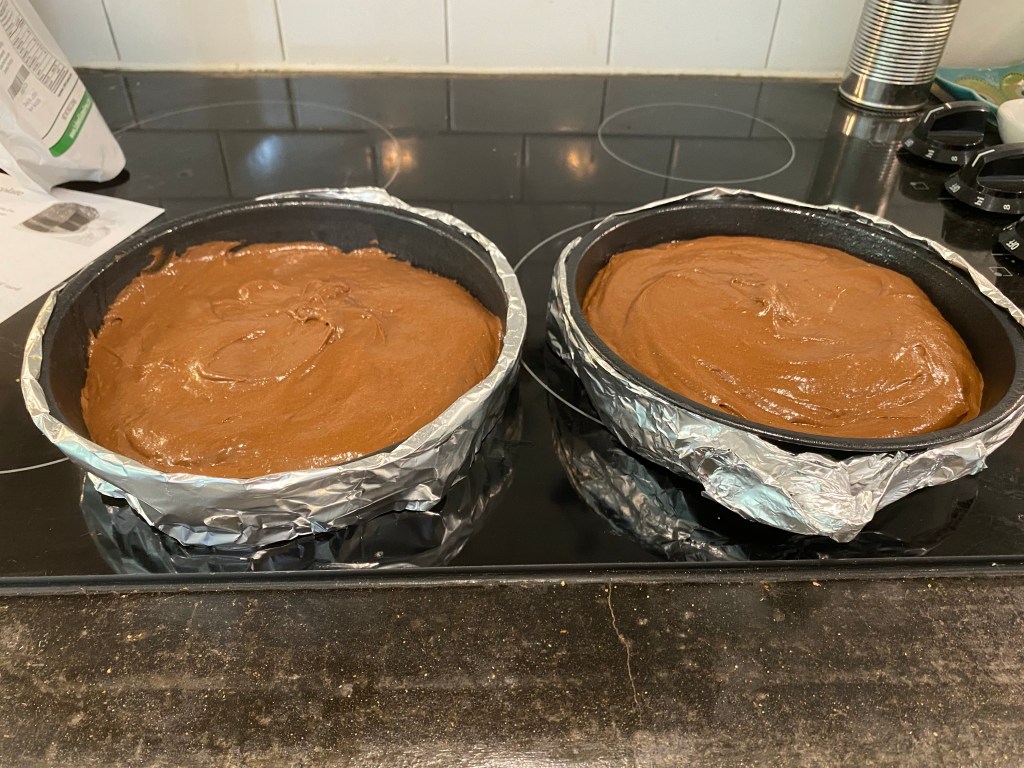
My youngest suggested making chocolate cake to celebrate the end of the school year… that is definitely worth cake. I pulled up a new recipe for gluten-free chocolate cake and in the tips they recommended “insulating cake strips”. I had to look it up. Apparently someone discovered that if you insulate the sides of the cake pan, you get a flatter top, rather than a dome. That is all well and good, and fancier than I usually do for cakes (my cakes look very homemade), but can I make them myself? Like right now? Yes, yes I can. Here are some great instructions on how to make these using aluminum foil and paper towels. Well, then, I will give them a try.

Cake pans with DIY insulating strips
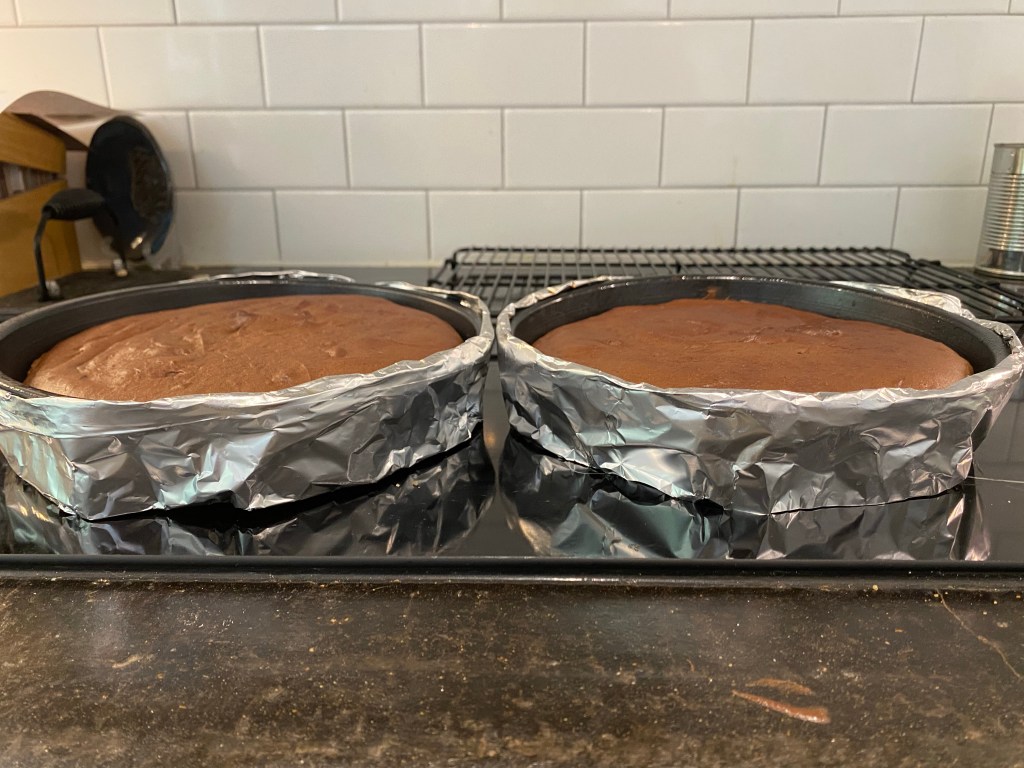
After baking

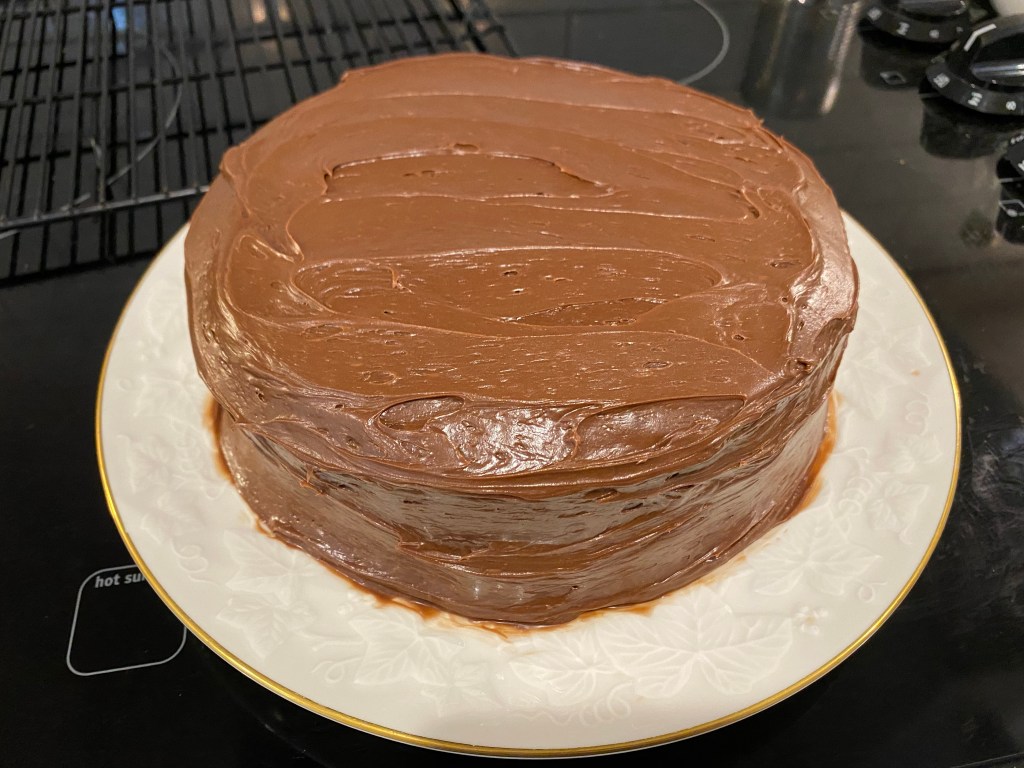
They strips did seem to help reduce the cake dome. My cakes were still uneven. Not sure if my oven tray is out of level (it’s not, just checked) or if it is the curse of the chocolate cake (the last few I made were mostly inedible). Even with aligning the thick side with a thin side the finished cake was leaning. It look some camera angle magic to make it look sort of even. It tasted just fine! Hurray for edible!

Finished cake (more uneven than pictured, camera angles are magic)

Pin vise

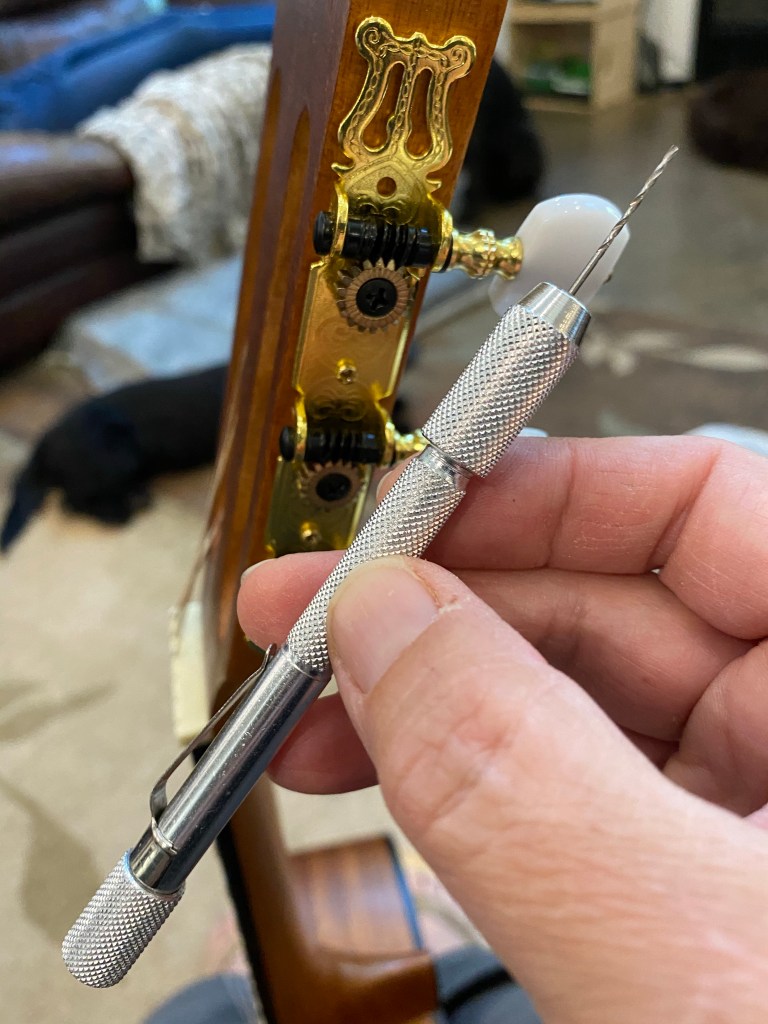
Today my favorite tool is my pin vice. It has many tiny drill bits stored inside and is just right for making small holes to start tiny screws in precious material. My youngest’s guitar needed a new tuning mechanism (a washer broke on the old one), and although the new part fit everywhere else, one hole was way off. Ten seconds with my pin vise and the last screw had a new pilot hole so I could smoothly screw it in. Now she can tune the guitar without the third string being squirrelly.

Pin vise used to make a pilot hold for a guitar tuning mechanism

So many uses

I bought a splash guard for keeping the oil splatter down when I was pan cooking. I use it more as a strainer to drain my rice when I make it! (I can never get the ratio of water to rice right, so I go traditional and use a lot of water, cook for 12 minutes, then drain off the excess and rinse in hot water.) I have recently discovered that it also makes a good pizza peel for lifting the pizza on and off the pizza stone (once it is mostly cooked). I really like multi-use utensils.

Returning the take and bake pizza to its tray after finishing baking on a pizza stone.