Turning a maple rolling pin

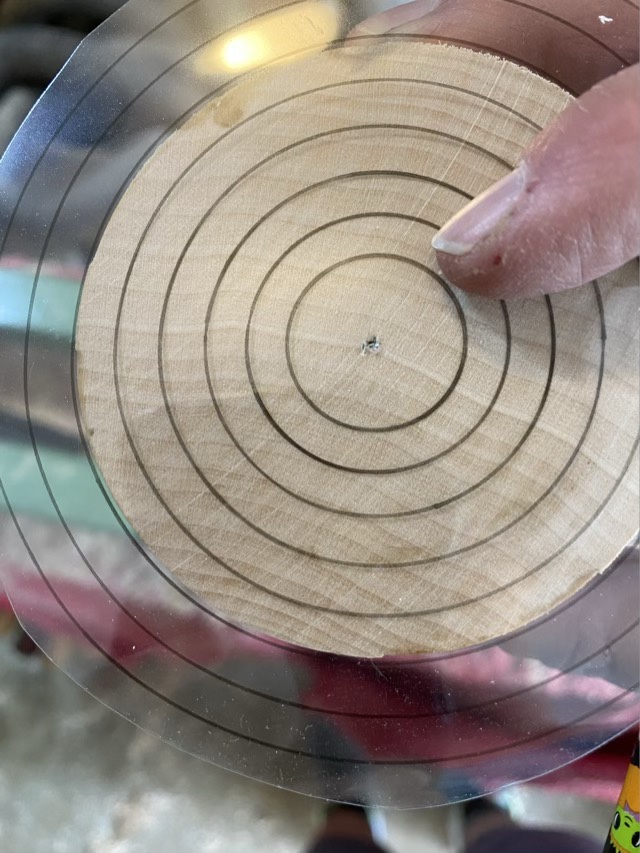
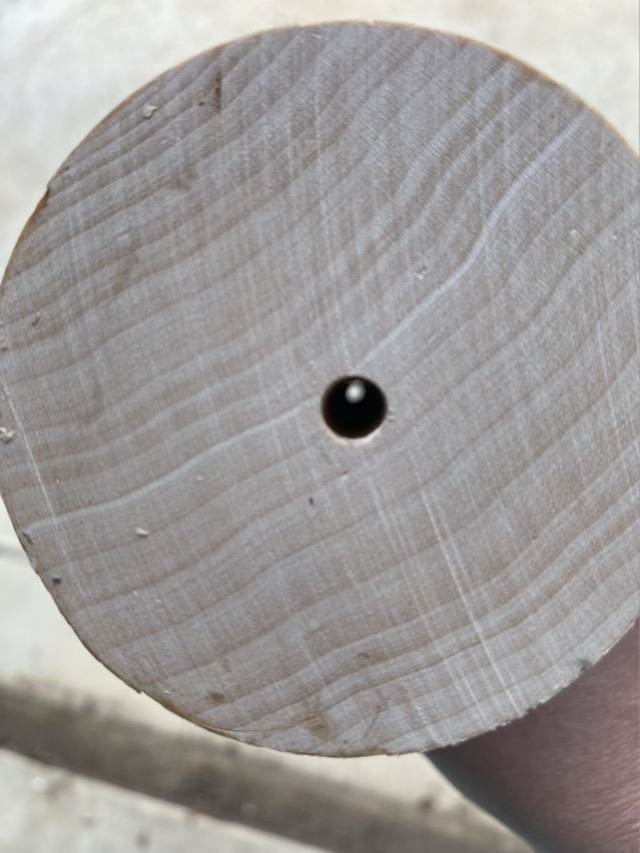
I’m working on replacing the center part of my broken rolling pin. Marble is such a delicate and hard to repair material, so I am replacing it with maple (plus, I already have maple on hand). I cut a section of a 3” round maple blank (which is marketed as a baseball bat blank) to 15” in length, which is about 2” longer than I need, so after I turn it, I can cut off the marred ends. I used my center finder (that I blogged about yesterday) to find the centers of both ends, and made 1/4” pilot holes on my drill press. I was hoping to drill the center hole on my lathe, but my lathe isn’t that fancy.

Making pilot holes with a drill press

The drill press did well to start the holes, then I used a long 1/4” drill bit to drill halfway through on both ends. Miraculously, the two holes matched up in the middle with barely a jog.

Light at the end of the … rolling pin

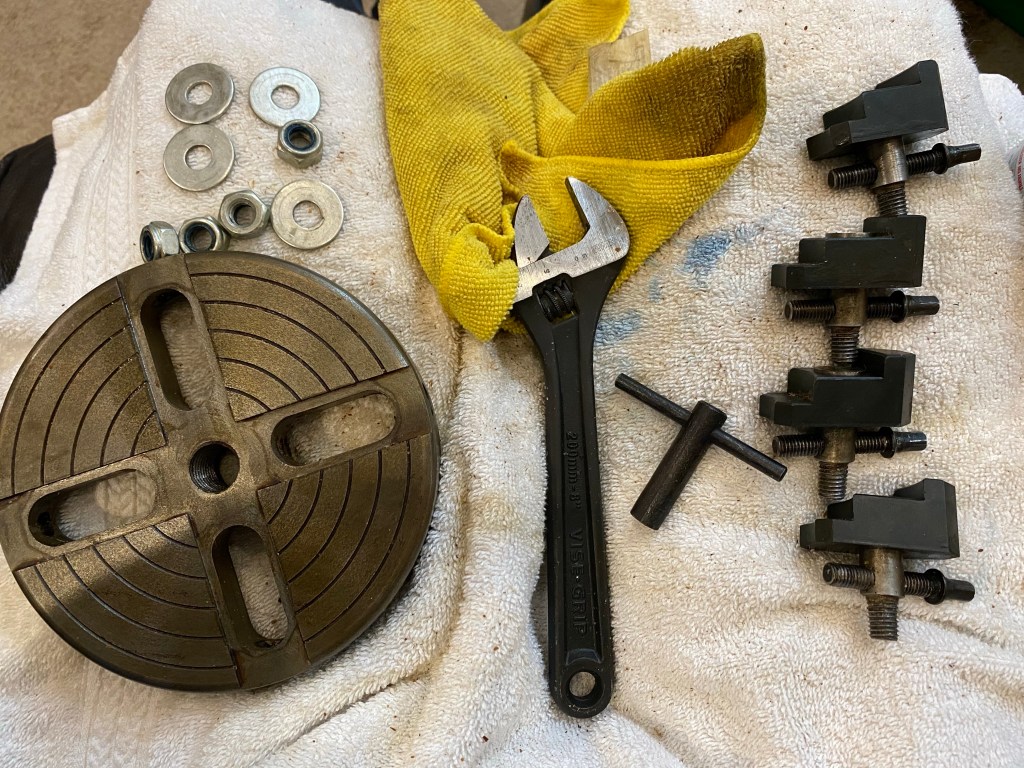
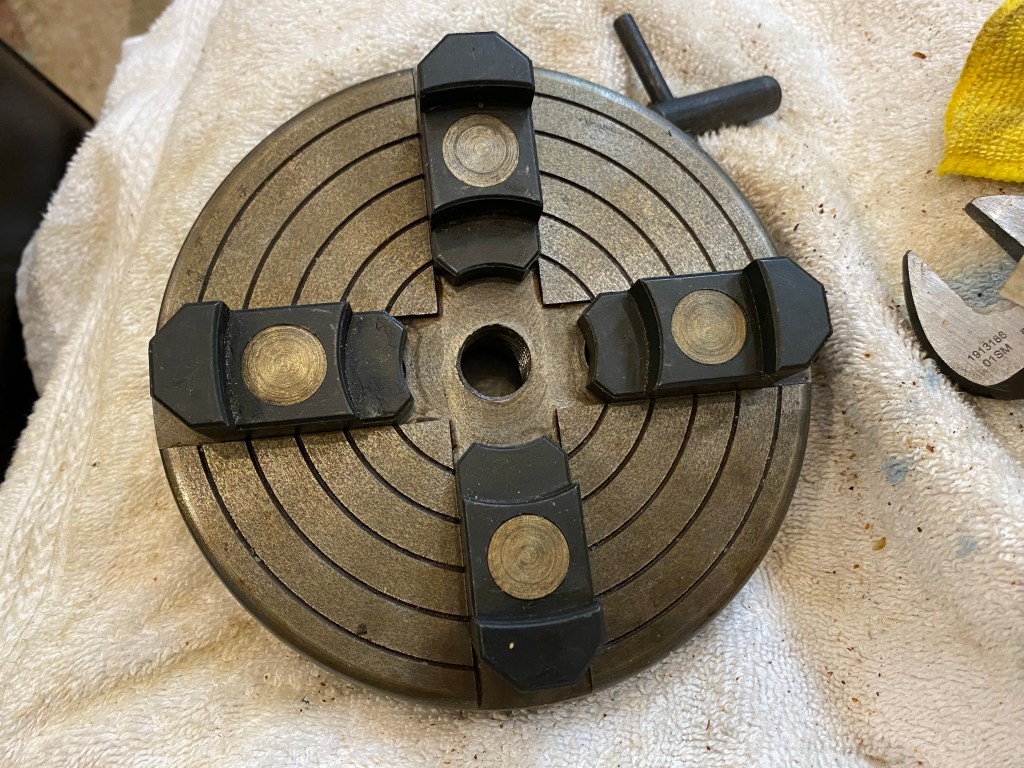
After getting the hole drilled, I mounted the blank on my lathe. It was amazing how much work needed to be done to get the blank into round. It took me around two hours to get it roughed in and smoothed down. “Simple” straight cylinders are not simple to turn! I sanded down to 400 grit, then cut off the ends with the chop saw.

Cut off marred ends (but may turn into whorls for spindles eventually)
Broken marble pin compared to the new maple pin

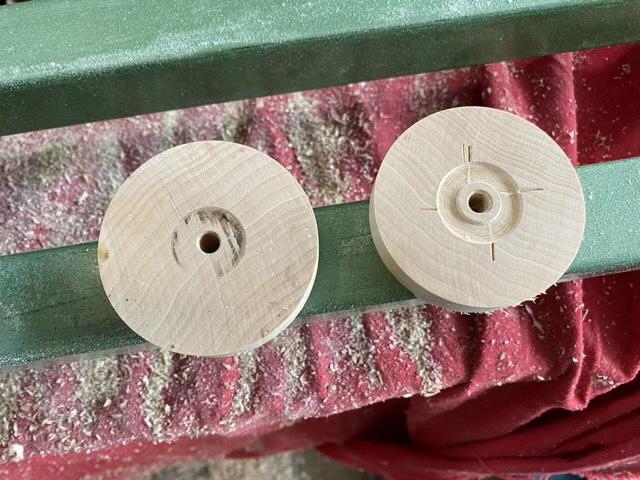
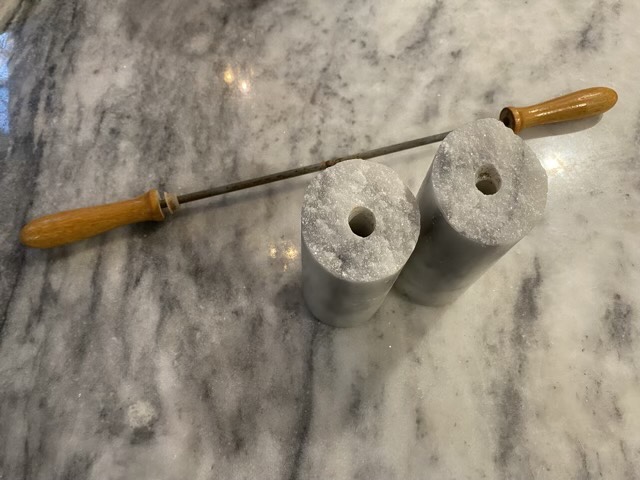
I cleaned up the steel rod and nylon flanges from the old rolling pin and tried them out. The fit was a little too tight, so I reamed out the hole with a 3/8” bit, and indented the ends about a 1/4” with a 1/2” bit to accommodate the flanges. It assembles and works! Now to “art” it, as my husband says.

(Part 3 of 8 in this blog series)

Happy Mother’s day to all those that mother! I’m trying out a new format with this series of posts, and didn’t plan for holidays. Oops. Live and learn. This too shall pass. Fussy babies go ni-night. (Getting in my Mom quotes.)

Center finder DIY

I made a simple center finder for drilling holes and turning round stock. I drew concentric circles with a fine-tipped Sharpie mounted in a compass on the inside layer of a lamination sheet. (I recommend practicing making circles on some scrap paper before going to the clear sheet, especially if it has been awhile since you’ve used a compass. Yup, personal experience.)

Circles drawn on the inside of a lamination folder

I then sent the lamination folder through the lamination machine to seal in the drawing and make it more rigid, used the sharp point of the compass to poke a hole in the center, and scissors to cut out the circle. By lining up the edges of the circle with the wood, I can mark the center.

Using the center finder to find the center of a maple turning blank

There are commercially prepared center finders, but this is an easy and cheap way to make one if you have transparent material available.

(Part 2 of 8 in this blog series)

I dropped it

25 years. I’ve had this marble rolling pin for 25 years. I was making crackers and dropped it off the side of the counter onto the concrete floor. Crack. sigh.

Broken and disassembled marble rolling pin

I contemplated gluing it back together, but the crack would have to be filled, or I’d forever have a ridge on whatever I rolled out. It could be that there is a material that is suitable for filling a crack in marble that won’t potentially dislodge and become one with the dough, but I don’t have it on hand. I do, however, have wood and a lathe. Oh by the way, I’m going to draw this story out.

(Part 1 of 8 in this blog series)

New journal

It is the little things: fuzzy blanket, cat on lap, fresh new journal. Ah. It took me almost a year to fill up the last journal. Maybe life will be calm enough that I get a full year into this one.

New journal (with leaves!), cat, fuzzy blanket (with leaves!)

Clean chuck

I’ve had a four jaw chuck for my lathe since I’ve had the lathe, but have never used it. I kept it in a protective plastic bag, but still wood shavings found their way in, and the protective oil polymerized, making the surface of the chuck a sticky mess. So it was time to disassemble and clean it! (And see how it works.)

Four jaw chuck taken apart for cleaning

I removed the jaws and gave everything a good rub down with liquid wrench and a rag. I needed to let some of the jaws soak, then give them a right whack to loosen the bolt so they could rotate. Once all the old lubricant was removed, I reassembled it.

Reassembled four jaw chuck

The chuck itself does not have a maker’s mark and the instruction manual is not with my other manuals. So I had to look up some videos on how to use it (and found some really poorly translated instructions). I tried setting it up as pictured, but wasn’t comfortable with the security of the grip, so flipped all the jaws around to hold smaller stock, which does work well.