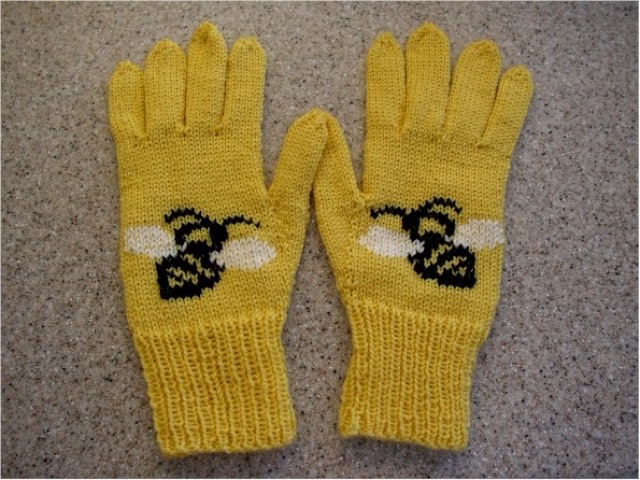
So this deep dive into past pictures for Throwback Thursday has been interesting. There are things I honestly didn’t remember making (which is why I take pictures). I do remember that I had a glove knitting phase where I traced my family’s hands on paper and used that as a template, but I didn’t remember doing color work. Turns out I did, and here is the picture of a couple lovely mirrored bees for my sister that I made in March of 2004.
Photo description: yellow knit wool gloves with black and white mirrored bee shapes on the back of the hands and ribbing at the wrists.
I’m pretty sure that I was using double pointed needles with these, the practice of which went completely away when I had kids and the risk of a needle dropping sky-rocketed.
My current endeavors are not my first foray into knitting socks, as proven here in a picture from November of 2003. I was knitting with thicker wool, and sewed tooled leather to the soles to make a slipper. Tooling leather isn’t the ideal slipper sole, it is thick and stiff. Now I would use suede or a finished supple leather, something to reduce the chance of slipping while walking more than the simple tooling I tried here. I do like how neat my stitches are, though, and worsted weight yarn knits up much quicker than sock weight yarn!
Photo description: cream colored wool slipper socks with a lightly tooled leather sole whipped stitched with leather lacing.
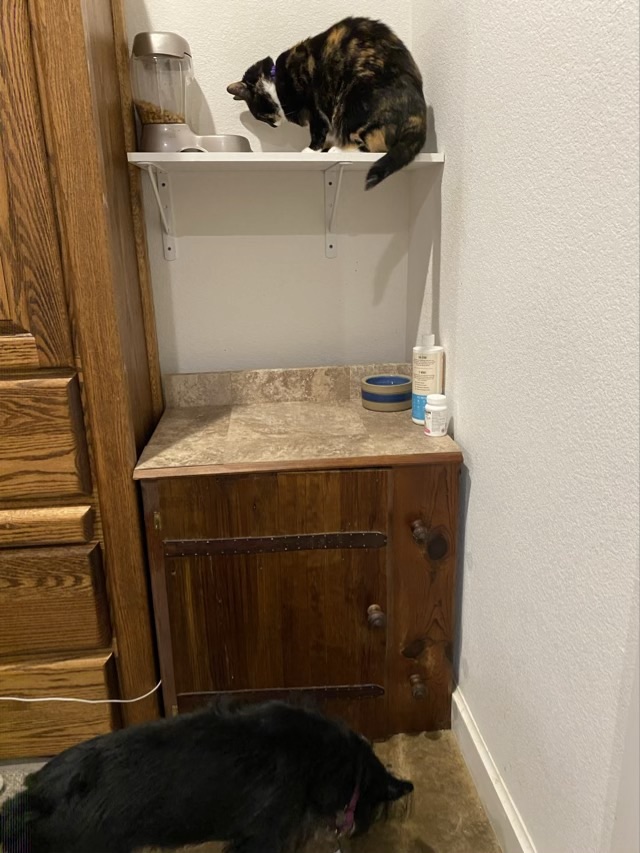
When we first moved to our house, there was a large wood workbench on the back porch, salvaged from an old workshop. Since it had been left out in the elements, many of the parts were warped and cracked. I disassembled the bench and reused the parts for projects around the house. One of those projects was a cat food cabinet made from two drawers and part of the workbench top. I turned the drawers sideways to make the sides of the cabinet, put on a top with back splash, and made a door with hinges. The wood I used for the door had a large split, which I reinforced with braces on the back and an old leather belt nailed to the front.
Photo description: Thor the gray tabby standing on the top of the recycled cat food cabinet.Photo description: the inside of the cat food cabinet showing how the original drawers were repurposed.
The problem with the wood top is that it was not smooth, so was hard to clean. To fix this, I added laminate adhesive tiles to the top, then gave the rest of the wood a boost with a rub down with Howard’s Feed-n-Wax.
Photo description: laminate tile added to the top of the recycled cat food cabinet, also showing the melamine shelf above the cabinet with Izzy the cat eating crunchies, and on the floor, Missy the dog looking for fall out.
It took a bit of time for the cats to figure out that the new surface was stable, and Thor would rather his wet food bowl be put elsewhere, but the surface is so much easier to clean now.
Thor the cat is a year old, if we estimated his birthday accurately (we are probably fairly close). So for this Throwback Thursday, I present a recreation picture of Thor on the day he ran in front of my car across four lanes of traffic. I caught him by reaching into a thorn bush (Thorn was his name for a while), then confined him in a soft car crate that I hastily emptied. He was filthy, scared, and tiny.
Photo description: small gray tabby kitten with wide eyes and long whiskers in a soft crate.
He is now nearly 15 pounds, very clean (he bathes himself even more than our female cats), and quite comfortable with his cushy life. He had a good time sitting in the old soft crate for his photo shoot.
Photo description: Thor the gray tabby cat at one-year-old laying in the same dark gray soft crate. He has grown into his fur and whiskers.
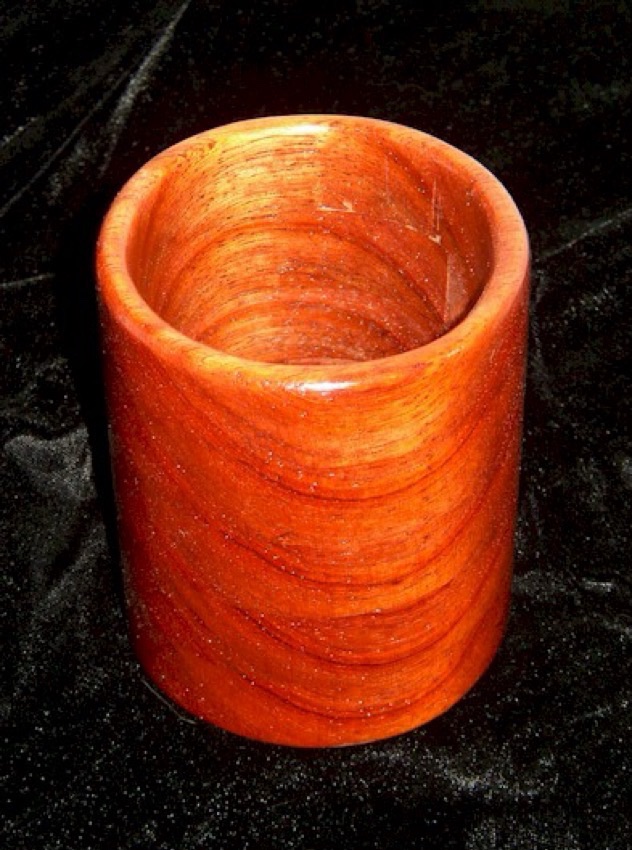
Here is a throwback from 2003 of a wooden cup I made by stacking rings of cut wood. I didn’t have a lathe, but did have a scroll saw, so made a solid circle for the base, and matching rings for the sides. I glued the stack together and clamped it, then hand sanded it before sealing the wood (I was very into urethane finish at the time, so that is probably what I used).
Photo description: Wood cup made in 2003 on a black velvet background.
I was also fond of photographing items on black velvet, which makes me cringe a bit now. I do like the way the wood growth rings line up to make a wave. It was intended as a pencil holder, which I believe it does admirably.