Adding a book to a binder

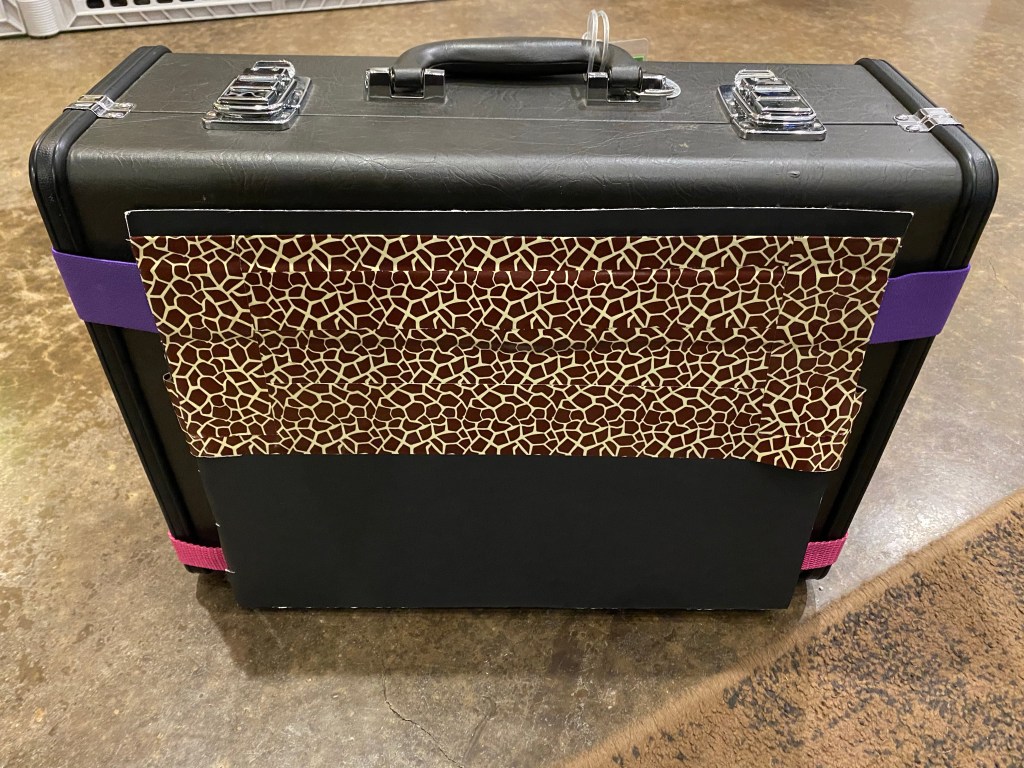
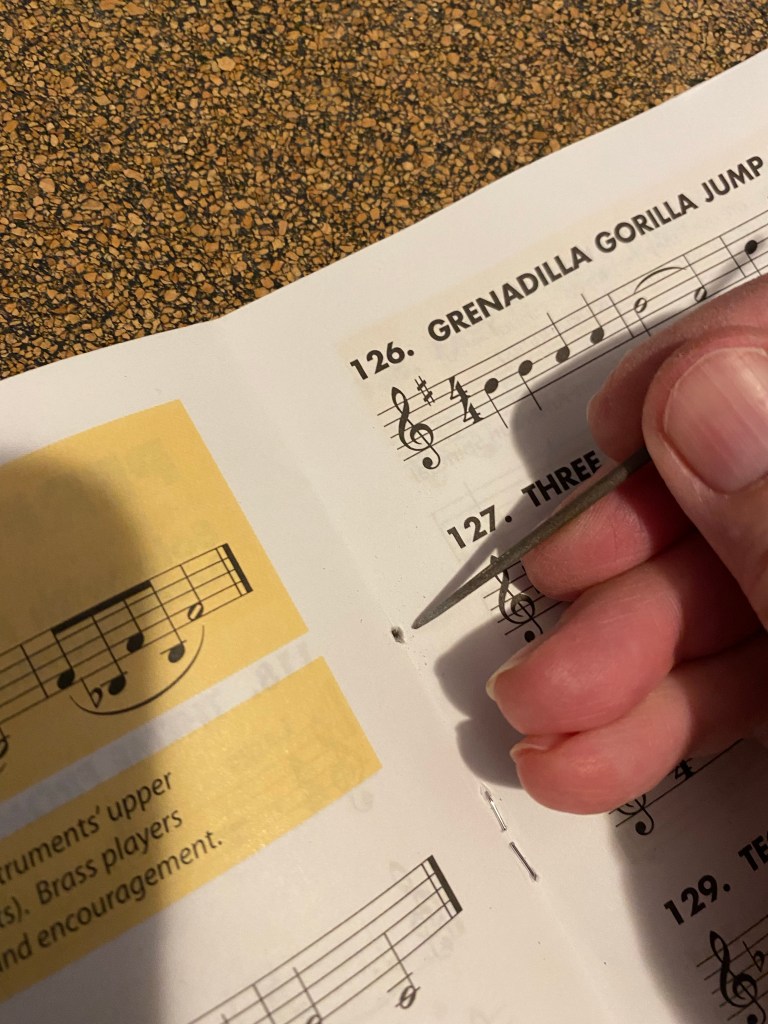
It really helps my youngest to have all her supplies for each activity in one bundle. It means we need to have some duplicates, such as multiple pencil bags, but it also means that music books can’t be placed in a backpack away from the coronet case, and have any hope of being remembered. To keep the book safely with the other music, I added small loops to the fold of the single signature. I opened the book to the center, marked spots for a three-ring binder, and used an awl to poke holes.

Using a awl to poke holes for wire

I then used some 20 gauge copper wire to thread through the holes from the inside out, make a small loop, then go back into the book, repeated for all three holes. I curled the ends of the wire over the top and bottom of the fold, just to keep them out of the way.

New loops hooked into a three-ring binder

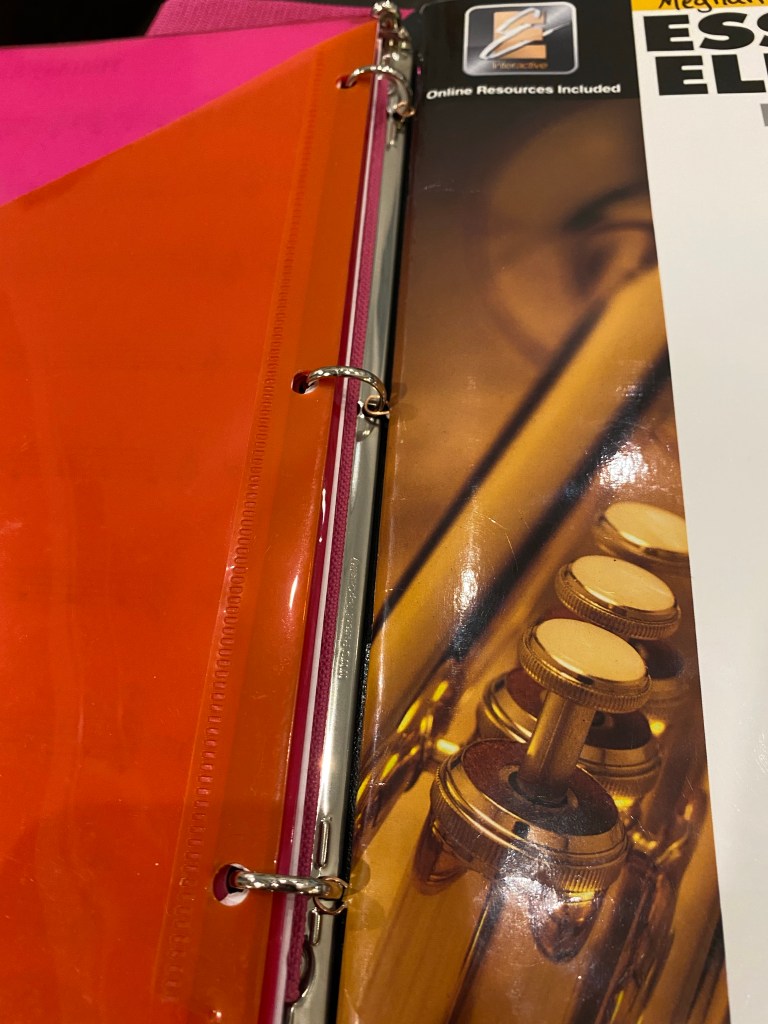
The wire holds well!

Binding the binder

Poster board, duct tape, webbing straps, elastic, thread, and command strips. These are the supplies that went into a new music holder on the side of my youngest’s coronet case. The previous pouch secured with command strips was fine for a music book and a couple loose sheets, but couldn’t hold up to the pressure of a binder. The poor binder hung out in the backpack, lost and forlorn during band practice. To reunite music and instrument, I built a new pouch on the side of the case out of odds and ends from around the house. The bottom of the poster board folder is secured with a strip of pink webbing, looped around the lid, sewn together at the ends, then duct taped inside the folder. The top utilizes wide elastic so it has some give and grip, also sewn together, then duct taped to the outside of the poster board. A couple more pieces of duct tape make guards to keep the binder from sliding sideways, and the command strips now have a minimal job of keeping the whole unit from sagging down the case an inch. The previous command strips removed easily from the case, and they way the new holder is constructed should leave no damage to the case when removed.

Binder holder added to the side of a coronet case

Deer lights

I have been wanting to make a deer holiday statue for many, many years. I have sketches and half-done plans on bits of paper here and there, but during the holidays time is eaten by the busy monster. So this year I broke down and bought one. My husband set it up in the meadow and we plugged it into the outlet he conveniently put on the outside wall of the coop. I love seeing it standing there against the backdrop of the woods!

Purchased deer decoration

We unplugged it for our rain storm, but I worried that I might miss a midnight sprinkle, so when I plugged it back in, I rigged an old plastic food container to offer some protection from the rain. I cut slits in two sides of the base, then snipped out holes at the ends of the slits. Once the cords are in place, putting the lid back on keeps everything together.

Cord ends protected in an old plastic container
The iridescent plastic makes a rainbow shadow!

Maybe someday he’ll have a homemade buddy, but until then, I’m glad he’s standing guard.

Cable ties

I love cable ties. In my book they rank with duct tape and WD-40 in the “it needs to work now” tool box. Yes, they are great for taming and organizing cables, but they also make good chicken leg tags (my hens are color coded). Putting signage up on a wire fence is an easy task with a hole punch and some cable ties. When the rotating wall mount for the webcam no longer holds, cable ties can be used to prop up the weakened part.

Cable ties used to prop up a webcam on the coop

The webcam is still hit or miss on connectivity. Sometimes I am able to connect, sometimes I’m not. Very frustrating. I keep tinkering with it, though.

Image from video cam, when it functions

Making it harder than it needs to be

Sometimes I can streamline processes and ease my path. Sometimes I make things harder than they need to be. My youngest loves getting her Raddish Kids crate each month, and each month it comes with a really nice patch for her apron. I started sewing these on (my youngest did try, but the sewing was hard to see), then life happened and we had a pile built up, waiting to be attached. It was then that I noticed the nice thick plastic back on the patches. Nice thick plastic that felt remarkably like meltable glue. Cue forehead slap. Yes, they are iron-on patches. It took about ten minutes to iron all the queued up patches on her apron. They don’t lay as flat as the patches that are sewn on, but at least they are now on the apron and not in a drawer.

Patch with iron-on backing