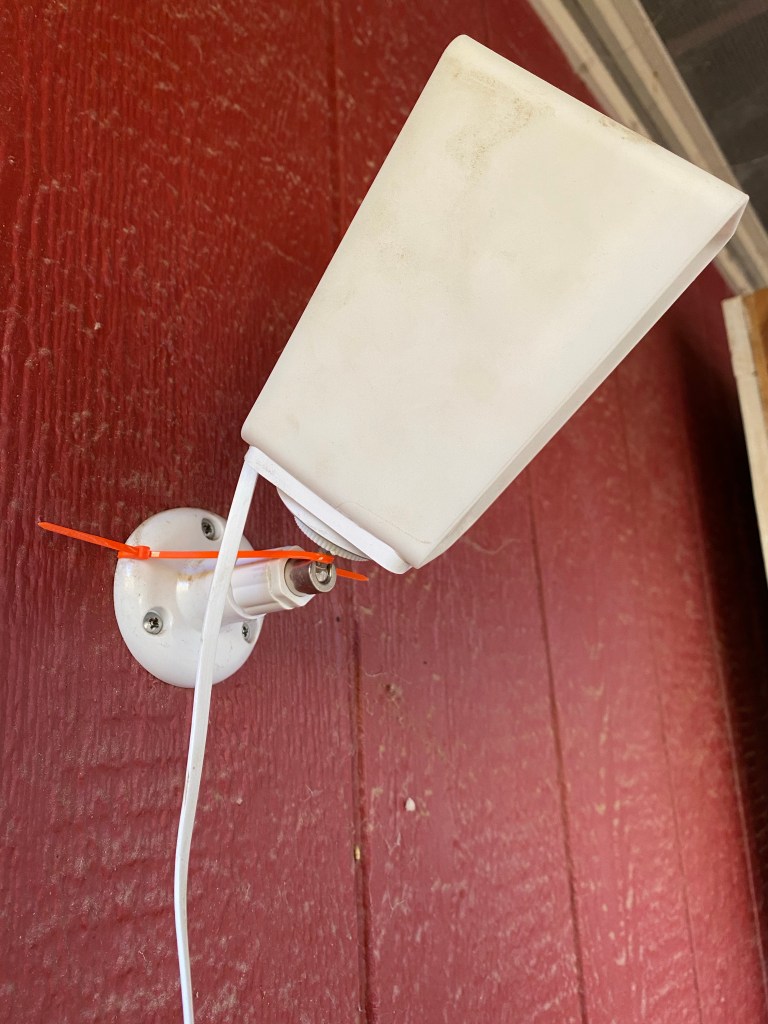
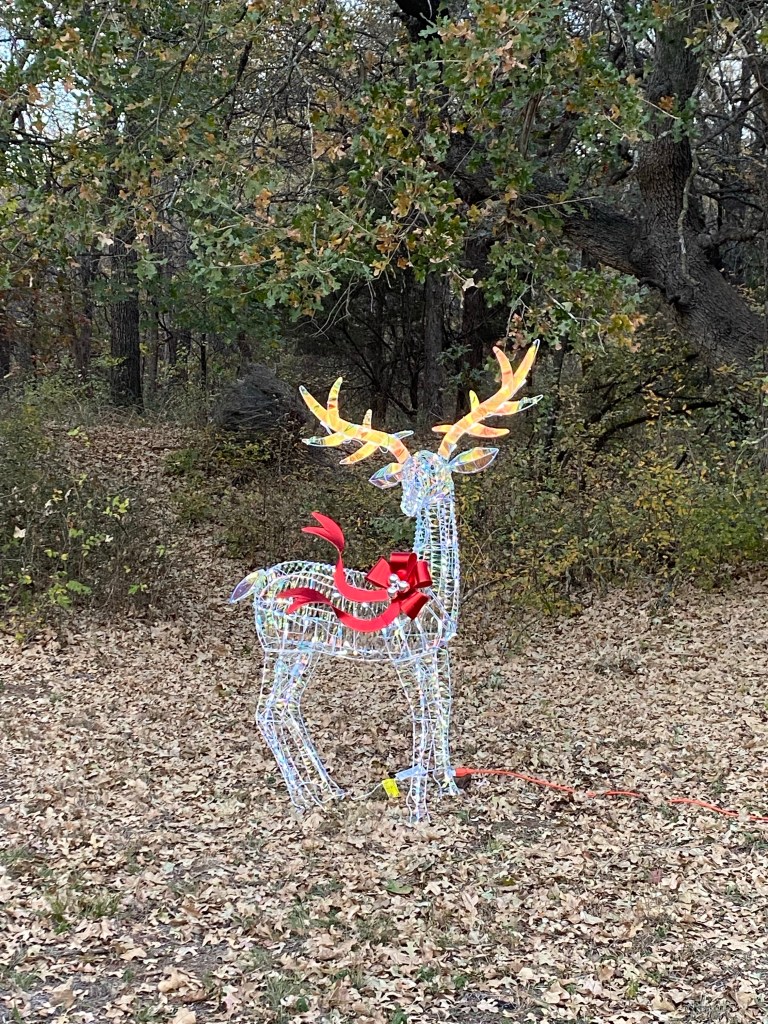
I have been wanting to make a deer holiday statue for many, many years. I have sketches and half-done plans on bits of paper here and there, but during the holidays time is eaten by the busy monster. So this year I broke down and bought one. My husband set it up in the meadow and we plugged it into the outlet he conveniently put on the outside wall of the coop. I love seeing it standing there against the backdrop of the woods!
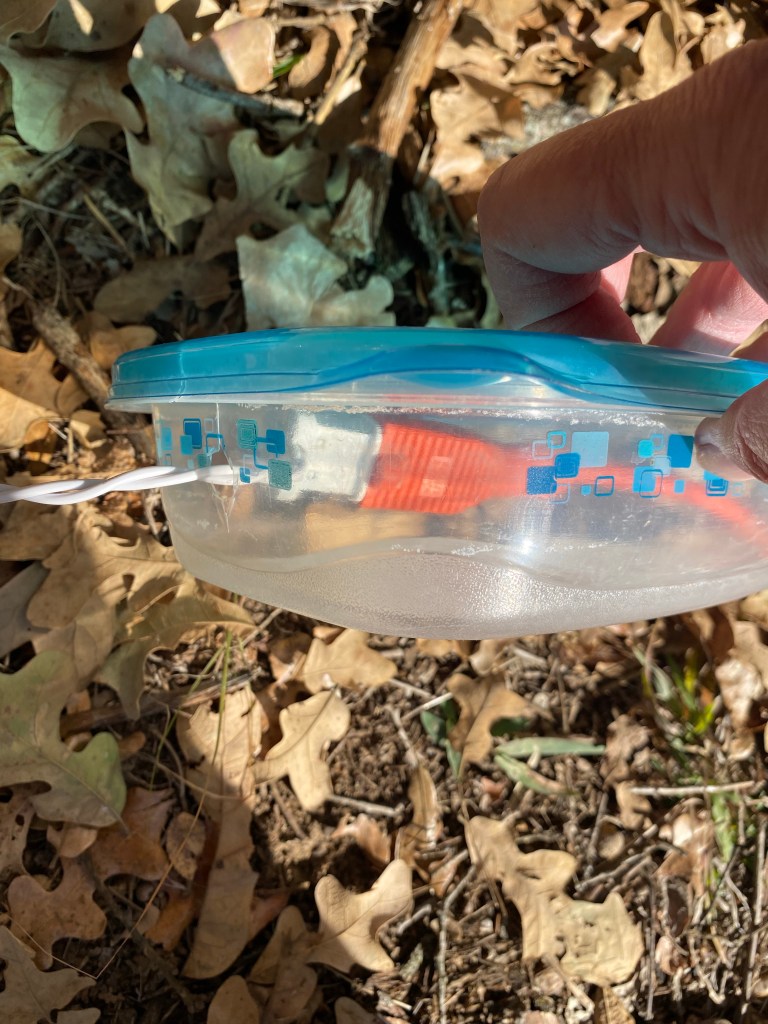
We unplugged it for our rain storm, but I worried that I might miss a midnight sprinkle, so when I plugged it back in, I rigged an old plastic food container to offer some protection from the rain. I cut slits in two sides of the base, then snipped out holes at the ends of the slits. Once the cords are in place, putting the lid back on keeps everything together.

Maybe someday he’ll have a homemade buddy, but until then, I’m glad he’s standing guard.