Photo description: Turquoise and silver necklace made in sections connected in an unusual manner, through the sides
I made this necklace in March of 2008, and it was featured in a FireMountain Gems catalog. I always meant to write up detailed instructions on its construction, but didn’t, so I’ll give you a short run down here.
The 13 cylinders are made by doing beaded crochet as a tube with waxed silk thread. I assembled each section with a cylindrical turquoise bead at each end, and ran a 20 gauge wire sterling silver wire down the middle, securing each end with a wire spiral. To connect the sections, I ran the same gauge wire through the sides of the cylinders, making sure that I went through the stitching inside, and made a spiral at each end. The clasp is a custom add-a-bead barrel style clasp, and I did have to ream out the bead hole to get the clasp into the bead.
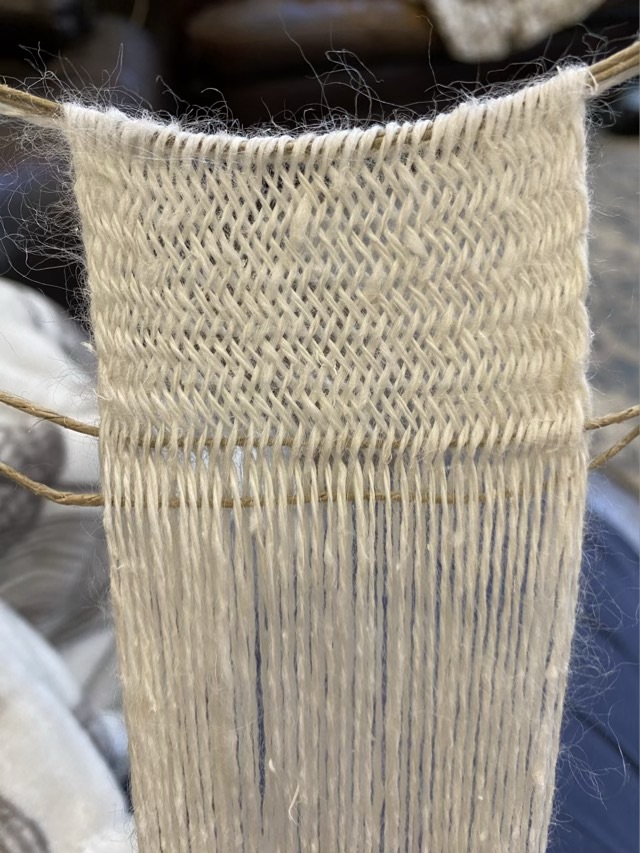
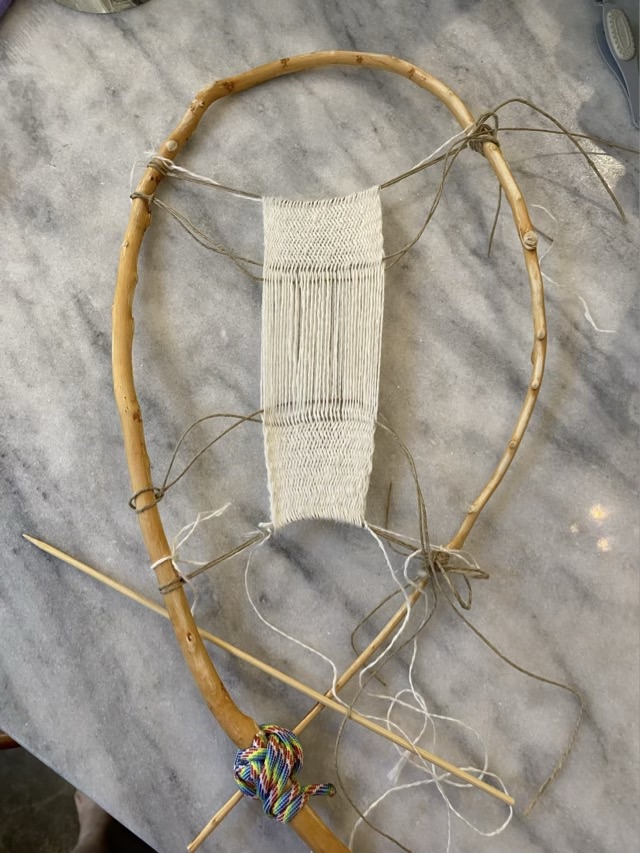
I setup my small sprang loom again, this time with hand spun pineapple fiber. I followed SolRhiza Arts’ video on how to do “interlaced horizonal ribs.” The technique alternates right and left hand twists on each row, which I hoped would solve the curl issue. The weave started out beautifully.
Photo description: hand spun pineapple fiber warped and partially woven with interlaced horizontal ribsPhoto description: sprang work in progress on the small loom
I finished with the chain method across the middle, which I still don’t like. When I removed the work from the loom I had a shock: it didn’t have the stretch effect I expect from sprang. It stretched, the horizontal ribs disappeared, and it didn’t return to the original shape.
Photo description: sprang sample off the loom showing the threads going diagonally (wonky middle makes me unhappy)
Upon closer inspection, I had done a twill (over two, under two) weave at a diagonal. I’m not sure if this is the intended result, or I somehow missed something in the instructions. It is an interesting effect, and one that might work for a different project. The fabric certainly doesn’t curl.
Photo description: close up picture of the interlaced horizonal rib sprang at a 45 degree angle from the warp angle.
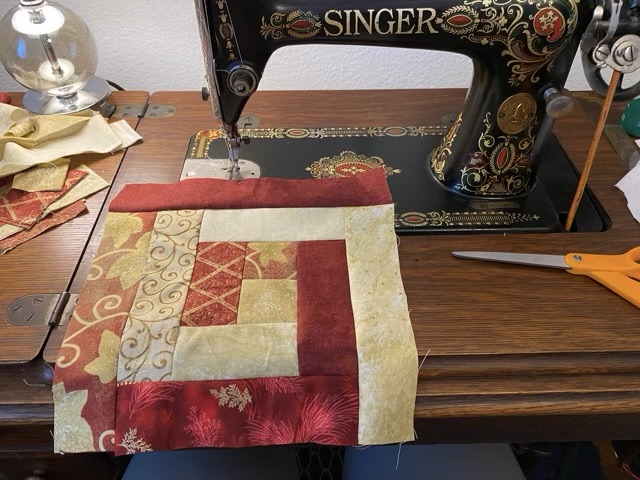
For the Sunday drive of my Singer 66 treadle machine, I’m continuing to sew quilting scraps together. Sewing regularly with the antique machine keeps all the parts running smoothly. I’ve started in on log cabin patterns: starting with a short piece and adding on longer and longer strips. I was distracted by something during sewing (not unusual), and messed up my intended pattern. I soldiered on anyway, and at the end was a little surprised that I ended up with a spiral pattern with the cream and red fabrics. Huh. Going to save this one, and try for it intentionally next time.
Photo description: Singer model 66 treadle machine with a red and cream quilt block that has a spiral pattern.
I noticed as I posted that the colors of the fabric also coordinate with the sewing machine. Who even am I?
I warped my small sprang loom again using dyed wool yarn, once again determined to make this one a little better than the last. I warped on a few more times to make it wider to help combat the natural inclination to twist.
Photo description: small bent cane sprang loom with orange and yellow dyed wool yarn interlinked in a single direction (all S twist on the top, all Z twist on the bottom)
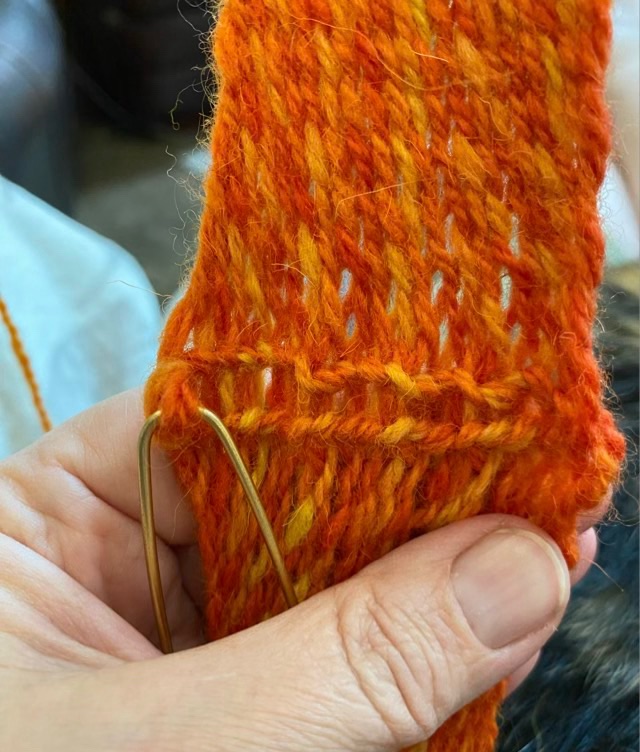
This attempt was an improvement on the previous tries. I achieved an even fabric, even though finishing the middle is still vexing me, it was less wonky than the last times. I tried a different method too: chaining each side separately, rather than both together. It still needs work.
Photo description: chain looped center of the sprang fabric, with a stitch holder in the last loop
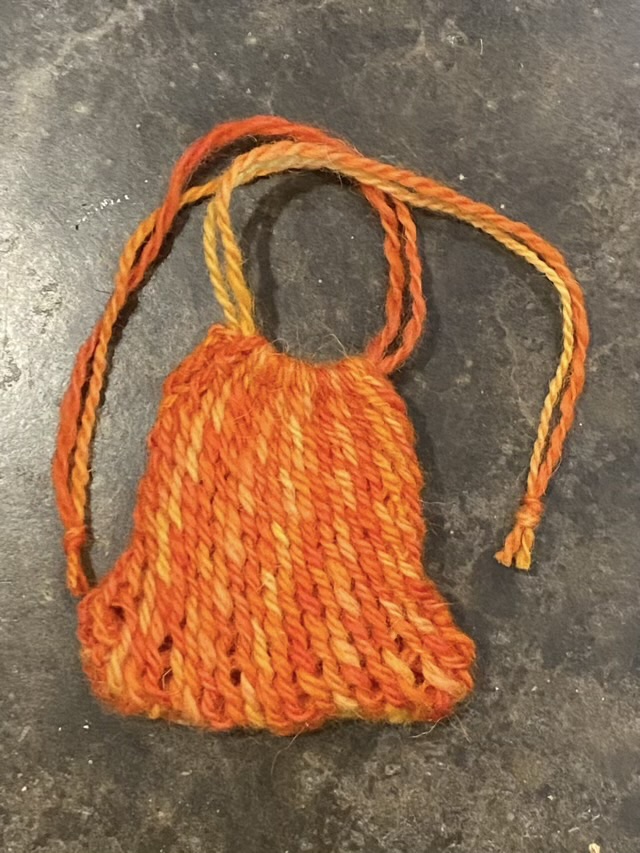
I used the extra yarn from warping to sew up the sides, and strung yarn through the top to make a drawstring bag.
Photo description: small wool sprang bag shown empty and closedPhoto description: same bag shown slightly stretched because it is holding a mandarin orange
The sideways stretch of the bag is easily double the height. There is no stretch vertically, which I need to take into account when designing a piece. This tiny bag would do well to hold dice. I’ve seen some larger bags made with wood handles that would outperform a similar bag in crochet because crochet stretches in all directions and tends to droop over time.
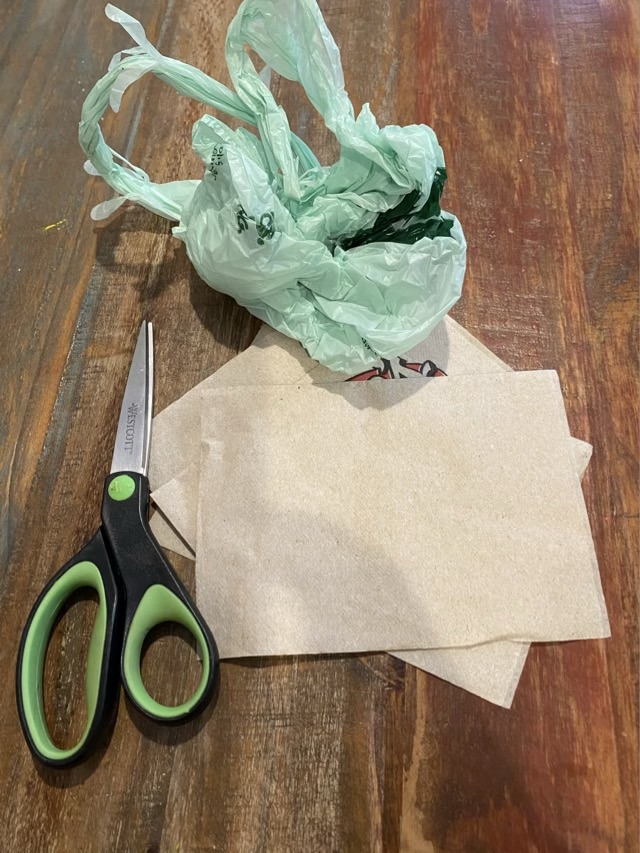
When you don’t have a bow for a present, but do have the plastic bag from the store and some fast food napkins, you can make a bow.
Photo description: bow made on the go from a Lowe’s bag and twine made from paper napkinsPhoto description: green plastic bag, unbleached fast food napkins, scissors
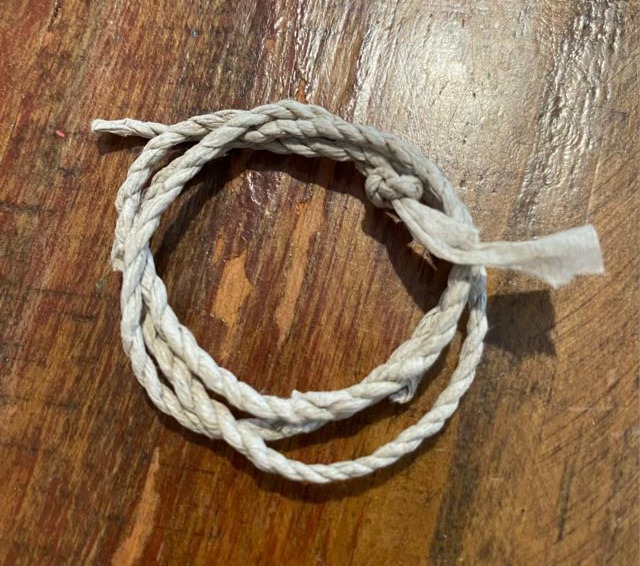
I usually have some napkin twine in my car as an emergency craft project. I prefer the unbleached napkins because the resulting twine is more aesthetically pleasing, not strong, but artful. I tear about 1/2” strips from the napkin, fold it in two, twist the single strand away from me, and twist the two strands together toward me.
Photo description: half inch strip torn from a paper napkinPhoto description: adding in a new strip of paper at the middle, between the existing strandsPhoto description: a small section of paper napkin twine, knotted at the end
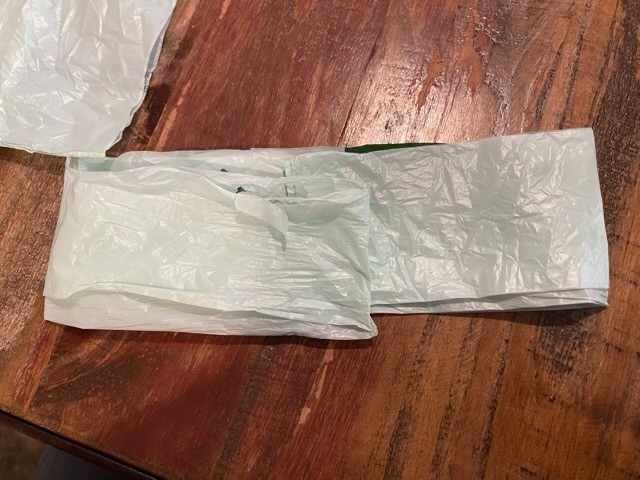
To make the bow, I smoothed out a plastic shopping bag, the kind with handles, and cut it into four equal width sections, two long, two short.
Photo description: plastic bag cut vertically into four sections
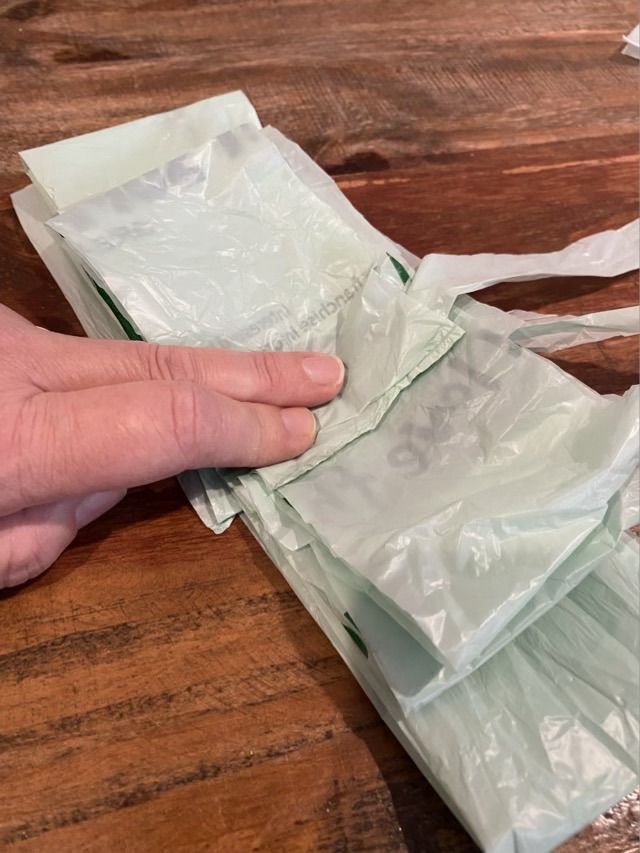
I start with the long sections and fold the ends to the middle with about a half inch overlap.
Photo description: plastic bag section folded with the ends to the middle and overlapping
I repeat the fold for all four bag sections, then stack the four pieces with the longest on the bottom. Often, cutting the bag results in mis-cuts, sections of bag that don’t go from end to end. I pull these out as added decorative elements.
Photo description: all four sections of plastic bag folded and stacked, with some off cuts pulled out as “ribbons”
Using my paper napkin twine, I scrunch together the center of the plastic bag stack and tie the twine around using a square knot on the long side (back of the bow).
Photo description: plastic bag sections tied together with paper twine
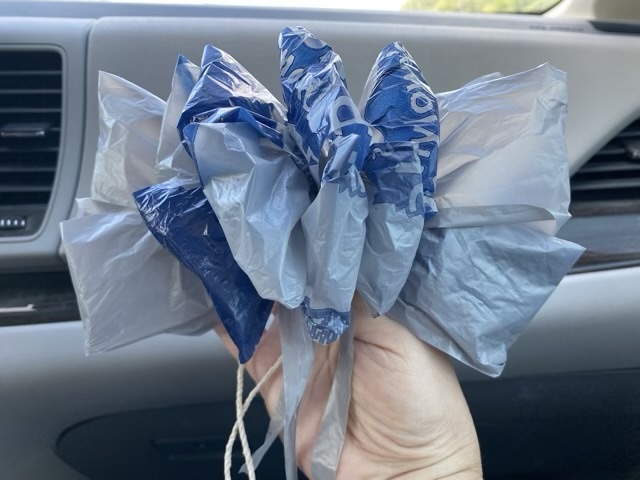
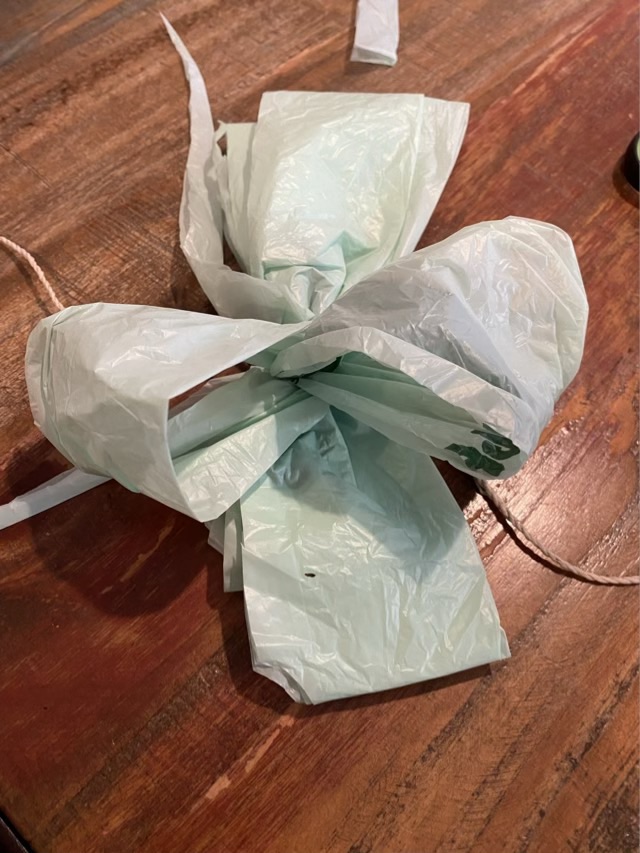
Then comes the fiddly bits (for me). Each loop of plastic from the stack gets opened up and pulled away from its partner(s). This fluffs the bow and gives it volume. I work from the back forward, and one side at a time.
Photo description: back two loops of bag separated, pulled gently 90 degrees apart, and roundedPhoto description: finished emergency bow made from a shopping sack and paper napkin twine