Chain plying Ramie

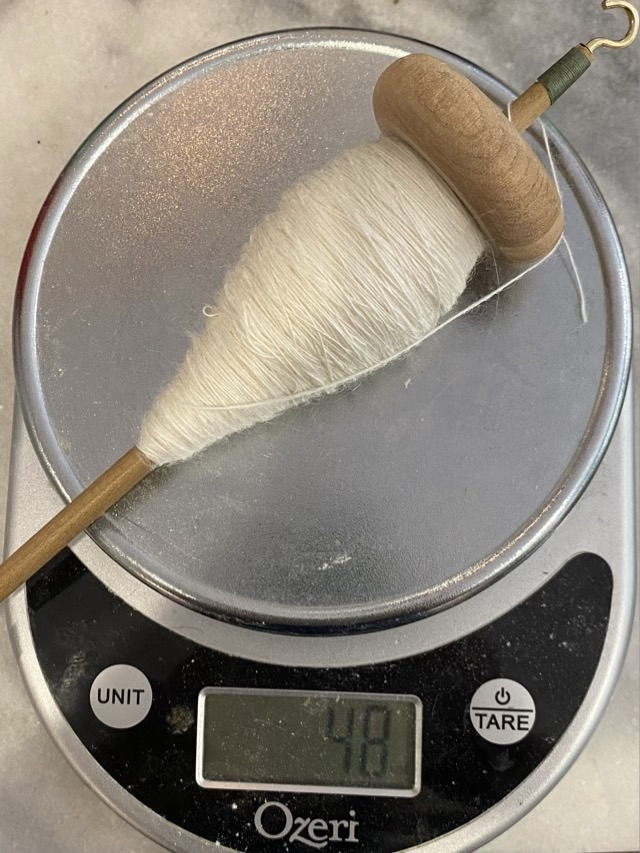
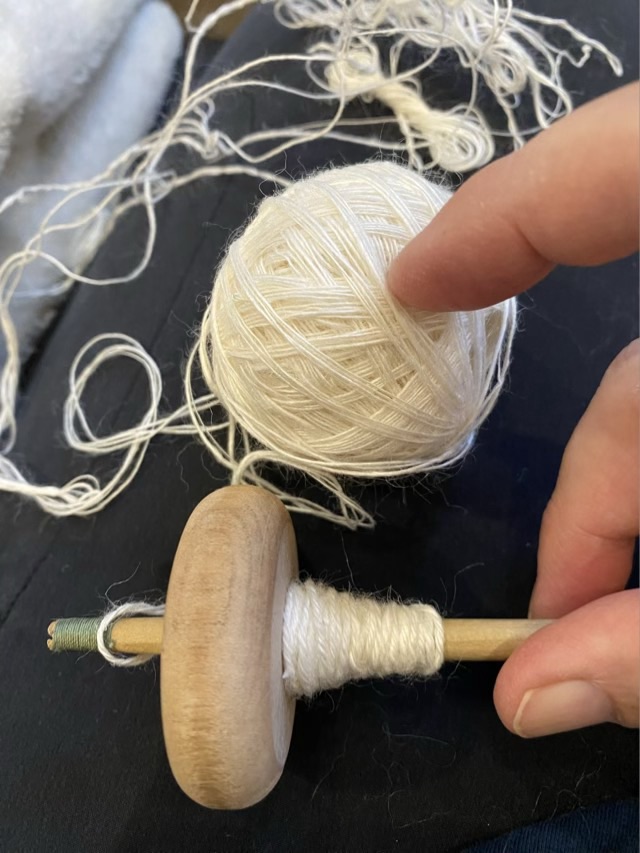
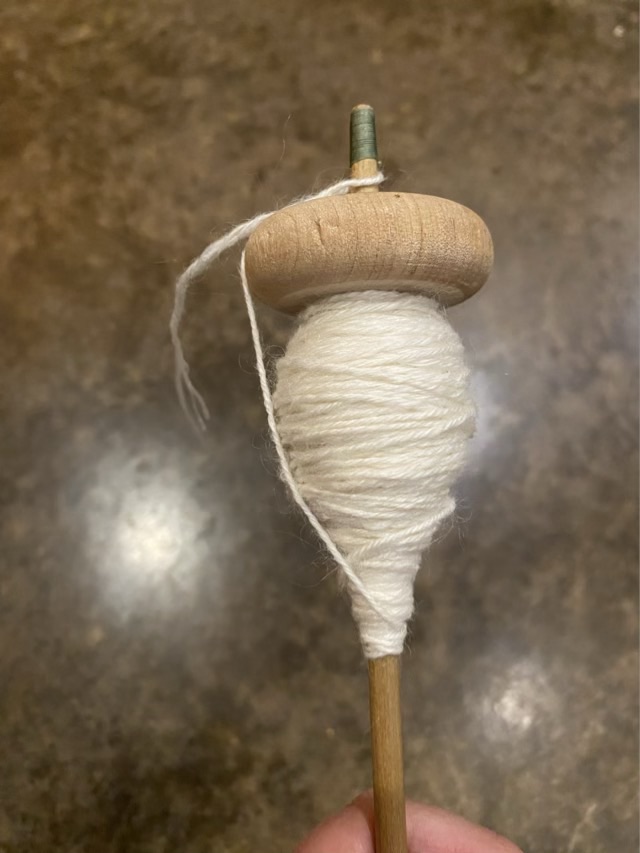
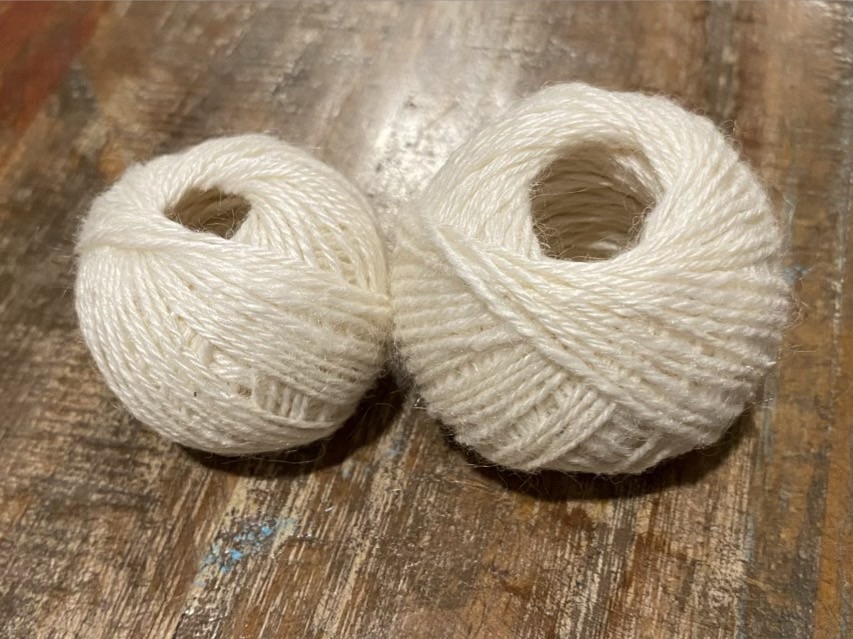
I like chain plying single spun yarn because I don’t need three bobbins and a Lazy Kate to get a three ply yarn. I use a center pull ball and make a crochet chain with really long loops. I was unsure about chain plying my Ramie fiber because I’ve read that it isn’t a good technique for bast fibers like flax because flax doesn’t like the sharp bends which happen at the ends of the loops. Flax is not as flexible as wool. Ramie is also a bast fiber, taken from the stem of the plant, but it chained plied quite well; the chain loop ends disappeared into the ply twist without little stubborn loops.

Photo description: three ply yarn (chain plied) on the left, four ply yarn (not chain plied) on the right

For chain plying with a drop spindle, I prefer to sit and park my spindle by my leg, then pull a loop as long as my arm. I keep the end of the loop open with a finger and the yarn ball in the same hand, then I can suspend the spindle and give it a spin in the opposite direction of the single.

Plying ball

I finished spinning a single of my Ramie fiber sample. The long staple bast fiber was easy to spin fine, and was enjoyable to work with.

Photo description: Drop spindle with single spun Ramie fiber on a scale registering 48g

It is so fine that I decided to divide the yarn and make multi ply yarn. I weighed my full spindle, and since I had the spindle weight marked on the whorl (22g), I knew I had 26g of yarn. I wrapped a center pull ball of yarn that weighed 12g and set it aside to try chain plying, which results in a three ply yarn. I then wrapped two 4g balls and a 10 gram ball. Oops. No worries, I decided to do a four ply by using both small balls, and taking from the inside and the outside of the larger ball. It was tricky to handle, so I made a plying ball, which means I wrapped the four strands of yarn together, without twist, into a center pull ball. There were still some tangles, but they were manageable. I could then add twist as I pulled the four strands from the middle of the ball.

Photo description: bottom: spindle with plied four strand yarn, middle: plying ball with four strands, top: bit of tangle at the ends, which I was able to sort out once the rest of the yarn was plied
Photo description: four ply Ramie yarn on a drop spindle

The rather rough single spun yarn felt much softer once it was plied into a multi-strand yarn.

Photo description: two balls of Ramie yarn, left one is single spun, right one is four ply.

Throwback Thursday: Mixed Media

Here is something from July 2008 that reflects most of the crafts I was involved with at the time: crochet, wire work, and glass fusing.

Photo description: copper and glass necklace from 2008

The rope was crocheted with copper lined seed beads (I think, I may have crocheted copper wire with clear seed beads, but the rope looks too even with a nice drape, which tells me I probably used silk cord, rather than wire, and the the copper color may come from a lined seed bead). I finished the rope with hand made wire cones and a purchased copper toggle clasp. The pendant is fused glass with a hand made chased copper inclusion in the shape of a four loop Celtic knot. I was experimenting with fused glass using a small kiln because I could set it up, let it run its program overnight, and check on it in the morning in my own time, very important when dealing with a young child and another on the way.

I attached the glass pendant using copper wire, and added five independent coils of copper around the rope. I must have done this for flexibility reasons, it would have looked better with a single longer coil, but that would have changed the drape.

These seed bead crocheted ropes do make me nostalgic for the times I could wear necklaces. They have a comforting feel in the hand.

Knotted into a corner

I’ve been carrying around tatting supplies in my purse and using them when I have a few minutes of waiting. Rather than bother with the bulk and hassle of a pattern, I’ve been exploring how the forms of tatting go together. Such experimentation is very useful to develop my skills and also results in some learning opportunities. In tatting, motifs are connected using picots, or loops in the work. This requires preplanning or an abundance of loops on a useable side of the work. I was attempting a triangular piece, and merrily made a line of knots with no loops. Oops.

Photo description: experimental bit of tatting, with the bottom edge solid without picots

Although the line of the piece shows promise, I can’t add onto the smooth edge with my current level of knowledge (there may be a technique out there that gets around this conundrum).

As an added learning bonus, it seems tatting also has some play with tension. How tight you pull the center thread determines the motif radius, so even when following a pattern, if the arcs and loops differ from the author’s, the piece might not lay flat. Irish crochet had a similar artistic feel.

Three ways

I recently learned another method for securing the start and end of a seam on a treadle sewing machine with no reverse. With this method, you make a few stitches, lift the foot, move the material to the beginning, and stitch over the first stitches.

Photo description: sewing machine foot moved back to the beginning of a seam after a few stitches
Photo description: seam sewn on a Singer model 66 treadle machine using the lift and restitch method to secure the start of the seam

This trick joins my bag with two other methods. There is the turn-the-whole-fabric way, where you turn the fabric 180 degrees around the needle in the down position, put the foot down, sew a few stitches, then plant the needle, lift the foot and turn the fabric back to the original position, lower the foot and keep sewing. Also there is the tiny stitch method, where the stitch length is set to near zero to start and end a seam, but lengthened in the middle. All three methods work well to make it harder for the stitches to pull out.

On more modern machines there is a reverse button that allows the sewing machine to stitch backwards. Treadling an antique machine backwards will at best break the thread, or worse, make a tangled mess of your bobbin.