In July of 2014 I was experimenting with making “viking knit” wire chains. I did a number of trials with different metals and gauges of wire. I stumbled across this picture that also showed the time it took to get a small section of work done.
Photo description: wood dowel with looped brass wire, a spool of wire, side cutters, needle nose pliers, awl, book, and ID card
I like viking knit chains, they have a nice feel and drape. The technique is looping, which years later I learned to do with yarn in a method called nälbinding. I still love nälbinding too. Neither are fast crafts, but they are satisfying.
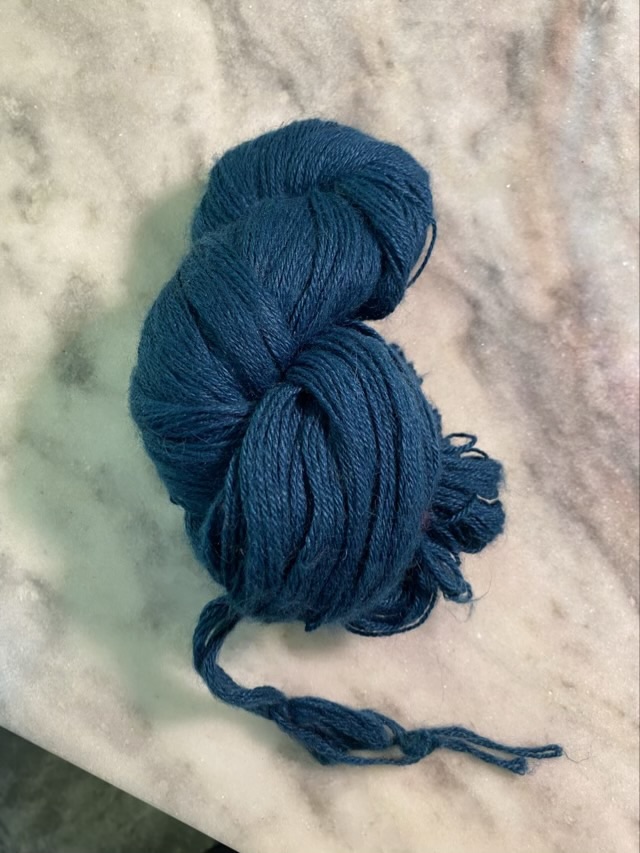
My parents-in-law recently took a trip to South America and brought me back three hanks of beautifully spun and dyed alpaca yarn. I immediately set to opening up the hank to put on my yarn swift and use my ball winder to make a center pull ball, which is easier to use for knitting and crochet. I was met with resistance.
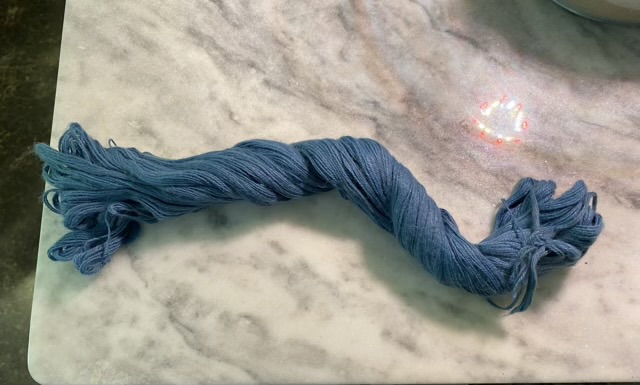
Photo description: beautiful teal twisted hank of alpaca yarn in a familiar twist and tuck storage configurationPhoto description: gray-blue hank of yarn opened up from the storage twist with familiar strands of yarn tying the loops of the skein together at the ends
The hanks looked like what I was familiar with buying in the States, a large circle of wrapped yarn, twisted and tucked end in end for storage, but when I opened up the skein I did not find a continuous circle and it dawned on me that the wrap was different. I employed the arm power of my eldest to investigate.
Photo description: olive green alpaca yarn held on two arms showing figure 8 wrapping
The hanks were not wrapped in a loop, but instead used a figure 8 style wrap. Easy enough to handle with an extra pair of arms, but definitely not compatible with my yarn swift. My eldest obliged me by holding the yarn while I wound onto a wool winder.
Photo description: Wool winder mounted on the back of a chair (I’ve never tried this before, and it actually worked very well)
Once I figured out how the hanks were wrapped, I was impressed with the way the figure 8 kept the strands in decent order. I am a firm believer that there are many ways, and I love finding out about other methods.
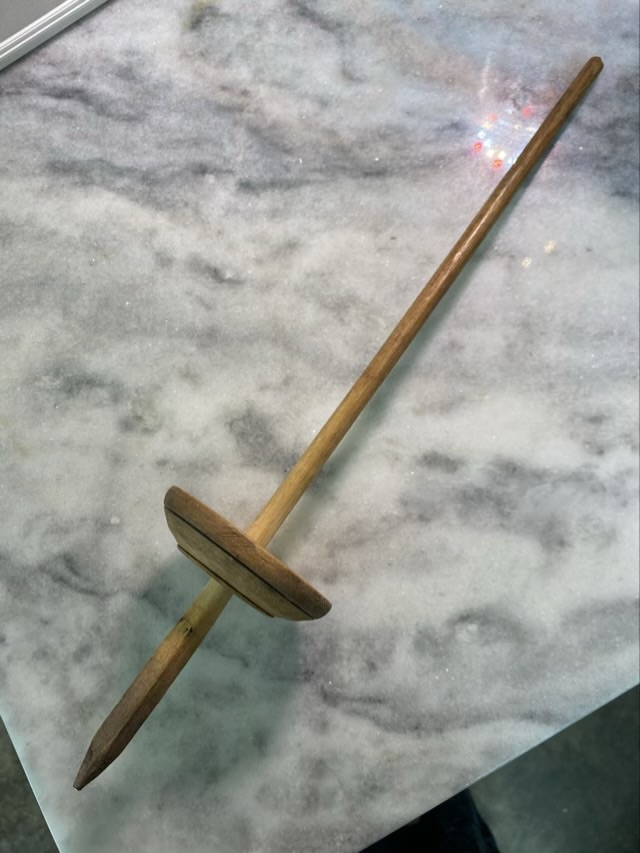
My mother-in-law also brought me a spindle; the spin on it is beautiful and it also is slightly different than what I’ve seen.
Photo description: working spindle with bottom whorl. The shaft is square below the whorl but rounded and long above the shaft. The shaft shines where it has been rubbed smooth by fingers turning the spindle.
P.S. Sometimes I get my terminology swapped. The original post used the word “skein” in place of “hank”. I think I have fixed all instances.
I spun two spindles of Black Welsh Mountain fiber then moved on to other fibers, because with a 40 gram bag, that is about all I get. I actually had 4 ounces, and had tucked the bag up on a shelf and forgot. Finding it again (a black shadow at the top of a shelf) was better than finding money in the wash! So I wound the singles off of one spindle and into a center pull ball.
Photo description: nostepinne style ball of yarn on a card stock tube, empty spindle to the right, small intent black dog in the background with her red ball
I had actually spun about 2 ounces (about 50 grams, so my estimate wasn’t far off), and since I had 2 ounces remaining I decided to spin some singles the opposite way. This challenges my brain and hands, but doesn’t result in the smoothest yarn, yet. The idea is that I can do some experiments with the opposite twists.
The draw knife is held by both handles and pulled along the wood. It is truly excellent for removing bark. I waited until after a rain so the bark was softened, which also helped. It wasn’t quite able to get all the bark off. I was working by myself and didn’t want to unscrew the vine from the supports because it took three of us to wrestle it in place. When I have help, I’ll take the vine off the brackets, finish removing the bark, and give it a good sanding. Then we’ll let it dry before putting on a protective finish.
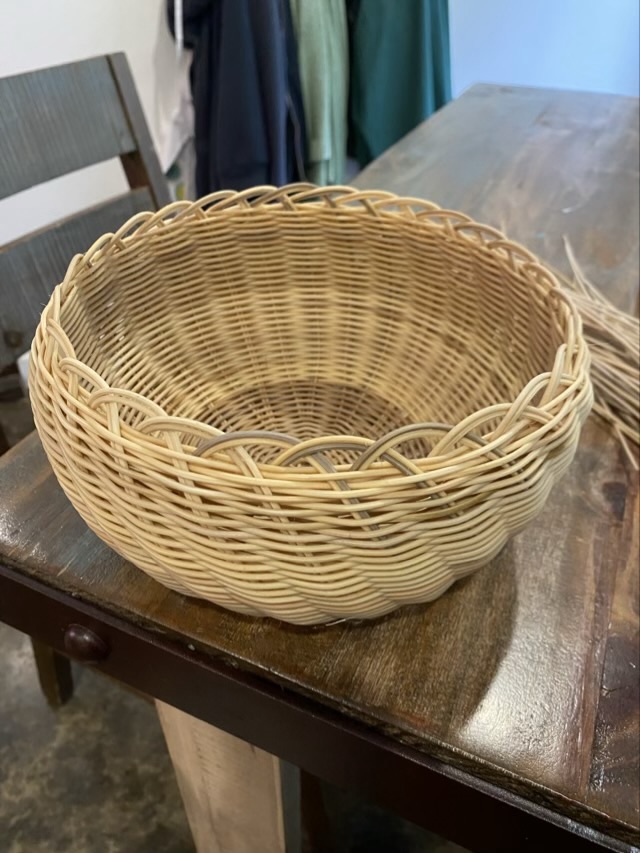
This is my third double walled basket and I can definitely see my skill improvement. I wanted a larger, concave shape, and I was able to achieve the shape I wanted.
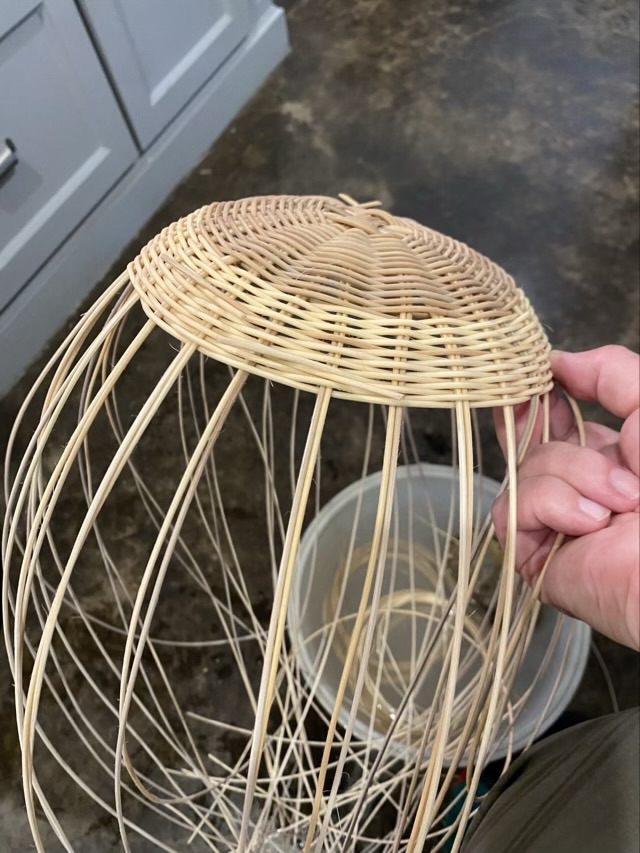
Photo description: starting the inner wall of the basket with added stakes, my next weavers soaking in a bin of water at my feetPhoto description; the stakes turned and weaving the second wall, again I chose to take the spokes at an anglePhoto description: finished double walled #2 round reed basketPhoto description: bottom edge with each stake woven behind, over, behind in a continuous braid, my best finish yet
I love these baskets. Now I want to experiment with different materials.