No yarn chicken

When I’m not sure how much yarn I have, I try to pick a pattern that is flexible. This circle vest from LazyTCrochet Designs fits the bill. It is crocheted from the inside out, and the circle can expand. One downside of the pattern is that it only has two sizes, s/m and l/xl. It has instructions for expanding the circle for coverage, but that only goes a few more rows. The idea is expandable though, and the pattern is inexpensive.

Photo description: in-process circle vest crocheted with hand spun Jacob’s wool, pattern by LazyTCrochet Designs

I used the darker of my hand spun Jacob’s wool yarn for the center, then the lighter color for the next band. This is as far as my Jacob’s wool could take me, aside from a few small scraps. The vest needs more rows, so I’ll add some hand spun Teeswater wool for the next row. I just need to finishing spinning it first. Both Jacob sheep and Teeswater sheep are on the endangered list and part of the “Shave ‘Em to Save ‘Em” initiative by the Livestock Conservancy. I’m considering calling this my “Shave ‘Em Two Save ‘Em” vest since it will have two breeds from the list. Unless I end up needing a third breed, then I’ll have to rethink the pun.

Toothpick spinning

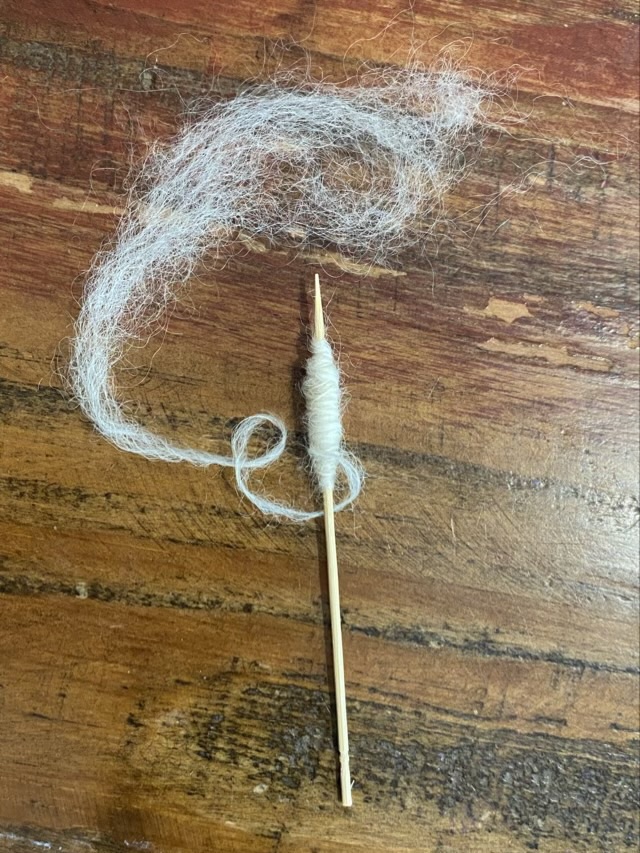
I have a spinning demonstration coming up and I want to have small give aways that promote and encourage people to try spinning. While it is possible to spin without a spindle by rolling fiber along your thigh, tension management is more difficult. Tooth picks resemble small spindles, especially for cotton, and are inexpensive. Can I spin using a toothpick?

Photo description: combed cotton spun into thread using a 2.5 inch toothpick

I started with combed cotton, and was pleasantly surprised that while spinning the toothpick in one direction with my fingers I could spin. It isn’t fast, but it is possible. As the cop of thread built up, though, it was harder to spin the short toothpick.

Photo description: Teeswater long wool spun on a 4 inch toothpick

I tried a longer toothpick and some longer staple wool, and found spinning much easier. A small bit of wool also goes a long way when making thread! My plan is to make small bags with a fluff of wool or cotton, a 4 inch toothpick, and a small card with basic instructions and a link to a video.

Awkward but functional

One of my hanging plants started leaking from a crack in the bottom. I’m not entirely sure how a hanging pot cracks, but it definitely wasn’t leaking plant water last week. I had a spare pot, but it wasn’t hanging, so I attempted a macrame pot holder. I used cotton macrame cord leftover from a different project, and divided it into six strands. I folded these in half and secured a loop in the middle with a knot. I then used macrame style square knots to make the net part of the hanger. It took a few tries. I found that I need to leave enough room from the loop to the first knot for the pot to slip through. The knots aren’t perfectly spaced, but they are functional, holding the oval shaped pot securely. I finished the bottom by gathering all 12 strands and lashing them together with a separate strand of cord.

Photo description: very basic macrame plant holder for an oval pot

The zebrina plant looks sad because I had to cull 90 percent of it to get it into the hanger. I took cuttings from the culled sections to root out. This plant regularly goes from sad and spindly to lush and full, so I’m not worried about it.

Pushing limits

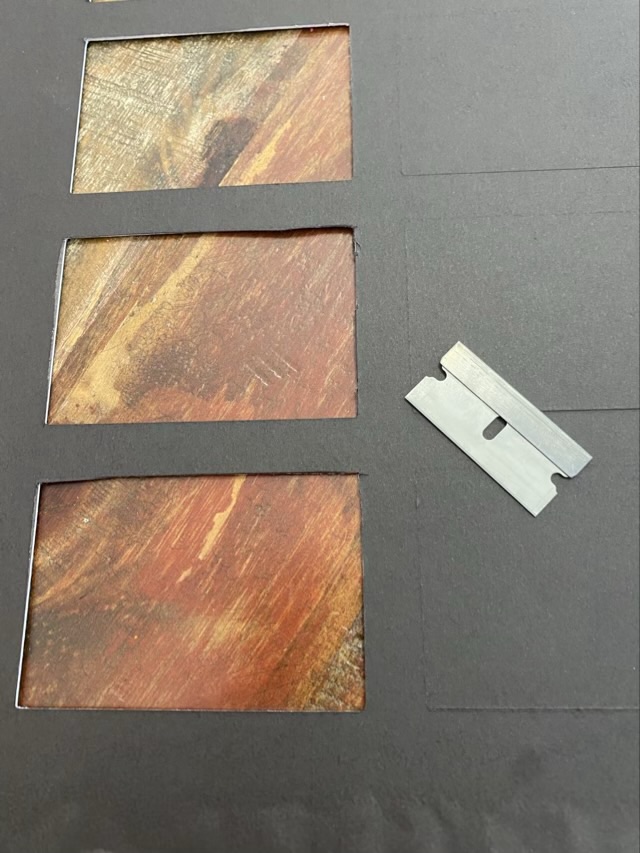
I took my Cricut cutter to extremes to cut a photo mat. The material is a little thicker than recommended. I used the deep cut blade, a 12×24 inch mat, more pressure, and a setting that traced the pattern twice. It didn’t quite get all the way through the mat board, so I used a safety razor blade to finish the cut.

Photo description: using a safety razor blade to finish cuts in mat board, the matboard cover lifted a bit when removed from the Cricut mat, but it is on the back

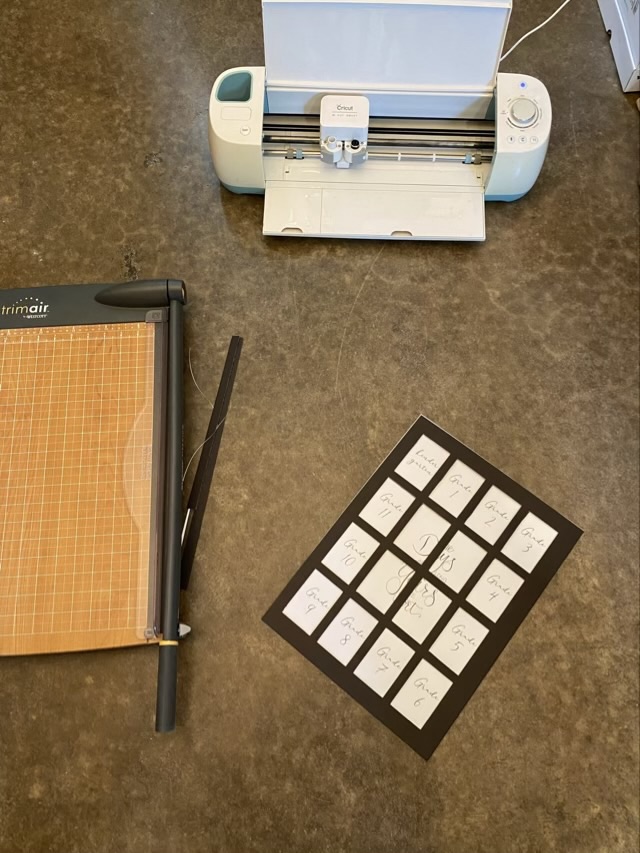
The resulting mat has spaces for 16 2×3 inch photos for my youngest’s school photos. All the commercially available mats only had 13 spaces, kindergarten through 12th. I needed spaces for preschool too. I bought mats larger than the frame, which allowed me to trim down the outside with my paper cutter and make sure the Cricut cut rectangles were centered.

Photo description: finished mat over the original 13 space backing to show the new divisions, my paper cutter and my Cricut on the floor because that is the only space that can accommodate a 24 inch cutting mat (not pictured)

Inside vs Outside

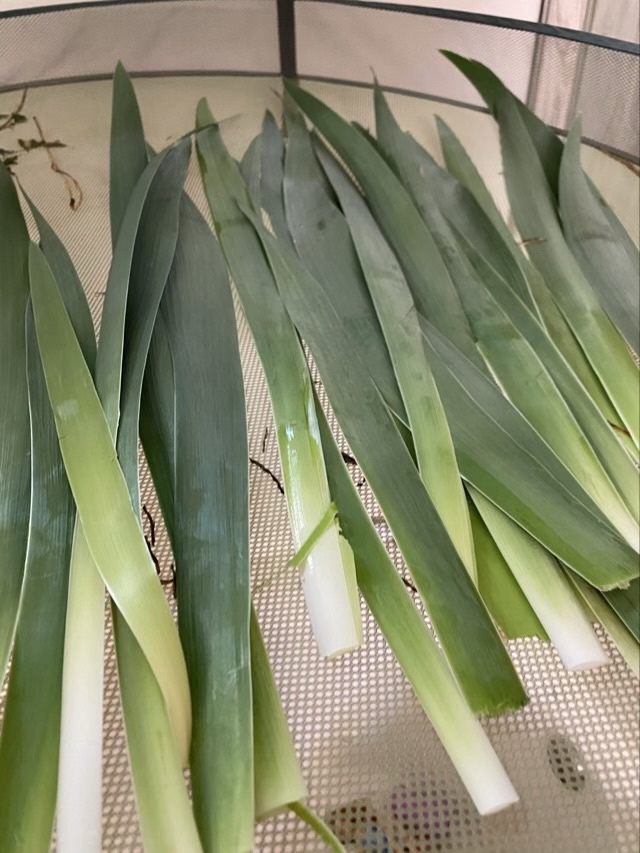
In April I gathered some iris leaves and let them dry inside on a drying rack.

Photo description: freshly picked iris leaves on a mesh drying rack
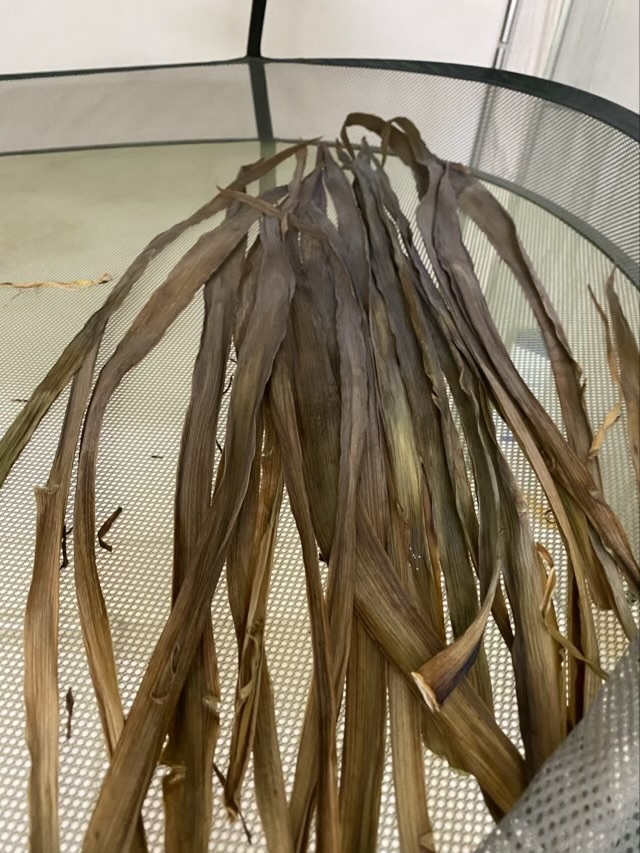
Photo description: same iris leaves after five months
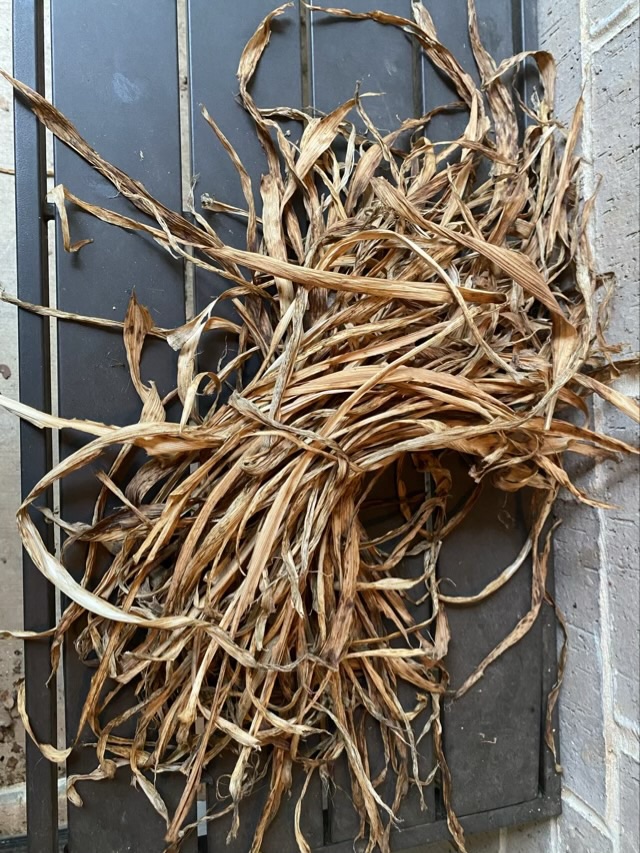
Photo description: dried iris leaves gathered from outside in September

I was surprised at the color difference between iris leaves dried inside, and those left to dry outside. The inside leaves are so much darker, but the color is more uniform. The outside dried leaves are more golden, but with streaks of black. What isn’t surprising is the grasshopper bites on the leaves left outside on the plant. There isn’t much grasshopper activity in April, but as the summer rolls through, and most of the other greenery turns brown, the grasshoppers go after the iris.

The next step is to see if there are any differences in how the leaves weave up.