I’ve made my second double walled basket, this time on my own. I had most of the tools necessary, except clothes pins. I was rather shocked that I didn’t have any clothes pins squirreled away. (I have them now.)

I wanted to make a larger basket, so added in more stakes, but the base was curving up too fast, so I switched to weaving from the inside, letting the spokes flair out, and it gave me a lovely convex curve on the sides of the basket.

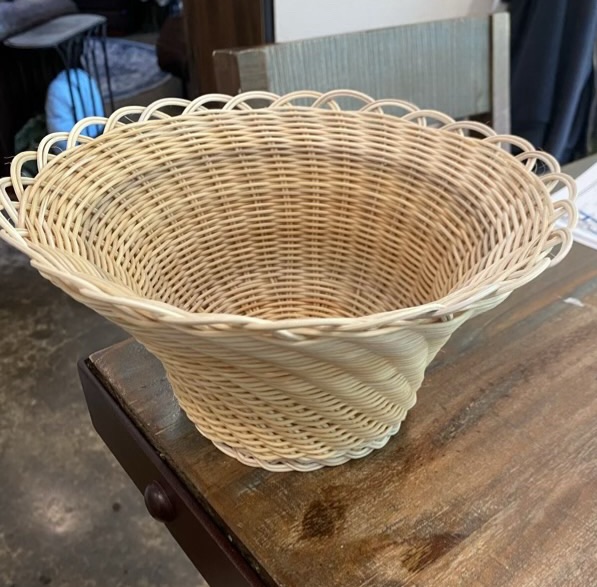
This time around I followed the curve of the reed on the outer wall, rather than adhering to the grooves of the inner wall, which resulted in a spiral effect on the outside that I quite like. These baskets take me a full day to make, and once I start I don’t want to stop, so I have to plan my time carefully.