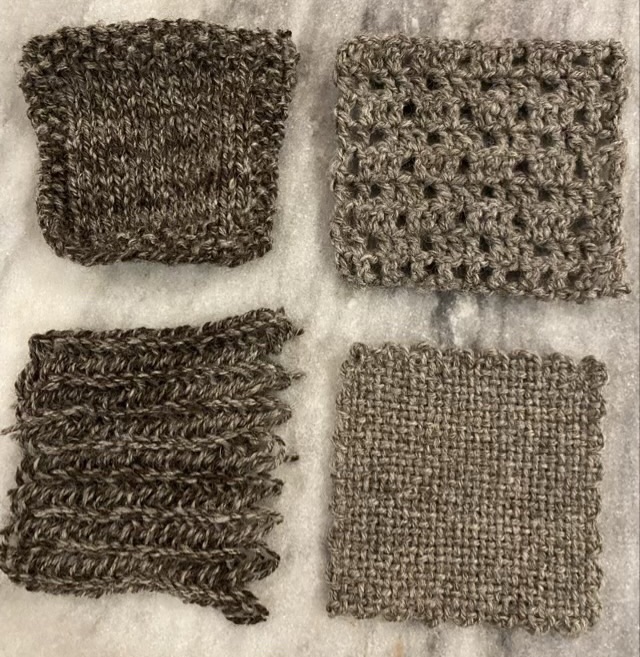
I started on the swatches for Jacob’s wool, and then finished them all in a day, even the nålbinding. I must have thirty other projects I’m not working on. Hm.
Photo description: four squares made from hand spun Jacob’s wool: knit (top left), crochet (top right), cut open nålbinding (bottom left), woven (bottom right)
I had two large cakes of yarn, and two small nostepinne balls, so I used the smaller amounts to make the swatches. I hope to make something wearable out of the larger cakes of yarn.
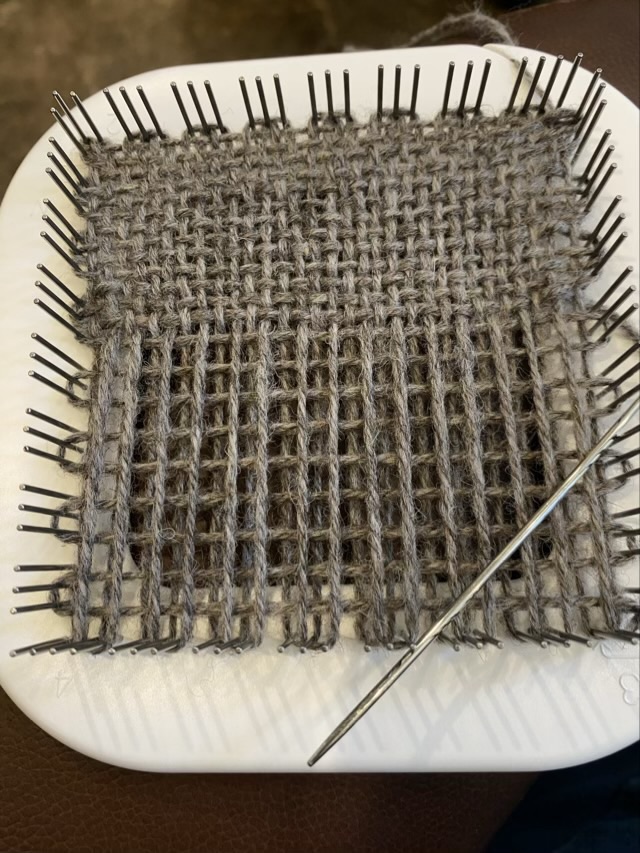
I used my hand spun Jacob’s wool yarn on my new Zoom Loom. I did the three preparatory wraps a little looser this time (as instructed) and it helped ease the way when it came to weaving.
Photo description: three layers of wrapped Jacob’s wool yarn on a 4 inch Zoom LoomPhoto description: Weaving started with a six inch needlePhoto description: finished plain weave square
I’m in awe that these little woven patches lay flat, both with the Samoyed yarn and the Jacob’s wool yarn.
As a Thank You to Sugar the Samoyed’s family for sharing Sugar’s fur for my fiber study, I sent them a crocheted heart and the remainder of the yarn.
Photo description: small hank of Samoyed yarn and a crocheted heart with a leather center with the name “Sugar”
I designed the leather heart using Adobe Illustrator, then cut it from vegetable tanned tooling leather. Having precision cut holes was awesome to make a blanket stitch around the edge. I then crocheted into the stitches using a single crochet in the back loop.
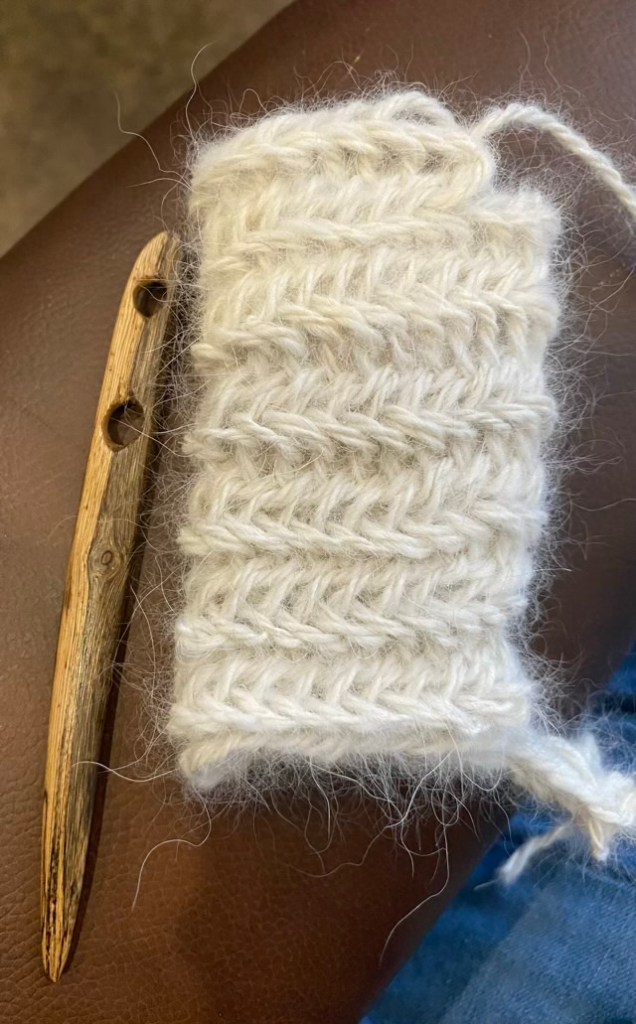
I am happy to report that the Samoyed dog yarn I spun does well in nålbinding. I was afraid the yarn wouldn’t felt, and my favorite way to join in yarn for nålbinding is to unravel a section on each end, trim the ends so I have two sections on one side and one on the other, build up twist in the short end, linearly braid the ends together, let the twist come back into the braided section, then rub it between my hands to lightly felt it. (Hm, that sounds more complicated than it is, I really need to do a blog post on it specifically.) It is a belt and suspenders and sticky tape way to join yarn, but it is strong, and almost undetectable, especially after incorporating it into the work.
Photo description: Nålbound tube using a Finnish 1+2 stitch and Samoyed three-ply yarnPhoto description: tube cut open to make a rectangular swatch
This is one of my favorite nålbinding stitches. It is easy to remember and I feel like I have a connection with my Finnish and Scandinavian DNA.
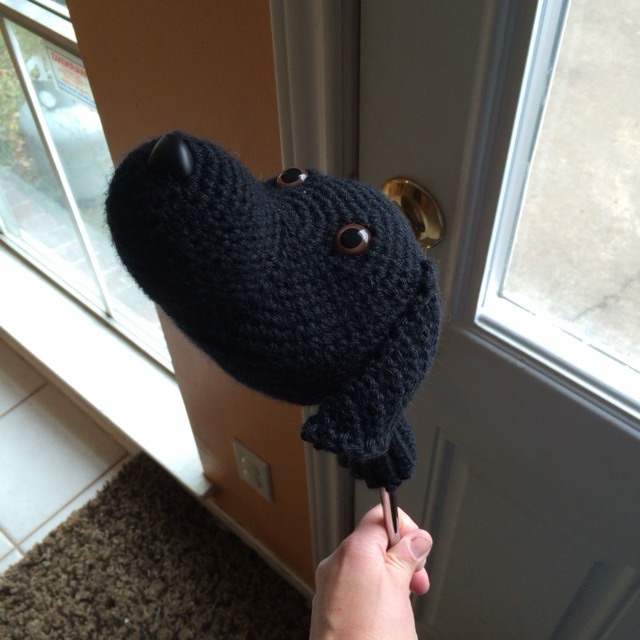
In February 2015 I finished crocheting a driver cover for my Dad, in the shape of a black Labrador head.
Photo description: Crocheted black lab head with safety nose and eyes, on a golf club
The neck is a crocheted rib, the ears are single crochet triangles, and the rest is single crochet in the round with a small hook in the style of amigurumi (although I don’t think I knew that word at the time). The nose is stuffed, but the skull is provided by the head of the golf club.