Space!

The final frontier…. oh wait no. Extra space in my craft room, which is infinitely more exciting to me. I turned my storage bins 90 degrees and increased the shelf space by 30% or so. That there is space gold.

The middle space on the shelves is new (and already mostly filled)

And yes, I am a serial crafter. I’m working on it, really. I have plans for stash busters, and I’ve been going through the bins, removing partial projects that I won’t go back and finish. There are some interesting things tucked away in those bins. Things I obviously stuck in there because there was room and I didn’t have to think about what to do with it at the time. Storage is both a boon and a curse. I filled a garbage bag with bits and bobs and each thing that went in there went with the thought “Why in the world did I keep that?!?” And the answer in all cases was that I could.

Wreath part 2

I decided to make some plastic globes with my 3Doodler Create. I’ve had the kit for a year, and I need some more interest on my wreath, so I decided to give it a try (and I’m avoiding cleaning.)

3Doodled plastic picks

The kit has latex balloons and a clip so you can hold the air in the ballon to make a sphere form, then easily let the air out when the form is mostly complete. Love it. I doodled enough to get the sphere, removed the balloon, added a pick, and closed up the hole. I think they turned out nicely.

Globe picks spaced out

The pick on each globe slides easily into the vine wreath and stays well even when the door is opened and closed. I started with the globes arranged relatively evenly around the wreath. Eh.

Globes clustered

I rearranged the globes to be clustered around the bottom, but off set. I like this better. And it was easy to rearrange. This is becoming a living art project, as I can’t usually walk by it without adjusting something!

Wreath part 1

I love making things, but I didn’t get the decorator gene. Strange, no? I can make rooms look OK, but staging a room doesn’t float my boat. I prefer comfort and utility (although, seriously, if you are selling a house, stage it, regardless of comfort, it really does make a difference). I’ve tried my hand at making wreaths, but they never turn out quite right. It doesn’t stop me from trying, though.

In that vein, I picked up a $6 grape vine wreath at the hobby store. Could I have made one? Yes. Would I? Maybe. But I was at the store for other bits and bobs, so I gave it a go.

Grape vine wreath

So I rather like the grape vine wreath all on its own, but I also like the smell of pine wreaths. I didn’t really want to cut my cedar trees, but my rosemary bush was overgrown, so I cut some branches and threaded them into the vines (which is surprisingly easy, by the way).

Rosemary added to wreath

It smells nice, but still looks a little plain. Maybe I can can find something else to go on there. Hmmm.

Spool

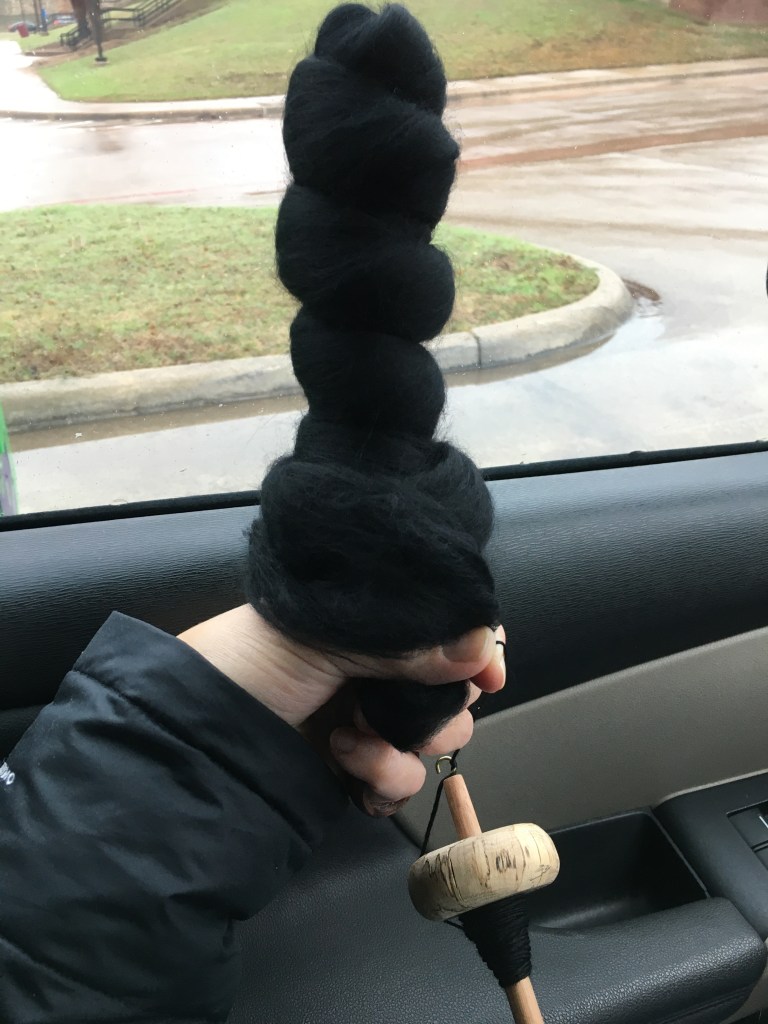
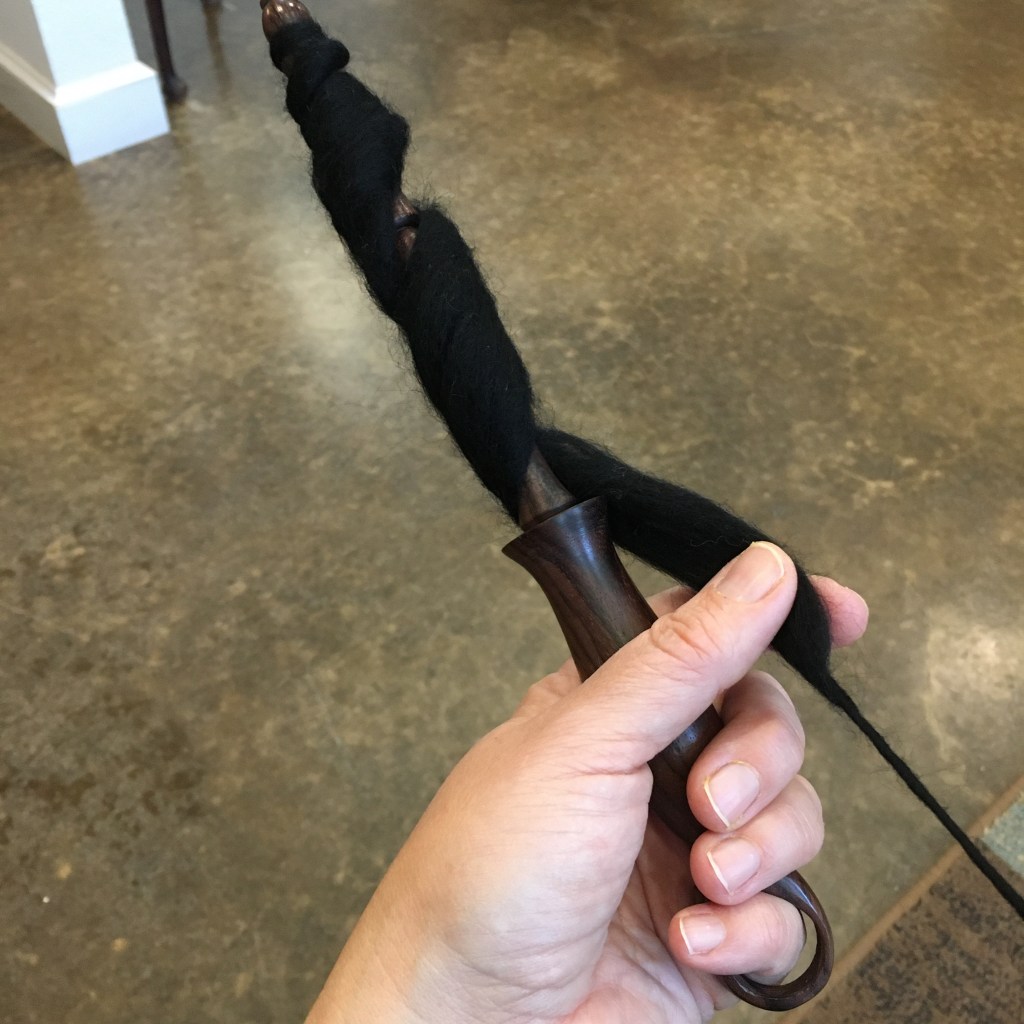
I’m trying something different to get the yarn off my spindle.

Fishing spool with single-ply yarn

This is a fishing spool, and winds up the yarn faster than the huggy spool I was using before, and holds more yarn. I actually did not buy this for fishing, but for winding up thread loaded with beads back when I was doing beaded crochet. I have also seen them marketed as kite string spools. I only have two, though, so the third spindleful will have to remain on the spindle when I ply. I could use three identical spindles to spin, and not transfer at all. I suppose that is the next project. Or maybe breakdown and buy some spools. Or make some. Hmm. Choices.

DIY pom pom comparison

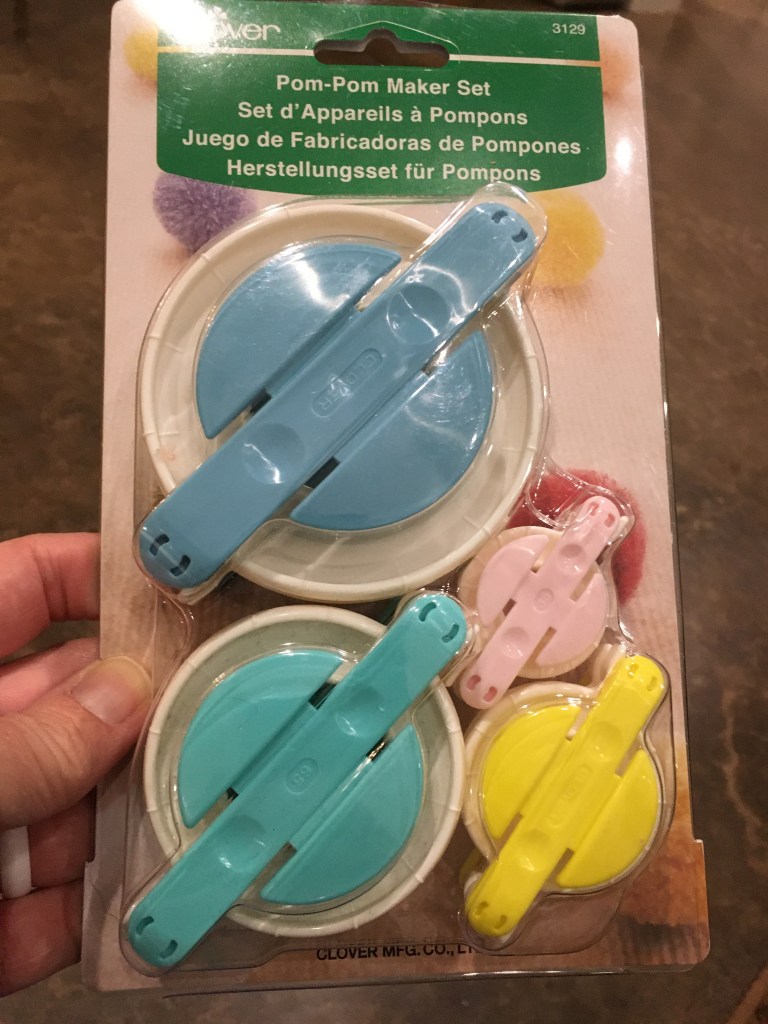
Snowball fights are a great way to get exercise and work off some pent up winter energy. We don’t get snow here very often, so I thought we could have pom pom fights instead. I have small inherited pom pom makers, but I wanted snow ball sized pom poms (and to make a good dent in my yarn stash). So I decided to try a couple different methods for using cardboard to make pom poms. (As a bonus, it is fun to say “pom pom”.)

The first method uses a rectangle of cardboard with a slit cut partially lengthwise.

Simple Cardboard pom pom maker

It is easy to wind yarn onto this form (my youngest even had no problem wrapping), but the pom pom comes out more like a rugby ball.

Untrimmed pom pom

The second method requires the use of a compass to make a “U” shape and cut four matching pieces.

Drawn “U” shape
Wrapping yarn around two “U” shapes

Wrapping the yarn on these forms is a little trickier. The flaps help keep the yarn in the circle, but sometimes catches the yarn on the wrap.

Fully wrapped cardboard form

Cutting the yarn on the “U” form was easier, and I could tie yarn around the center tighter. The resulting pom pom was also more round straight off the form.

“U” form pom pom

I trimmed both pom poms, which I think is really the trick to get nice pom poms.

Trimmed pom poms

Conclusion: the simple rectangle cardboard form is the easiest to wrap but needs more trimming. The “U” shape form isn’t as easy to wrap, but needs less trimming. Both really needed some trimming. If I had a group of kids, or needed to make a large number of pom poms, I would use the rectangle forms. If I were making pom poms myself, and needed full round pom poms, I would use the “U” form.

Pom pom. Really, say it a few times. You’ll feel better.