Egg ornaments

I’ve been holding onto a few of the chicken’s first eggs, not the whole egg, just the blown out shell. Not the very first egg, I didn’t think of blowing out the eggs until the next day. They have been sitting on my counter for a few months and then I thought making ornaments would be a great way to preserve them!

32 gauge wire looped and twisted

I took about 10 inches of 32 gauge wire, looped it, and twisted the ends together to make a straight section longer than my egg.

Wire strung through blown out egg shell

Getting the wire through the tiny hole on the end of the blown out egg was a little tricky, but I got there eventually.

Ribbon threaded through egg with knots to hold it in place

I had some thin ribbon in my stash, so threaded some of that through the wire loop, then used the wire to pull the ribbon through the egg. I used over hand knots to keep the egg from sliding off. I used alcohol based ink (aka Sharpie) to write on the egg, and I coated the egg in matte Modge Podge glue for extra durability, and let it dry.

“Our first egg” ornament next to another pullet egg

I’m not that keen on the Modge Podge coating. It makes it look like a plastic egg, even though it has a matte finish. I’ll have to run some experiments to see what I can do about that.

Egg ornament hanging on the tree

Learning from mistakes

My youngest likes to dance, and we are now in the sparkly costume part of the year gearing up for performance. The group costume this year is awesome: sassy yet covering, stretchy, easy on, one zipper (this is the big one for me, I’ve had to lace corsets on other costumes. No thank you.)

Hemming up sleeves

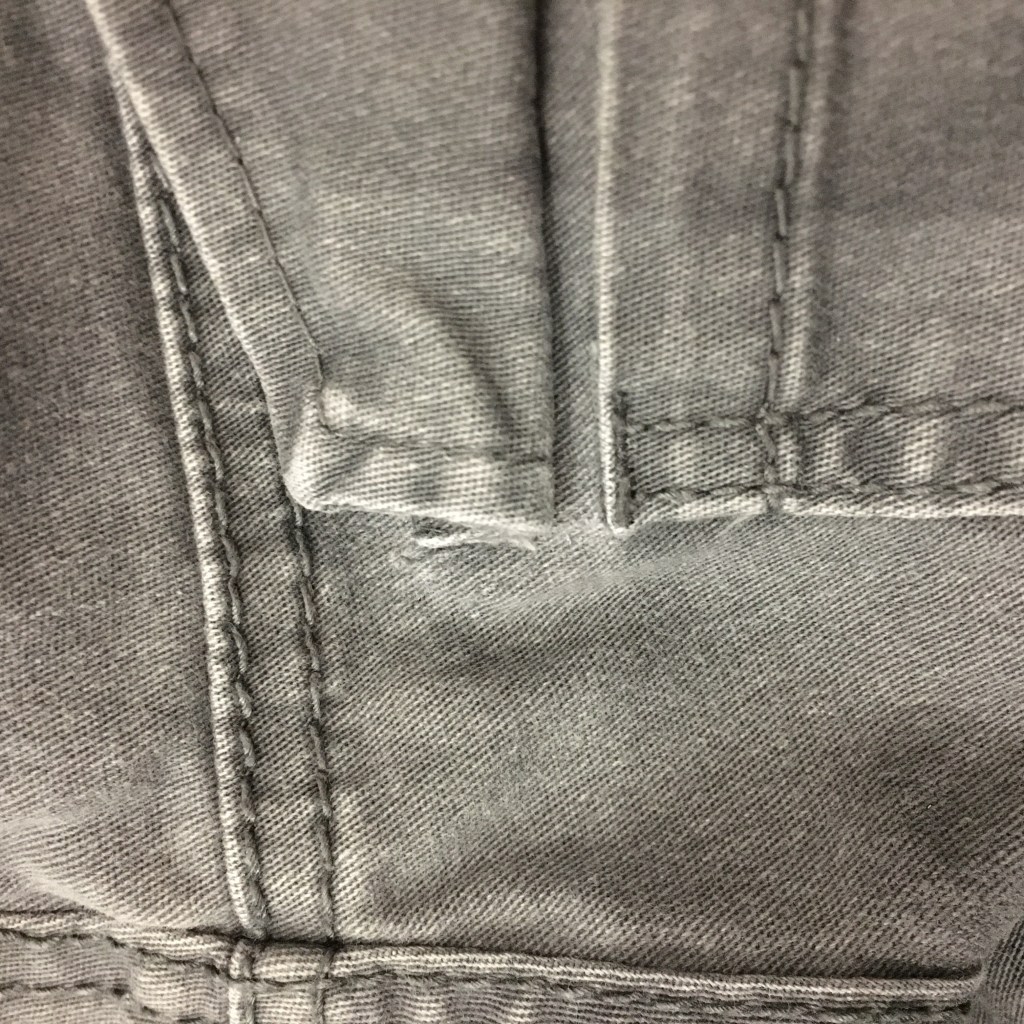
However, the sleeves are super long on her. I found some invisible thread (clear monofilament designed for sewing) and folded the sleeve inside out, and did a straight stitch around the existing cuff seam. I stretched the stitches out, but not enough. Oops. The stitches lasted through dress rehearsal, then popped. So I had to sew them again.

Zig zag stitch (with thread lines marked in blue)

This time, I used a zig zag stitch. Not with my machine, but by hand. The material is a stretchy net, no way was I going at this with my sewing machine especially with a slippery thread. We might need to let down the sleeves at some point, and I wanted to minimize potential damage both with the stitch going in, and eventually coming out. It took a little longer, I had to do the stitches one at a time, but the result is so much stretchier!

Cuff turned right side out

I also examined all the inside seams for partial sequins, and clipped them out. My daughter was much happier wearing the outfit without the scratchy bits of plastic poking her.

Plying with fishing reels

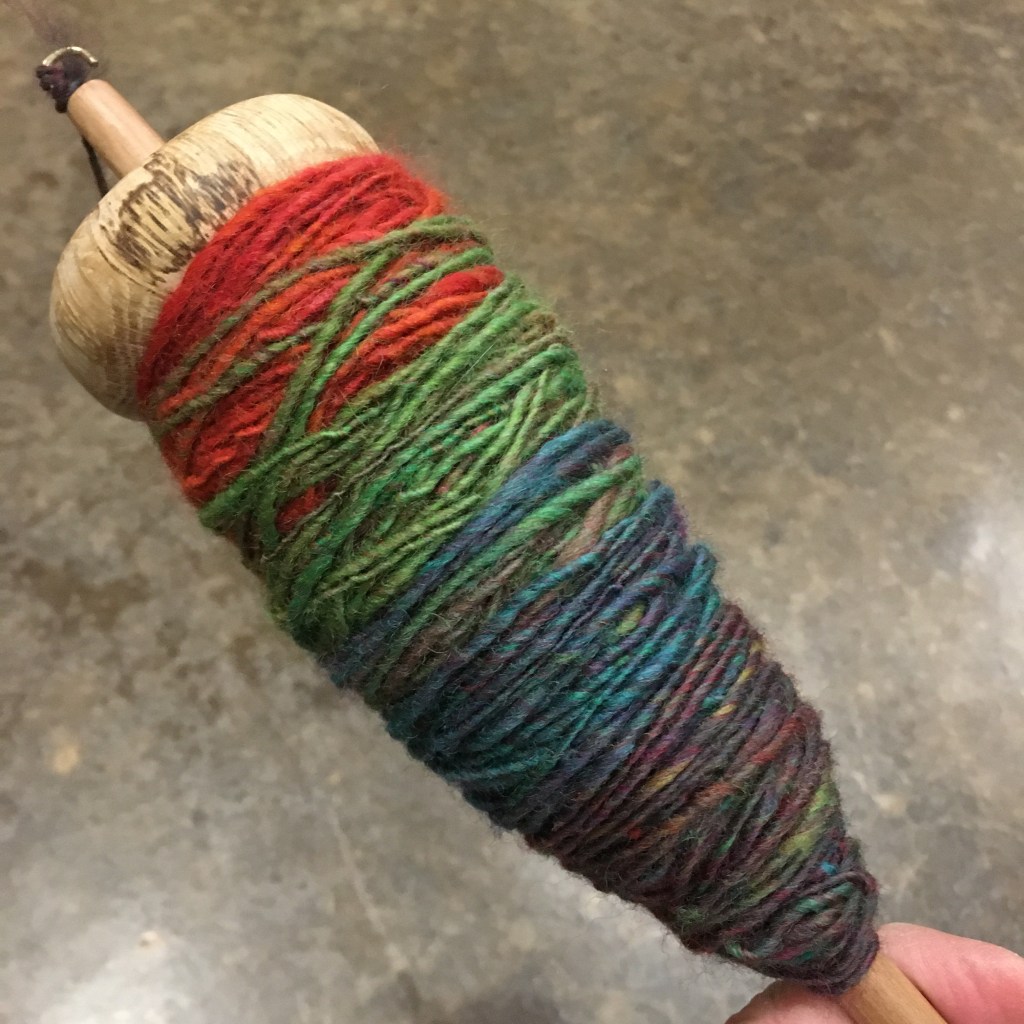
I loaded two hand fishing reels with spun merino wool, then used the third spindle full to make a three ply yarn. I was hoping that the large spools would keep the single ply from tangling around the stand, but alas, no. Seriously the next time I spin I’m going to fill multiple spindles and ply from the spindles.

Two spools and a spindle getting ready to ply

I was able to ply most of the yarn, but didn’t distribute the fiber exactly evenly between the three strands, so chain plied the leftover bits, which works just fine.

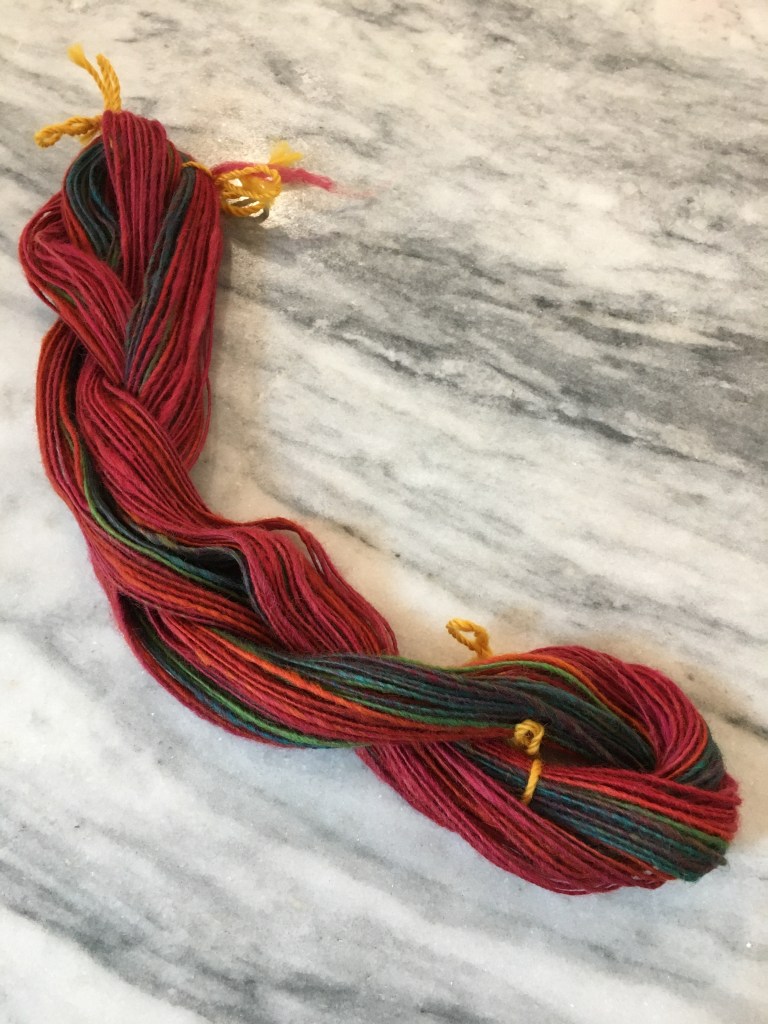
Plied and chain-plied yarn on the spindle and wound with a wool winder

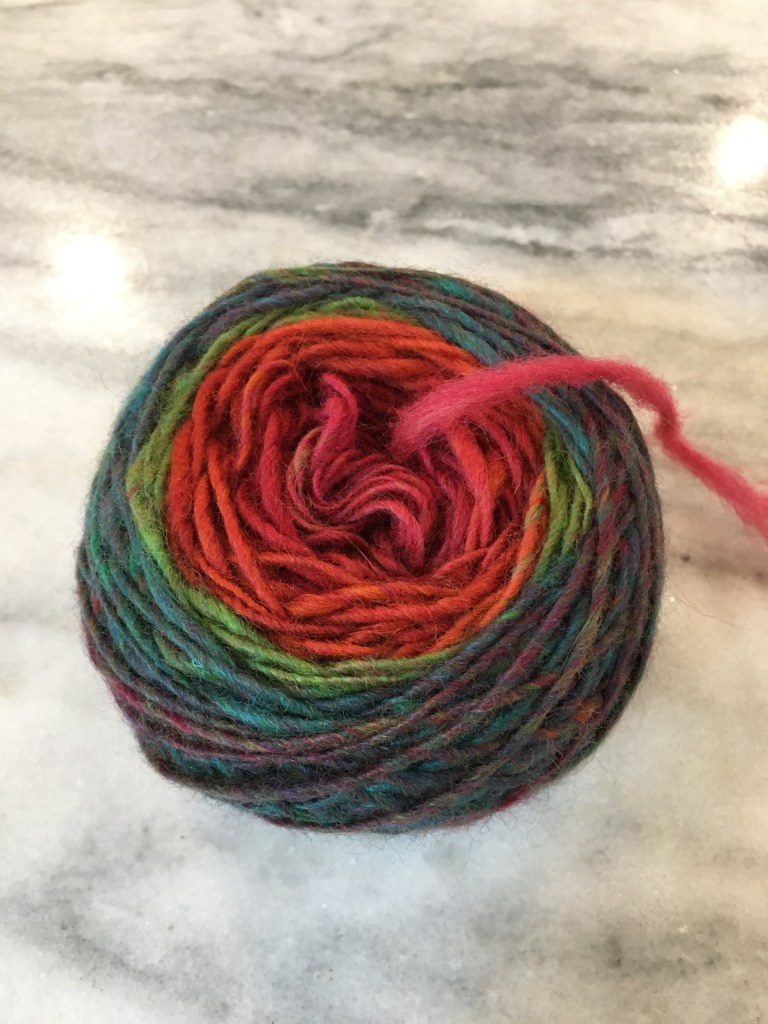
I had enough yarn this time to make two cakes with my wool winder. Yay! Isn’t the color pretty? It is a combination of four shades of red roving.

Yarn wound into cakes

Fiber experiment

Sophie likes to sit in my plant pots.

Cute, but irritating

Although she is cute pretending to be a plant, I don’t want to encourage the behavior so eventually I can actually have green plants in there. I bought a cute woven hyacinth basket and filled it with straw, but she was unimpressed.

Straw filled round basket

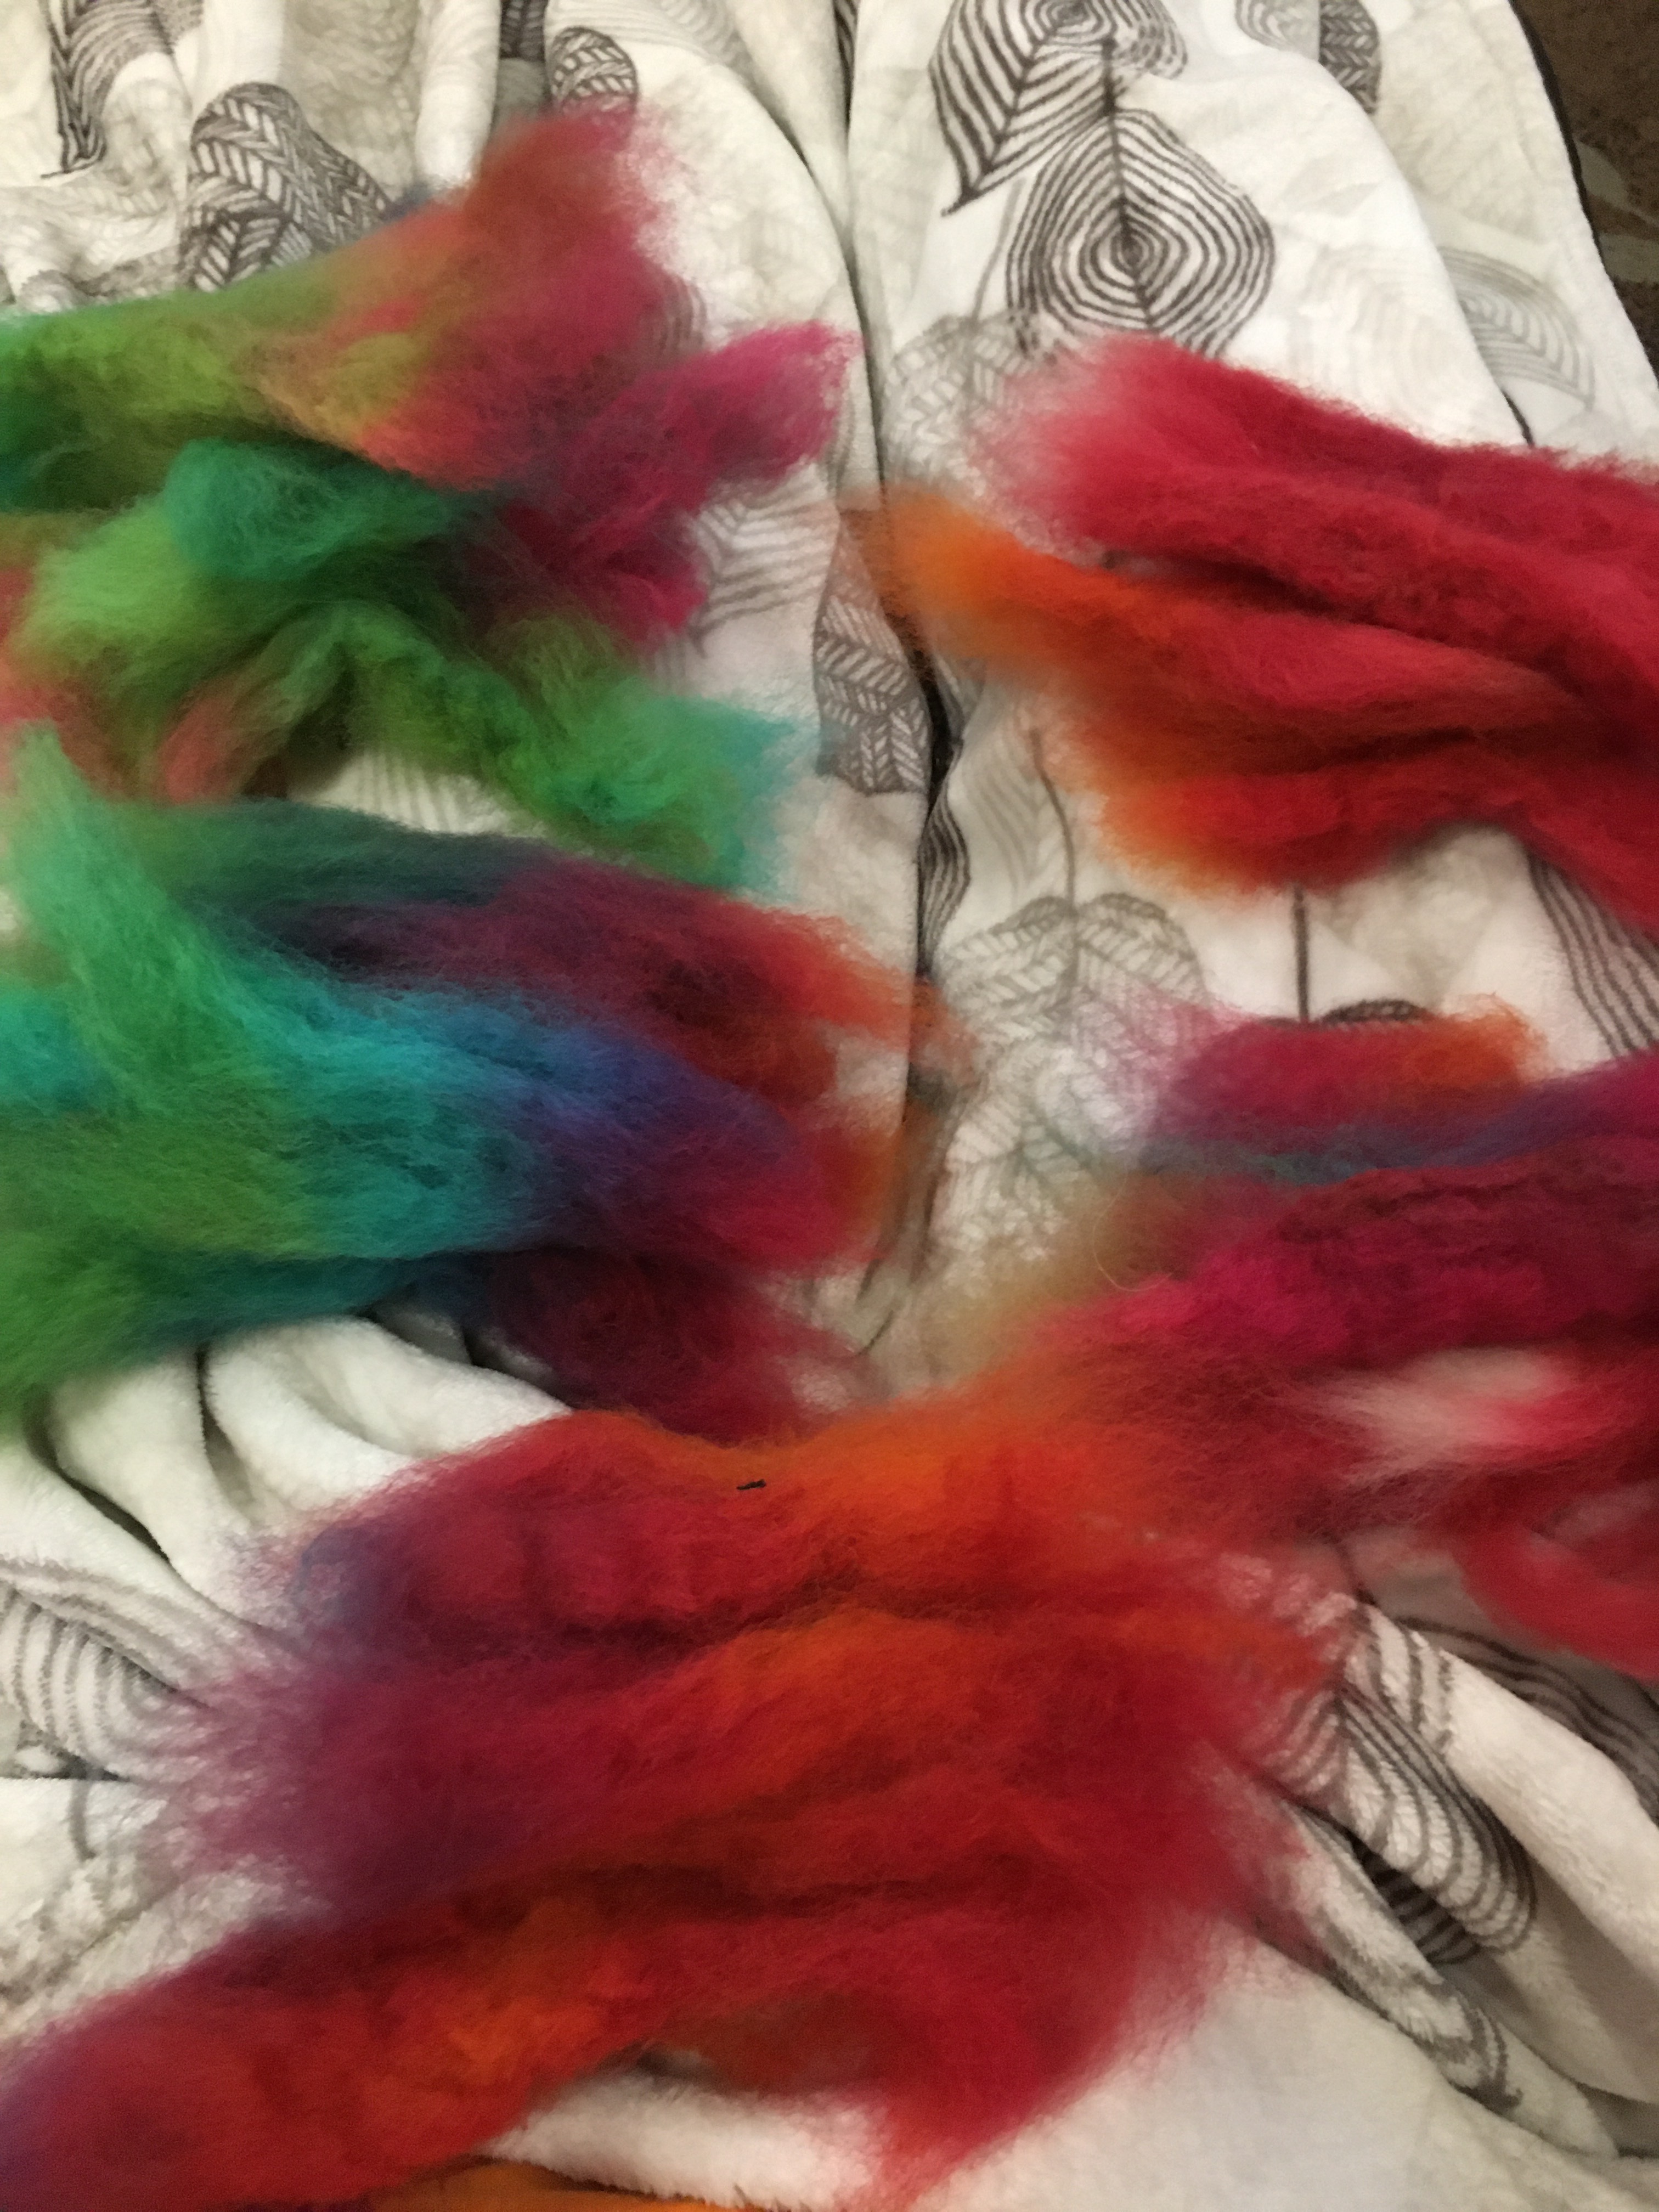
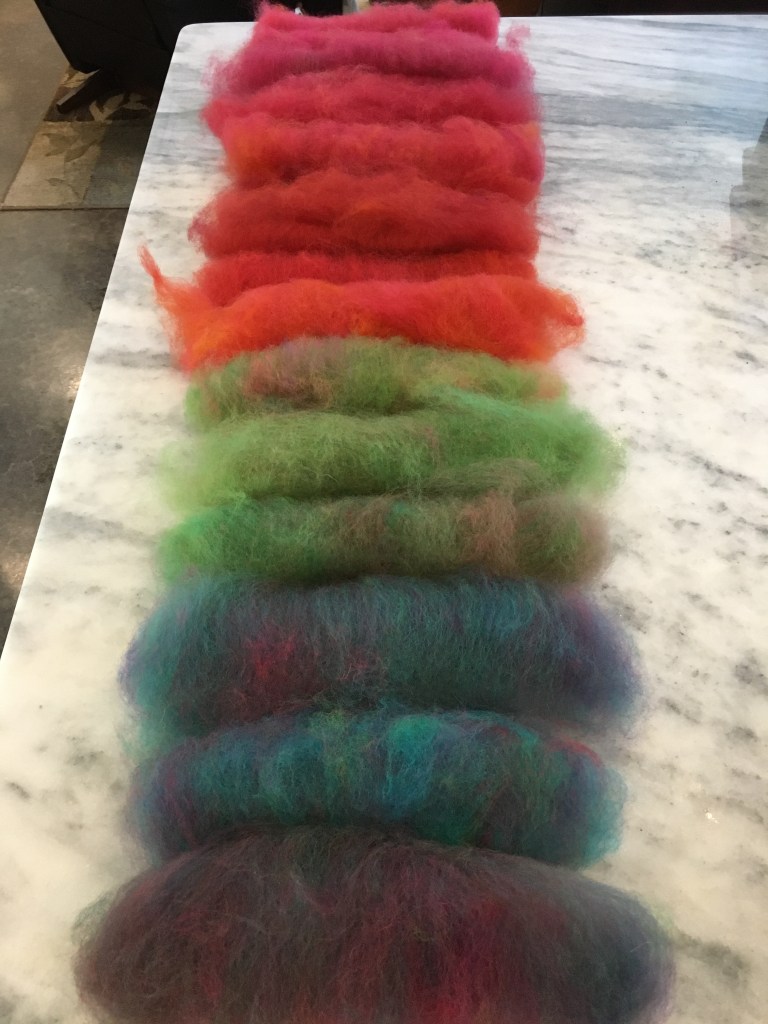
I have a large amount of “big yarn” which is really just roving.

“Big yarn”

There are many posts and videos about arm knitting using this kind of fiber, the problem is, we spin fiber to make it more resilient and give it strength. Fiber that is only combed has neither quality. So to do a first-hand test, I crocheted up a round mat of the fiber using a P crochet hook.

Crocheted round with “big yarn”, wrong cat interested

Although I was able to crochet it (the P hook was on the small size for comfortably crocheting), it was already shedding fiber before I even finished.

Fiber separating from the body of the work

My hypothesis is that, although the stitching looks beautiful now, and it went together quickly, it won’t take much for it to look like a matted mess.

Crocheted round set on a layer of straw in the hyacinth basket

However, Sophie thoroughly approves. So she will be my tester and we’ll see what condition the matt is in a few months.

This is much better than just straw

Wreath part 3

When cleaning my craft room, I found some wooden acorns. In keeping with the use it or lose it mentality I am approaching with my crafts, I decided to use these on the wreath.

Wooden acorns painted gold with spray paint, with Sharpie, and plain

I wanted some bling, so I tried to color the acorns gold with a Sharpie. This is doable, but takes awhile. So I found a partial can of gold spray paint and sprayed the other acorns using a cardboard box for a spray guard. I used up the paint too! One less thing in storage, yay!

Drilling a hole with a gimlet

I used a small gimlet to drill holes across the tops of the acorns, then used gold colored aluminium wire (because it is light and very malleable) to make picks. I have more precise control of the gimlet. A drill press or hand drill goes faster but I usually slip at least once. For just 7 holes, the gimlet was perfect.

Wire threaded through the hole at the top of the acorn

To complete the picks, I twisted the wire. Here is a demo.

Completed acorn picks

With the picks complete, I tucked them asymmetrically into my wreath. It does add a little shine.

Gold acorns added to my wreath