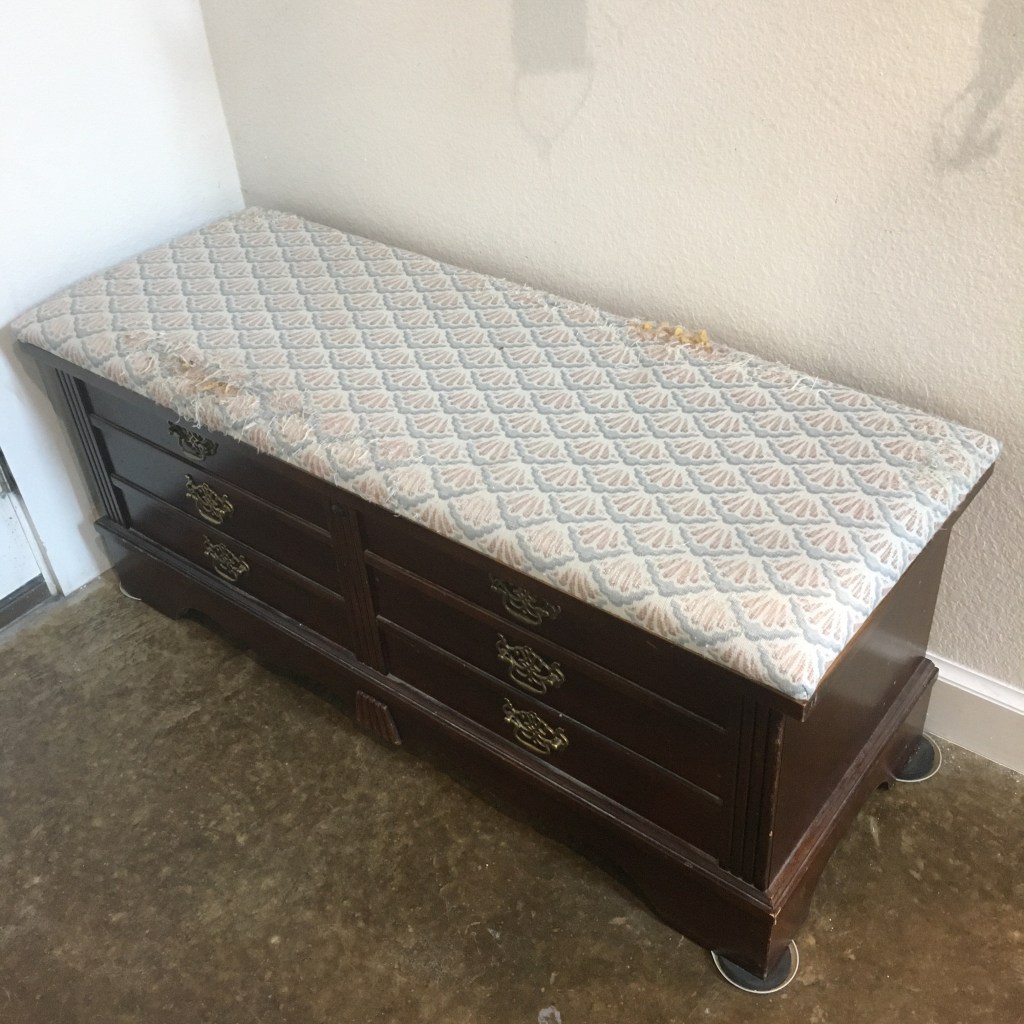
My cat loves to sharpen her claws on the cushioned top of my hope chest. Luckily, it is easy to recover! (Although I admit it stayed in the frayed state for a couple years.)
Hope chest with cat damage
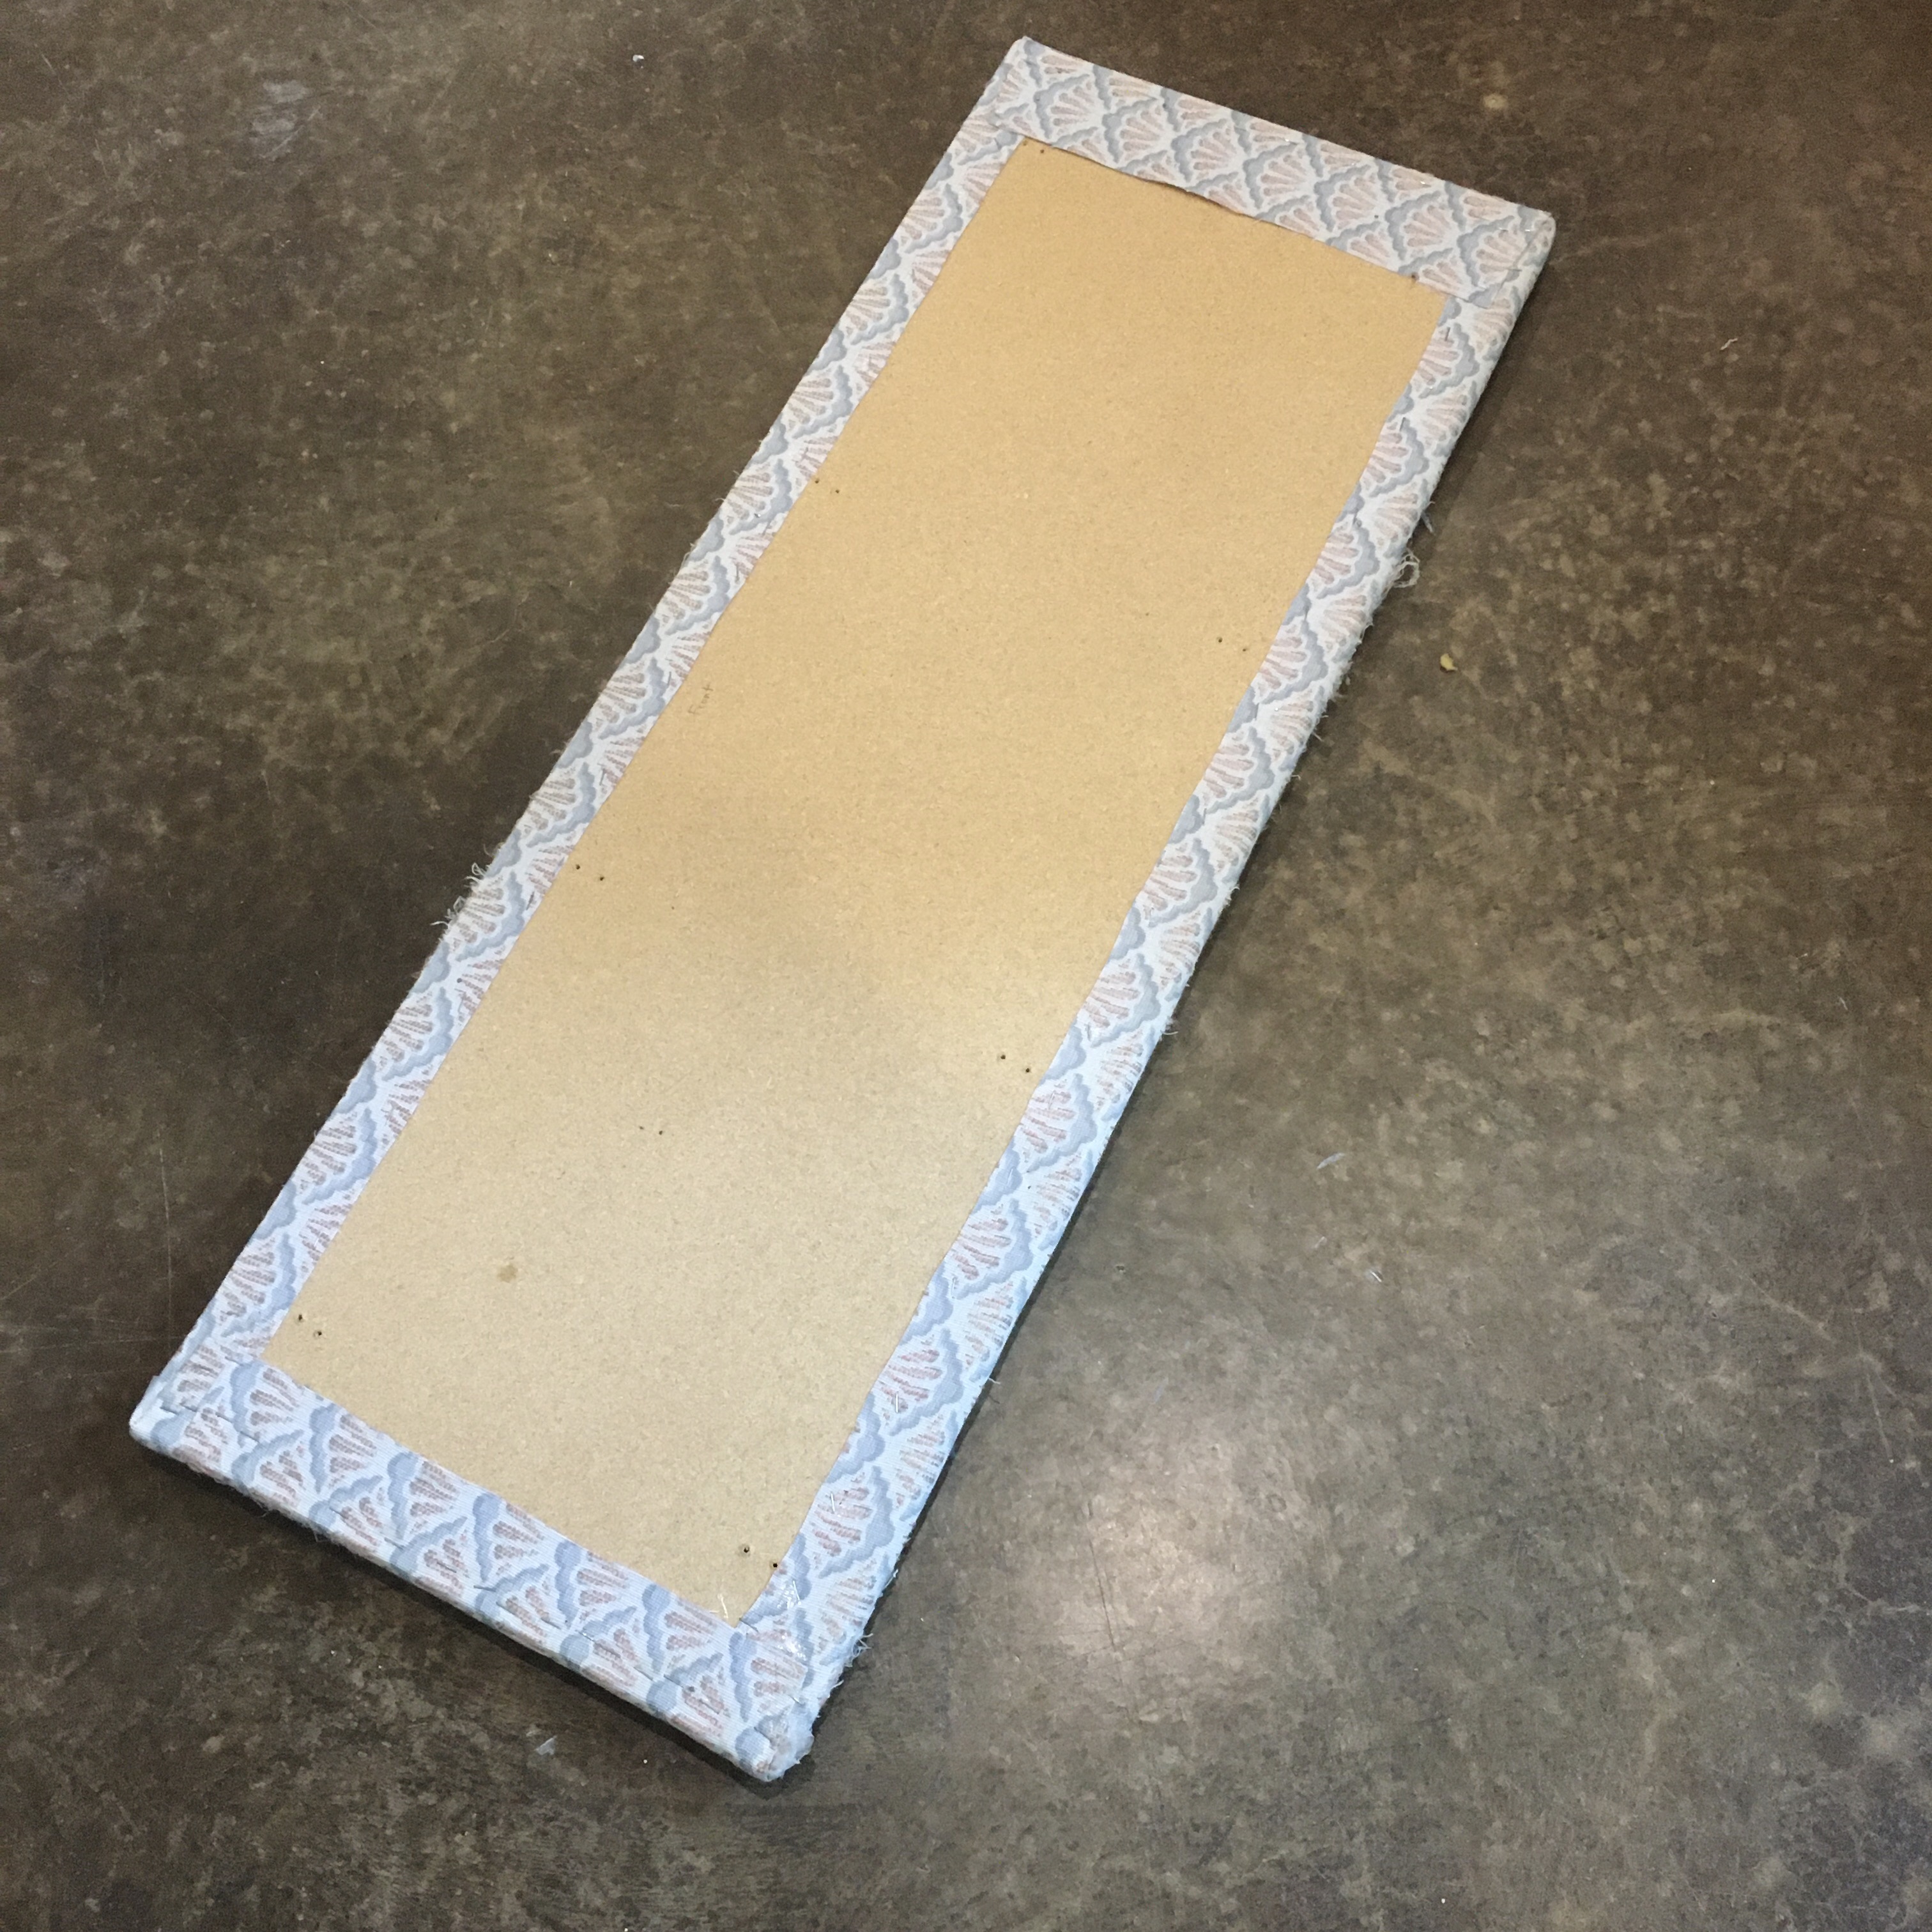
I removed the screws holding the cushion to the lid, then used a staple gun to attach the new fabric over the old. When screwing the lid back on, it helps to clamp it in place until you get a few screws set. The whole project took about 30 minutes. The fabric is indoor/outdoor fabric that I hope will hold up to the cat’s attentions, if not, I will recover it again later!
Underside of cushioned top, ready for new fabricRecovered hope chest
And of course, the first thing that happens is that my cat throws up on it. The easy clean fabric was a good choice. Oi.
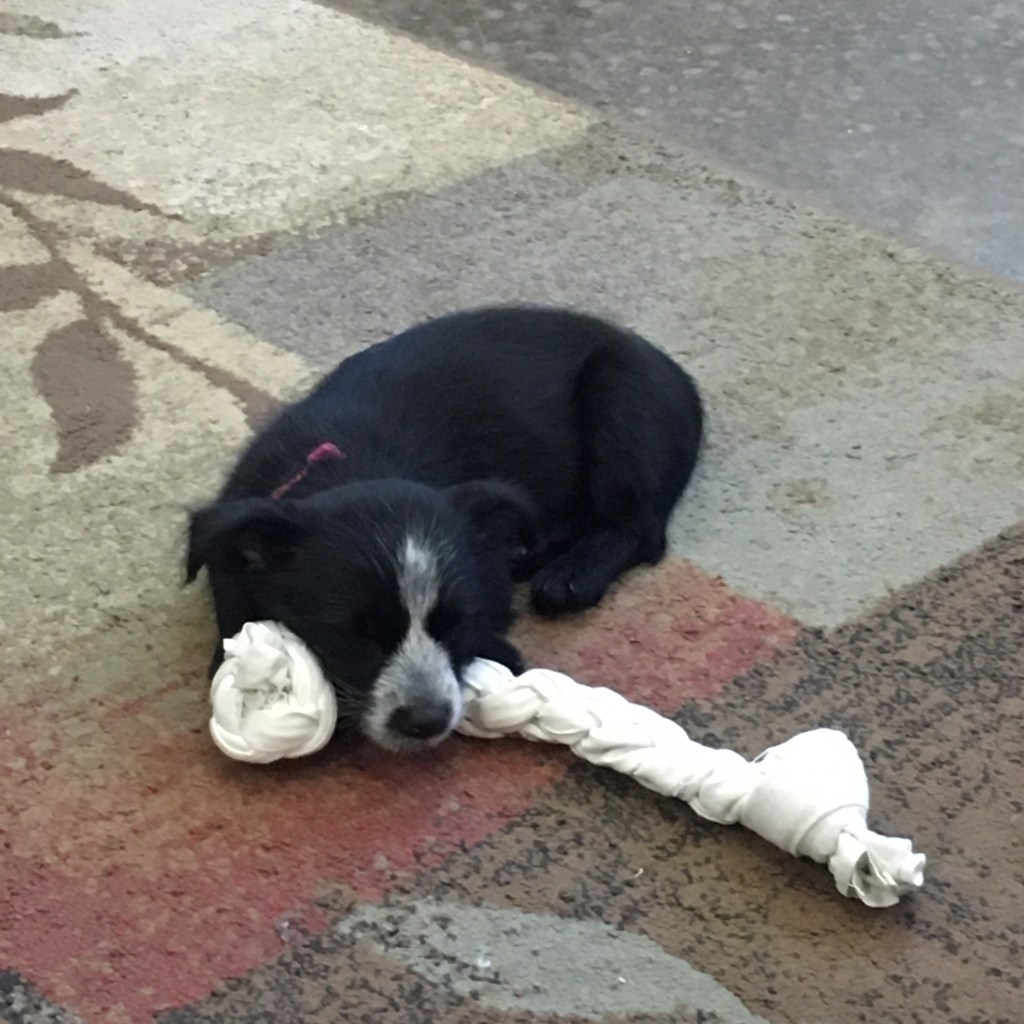
So little miss mystery pup found a tea towel hanging up to dry and happily made off with it. After retrieving the towel and hanging it higher, I rummaged through the rag bin for an old tea towel. I cut it into four pieces lengthwise, rolled each strip into a tight tube, and did a four strand round braid with knots on each end. I will be keeping an eye on it to make sure she doesn’t get loose threads or pieces off, but I think it is safe to say she likes it.
Missy with a toy made from a braided and knotted tea towel.
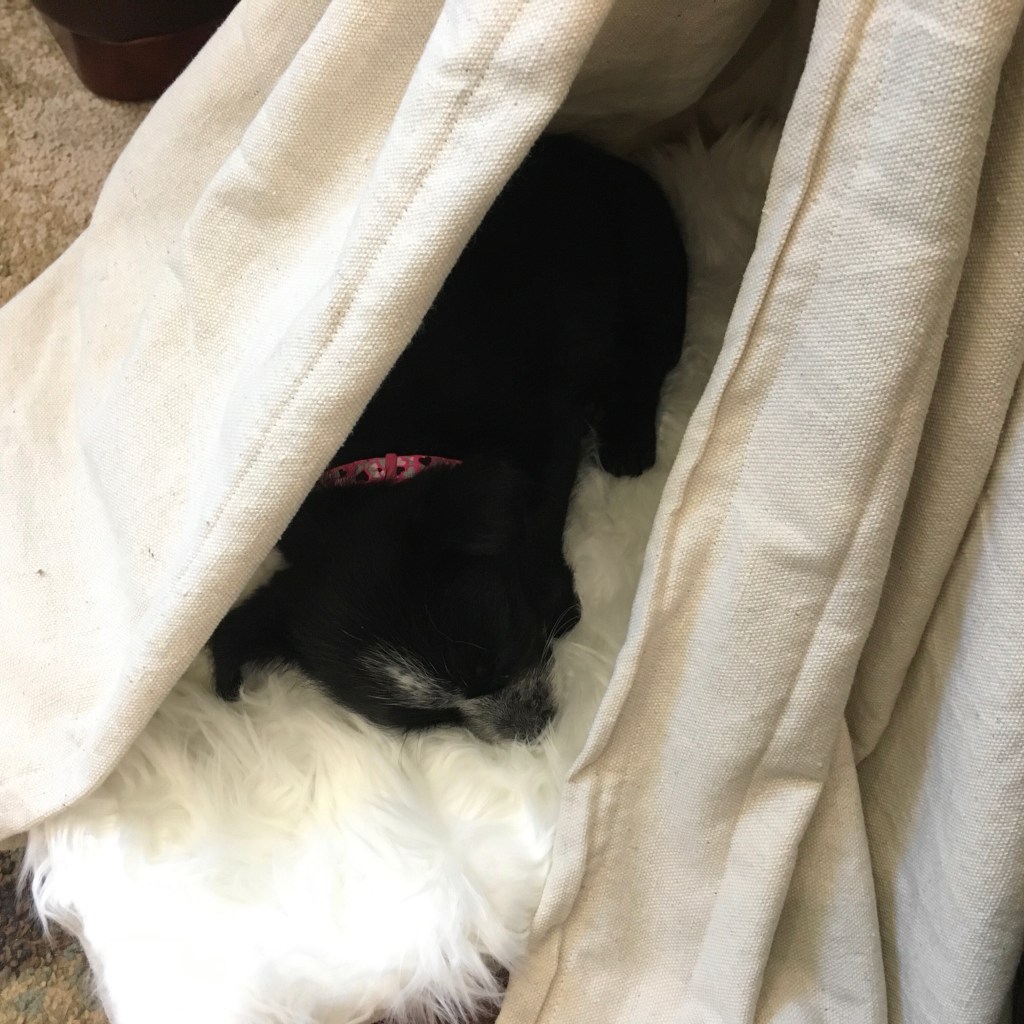
Little Miss Mystery Pup likes to snuggle under feet to sleep. She also likes to snuggle under blankets and stick her nose out. A snooze on toes is cute, but dangerous with rocking chairs and recliners, so I made her a little country princess bed (princess because of the canopy, country because the canopy is made of undyed cotton drop cloth). The bed keeps her out from under feet when she is sleeping, and is just so stinking cute.
Missy sleeping in her princess bed
The whole thing was made with scraps from my craft room. The fake fur top is scrap from a Halloween costume. The bottom of the pad cover and the canopy are from a heavy duty cotton drop cloth. The zipper (the cover needs a zipper so it can be removed and washed in case of accident) is from my stash of old zippers. The pad itself is egg crate foam left over from the crate pad I made for my old dog. I used lucet cord to gather and bind the canopy, then tied it to my end table to make the tent. She likes it, but still prefers to sleep on my feet. Training continues.
“Canopy” bed rigged up on the end of the side table
So I’m sure you have seen articles on the new study on a low cost method of testing masks by Duke University that showed neck gaiter masks may be worse than no mask at all. If not, the published scientific article is here. The conundrum (quite apart from the frustrations of language and the use of “fleece” for something that is neither warm nor fluffy), is that the neck gaiter (some twitches linguistically here too, gaiters are for ankles, but this usage shift is at least logical) is the only type of mask I can get my youngest to wear. The valve type masks have already been banned at the doctor’s offices. So what to do? While making masks for my eldest for school, I had an idea. Patch it.
Neck gaiter style mask with cotton fabric patch for nose and mouth
I had already ordered stretchy swimsuit material to make neck gaiters for my youngest, so I sewed a tube, then sewed on a rectangle of woven cotton fabric. (Don’t even get me started on the “hold it to the light” test, and all that vague verbiage.) We tested the patched neck gaiter on a trip to the doctor’s, and the fit works OK (I made the first one a little big), and it is a little trickier to get the patch in the right place, but she can still breathe, and her mouth is covered. Do I think it will be effective? I hope we don’t have to test that hypothesis. But it keeps her hands out of her mouth, and brings awareness for keeping distance. I have only seen a few people people properly wearing medical PPE: a dental hygienist and a phlebotomist. All these other people with their paper masks with gaping holes at the sides and around the nose, well, the effectiveness must be from awareness and not actual virus blocking. (Opinion only, not research backed, nor scientifically studied with proper peer review. Like all my stuff.)
How to make a lucet cord, no turn method, splash screen from video
Since I’ve been making lucets, I thought it was appropriate that I make a video on how to use them! I marked my yarn with colored dots to help the viewer see how the yarn moves around the lucet and how the loops are tightened. I talk about starting, tension, lengthening, and finishing (and have marked the sections so it is easy to skip through the video).
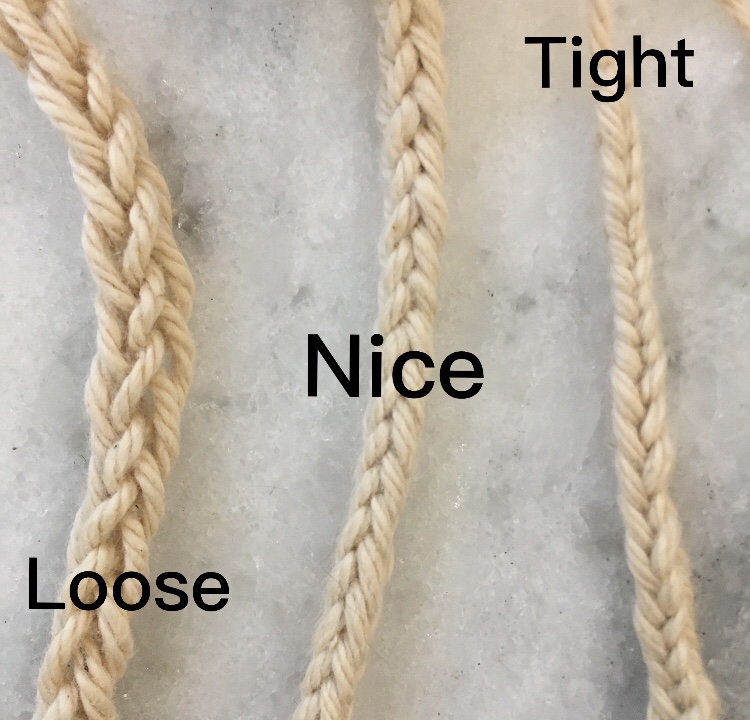
Lucet cord showing loose, nice, and too tight tension and loop size
Above is an image of how the lucet cord looks with different tension issues. If you pull the loops too tight, it is very difficult to make new loops because it is harder to pull the yarn through. Too loose and the cord doesn’t have the classic look. A classic lucet cord is square and even. Making the cord is also relaxing and a little addictive once you have the moves down. I’m thinking of keeping a ball of yarn and a lucet in my bag for moments I need to fidget!