The Double Nut New England Great Wheel is called a “double nut” because of the two wooden nuts on the wood screw that allows for adjustment of the position of the spindle post.

To increase the tension on the drive band that runs on the outside of the wheel, the spindle post can be moved farther away by backing off the left nut, and tightening the right nut. A properly tensioned drive band on a well-aligned wheel will keep the spindle turning without slipping or falling off the wheel.
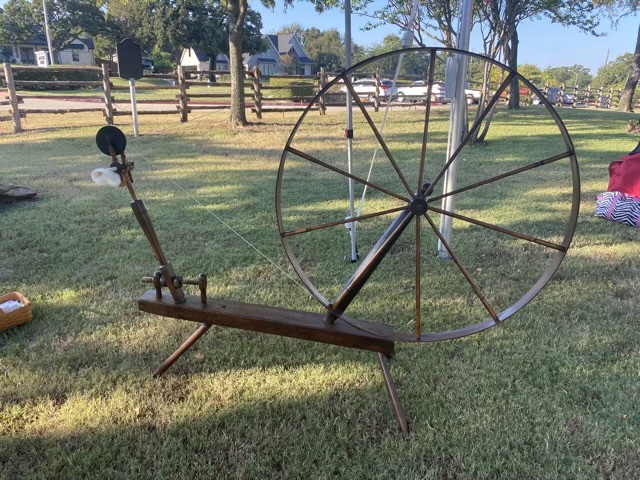
All the wood screws on the wheel were in working condition, which is remarkable for 165 year old carvings. I was able to move the spindle post position in my quest to find the right alignment to keep her spinning for longer periods of time.
This post is part of a series about my experience demonstrating spinning on a 1860s Great Wheel in Mansfield Texas.