How to make ugly needlecraft

My eldest needed another prop for a play; this time it was ugly needle craft. Hm. In theory, to make ugly needle craft you need to do the opposite of all that is done for good needle craft. The director sent an image of cross stitch as an example, but these guidelines would work for most kinds of needle craft, should you find yourself needing to make cringe-worthy thread embellished decor. So here are my pointers:

  • Use poorly woven cloth that does not have an even or straight weave (I used a scrap of a cotton drop cloth)
  • Use inexpensive thread (I think this thread came from a bracelet kit)
  • Don’t starch the cloth or iron or tape edges
  • Have only a vague plan, don’t mark cloth with guidelines
  • Watch an engaging movie, don’t correct the stitching mistakes
  • Completely ignore color theory
  • Mess up repeating patterns
  • Try for long straight lines of stitching
  • Put in a spelling mistake
  • Use all capitals, make them different sizes
  • Left align the words
  • Use strange color changes for the letters
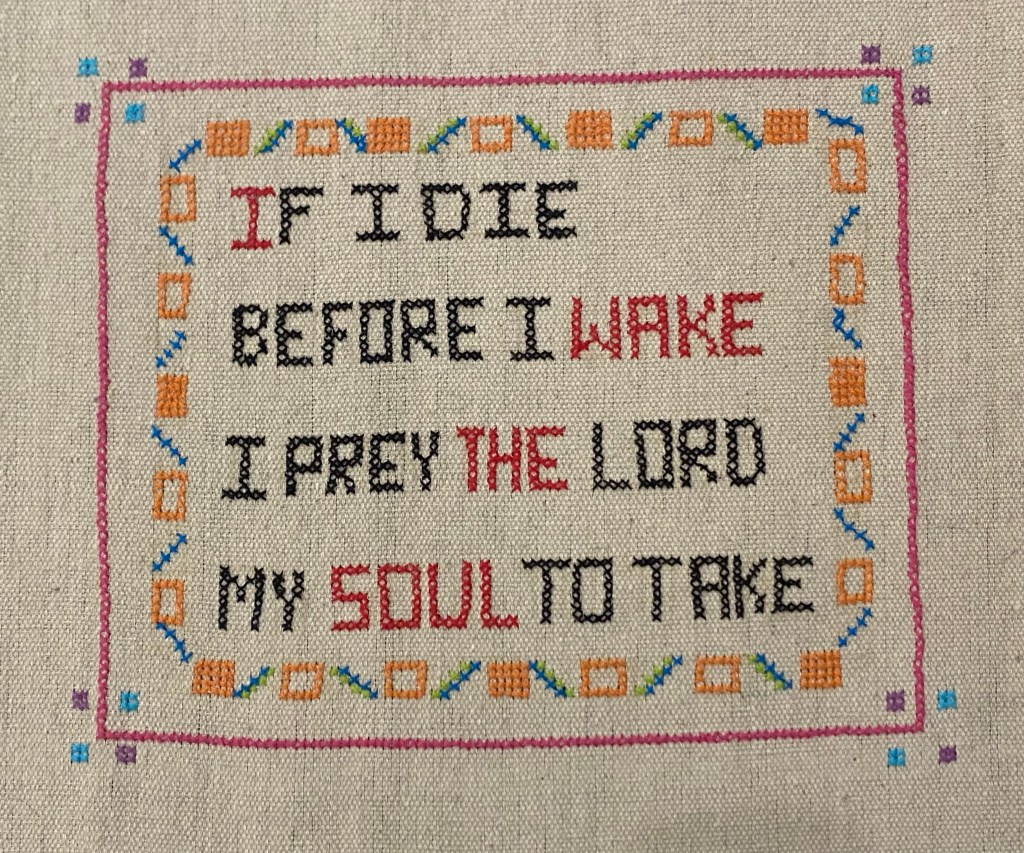
Ugly cross stitch for a play prop

Honestly, this should have everyone’s OCD twitching, even if you don’t usually have OCD.
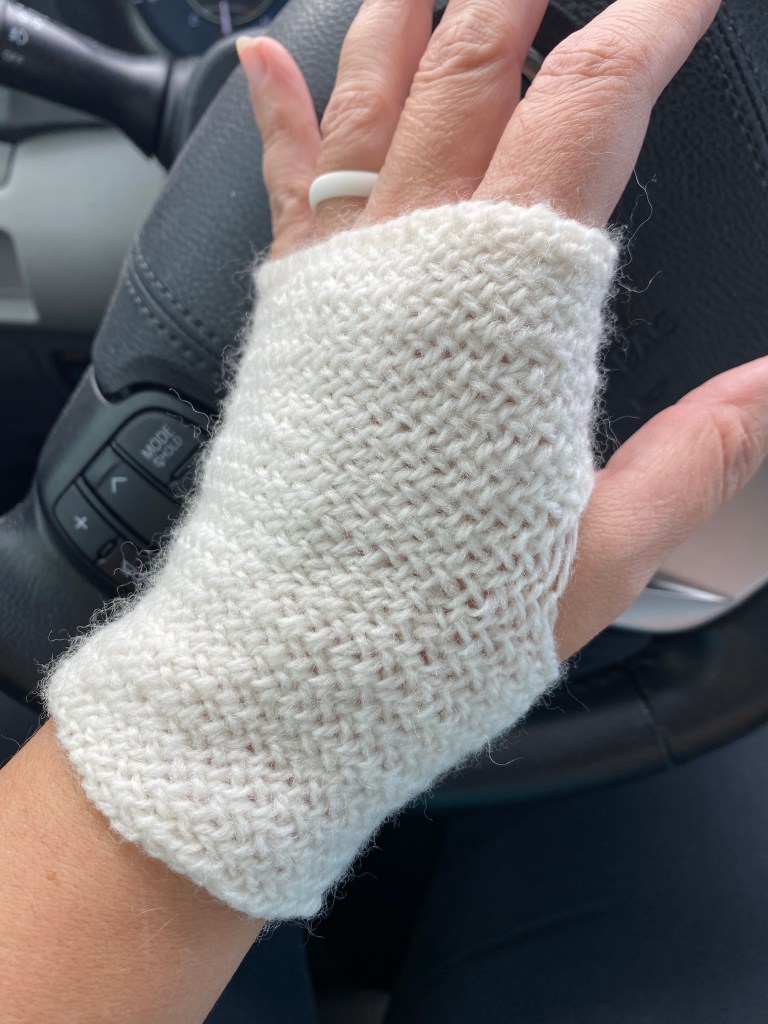
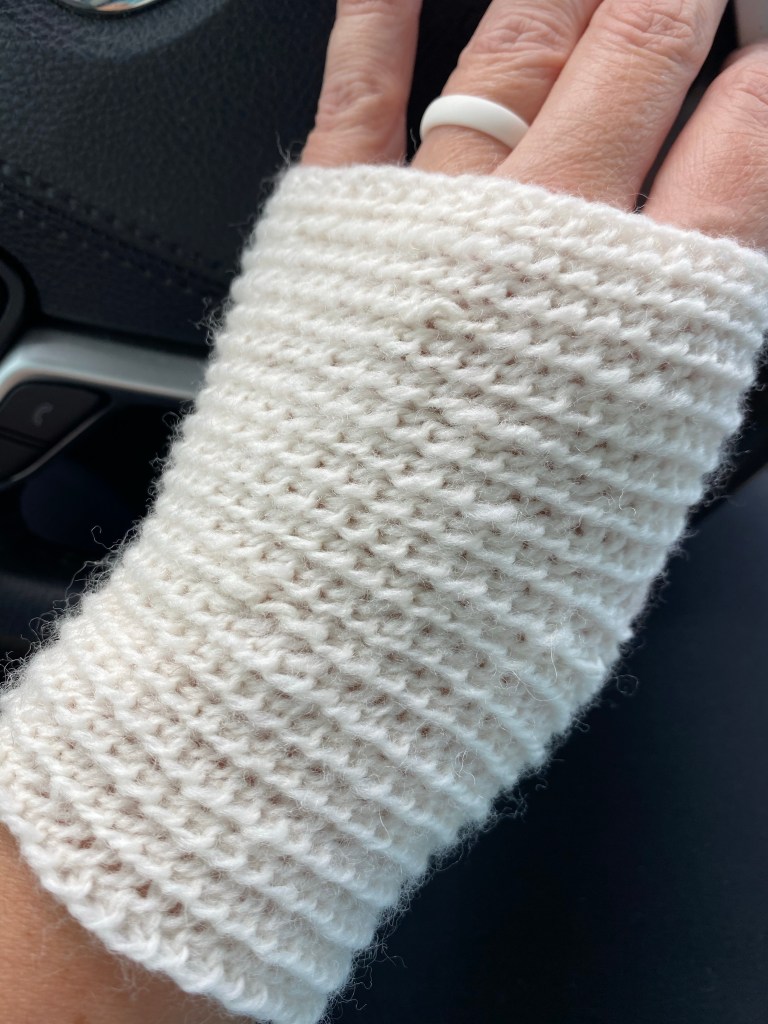
One white glove

Ok, maybe a wrist warmer, not a full glove, but the reason I only have one is that this is a prototype for what I wish to make with my spun buffalo down. The super wash merino sock yarn I used for this wrist warmer is considerably less expensive, but has a similar weight to the buffalo yarn, which I spun with a tahkli spindle. I wanted to learn the Dalarna nålbinding stitch because I like the way one side looks woven, and I wanted to see if a sideways slit would work for the thumb hole. Testing the concept with white yarn (the buffalo is dark brown) allows me to see the stitches better as well, so I can get the feel of the stitch under my fingers with less struggling to see loops. I’m happy with how this came out, so now it is time to get out the buffalo yarn!

Wrist warmer prototype made with merino wool sock yarn (right side out)
Wrist warmer shown inside out

Leather journal

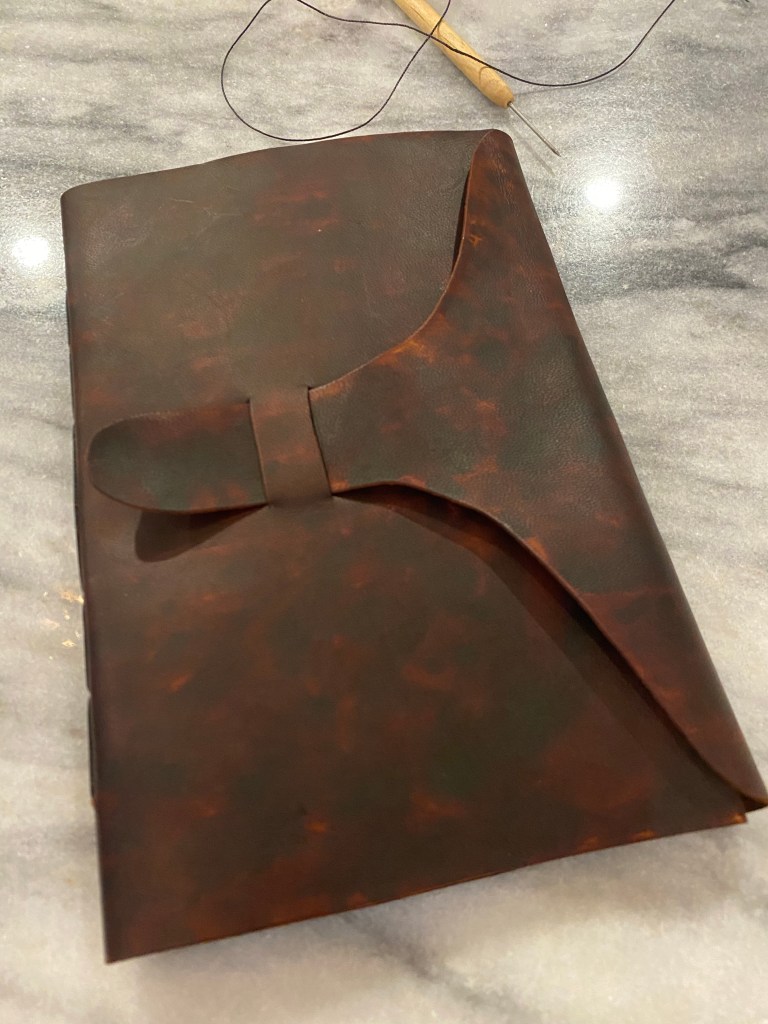
For a prop for a play set in the 1920s, I made a simple leather journal from 11×17 paper, goat leather, and waxed linen cord. I made a paper template to test the wrap and strap, then cut the leather and dyed it in a mottled pattern using a wool dauber. I finished the leather with a spray designed for leather and suede that should resist water and drying out and cracking.

Handmade leather journal

I use 11×17” paper because the grain of the paper goes the right way when it is cut in half (8 1/2 x 11”) and folded. (Try this yourself: gently bend a piece of paper length wise and then width wise. One direction will bend more than the other; this direction lies along the grain of the paper and the paper will fold or tear more easily along the grain.) Each signature (group of papers to be sewn) in the book is made from four sheets folded in half together. I marked the outside of the six signatures with pencil and marked the matching spots on the leather. I then used an awl to poke holes at the marks.

Here is where I erred. I was hoping to sew the signatures to the leather without long lines of thread on the outside of the cover, but the goat leather was too thin to support the stitch I wished to do, so I had to change my attack. I made an odd number of holes, but for the new method, I needed an even number. Lesson learned: when trying a new technique, have an escape plan. I ended up skipping the middle hole, which is not ideal, but still made a secure attachment.

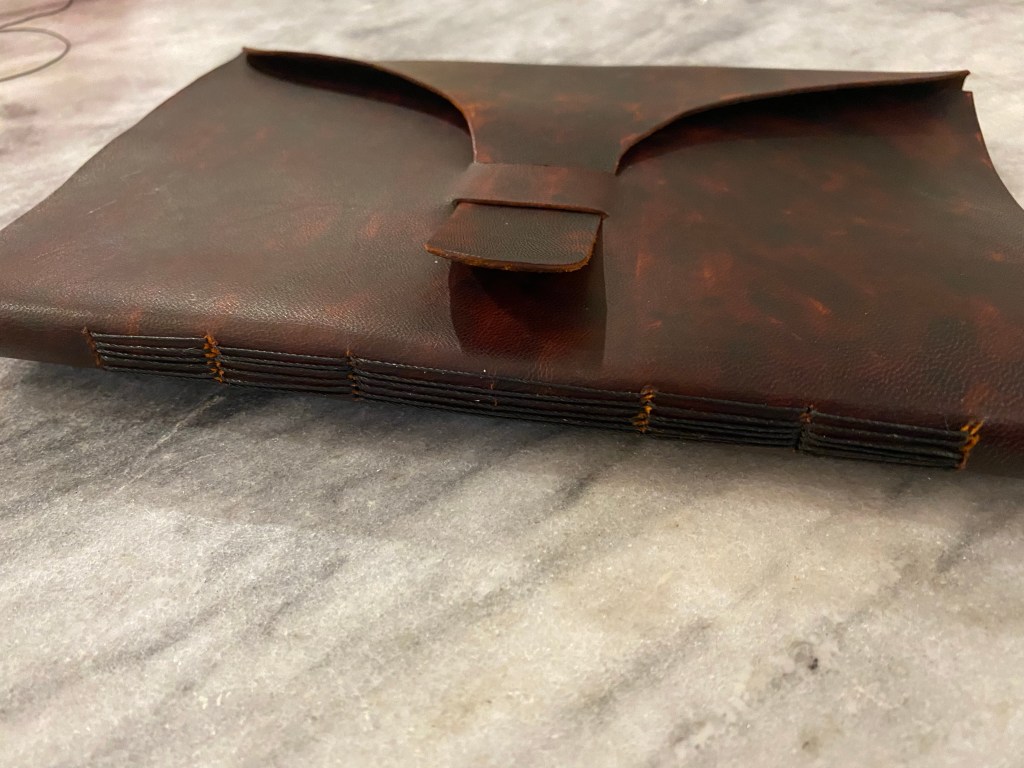
Edge of leather journal showing stitches

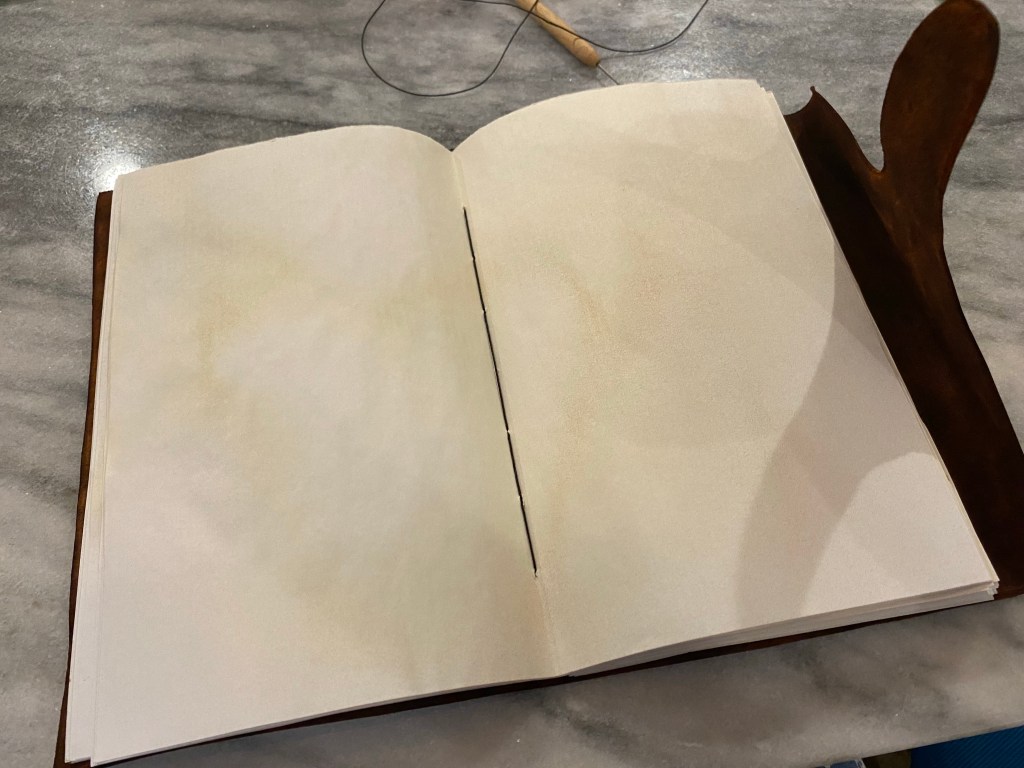
For each signature, I sewed up and back following the holes, which made nice parallel lines on the outside. To finish, I tied the beginning thread and end thread together before snipping the ends.

Journal opened to the center of one signature to show the stitches

I have taken book binding classes and can do a hard bound book, but this was quicker and we had all the materials on hand. Plus, it looks really cool.

Random knit pointed scarf

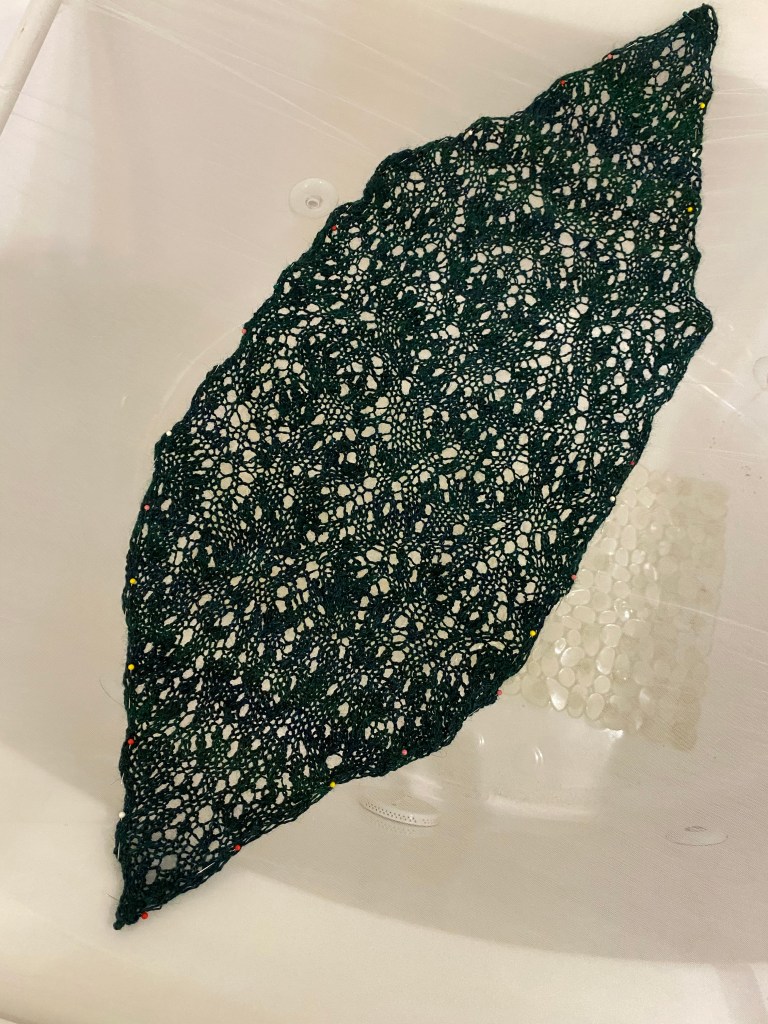
The Frabjous Fibers hand-dyed Blue Faced Leichester (BFL) and silk yarn I spun up in June has finally been applied to a project! I decided to do a random knit lace scarf, but with pointed ends rather than square.

“Balsam” colored BFL/silk random knit scarf

The random knit used a combination of increases (yarn over) and decreases (knit or purl two together) spaced with one to five knits or purls (depending on which side was toward me). The goal is to keep the same number of increases as decreases across the row. To do the shaping I added a stitch on each side of the knit rows only, then to narrow the end, I decreased on each side of the purl rows only. To keep the edges neat, I slipped the first stitch of each row.

I tried writing this all up in a standard knit pattern, but it then looks so much more complicated than it actually is. I will say that when knitting the technique using a block able yarn (such as wool or cotton) is key. It doesn’t look like much until I get it wet and pin it out flat on my netting and PVC drying rack.

Scarf pinned to nylon netting to dry

Plying bits of color

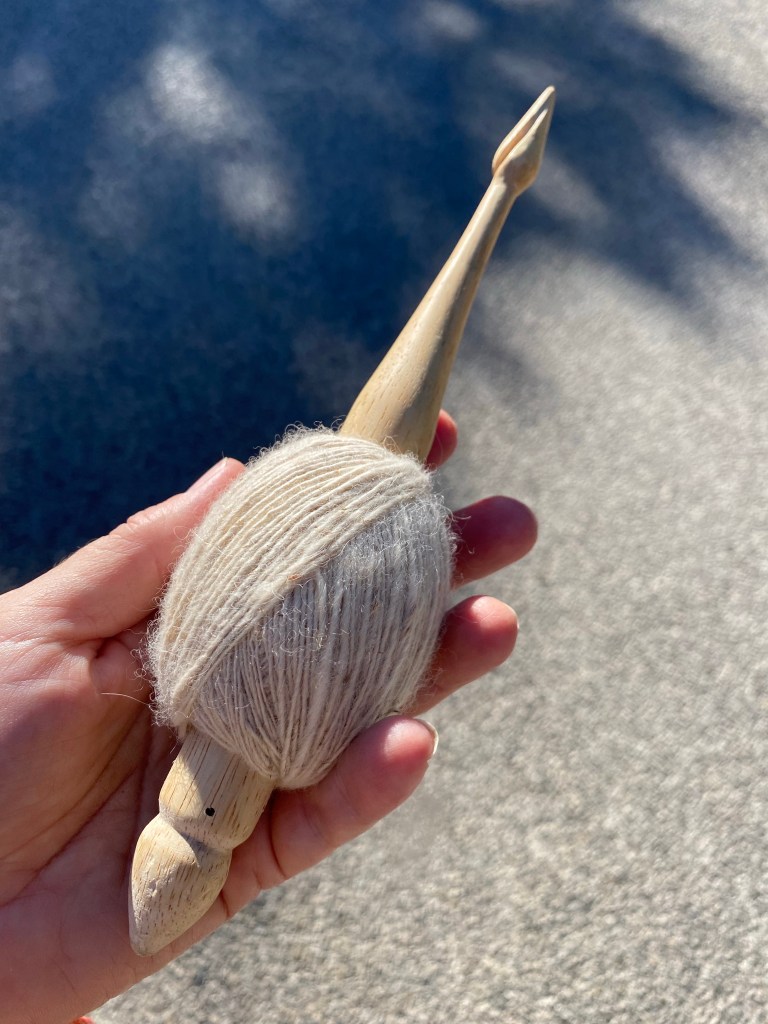
Spun single cob of cream alpaca

I spun up some pure alpaca to ply with the balls of alpaca and sari silk, to see what that did to the color density. Rather than make three small balls and try to match the yardage, I spun up 9 rolags into a single ball, then plied the colored singles with the uncolored into one cob.

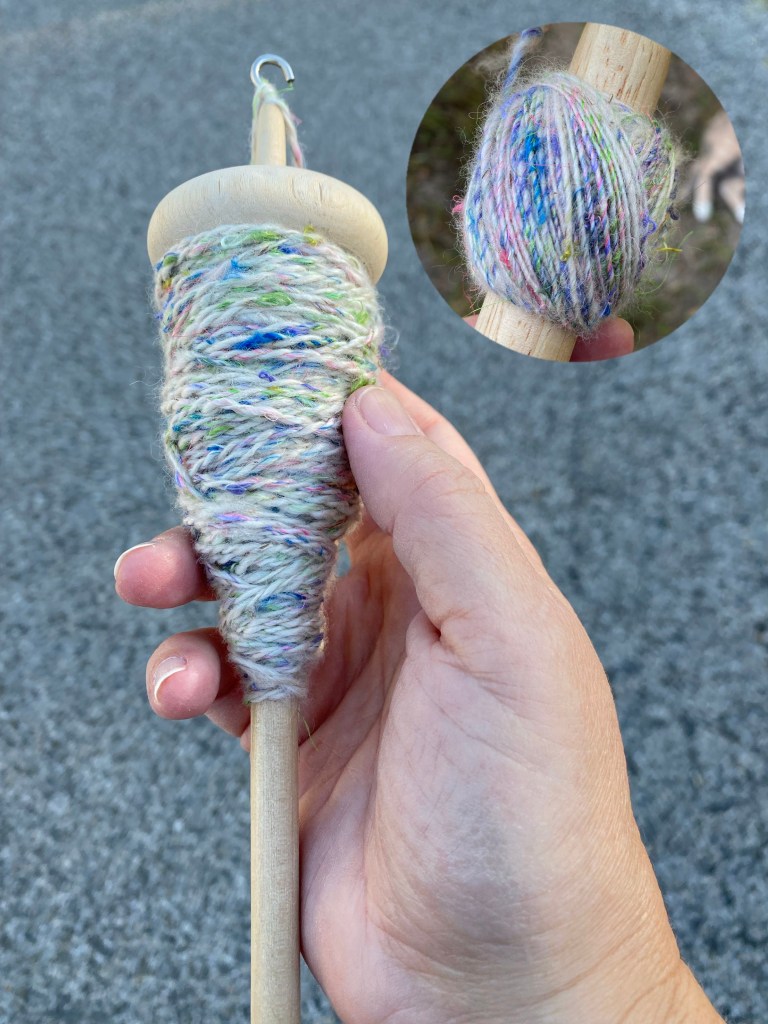
Singles with the most color plied with uncolored alpaca
Singles with the least color plied with uncolored alpaca
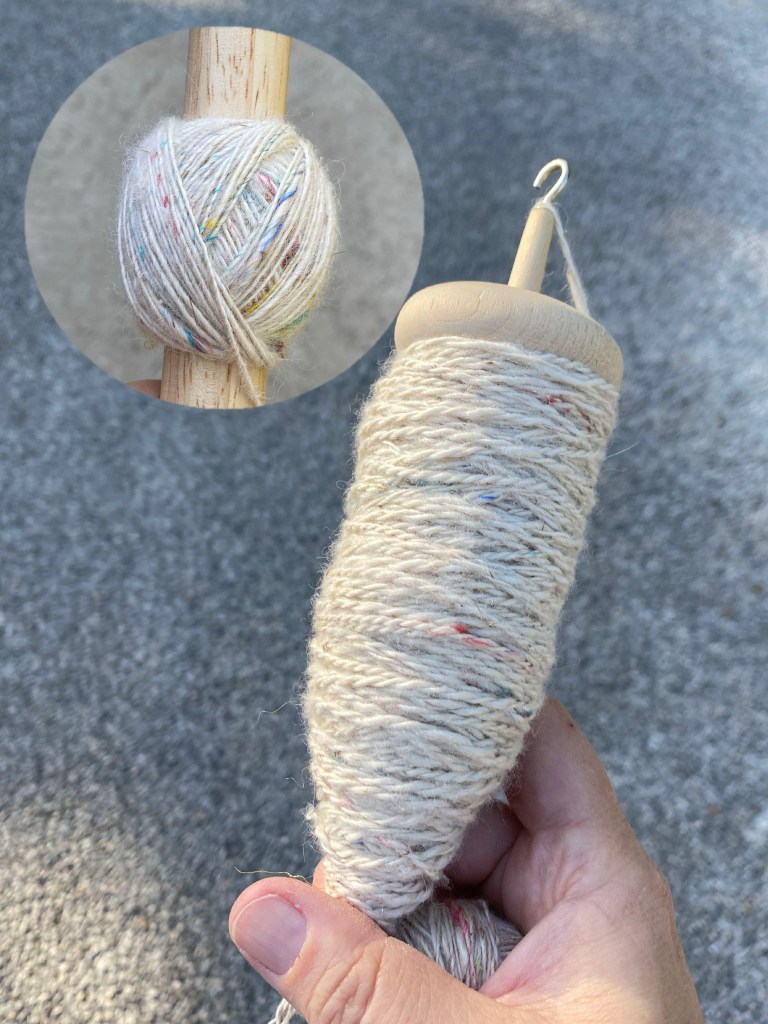
Singles with a little more color plied with uncolored alpaca

Diluting the color with the uncolored ply had the most impact on the single with the most color. I like the yarn with just touches of color, and reducing the percentage of color makes it even better for me.

I had a bit more of the uncolored than the colored, which was perfect. Rather than scrap the extra bit of white, I doubled it up and plied to the end. No waste at all, which is definitely a plus for making a two ply.

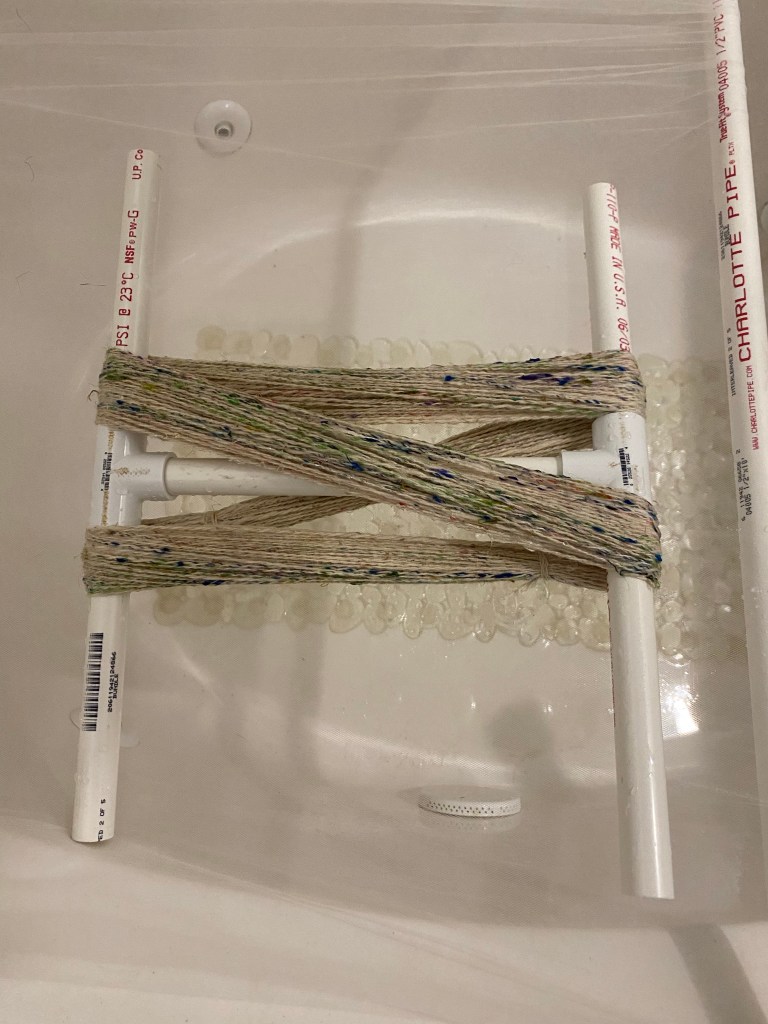
Rinsed yarn on a PVC niddy noddy

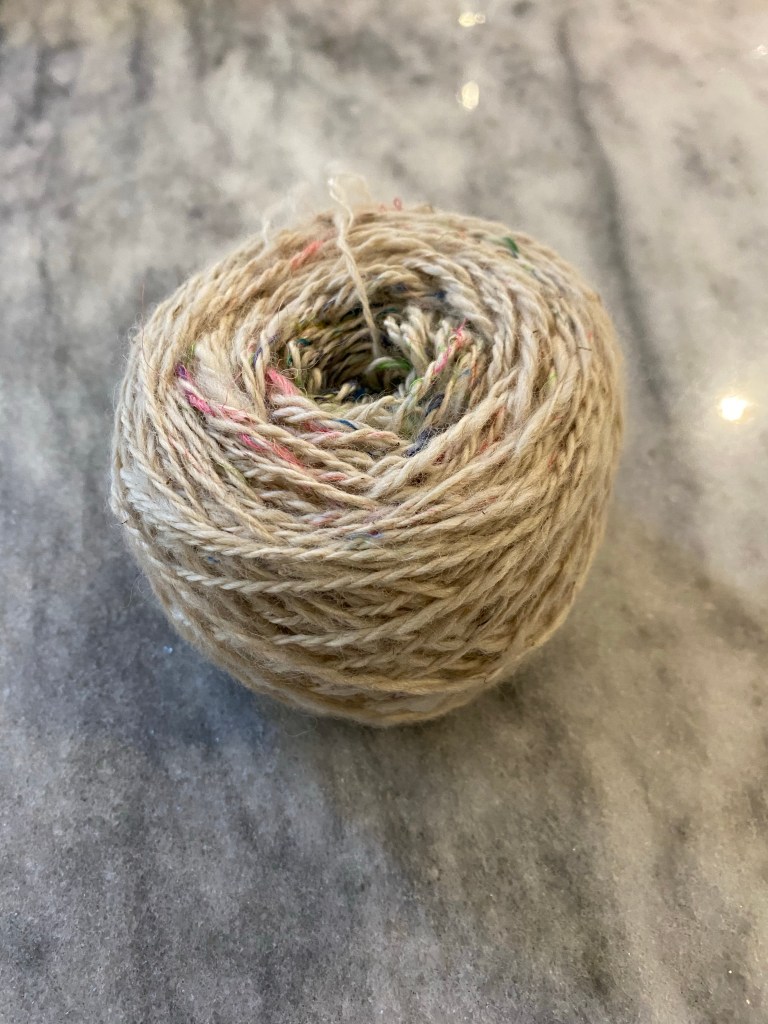
I wound up the plied yarn on my PVC niddy noddy and gave it a rinse to set the twist. I ended up with about 117 yards of two ply alpaca and mixed fiber sari waste yarn. It took five walks to spin and ply this yarn. (It is a good thing that it is the spinning and the process that makes me happy.)

Plied yarn wound into a yarn cake