Lathe

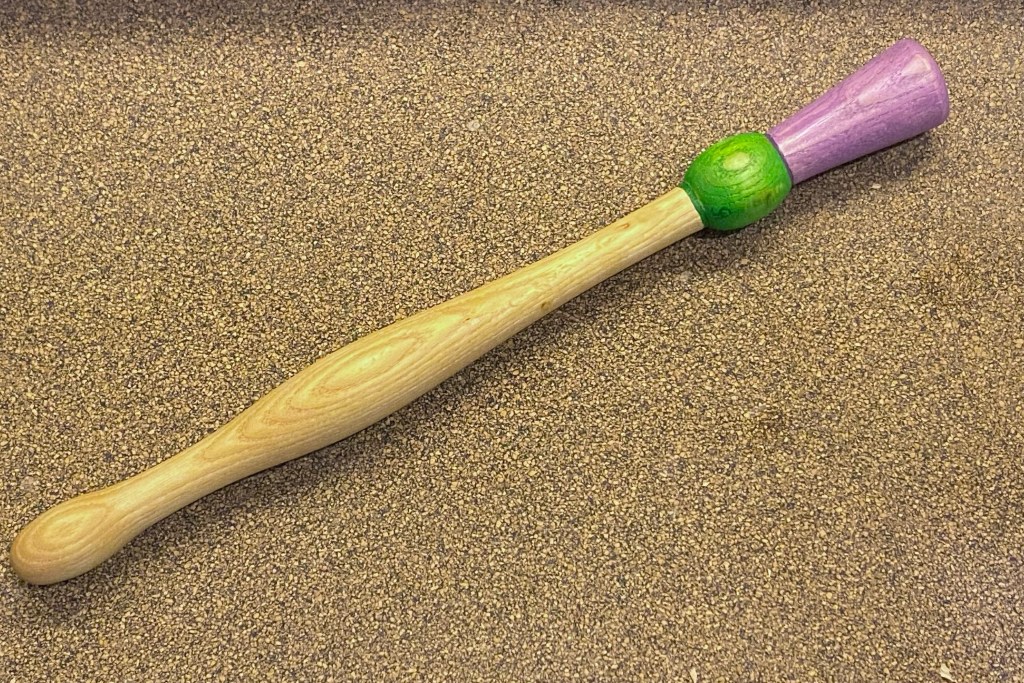
My lathe is up and running! My husband got a new hammer drill to make the drop-in anchor holes in the concrete slab, and bolted down the lathe in the garage so it can be used. Joy! Now I have to relearn how to use it. The first two attempts were very frustrating, and resulted in two broken spindles. After consulting the schematics, it turns out my tool rest support was upside down (cue forehead slap), which meant the tool rest couldn’t get close to the surface, which increased the chatter and force applied to the wood as it spun. That fixed, I was able to turn an OK spindle, but the proportions were not to my liking. I had made the neck thicker to help avoid breakage there, but made the head wider as well, which made it hard to flick into motion. Attempt four proved again disastrous and the spindle broke on the lathe. Well, I had the tension too tight with the center supports and put undue pressure on the wood. Attempt five went better. My chisels could rest close to the work, the wood was balanced better in the supports, and I switched to sand paper when I started getting nervous about the diameter of the neck. I am not comfortable parting the work on the lathe, so cut the support ends off with the spindle off the machine and finished the tips on my band sander. I used my favorite spindle as a guide, but need to work on my precision as my finished dimensions were not the same (honestly I eye-balled it, I do have rulers and gauges to make the process of reproduction consistent).

Newly turned spindle (left) and my Frankenstein spindle (right)

I’m very excited to be back to wood work!

Cedar

My plan to reduce the chance of further moth infestation is to line one side of my craft room with cedar planks. Aromatic cedar is a natural pest deterrent (and it smells really nice). My craft room is really the house’s master closet, but it is a 10×10 room and we don’t have that many clothes, so roughly 2/3 is craft storage with a small tool bench. The plus side of all this is that I was forced to clean out and reorganize the room, which has been on my to-do list for months. Once I had the back wall clear, I installed the planks over the dry wall using panel nails. It wasn’t a difficult job, and I was able to complete it in a few hours over a couple days. I could then get to the rearranging of the space, which took longer!

Aromatic cedar planks installed on the wall

I did pre-drill each nail hole so I didn’t split the wood. I used my favorite pull saw to cut the pieces, which was honestly easier than taking each piece out to the garage to cut with power tools. The planks are thin, and cedar is fairly soft, so cutting was easy. I did buy painted panel nails, which wasn’t necessary, as the paint came off the head of the nail when it was hammered in.

I’m hoping that this will discourage moths from settling in to my fibers and fabrics that are stored in this room.

Clothes moths

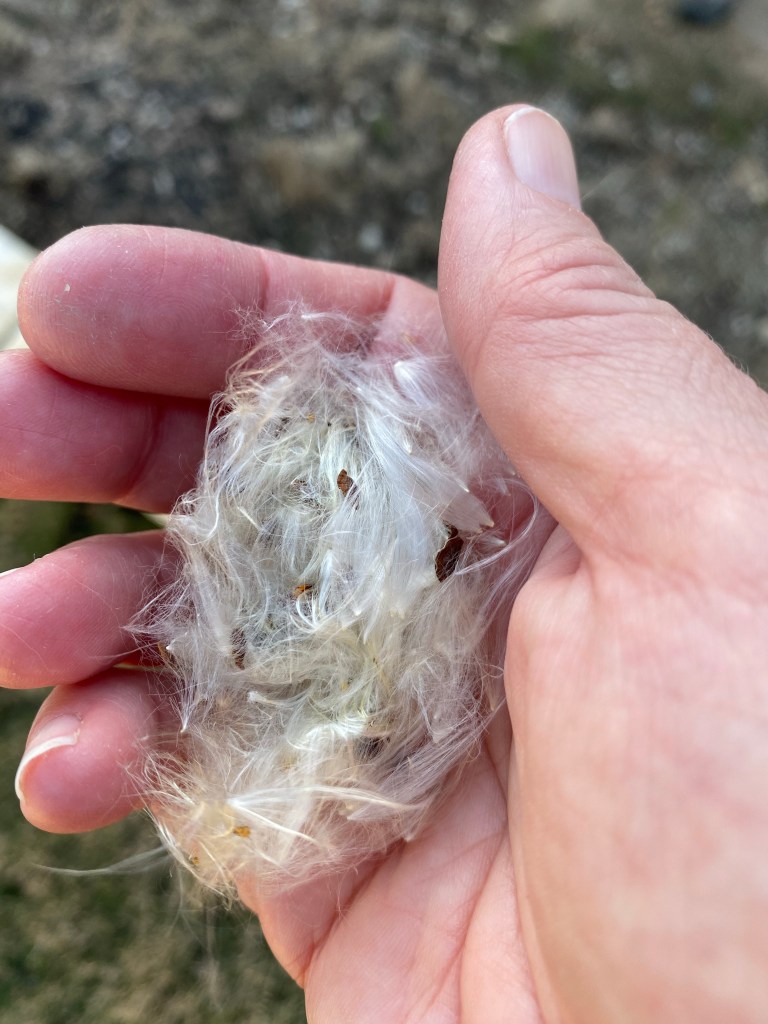
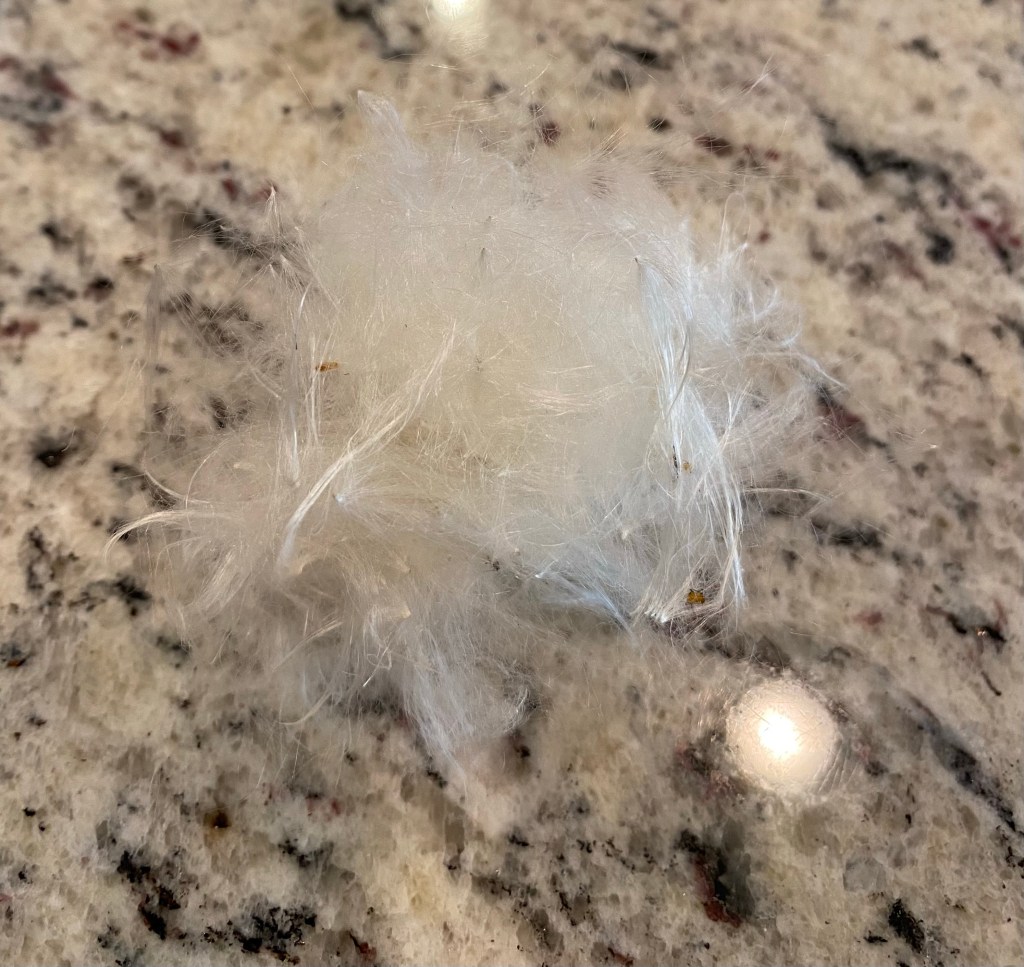
I went to get a portion of my new gray alpaca fleece, and when I opened the bag, the fibers were crawling with little white moths. Ugh. I immediately took the bag outside, then checked my other bags of fiber. It seems that the infestation is currently only in the one bag.

Clothes moth in alpaca fiber

This is my first experience with a clothes moths infestation, so I did some internet research (I know, internet knowledge, but I read several articles and went to a few different websites). I decided the freeze method was the best route for me, mainly because I have freezer space and don’t want to use chemicals. I put the whole bag in my deep freeze and the plan is to leave it in there for at least two weeks. When I’m up to it, I will take it out of the freezer and wash the lot of it (so it may be longer than two weeks, that is a big job). But I’m all creepy crawly now and concerned for the rest of my fiber stash.

Bag of alpaca fleece in the upright freezer

Möbius crochet tessellation

In the pursuit of a möbius scarf that has a center line that stretches with the fabric, I have twisted my brain inside out, backwards, and forwards. I finally sat down and drew what I wanted.

Tessellated parallelograms

I used different colored lines to trace how the crochet stitches should go.

Breaking up the tessellation into crochet-able lines

With a little experiment to verify my thought process, I then used crochet symbols over the sketch to solidify the plan.

Capturing the essence of the pattern with crochet symbols

The foundation chain is not strictly a chain, but a connected series of loops. Most crochet patterns start with “chain x number”, but not this one. I only illustrated a single repeat for the subsequent rows, as that is all you need. Each row is offset from the previous row. I’m not going to give a specific pattern for a specific size or number of rows, but I will attempt to put into words what my drawing shows, for those that may need it.

quadruple double crochet (qdc): yarn over 5 times, insert hook into work, (yarn over, pull through two loops) six times

Treble crochet (tr): yarn over 2 times, insert hook into work, (yarn over, pull through two loops) three times

Foundation chain (row 1): chain 8, *quadruple double crochet (qdc) into the fifth stitch from the hook, chain 11, repeat from * to desired length, qdc, chain 3, join with a slip stitch to beginning chain.

Row 2 (and all subsequent rows): chain 6, mark third chain, slip stich in 5 chain loop, * chain 3, tr into middle of six chain length, chain 5, tr into same stitch, ch 3, repeat from *. Chain 3, tr, chain 5, join with slip stitch at mark, 3 slip stitches to get to next starting point.

To make this Möbius, when you come round to the mark, give the foundation chain a slight twist and crochet on the opposite side. Each round will go on both sides of the work (the magic of Möbius).

Wrist-sized test piece
Wrist sized test piece showing the twist

Now to make an actual scarf!

It makes me happy anyway

I’ve started to spin the Shetland wool batt on my walks. I gently separated narrow strips from the large batt, and loaded my arm bag with what I thought was enough to last me one or two walks. Five walks later, and I am still on the initial load of fiber. Granted, I am spinning it finer than I spin alpaca, but wow. Even though it is slow going, I really, really enjoy watching the twist move into the fiber, and the pleasant way the wool drafts out. The plan is still to make a two ply lace weight yarn. I’ll have to test the wraps per inch (wpi) after I ply to see just how fine (or not) I’m spinning. Lace weight measures at 30-40 wpi, while sock or fingering weight measures at 18-30 wpi. I suspect I will have a fingering weight when I ply, just looking at the singles on my spindle.

Spinning Shetland wool with a drop spindle

I could probably spin even finer, but I would probably have to use a supported spindle, which I have not figured out how to do while walking.