Diamond Willow Needle

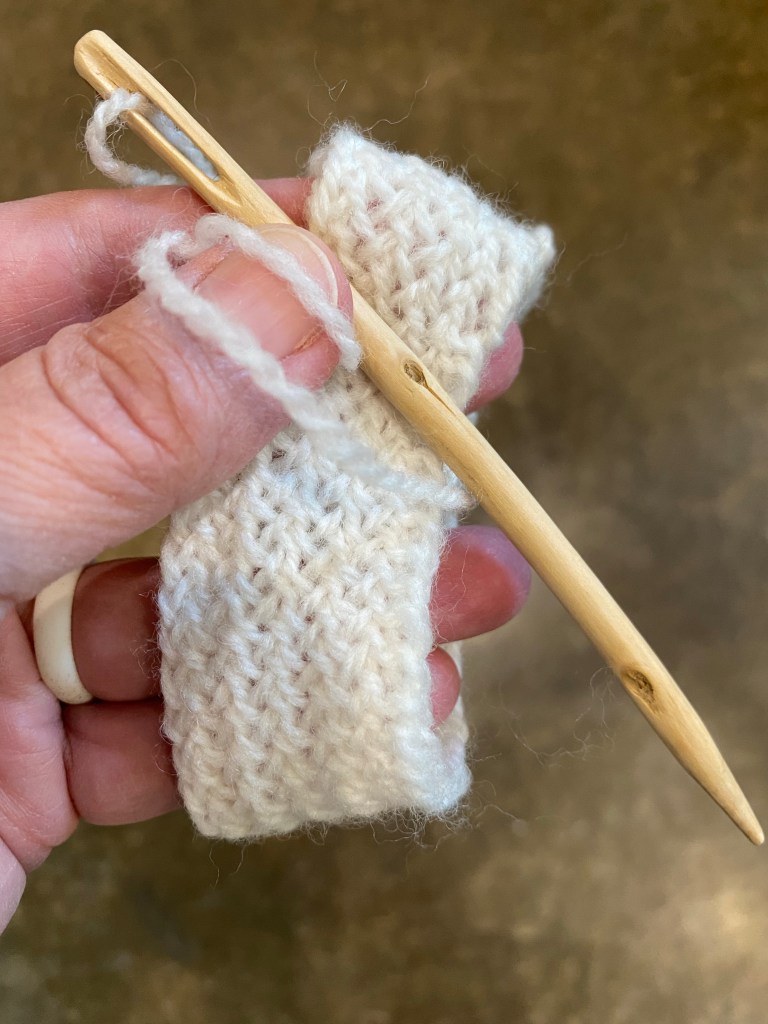
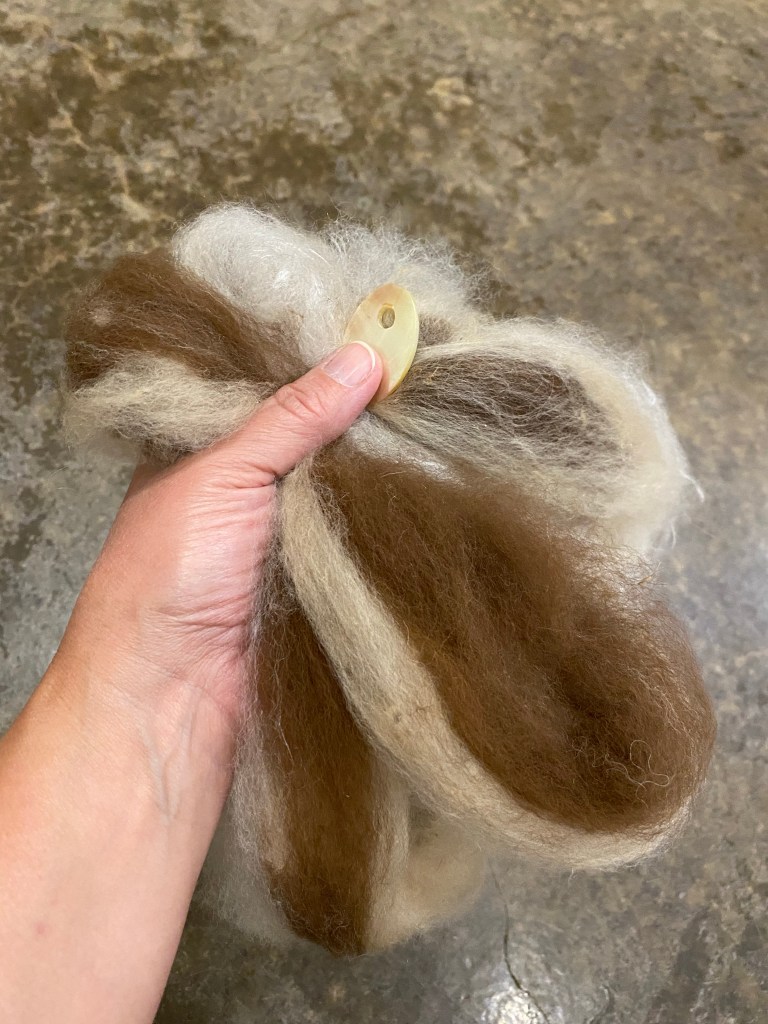
I was combing my tool stash for a nål (needle) to make smaller nålbinding stitches and found an old hand-carved diamond willow needle. My great-grandfather carved all sorts of things from diamond willow, so our guess is that this is one of his works! It had been sitting in my knitting box for quite a while, so I sanded it up a little with 400 grit sandpaper to smooth the unfinished surface. Although I’ve been partial to semi-flat oblong nåls to this point, I found making stitches with the round needle worked well. I’m learning a new stitch called Dalarna, which was used to make milk strainers in Sweden (https://www.en.neulakintaat.fi/75). I like the way that the stitch makes a fabric that appears woven on one side. I’m practicing with commercial wool sock yarn, not my own spun yarn, until I get the pattern firmly in my fingers’ muscle memory.

Diamond willow nål

Managing a tricky situation

Once again, when I pulled the center strand from my yarn ball, I caught too much and had a little wad of yarn. Previously I have spent considerable time untangling errant threads when trying to ply in this situation, but this time I carefully wrapped the excess yarn into a butterfly on my fingers, and held the small ball of yarn in my palm. There were still some tricky spots, but it went much smoother this way, until I got back to having even pull from the inside and outside of my ball. Wrapping yarn nostepinne style is my favorite way to make a center-pull ball of yarn, and making a two-ply yarn from a single ball is my favorite for when I am walking and spinning. I can take the ball of yarn off my spindle, snag the inside end, and start plying immediately, without having to transfer the yarn first. (And the balls of yarn with their slanted wrap are pleasant to look at.)

Excess yarn management using a butterfly

Cracked

Ah, beware a change in properties. I have been spinning wool blended with silk, and just switched to alpaca with a bit of silk, which spins up slightly differently. I admit I was a bit cavalier and full of confidence, and was not as careful as I should have been at the start of a project. As a result, the spindle flew from my fingers and rather than bumping the base, the top tapped the asphalt. Crack. The wood split at the neck. Devastation.

Cracked spindle

The head of the spindle was still hanging on, so I took my yarn and wrapped it a few more times around the neck than I usually do. This allowed me to spin for the rest of my walk.

Makeshift “repair” to hold the crack together for the short-term

When I returned home, I put some wood glue in the crack and clamped it shut then wiped off the excess glue. When it was dry, I used 400 grit sand paper to smooth the area.

Clamped spindle

I love this spindle, even with the repairs and test holes. Apparently I need to make myself a backup!

Natural Marled Yarn

I have three natural colors of alpaca fiber, all washed and ready for prep. How can I combine these colors? What are the effects of different preparation methods? I rather like marled (streaked) yarn, will these three colors combine well for that effect? Time for new experiments!

I carded one small batt of each color. Rather than rolling the fibers into rolags (which is the method recommended in the instructions, and rolls the fibers perpendicular to the fiber direction), I stacked the three batts together, then rolled them parallel to the fiber direction, then pre-drafted the roll. This distributed the colors randomly, which is what I was after. I did try using a shell with holes as a diz (which is used to pull fibers off combs to make roving), but found that pre-drafting with my hands worked just fine.

Roving made with three colors of alpaca fiber

I spun up two of these preparations as a clockwise single, then plied counterclockwise, then plied clockwise again to make a four-strand cable-plied yarn. All if this was done on my homemade spindle while I was walking the neighborhood (NOT, I repeat, not, in the same day! It took three walks.)

Cable-plied marled alpaca (with a bit of silk) yarn

The yarn has an interesting look. The next step is to see what it looks like in samples, probably with nålbinding. Ok, maybe I’m a little optimistic, the real next step will most likely be to see if I can replicate this process, then compare it to at least two other processes (because that is what is in my head at the moment), then make everything up into… something.

Poster board boxes

I declared a baking day for myself and then got a little carried away. Instead of making two batches as I planned, I made three. Instead of two braided loaves, which I’ve practiced, I made a loaf and two batches of rolls. It isn’t often that I bake for many people, and I was just so excited. Then it came to how to transport the bread. Hm. I read that cloth lets too much water out and the bread gets dry. Plastic and foil keeps the moisture in, but the crust goes soft. I also didn’t want the bread to get squashed in transport. So I made some boxes out of poster board. I made measurements and drew lines in pencil, cut flaps, and glued the corners with hot glue (which helps structurally as well).

Attached lid poster board box before assembly
Homemade bread in homemade boxes

The boxes worked well, and the white bread was quite good, even the second day. The whole wheat rolls were more dense and tough. (Good thing they were the extra batch!)