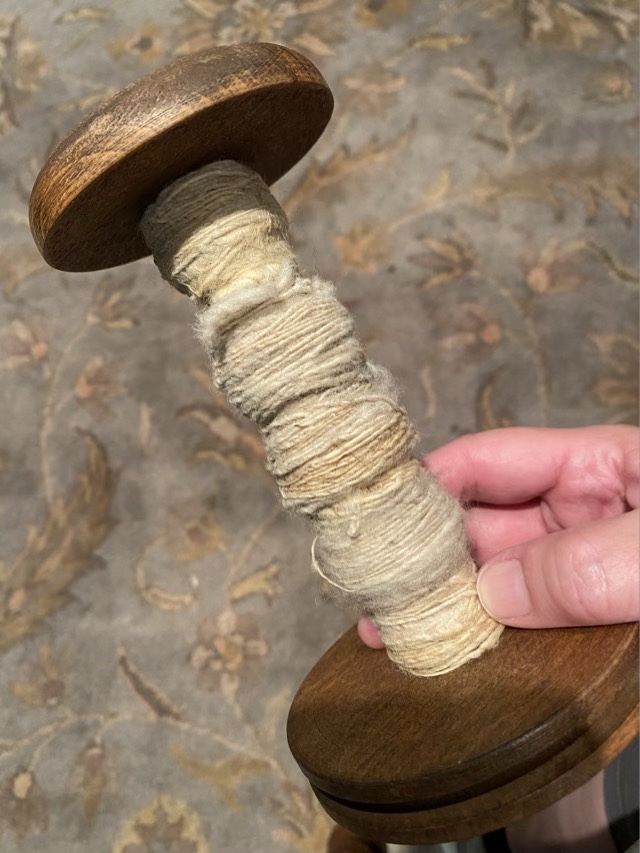
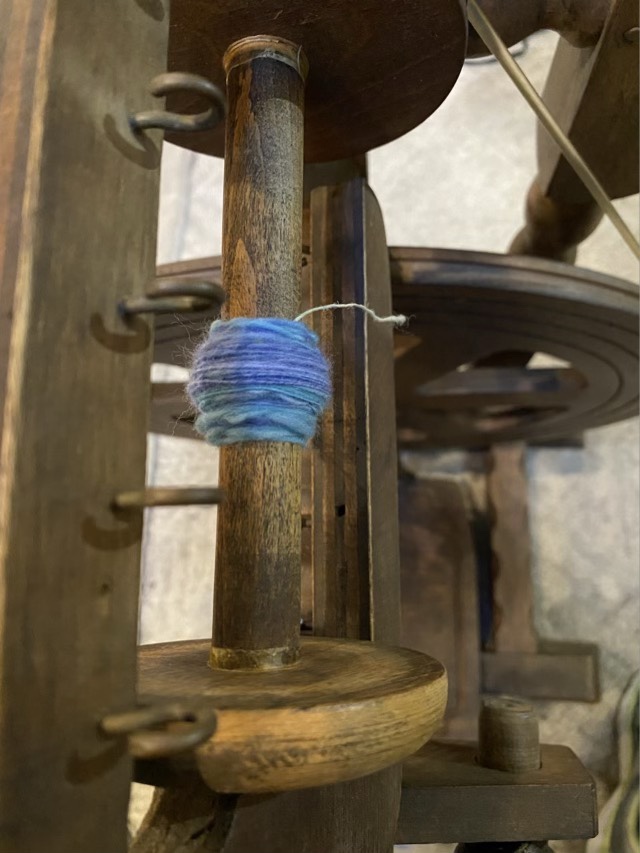
One of the bobbins that came with my vintage wheel (there were 3, which is the original number!) needed fixing. The ends had come unglued from the shaft. There was still yarn wrapped around the shaft, but it was very old and deteriorating. So the first step was to get the yarn off.
Old wool yarn (deteriorated)
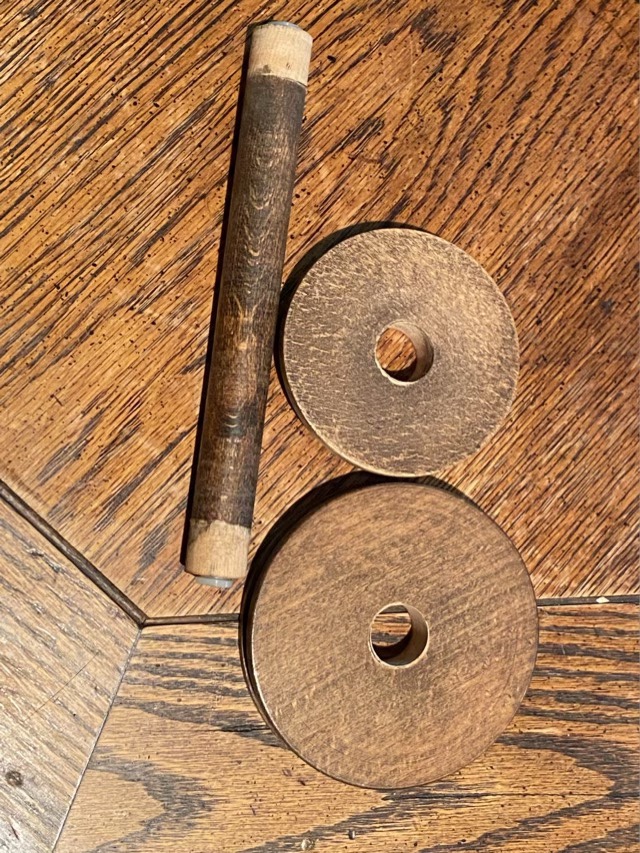
I started winding it off, but it came off in pieces, so my Dad helped and cut off the remaining yarn. I then had the three pieces separated.
Bobbin pieces
I sanded down the old glue and roughed up the surfaces to be glued, and used a wood glue to reattach the ends to the shaft. The next day I had my third spindle back and ready to roll!
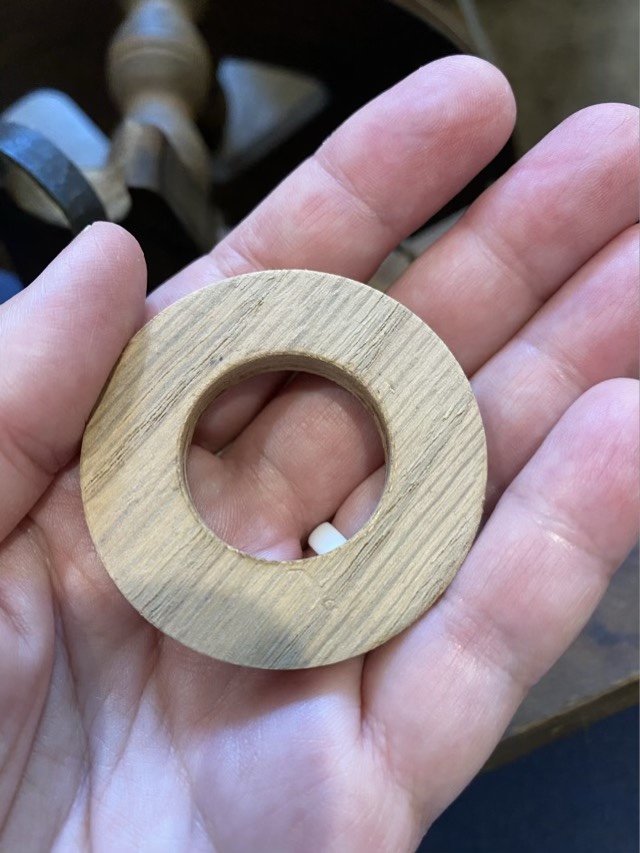
I sat down at my vintage spinning wheel to attempt to produce yarn. I had some lovely dyed roving that my youngest picked out at a weaving store to use. Getting started was a little tricky. Moving the treadle to drive the wheel in the right direction took some practice, then the flyer assembly kept popping out of place. Hm. It seems the support arm for the flyer assembly has sagged over time, making the space about a quarter inch too long. My Dad made me a quarter inch thick wooden washer to put on the flyer side. It worked perfectly!
Wooden washer made from oak using hole sawsWooden washer installed to reduce gap caused by sagging
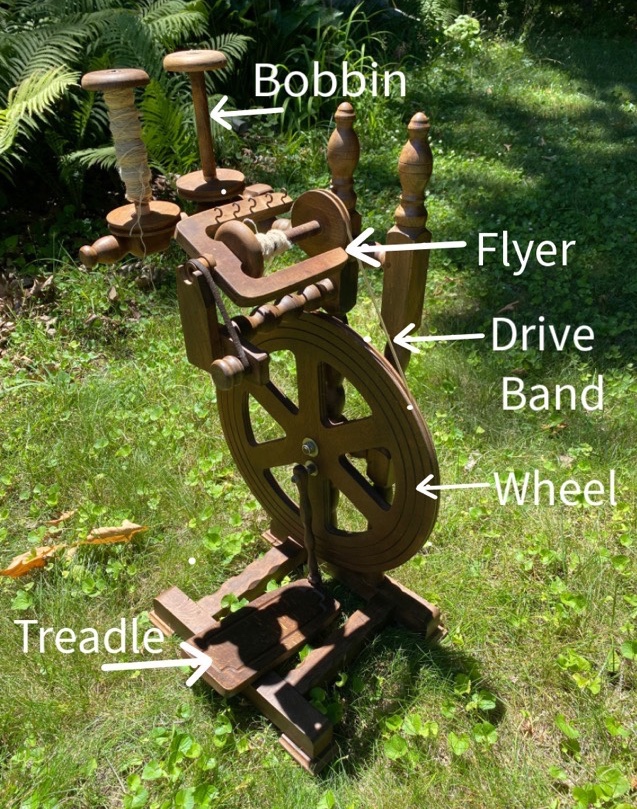
The way the flyer assembly works is the flyer and the bobbin both spin. The flyer adds twist, and the bobbin winds on the yarn. But they should spin at different speeds. The ratio between the rate the flyer and the bobbin spin gives you how much twist is in the yarn. If everything is working right. I could not get the flyer to slow without stopping, so I went with it. I let the flyer and bobbin spin together to give me twist, then when I was ready, I stopped the flyer and wound the yarn onto the bobbin. It worked to give me yarn! And I had control of how much twist went into my yarn before I wound it up.
First spin wound on the bobbin
I’m still working on my consistency, but I’ve made yarn on a vintage wheel! Huzzah!
Vintage spinning wheel found at a antique store in Michigan
When visiting family in Michigan, I found what an antique store called an antique spinning wheel. On the tag it also said “Works Great!” I tested the treadle in the store and it did indeed turn the wheel, but I knew nothing about how the flyer mechanism worked. It was also the first time I looked for a wheel and the first store I tried, so I walked away and did some online research as well as visiting a very helpful store in East Lansing called “Woven Art Yarn Shop.” They had three student spinning wheels and graciously let me sit and treadle them all, and showed me how the yarn hooks into the flyer. Armed with the feel of how modern wheels work, I went back and purchased the “antique” wheel.
Dutch spinning wheel with Irish tension
I posted pictures on an historic spinning group and received the answer that this was a Befra Willy Spinnewiel made in Apeldoorn probably in the 70s or 80s. It has a single treadle, which I’ve read is better for ergonomics than a double treadle. It also has a bobbin holder on the side, useful for plying. The flyer mechanism uses Irish tension, which means the flyer has a brake that slows it down and the drive band turns the bobbin.
It was definitely a spinning wheel that was used; not only did it have a bobbin with spun wool, there is darkening on the flyer where a spinner would give it a little push to get going in the right direction.
Recently I read a blog by another crafter that advised against making center pull balls, with the reason that the end bits get irrevocably tangled. I love my nostepinne style center pull balls, but have experienced some tangling toward the end of the ball as the energy in the yarn twists the final wraps. I also have a knack for untangling most things, so just deal. But is there a way to manage the ball so there are no tangles? Yes.
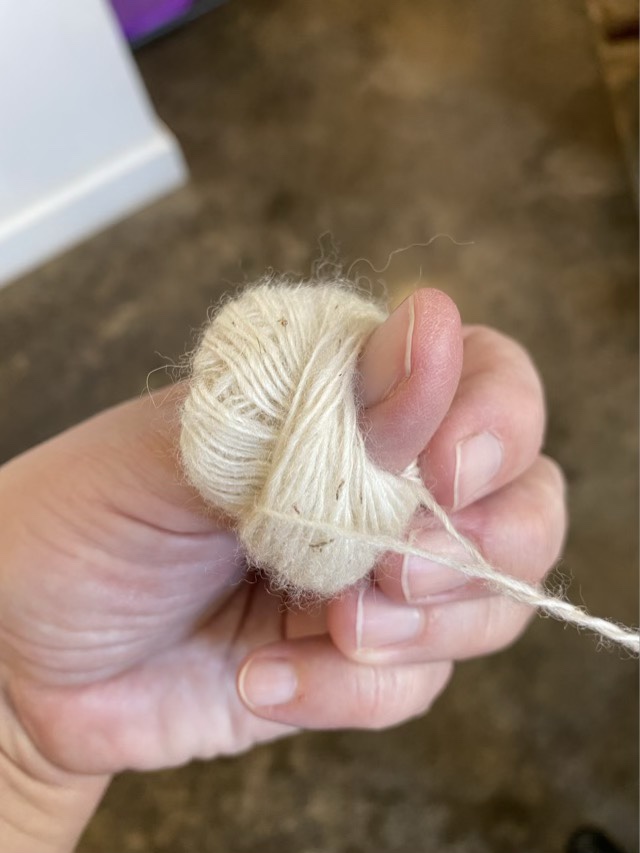
Holding a center pull ball on a finger
By keeping the center of the ball open with a thumb or finger, the ball cannot collapse upon itself as you unwind. Here is a short video (with cat) showing how the two ends of the yarn come off the ball. This is particularly helpful when making a two-ply yarn from a single ball of single spun yarn.
It is important to recognize that each crafter is different, and there are many different ways to do almost everything. I personally can’t stand round wound balls, the way they skitter and jump as the yarn comes off, and inevitably roll across the floor to join the dust bunnies under the chair.
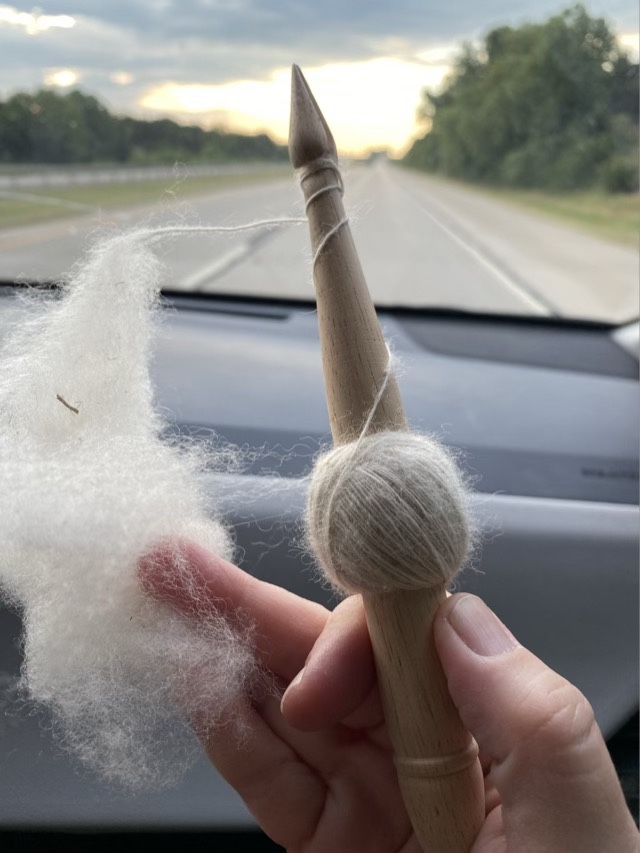
We recently returned from a long road trip, and on the trip I spun when I wasn’t driving. I love it. I can put it down with a few seconds warning, there are no dropped stitches when we go over bumps in the road, it keeps my hands busy, is productive, and calms my soul.
Using a drop spindle to spin prepared alpaca fiber on a road trip
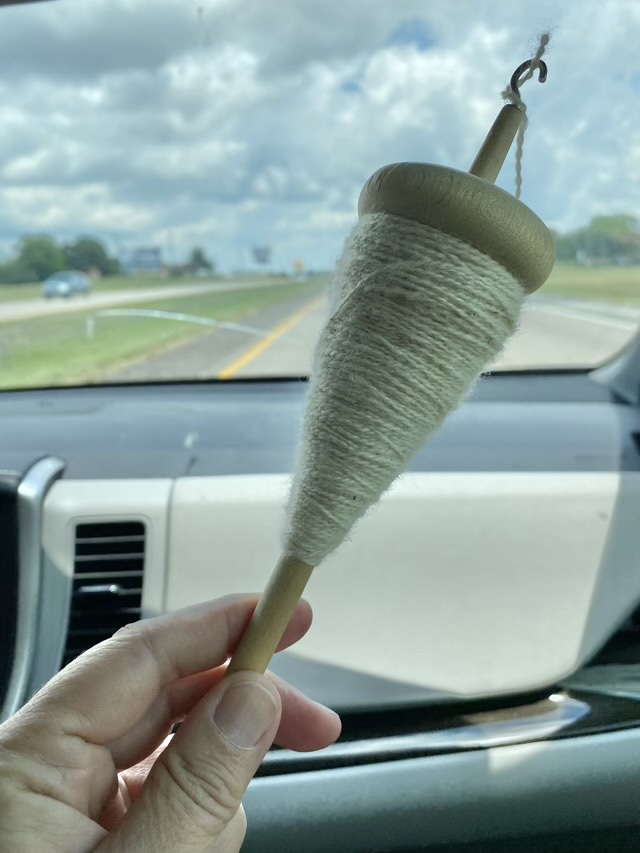
Plying is also possible if I do a 2-ply and use both ends of a ball of single ply (inside and outside ends). I prefer a top whorl spindle to ply, which I happened to pack as my backup spindle. I did not rinse or set the twist with water for any of the spinning, instead relying on time to do the magic.
Plied yarn with top whorl spindle Five plied balls finished on the trip
I love it so much, that I think I will keep fiber and a spindle in a shoebox in the vehicle, for those parked and waiting moments that occur so often.