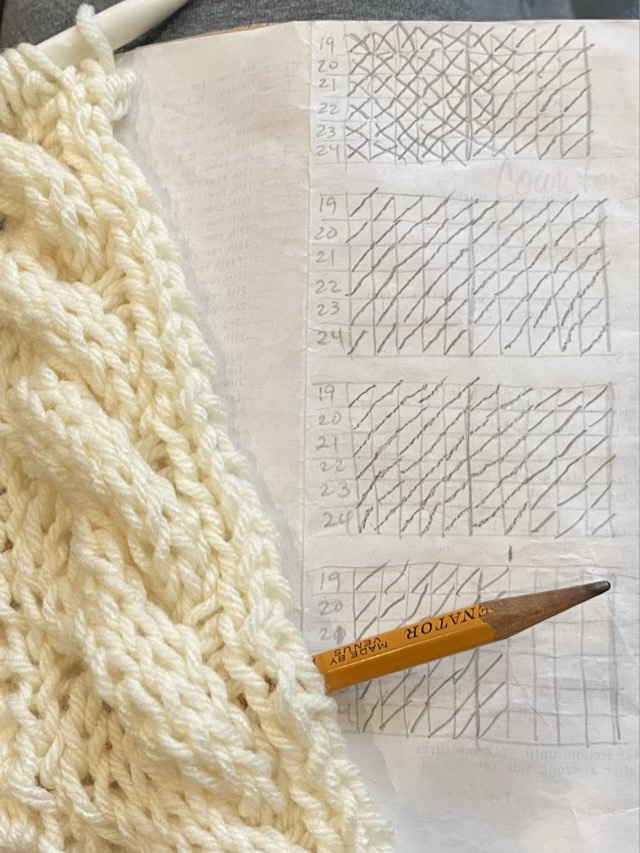
I’m still plugging away at finishing Grandma’s blanket. I have a renewed fervor for finishing, since I now have five projects in queue. I’m currently working on the border pieces, which are mostly a five row repeat. At this point I have the five rows memorized, but to keep track of where I am, I made a simple chart. Since I have to make two, I make the first leg of the X for one side, and the second for the other. Then they should come out the same length.
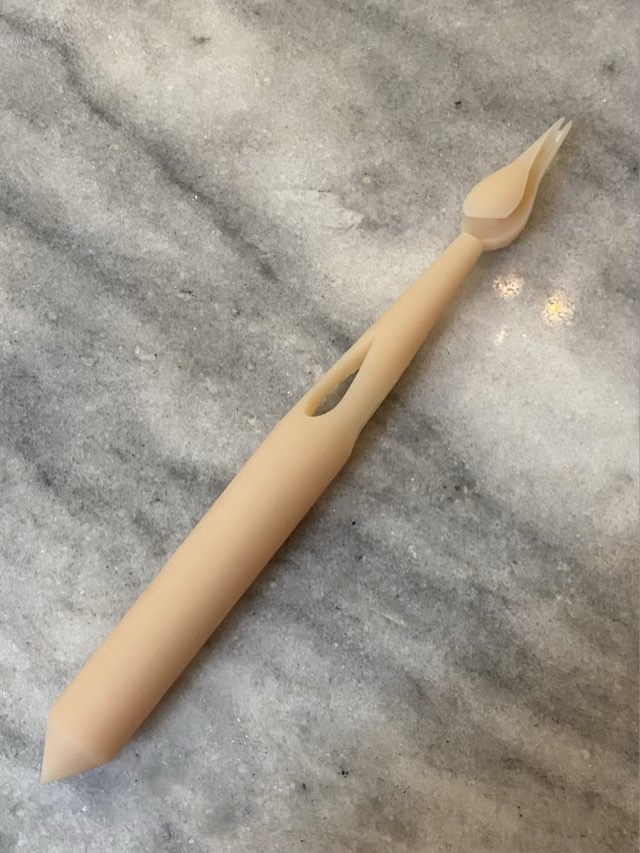
I reworked my spindle design in the Blender software and asked my local 3D printer to print it in cream resin for me. I redesigned the head and neck to make the top lighter and route the yarn better.
New spindle design (prototype 2)
It spins easier than the first prototype, and is a bit more elegant, but isn’t quite where I want it.
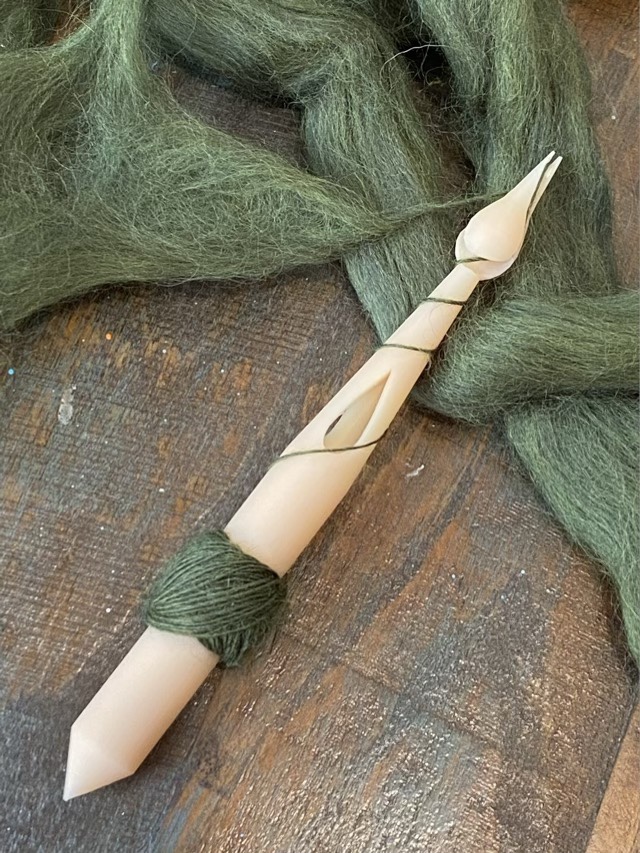
Green combed top spun on a 3D printed spindle
I have realized that elegance is really what attracts spinners to a spindle. Yes, sometimes we need a workhorse to just get the job done, but a tool with elegance or history, or both, sing more to the soul. I have recently learned, when watching a history piece on spindles by Judith MacKenzie, that it possible to spin yarn by thigh rolling. No wheel, no spindle, hands and leg together to not only spin, but ply simultaneously. (I will report back on my attempts at that!) So why accumulate a collection of different objects to do the same thing? Because we are hoarders that like shiny things. We like to share and show our hoard and thus spread the knowledge farther. It is not a bad thing, in balance, and a good reason to strive for elegance on occasion.
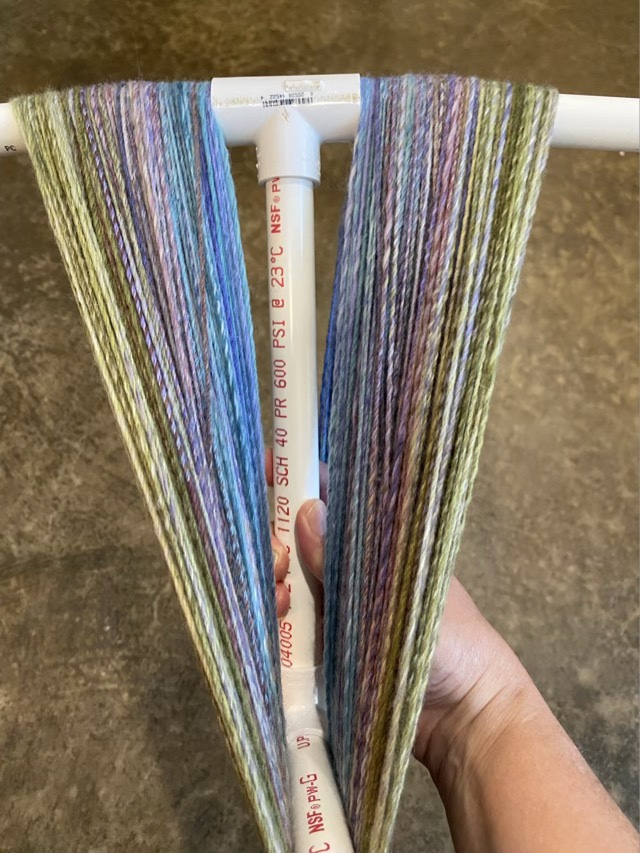
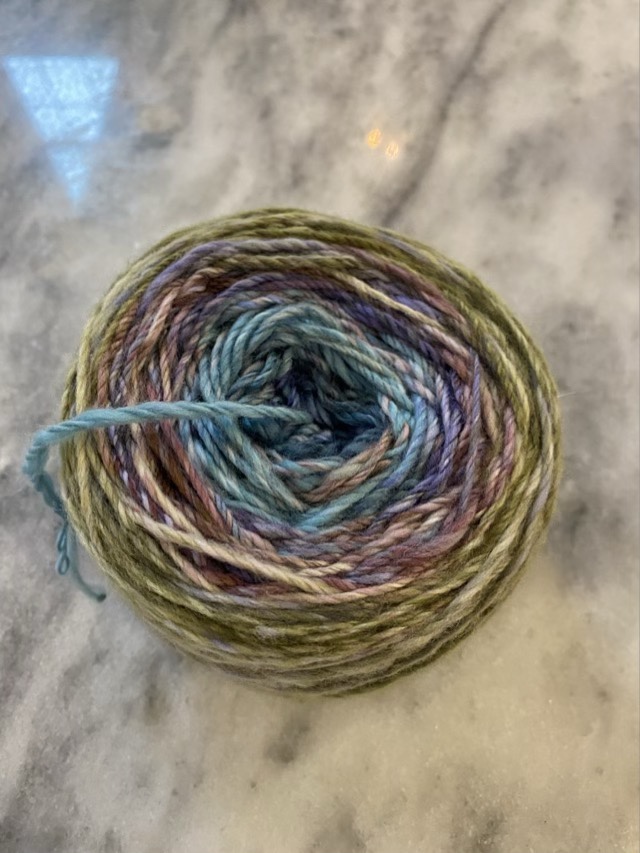
Some spinners set the twist in their singles before plying. I usually can’t wait, and the hand dyed single I spun on the Befra Willy Spinning wheel was no exception. I couldn’t even wait a day. As soon as the last of the roving twisted into yarn, I had the bobbin off, mounted on the bobbin holder, and was plying the newly spun yarn. I chose to chain ply to keep the color change consistent with the spun singles. Chain plying results in a three ply yarn. If you have made a chain in crochet, or shortened a long rope after tying off a horse, it is a similar concept, but with bigger loops. It took me 2 hours to ply the same amount of yarn it took me four days to spin, and I did it all in one go. (Can you say obsessed?)
Chain plied yarn
The shocker? The flyer assembly worked. The flyer was moving slightly slower than the bobbin, so it was adding twist as the yarn was wound onto the shaft of the bobbin. Wha? I think it was that the new bobbin fit loosely on the flyer shaft, where the bobbin I used to spin had a tight fit. Hm. Learning.
My spinning speed on the wheel is about the same as on a drop spindle right now, but I am obsessed and can sit and treadle longer than I can stand and spin. The gentle swoosh of the wheel spinning is also soothing. Until I get a squeak. It doesn’t bother me (shockingly), but does set other people’s teeth on edge. I ask my eagle eared eldest to listen for the source of the squeak, then I apply a little oil. Off I go again. I even am making myself switch sides to balance the stresses on my body. I find it harder to treadle with my left foot and draft out to my right, but it is getting better!
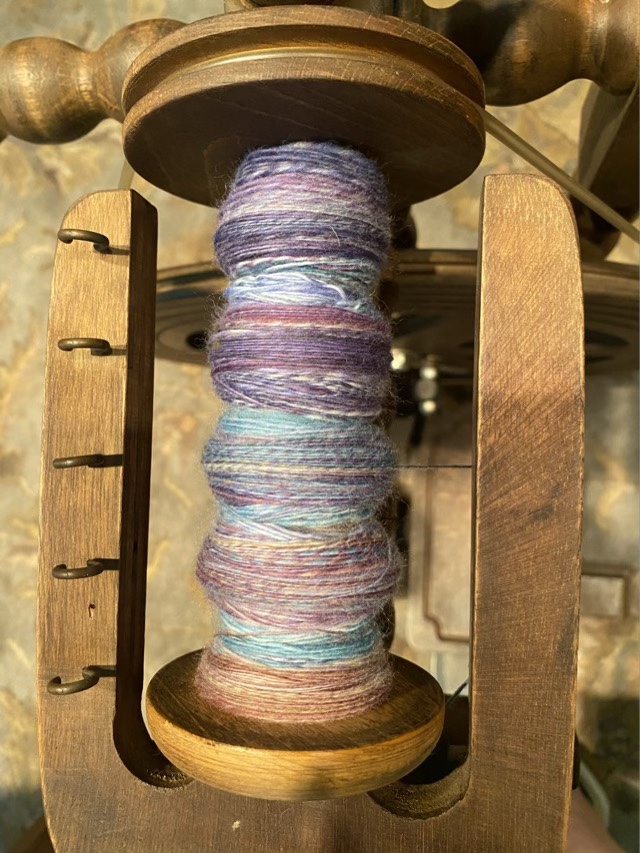
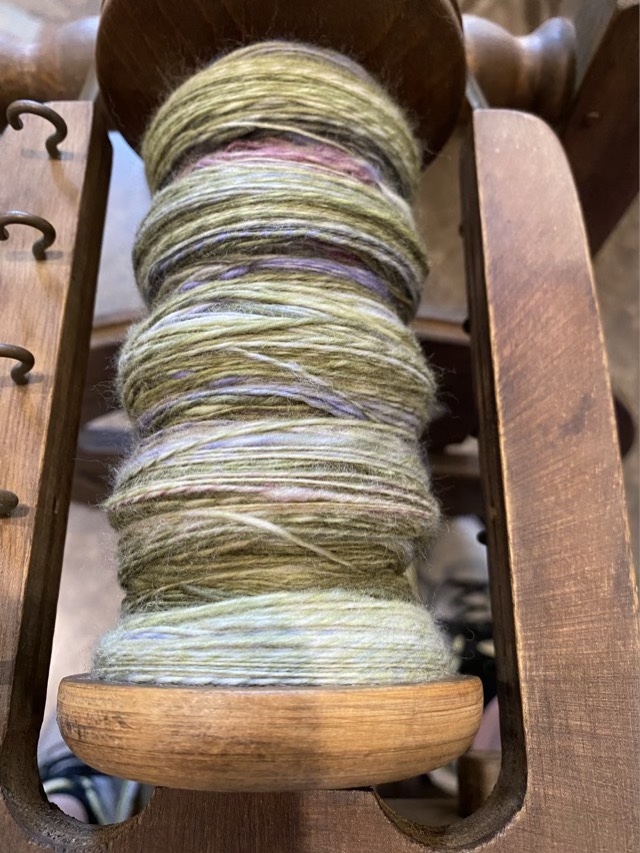
I separated my hand dyed roving by Supernova Dye Works into segments and sorted by color. I love gradient yarns and wanted to separate the teal from the olive green. At the end of each day I took a picture of the yarn on the bobbin.